What is dodging in photography, and how can brightening a tiny area change the whole image?
Dodging is the selective lightening of specific parts of a photo. It helps guide the viewer, restore detail, or shape form and tone, and it began as a darkroom trick often paired with burning.
This article shows how dodging works in both darkroom and digital workflows. You will learn tools like the Dodge tool, adjustment brushes, curves with masks, and non‑destructive layer methods.
You will also see before/after sliders, screenshots of tool settings, a short 30–60s demo GIF, and an optional PSD to follow along. Try dodging on one photo and compare the result.
What is Dodging in Photography?
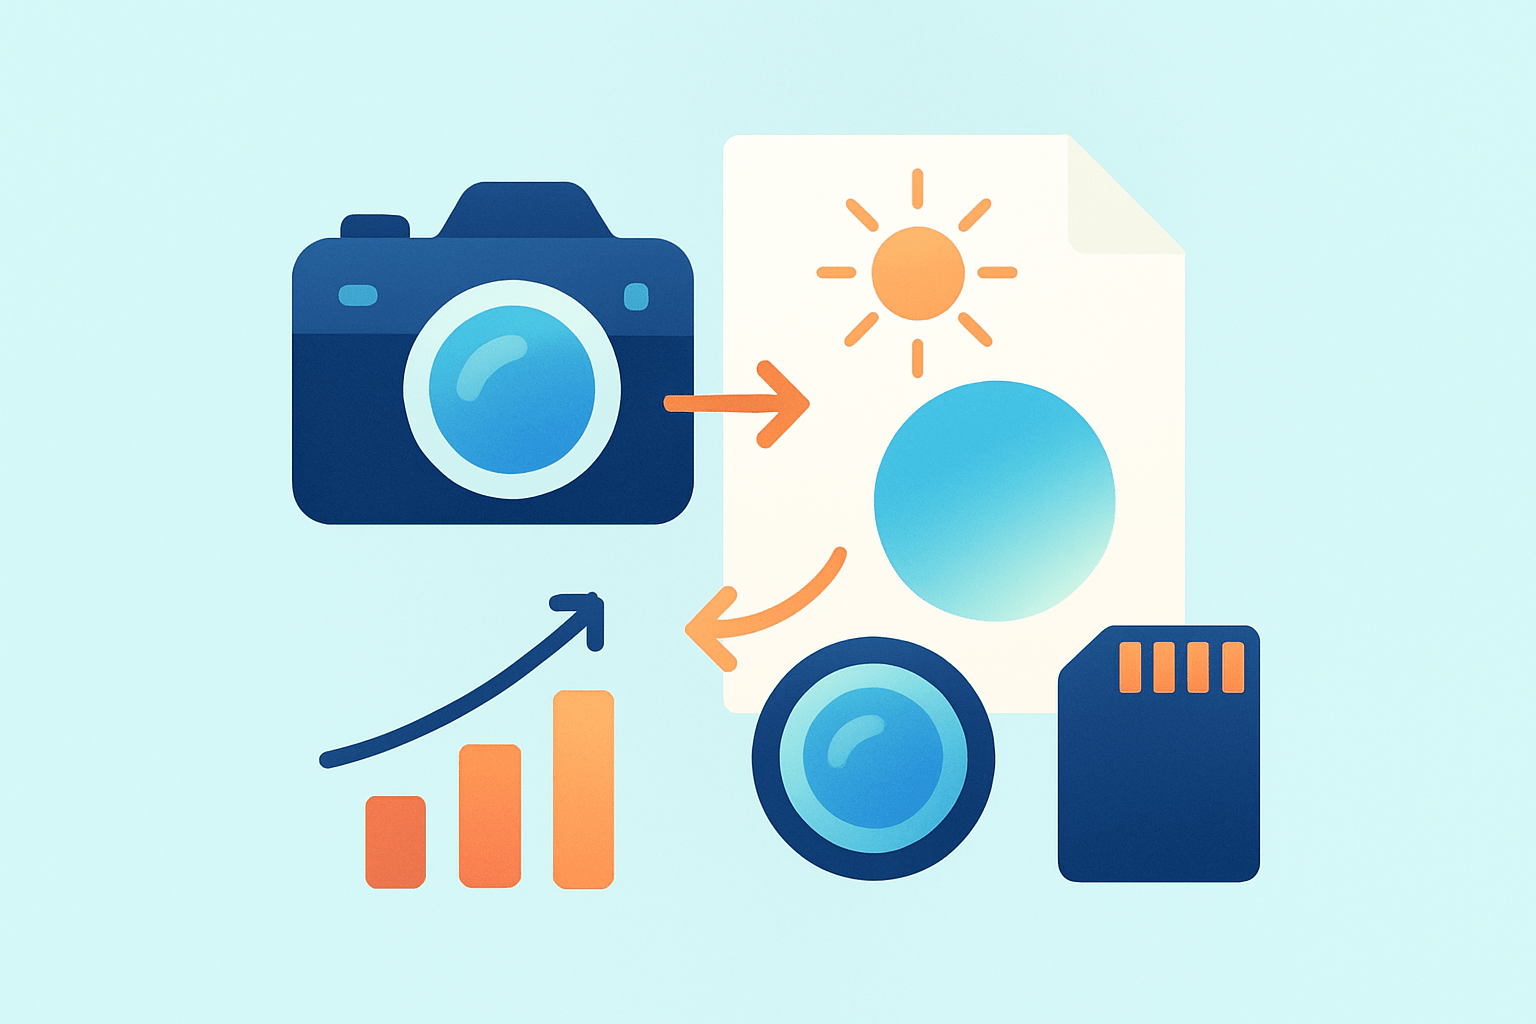
If you’re wondering what is dodging in photography, it is the selective lightening of parts of an image to guide attention, restore detail, and shape form. You brighten only where it matters, without lifting the entire frame.
The idea comes from the darkroom, where photographers physically blocked enlarger light during part of the exposure to make areas lighter. Its counterpart, burning, added extra exposure to darken chosen areas.
Think of lifting a subject’s eyes and cheek highlights so the face becomes the natural focal point. Dodging is the brightening half of the pair, while “dodging and burning” refers to using both in balance to sculpt the scene.
How Dodging Works (and how it differs from Burning)
In the darkroom, dodging reduces exposure, which leaves that spot lighter on the print. Burning adds exposure, deepening tones and giving weight where needed.
Digitally, you can dodge with the Dodge tool, an Adjustment Brush, Curves or Levels masked to specific areas, or the popular 50% gray overlay method for control. These options mimic the classic technique with more precision.
Target specific tonal ranges to stay clean: shadows, midtones, or highlights. Photoshop’s Dodge tool has Range and Exposure settings, but it can be destructive; a layered approach is safer and aligns with Mastering Dodge and Burn best practices.
Visually, dodging increases perceived brightness and can add local contrast, helping shapes pop. Burning compresses and deepens tones, grounding the frame and directing the eye back toward the light.
When and Why to Use Dodging (Applications)
Use dodging to control attention, add depth, fix uneven light, and reveal texture without shifting global exposure. It is subtle lighting design applied after the shot.
Portraits benefit from brighter irises and gentle cheek highlights; landscapes often need lifted foregrounds to balance a bright sky. Product images gain crisp specular detail, and black and white work gains punch and shape.
Restraint is key, or you get halos, blown highlights, and amplified noise. If you’re asking what is dodging in photography in practical terms, it is the art of just enough, as shown in these simple secrets and careful, minimal edits.
Dodging Techniques and Tools — Darkroom to Digital Workflow
In the darkroom, test strips and simple masks ruled the day. Make a base exposure, then “keep your test strip nearby to calculate correct exposure time” while you dodge with a small wand or card.
For a non‑destructive Photoshop workflow, duplicate your base layer and add a 50% gray layer set to Overlay or Soft Light. Paint with soft white at low flow to dodge, and black to burn, then fine‑tune opacity.
A quick pass goes like this: duplicate the photo, add the 50% gray overlay, choose a soft brush at 5–10% flow, paint white where you want lift, then lower layer opacity to taste. This mirrors professional dodging in photo editing workflows.
Alternatives include a Curves adjustment layer with a mask, or Lightroom/Camera Raw’s Brush with Range Mask for tonal targeting. Snapseed’s mobile brush is handy, and a graphics tablet adds precision for micro‑strokes.
Use a soft brush, flow or exposure around 5–20%, and build changes gradually while checking at 100%. Do final noise reduction and sharpening after your main dodge and burn passes to keep texture intact.
Practical Tips, Common Mistakes & Examples to Include
Build light with many small strokes, not one heavy pass. Feather masks to avoid halos, protect texture, and watch for color shifts when brightening skin or fabric.
Common mistakes include plastic skin, glowing eyes, posterization in deep shadows, crunchy edges, and noisy midtones. If an edit is visible at a glance, dial it back.
Plan before/after sliders for a portrait, landscape, product close‑up, and a punchy B&W conversion, plus screenshots of tool settings and your layer stack. ALT ideas: “Portrait before and after dodging eyes,” “Landscape foreground lift before/after,” “Product highlight refinement,” “B&W contrast shaping.”
Add a 30–60s demo GIF or short video of a dodge pass, and include a downloadable PSD so readers can study the layers. Try dodging on one photo and compare, and disclose retouching when ethics matter in editorial contexts.
What People Ask Most
What is dodging in photography?
Dodging in photography is a technique used to make specific areas of an image lighter. It helps draw attention to subjects or correct underexposed spots.
How does dodging differ from burning?
Dodging lightens parts of a photo while burning darkens other areas. Together they balance contrast and guide the viewer’s eye.
When should I use dodging in my photos?
Use dodging to brighten faces, highlight details, or add focus to the main subject. It’s helpful when parts of the image look too dark or flat.
Can dodging fix exposure problems after shooting?
Yes, dodging can improve underexposed areas in post-processing but it can’t fully replace a correct exposure from the camera. It’s best used to enhance rather than completely fix major mistakes.
Is dodging the same in digital and film photography?
The goal is the same—make areas lighter—but the tools differ: darkroom tools for film and software tools for digital. Digital dodging is usually easier to control and undo.
What common mistakes should I avoid when dodging?
Avoid overdoing it, which makes images look fake, and don’t dodge without considering the light direction and shadows. Subtlety and gradual adjustments work best.
Do I need special tools to dodge in my photos?
No special gear is required for digital dodging beyond basic photo-editing software and a brush tool. For film, darkroom tools are used, but many beginners start with simple digital editors.
Final Thoughts on Dodging in Photography
Dodging is about steering attention and revealing texture without touching the whole exposure, giving you a gentle way to model form and emphasize detail. The image 270 in the examples showed how a tiny lightening pass can make eyes or a foreground rock pop without changing the sky. That quiet control is the real payoff.
We walked from the darkroom dodge‑and‑burn idea through precise digital workflows — from 50% gray layers to range masks — so that the opening question about guiding the viewer’s eye has a clear, practical answer. The key is building up tiny strokes, checking at 100%, and keeping edits non‑destructive. Be realistic: overdo it and you’ll see halos, blown highlights, or boosted noise in shadowed areas.
This method rewards portrait, landscape and product shooters most, along with anyone doing black‑and‑white conversions or aiming to rescue uneven lighting without harming texture. We included examples, sliders, and a short demo so you can see each step and match the look to your image. Keep experimenting — with patience your work will gain depth and your eye will sharpen.


0 Comments