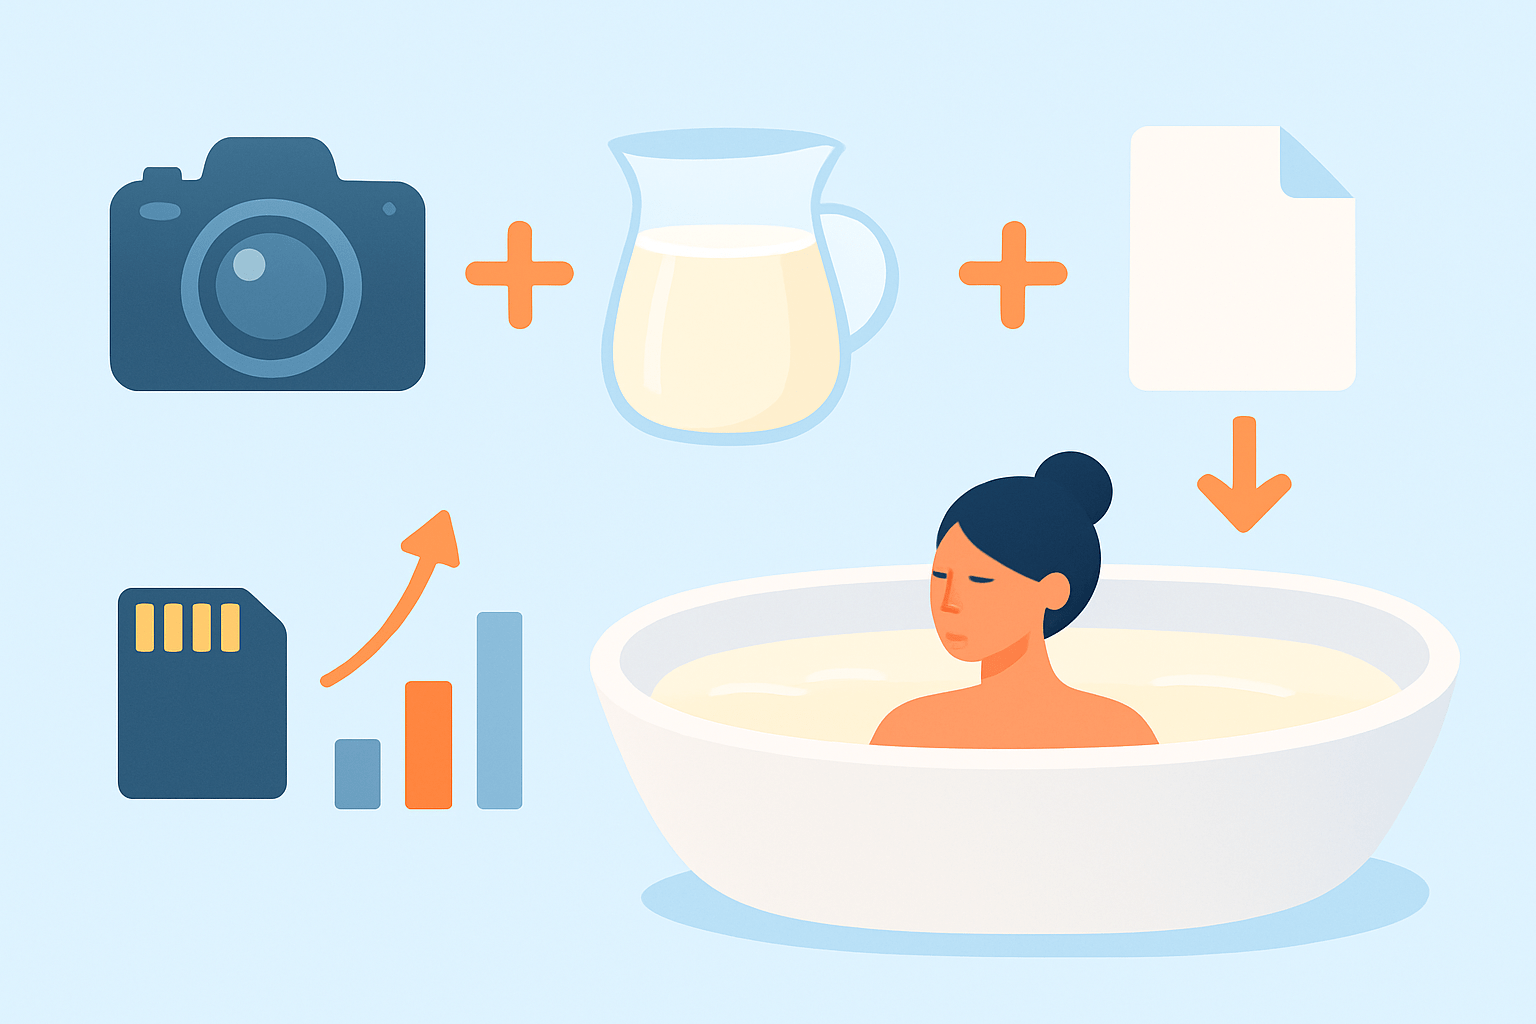
How to make a milk bath for photography that looks creamy and flatters skin?
This guide gives step‑by‑step instructions for mixing milk and water with tested ratios and clear ingredient choices. You will learn how to pre‑mix, dissolve powdered milk, and avoid foam or clumps.
I also cover tub prep and safety, flower and prop choices, lighting and camera settings, posing, and cleanup. Expect a printable checklist, a simple ratio table, sample camera settings, and a short baby safety box with medical sources.
Find quick troubleshooting tips, eco‑friendly clean‑up steps, and reminders like “test shots before the model gets in.” Ready to make beautiful milk bath photos? Keep reading.
How to Make a Milk Bath for Photography
The goal is a creamy, high-key white that flatters skin and hides distractions. If you came here wondering how to make a milk bath for photography, think in terms of smooth opacity, even color, and gentle contrast. Your tub size, water depth, and milk choice all shift the final look.
Whole milk gives the richest cream and the fewest streaks. Low-fat works but needs a higher ratio to reach the same opacity, and skim can look chalky under hard light. If you want more glow and less texture, favor whole milk or a balanced mix of whole and low-fat.
Powdered milk dissolves well and stores easily, and many photographers prefer it for travel and less spoilage. Commercial bath powders are tidy, but some dry down with a silky film that changes reflections, so test first. Non-dairy options like coconut milk add pleasant tone, yet they separate faster and can smell strong in warm water.
Never use paint, detergent, or anything not meant for skin. Even a “tiny bit” of whitening paint can irritate eyes or cause rashes, and it will stain your tub and fabrics. Keep it safe, food-grade, and simple.
Here is the practical way I mix. Fill the tub with clean warm water first to the framing depth you want, then add your milk mixture so you can control opacity in small steps. Pre-mix powdered milk in a pitcher with warm water and a whisk, then pour along the tub wall while stirring slowly with your hand.
Measure roughly so you can repeat success. A standard bath for portraits often uses 4 to 6 inches of water, about 20 to 30 gallons depending on the tub. My tested starting points are 10% milk for subtle opacity, 15–20% for medium, and 25–30% for a full, creamy white that hides skin below the shoulder line.
If you are using liquid whole milk, that looks like 2 to 3 gallons of milk in 20 gallons of water for subtle, 3 to 5 gallons for medium, and 5 to 7 gallons for full coverage. With powdered milk, dissolve 1 cup per 2 gallons of warm water for subtle, 2 cups per 2 gallons for medium, and 3 cups per 2 gallons for full. Take a test shot after each addition so you do not overshoot opacity.
To prevent clumps, whisk powdered milk in warm water until it looks smooth like latte foam, then combine with the tub water. To minimize bubbles, do not add soap, avoid pouring from high above the surface, and skim any foam with a small mesh strainer. If bubbles persist, a couple of food-safe anti-foam drops used in home brewing can help.
Watch for streaks and separation. Streaks usually mean undissolved milk, so whisk a small batch again and blend it back in with your hand. If you smell sourness or see curdling, drain, rinse, and start over, because that look will only get worse under warm lights; for extra styling ideas, you can also pull ideas from boudoir tips that keep the scene simple and elegant.
Prepare the Space & Safety Checklist
Clean your tub thoroughly so no soap film or bath oil is left to create foam or color casts. Rinse with warm water, then wipe with a mild vinegar solution, and rinse again until the surface squeaks. Lay towels, a plastic liner, or a drop cloth around the tub to protect floors and to catch drips.
Decide your water depth before anyone gets in, because depth changes your framing. Shallow water shows more arms and body lines, while deeper water covers shoulders for a classic head-and-flowers look. Keep a pitcher, whisk, thermometer, shears, and your flowers within arm’s reach, and take test shots of the empty bath to dial white balance and exposure before the model steps in.
Set water temperature for comfort and safety. Adults usually prefer 37–38°C (98–100°F), and a cheap bath thermometer makes that easy to hit. For newborns, the American Academy of Pediatrics recommends warm water near body temperature, roughly 37°C (98.6°F), and never exceeding 38°C (100°F); always test with a thermometer and your wrist.
Use a non-slip mat inside and just outside the tub, and have an assistant help the subject in and out. Wear a camera strap and keep firm footing or a small step stool for overhead angles. Plug lights into GFCI outlets, keep cords far from the splash zone, and confirm the model has no milk or flower allergies; use modesty covers, a strapless bodysuit, or skin-toned fabric if preferred.
Baby safety deserves its own reminder. Keep sessions short, support the baby at all times with a parent’s hands, and never leave a newborn near water unattended. If a baby shows any skin irritation, end the session, rinse with clean warm water, and consult a pediatrician if needed.
Here is a simple checklist to print and tape to your bag: camera body, 50–85mm portrait lens, 35mm lens, macro lens, tripod, tether cable and laptop, large soft light or a big window, reflector or V-flat, measuring cup, large pitcher, whisk, bath thermometer, non-slip mats, plenty of towels, buckets, mesh strainer, shears, floral tape, trash bag, cleaning spray, and an assistant.
Choosing and Preparing Flowers & Props
Fresh flowers look organic and catch light beautifully, but they shed and last only a short time in warm water. Artificial blooms are reusable, predictable, and dye-safe, and they float well if you cut stems and wire them lightly. Both work, so choose based on budget, color control, and how long you plan to shoot.
Great floaters that rarely stain include roses, ranunculus, peonies, camellias, orchids, carnations, lisianthus, and gerbera daisies. White, blush, peach, pale yellow, and soft lavender hold up well and keep the bath clean-looking. If you want leaves, try eucalyptus sprigs or lemon leaves, which stay perky and do not bleed.
Avoid lilies with heavy pollen, sunflowers that shed, dyed mums and carnations, and deep red blooms that can tint the water in warm temperatures. Tulips and hydrangeas can drop petals quickly in hot water, so keep them cool and test first. When in doubt, dunk a bloom in a bowl of warm bath water for five minutes and check for color bleed.
Prep your flowers before you mix the bath. Remove stamens and pollen with tweezers, cut stems short, and keep blooms in cool water until you are ready to float them. For a romantic look, pluck a handful of petals from a few blooms and keep extra petals in a bowl for quick touch-ups.
Position the model first, then place flowers along the lines you want to highlight like cheekbones, collarbones, and hair movement. Cluster a few blooms near the face, leave open negative space for breathing room, and hide heavier heads by sitting them on clear acrylic discs or by anchoring a short stem to a suction cup with florist wire. Choose colors that flatter skin tone, or go neutral with whites and creams for a timeless style.
Props can be a floral crown, a sheer chiffon wrap, silk ribbon, citrus slices, or simple jewelry. Test any fabric or ribbon in warm water so you know the dye will not bleed. Sheer fabrics float and curve softly, and they make natural modesty covers without drawing attention.
Keep spare petals ready and ask your assistant to re-arrange between frames so the set always looks fresh. Wear gloves when handling sticky or staining flowers, and blot any fallen pollen right away with tape, then dab the area with a drop of dish soap and water to lift any residue. For step-by-step styling ideas, this milk bath tutorial offers a helpful visual reference.
Lighting, Camera Settings & Composition
Natural light is the easiest way to get soft skin and a gentle roll-off on the white bath. Place the tub near a large window and shoot when the light is broad and calm, such as late morning or late afternoon. North-facing windows give steady light, while direct sun can be diffused with a sheer curtain.
In studio, mimic a big window with a large softbox or scrim placed high and to one side. Add a white reflector or V-flat opposite the key light to lift shadows without flattening the milk’s subtle texture. Rim or backlighting can glow through petals, but watch for glare on the water surface.
Shoot RAW and set a custom white balance on a grey card placed on the milk surface before the subject gets in. Auto WB often misreads all that white and tints it blue or green, so lock it in. Recheck WB after you add flowers, because color nearby walls can bounce into the bath.
Here are simple starting points that I use often. For a dreamy soft portrait near a window, try f/2, 1/250 sec, ISO 400 with an 85mm lens, and expose a touch to the right without blowing highlights. For a bright high-key look with more depth of field, try f/4, 1/200 sec, ISO 800 under a large diffused light and pull highlights back slightly in post.
For a crisp editorial style with detailed petals, try f/8, 1/160 sec, ISO 200 with a strobe in a 4×6 softbox and a white fill card. Keep shutter speed high enough to freeze tiny ripples, and use a tripod when you shoot overhead to keep framing consistent. Watch the histogram and protect the right side, because milk clips quickly; it is easier to recover shadows than pure white.
Lens choices guide mood. A 50–85mm gives intimate portraits with minimal distortion, a 35mm adds environmental context in small bathrooms, and a macro lens captures petal texture, eyelashes, and droplets. Move slowly and compose with hair shapes, flower clusters, and negative space framing the face.
Overhead flat-lays feel graphic and serene, while three-quarter angles feel more cinematic and personal. Use symmetry for calm, or drop the face into a corner and lead in with petals for energy. Tether to a laptop so you can judge opacity, white balance, and highlight detail before the model gets in; if you need more pointers to get started, this guide will help you get started confidently.
This testing step is crucial for how to make a milk bath for photography that looks intentional rather than slippery and grey. Make a test frame at each milk addition so you see how light and opacity interact on your own tub and camera.
Posing, Shooting Workflow & Cleanup
Small poses read the strongest in water. Ask for a slight chin tilt, soft wrists with fingers just grazing the surface, and an eye line that follows the lead of a flower cluster. A slow inhale can lift the face while a slow exhale can quiet ripples.
For newborns, keep the bath at body temperature, use parent hands for constant support, and limit water depth to the thinnest film over a wrapped body; short, calm sessions are the safest. Follow pediatric guidance on temperature and never leave a baby near water, even for a second.
For adults, start with a reclined head-and-shoulders pose, then try a three-quarter angle with hair fanned in a C or S curve. If hands look tense, ask for a wiggle and shake, then place the edge of the hand toward camera for a delicate line. If shoulders creep up, cue a long exhale and slide shoulder blades down.
Begin the sequence with clean wide shots, then move to headshots, and finish with petals and macro details. Your assistant can re-cluster blooms, dab water drips, and catch slipping props while you check exposure and framing every few frames. This simple rhythm is how to make a milk bath for photography that stays polished from first frame to last.
For cleanup, first scoop out flowers and petals with a mesh strainer so nothing clogs the drain. Run warm water and slowly drain while flushing with more warm water, then spray the tub with a 1:1 white vinegar and water mix, let sit five minutes, and wipe; for any slick residue, sprinkle a little baking soda and gently scrub, then rinse hot. Dispose of petals in the trash or compost, and check local rules if you are working on location.
In post, correct white balance to a natural skin tone rather than pure white milk, recover highlights gently, and avoid over-whitening skin which can look plastic. Use a soft brush to lift shadows around the eyes, add a mild S-curve for creamy contrast, and heal out stray petals or lint. With a steady workflow, your images will keep the calm and purity you built in the tub.
What People Ask Most
What is a milk bath in photography?
A milk bath is a shallow tub or bowl filled with water mixed with milk (or a milk substitute) used to create a soft, dreamy look in photos. It helps diffuse light and gives skin a smooth, glowing appearance.
How to make a milk bath for photography at home?
Fill a tub with warm water and stir in whole milk or a milk alternative until the water looks milky, then arrange your subject and props. Test the look with a few shots and adjust milk or additives for opacity and color.
What type of milk works best for a milk bath for photography?
Whole dairy milk gives the most natural opacity, while plant-based milks like oat or almond are good vegan options and can be easier to clean. Dilute to reach the opacity you like and avoid overly scented milks.
Can I add flowers, color, or props to a milk bath for photography?
Yes — flowers, petals, fabric, and a few drops of liquid dye or food coloring can add contrast and interest to the scene. Keep props lightweight and non-staining to protect the subject and ease cleanup.
How long should a model or baby stay in a milk bath photoshoot?
Keep sessions short, usually under 15–20 minutes for adults and much shorter for babies, and always monitor comfort and temperature. Never leave infants unattended and stop immediately if anyone feels cold or irritated.
What common mistakes should beginners avoid when making a milk bath for photography?
Avoid using too little milk (which looks clear) or too much (which can look flat), and don’t ignore water temperature or safety for subjects. Also avoid heavily scented or colored additives that can irritate skin or stain props.
How do I clean up after a milk bath photoshoot?
Drain the tub, rinse with warm water, and wash any fabrics or props right away to prevent staining or smell. Wipe surfaces with a mild cleaner and ventilate the area to remove lingering odors.
Final Thoughts on Milk Bath Photography
Armed with the 270 starting point for opacity testing, this guide’s heart is making creamy, high‑key milk bath images feel doable, not mysterious. You’ll get practical recipes, lighting setups, and flower tips so your portraits look soft and intentional, and you’ll know how to clean up afterward. Be mindful that milk is perishable and can stain or irritate—test small batches and allergies before long sessions.
We walked through measuring and mixing, tub prep and safety checks, flower choices, and camera settings so you can test and adjust before your subject gets in. The opening promise—to capture a skin‑flattering, opaque white background—was answered with hands‑on steps and example exposures you can try right away.
This approach benefits portrait and maternity photographers, creative hobbyists, and anyone who wants luminous, intimate images with real‑world safety and cleanup plans. Keep test shots, expect to tweak opacity and light, and enjoy the creative payoff as you refine your look—your next dreamy frame is waiting.


0 Comments