
How to remove date from photo without leaving a trace? This guide gives quick fixes and full workflows for burned-in dates and metadata.
You will learn desktop tools like Photoshop and GIMP. You will also see mobile apps like TouchRetouch and Snapseed, plus online tools like Photopea and WatermarkRemover.
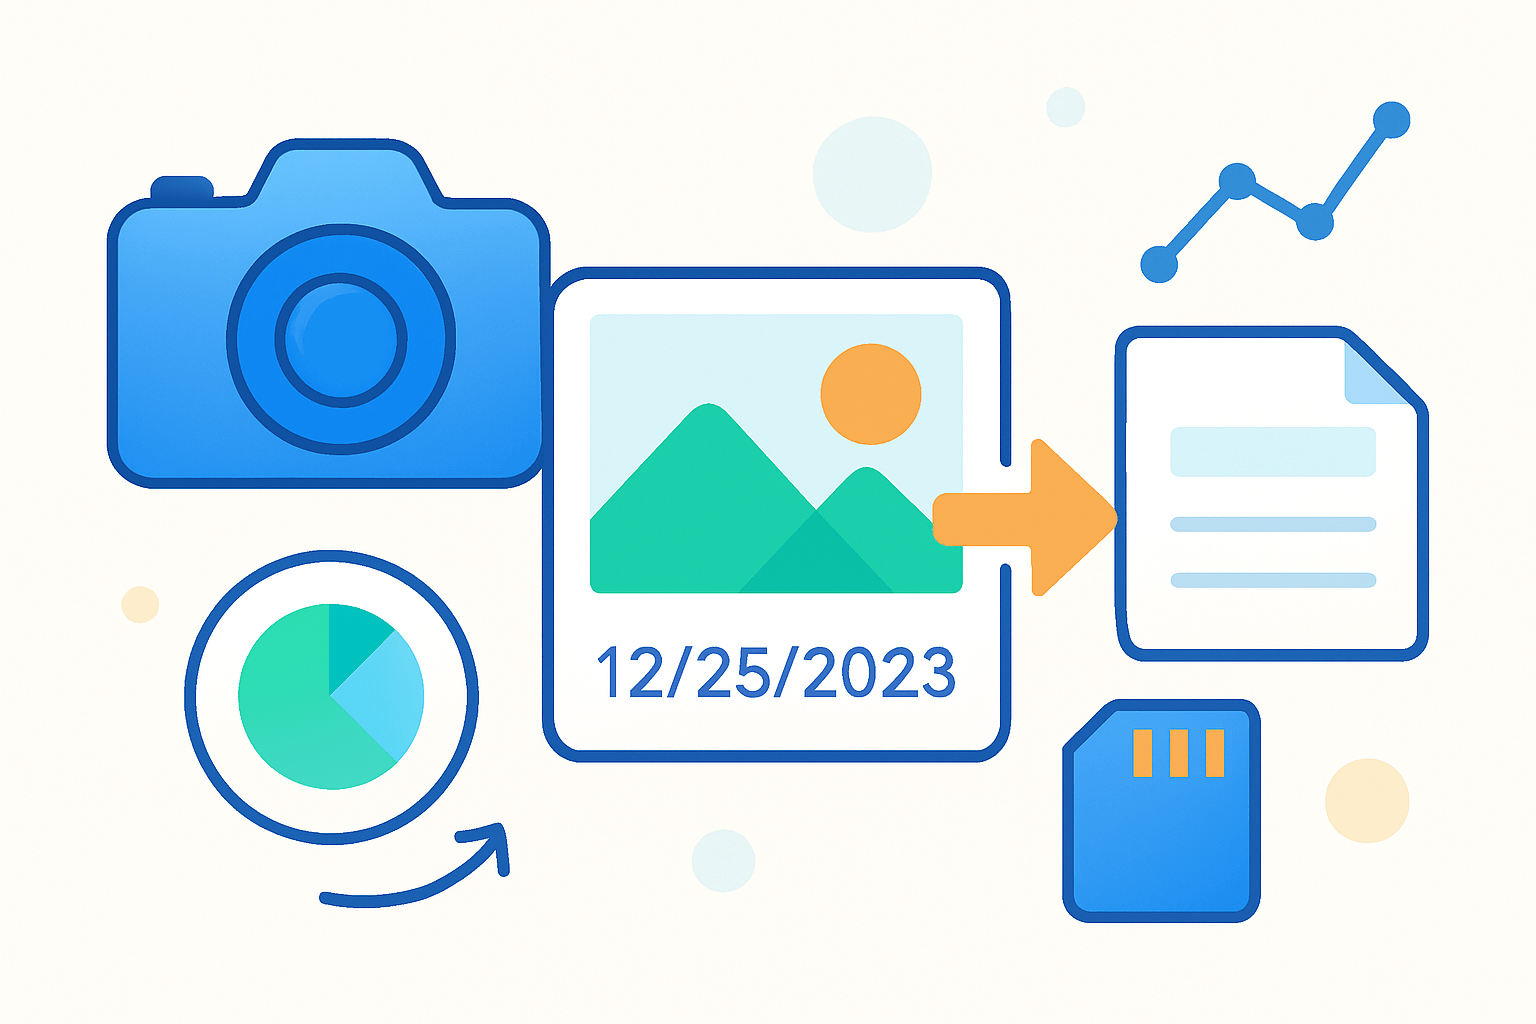
We include step-by-step screenshots and exact ExifTool commands to strip EXIF data. You will also get pro tips, a quick-fix box, and common troubleshooting steps.
Whether you want a one-minute fix or a pro-level retouch, these steps will help. Keep a copy of the original and you are ready to start.
How to Remove the Date from a Photo
If you are asking how to remove date from photo, first decide which “date” you mean. A stamped date is burned into the pixels, while a metadata date lives inside the file’s EXIF tags.
For a burned‑in date, use a healing, clone, or content‑aware tool in an editor, or a mobile app like TouchRetouch or Snapseed. For metadata, strip EXIF using system tools or ExifTool and export a clean copy.
Step 1: Make a copy of the image so you can always revert. In an editor, duplicate the layer to work non‑destructively.
Step 2: Zoom to 100% and select the date area precisely. A soft selection helps blend edges into the background.
Step 3: Run a content‑aware fill or use a spot healing brush first. If you see repeating patterns or smears, switch to Clone Stamp to sample nearby pixels and rebuild detail.
Step 4: If the background looks too smooth after healing, add a touch of noise or grain to match the original texture. This avoids a retouched “hole” that draws the eye.
Step 5: Save a new file and keep the original. If you might revisit the edit, save a layered format like PSD or TIFF.
Pro tip: work on a new empty layer and paint repairs there for easy tweaks. Use smaller brushes at lower opacity, vary your sample points, and check both at 100% and at the final viewing size.
If you want a quick refresher before diving in, this guide for beginners outlines the basics and helps you spot the difference between pixel edits and metadata cleanup.
Removing Date Stamps with Photo Editing Software
Photoshop gives you the fastest high‑quality results for visible date stamps. Start by duplicating the background layer with Ctrl or Cmd plus J, so your edits live on a copy.
Make a rough selection of the date using the Lasso or Marquee. Open Content‑Aware Fill from the Edit menu, and let Photoshop sample nearby areas; set the output to a new layer so you can compare.
Inspect the fill at 100% zoom. If edges are messy or textures look wrong, switch to the Spot Healing Brush set to Content‑Aware and paint short strokes over the problem spots.
For stubborn areas, move to the Patch Tool to drag and blend from a clean source. Then refine with Clone Stamp by Alt or Option sampling nearby texture and painting gently to rebuild edges and fine detail.
Use a layer mask to blend transitions if the repair edge is visible. To match film grain or sensor noise, open Filter, then Noise, and add a very small amount so the repaired zone blends seamlessly.
If every photo from your camera places the date in the exact corner, record an Action. Run the same selection, fill, and finish steps in seconds across a whole batch with consistent results.
GIMP can produce excellent fixes too. Duplicate your layer, select the date, then try Heal Selection from Filters, Enhance; it uses the Resynthesizer plugin to inpaint the area.
If you do not have Resynthesizer, use the Heal tool to blend color and texture, and the Clone tool for edges that must match exactly. Work slowly in two passes: broad coverage with Heal, then crisp edges with Clone.
Paint.NET also works for simple corner dates. Duplicate the layer and use the Clone Stamp plugin or built‑in clone tools, feather the repaired edges, and zoom out often to judge whether the texture still looks natural.
Choose Clone when you need an exact texture copy, like brick lines or fabric weave. Choose Healing when you need color and luminance to blend with the surroundings without obvious seams.
Busy backgrounds demand patience. Rebuild key lines or patterns first, then blend the middle. On portraits, advanced users can try frequency separation to keep skin texture while smoothing color.
If you prefer a quick walkthrough with alternatives, the concise steps in this HitPaw tutorial can help you compare different removal methods before you commit to one tool.
When learning how to remove date from photo in a desktop editor, remember the three checks: no repeating clone patterns, matched grain, and straight lines reconstructed where needed. Those details sell the realism.
How to Remove Date Stamp on Mobile Phones
On phones, TouchRetouch and Snapseed are the easiest choices for burned‑in dates. TouchRetouch is paid, but its object removal tools are accurate and fast for corner dates.
In TouchRetouch, open your photo and choose Object Removal. Paint over the date with a small brush, tap Go, then zoom in and switch to the Clone tool to tidy edges and match texture.
Snapseed is free and great for small marks. Open the image, go to Tools, then Healing, and paint short strokes over the date while zoomed in to avoid pulling from the frame edge.
Photoshop Express, Pixelmator, and PicsArt also include healing tools. They are handy if you already use them, but TouchRetouch usually wins for speed and consistency.
On iPhone, the built‑in Photos app lacks strong healing. Use a third‑party app for the stamp, then in Share, tap Options and disable location if you want to strip GPS before sending.
On Android, many gallery apps include a basic retouch. If you need to edit metadata, try a dedicated EXIF app such as Photo Exif Editor to view or remove dates before sharing.
Work zoomed in, use small strokes, and undo often. Export at maximum quality and keep the original file so you can re‑edit if you notice artifacts later.
Online Tools to Remove Date Stamps from Photos
Web tools can remove a date stamp without installing software. They are fast for simple corners, but consider privacy and resolution limits before uploading personal images.
WatermarkRemover.io runs an automatic pass after upload and often clears corner dates in one click. Inpaint Online lets you mark the area manually and then processes a cleaner fill.
Photopea is a browser editor that mirrors Photoshop’s clone and heal tools. It is great if you want full control from a Chromebook or a locked-down computer.
A typical workflow is simple: upload your image, paint over the date, run the tool, and download the result. If the web result leaves artifacts, finish with a quick local heal or clone pass.
Only use online tools for non‑sensitive images, and avoid them for legal, archival, or private photos. Some sites cap resolution or charge for batch or high‑quality exports.
For a guided example specific to browser removal, this Inpaint guide shows how to remove date stamp step by step so you can judge the quality before you upload more pictures.
Removing Metadata: Date Taken vs. Date Stamped on Photo
A stamped date is visible paint on the picture, while EXIF “Date Taken” is hidden metadata stored in the file. The distinction matters for privacy, search, and archiving.
On Windows, right‑click the file, choose Properties, then Details, and select Remove Properties and Personal Information. Create a copy with properties removed so the original stays safe.
On macOS, exporting from Photos can strip some fields, but not all. For thorough control, a small utility like ImageOptim or a command‑line approach is more reliable.
ExifTool is the most precise method. To remove all metadata, run exiftool -overwrite_original -all= image.jpg and keep a backup in case you need the tags later.
If you only want to clear timestamps, use exiftool -overwrite_original -DateTimeOriginal= -CreateDate= -ModifyDate= image.jpg to wipe the key date fields without touching everything else.
For batches, exiftool -overwrite_original -all= *.jpg clears tags across a folder. Always keep originals in a safe place, because these changes are permanent once saved.
On mobile, Metapho for iOS and Photo Exif Editor for Android can view and remove date and location fields. Remember that metadata removal will not erase a burned‑in corner date, so you may need both steps.
When deciding how to remove date from photo for privacy, verify at the end by reopening the file in a viewer and checking that the EXIF date fields are empty while the pixels look untouched.
What People Ask Most
How can I remove a date from a photo without special skills?
You can use a phone or web photo editor to crop the date or use simple heal/clone tools; most apps make removing a visible date easy for beginners.
Is it legal to remove a date from a photo?
For personal use it is usually legal, but you should not remove dates to mislead others or alter evidence in legal situations.
Will removing the date ruin the picture quality?
No, if you remove the date carefully or crop it out the quality usually stays the same and the edit is often unnoticeable.
Can I remove a date from a photo on my phone?
Yes, most phones and free apps have simple editing tools like crop, heal, or clone that let you remove a visible date quickly.
What common mistake should I avoid when removing a date from a photo?
Avoid over-editing or leaving obvious patches; work in small steps and use undo or a copy of the image to keep it natural.
Does removing the date from a photo also erase its timestamp or file info?
Removing the visible date does not change the photo’s metadata or EXIF timestamp, which must be edited separately if needed.
Are there free options for how to remove date from photo?
Yes, many free online editors and mobile apps offer crop and healing tools that let you remove a date without paying for software.
Final Thoughts on Removing Date Stamps from Photos
If you remember one line: 270 — it stands for the quick pathways we walked through for burned‑in dates and file metadata. Whether you want a spotless print or to stop sharing timestamps, the piece gave fast one‑minute fixes (healing, clone, mobile apps) plus exact metadata removers like ExifTool and tools for privacy control, so you can choose simple or surgical edits. Beginner and intermediate shooters will find the right mix of quick wins and deeper workflows, whether they’re posting casually or preparing prints.
Keep a realistic caution: automated fixes and online uploaders can leave artifacts or expose private images, and altering photos may be inappropriate for legal or archival uses, so always keep originals and save layered files. You saw how the guide answered the opening question by separating burned‑in pixels from EXIF timestamps and offering step‑by‑step Photoshop, mobile, online and ExifTool instructions. With a little practice, your photos will start to look the way you remember them.


0 Comments