What is a flash diffuser — and can it turn harsh flash into soft, flattering light?
In simple terms, a flash diffuser is a cover or softbox for your flash that spreads and softens light. This guide explains what it is, what it does, and how to use it.
You will learn the main types of diffusers, step-by-step use tips, and quick camera settings for portraits, groups, and indoor events. We also cover buying advice, troubleshooting, and safety for DIY options.
Whether you shoot portraits, events, or products, this guide will help you get softer, more natural results fast. Read on for before-and-after examples, real settings, and easy fixes you can use today.
What is a Flash Diffuser?
If you have ever asked what is a flash diffuser, it is a simple light modifier that fits over a hot‑shoe speedlight or a studio strobe. It can be a cap, a softbox‑style cover, or a translucent panel that spreads the beam.
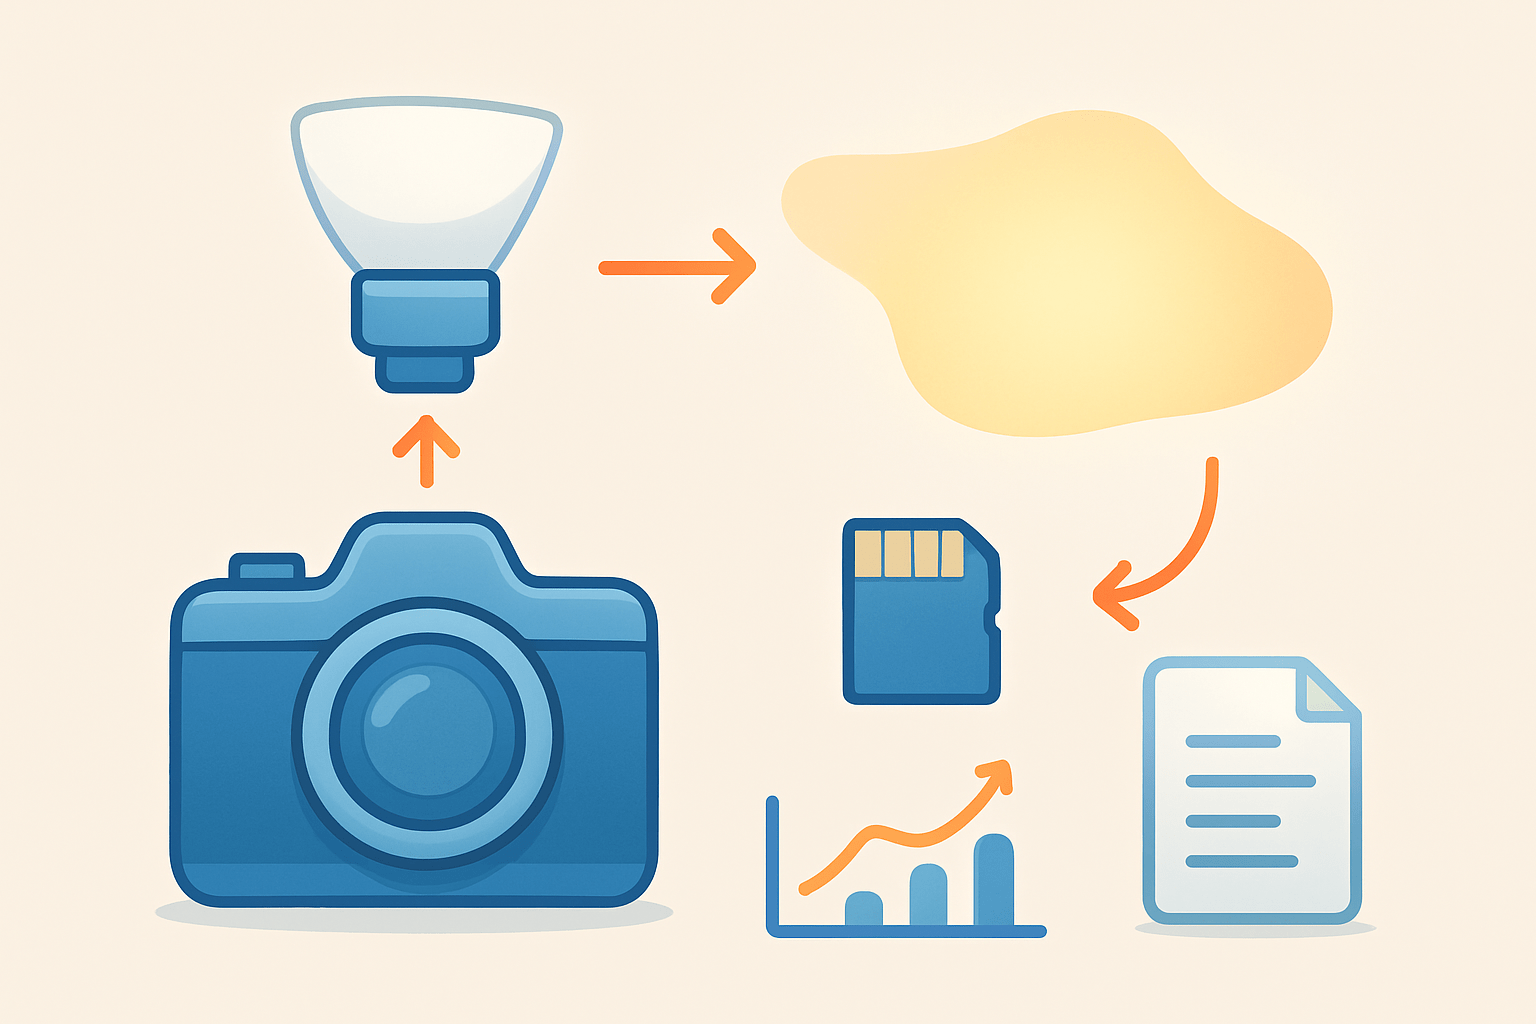
Its job is to soften and spread the flash so shadows look gentle and highlights look controlled. By diffusing the beam, the source appears larger, the falloff is smoother, and skin looks less shiny straight out of camera. It is like putting a lampshade on a bare bulb.
Common forms include a clip‑on dome, a mini softbox, a bounce card, or the flip‑out diffuser panel built into many speedlights. For a broader view of diffusers in photography, compare how each spreads light and how much power it wastes. These small pieces live in your bag and slip on in seconds.
What does a flash diffuser do?
To grasp what is a flash diffuser in practice, think of it as making the source bigger. The result is softer edges on shadows, smoother transitions across cheeks and noses, lower contrast, and more pleasing catchlights in the eyes. People look relaxed because the light feels natural.
This softness costs power, often one to three stops depending on size and material. It can also change direction slightly, and cheap plastics may add a warm or cool color cast that needs white‑balance correction. Plan for faster battery drain or carry spares.
Because the light wraps more, you avoid hard chin shadows, shiny foreheads, and blown highlights on glass or metal. It can also help reduce red‑eye by lifting the light source and breaking the straight‑on reflection. Glasses glare is easier to control when the source is broad.
In portraits and indoor events, a diffuser tames close‑range flash and keeps the room’s mood. Product and macro shots benefit from smoother reflections and readable texture. A simple before‑and‑after portrait makes the change obvious without any retouching.
Types of Flash Diffusers
On‑camera dome or ball diffusers are small, portable bubbles that scatter light in many directions. They can feel very soft in tight spaces, but they throw away a lot of power and may look flat if the room is huge.
Softboxes or mini softboxes for speedlights aim more light forward and give you directional, soft illumination. They control spill better than domes, though they are bulkier to carry and can shade the lens if mounted poorly.
Bounce cards and pop‑up diffusers add a patch of soft fill and a clean catchlight while most of the beam bounces off a ceiling or wall. They do not soften as much by themselves, so nearby bounce surfaces are still key.
Integrated flip‑out diffuser panels are built into many flashes and slide over the head. They are very convenient, but their small size limits softness, and they can produce uneven coverage on wider lenses.
DIY diffusers like milk‑jug plastic or tracing paper can work in a pinch and save money. Only use heat‑resistant, nonflammable materials, avoid blocking vents, and never tape anything that could melt onto the flash head.
Built‑in options are quick, while external modifiers give more size and control. Browse popular flash diffusers to see shapes that match your shooting style, then test which pattern and power loss you can accept. Close‑up photos of each modifier on your flash and a simple diagram of spill versus forward throw can guide your choice.
How Do You Use It?
Mount the diffuser firmly using the clip, elastic band, Velcro strap, or softbox bracket so it cannot twist mid‑shoot. Check that it clears your lens and any sensors, and keep vents open for heat to escape.
Expect to add one to three stops of flash power. Use TTL with a touch of exposure compensation, or switch to manual power and test until the histogram and skin tones look right.
Bring the diffused source close for softer light, and angle it slightly off‑axis to keep depth and shape. Combine diffusion with bounce off a white wall or a reflector to open shadows without killing contrast.
Balance ambient by choosing a shutter speed at or below sync speed, and use high‑speed sync only when you must darken a bright background. Match color with white balance or gels so the flash blends with the room.
For a headshot, try TTL at +0.7, ISO 200, f/2.8, 1/200 s with a small softbox close to the face. For a group, use manual 1/4 power, ISO 400, f/5.6, 1/160 s and a larger diffuser or two lights.
At an indoor event, try TTL at −0.3, ISO 800, f/4, 1/125 s and bounce with a card for fill; for macro, use manual 1/32 power, ISO 100, f/8, 1/200 s with a mini diffuser inches away. Three quick fixes when things fail are to increase flash power, move the diffuser closer, or add a reflector. If frames are dark, raise power or ISO; if color shifts, gel or correct white balance; if sync bands appear, drop to sync speed or enable HSS.
Tips for Choosing the Best Flash Diffuser
Choose size first, because bigger diffusers make softer light. Look for neutral, heat‑resistant material, easy attachment, good compatibility with your flash model, solid build, and portability that fits your bag.
Collapsible designs pack flat, while rigid domes hold shape. Removable front panels, grid options, and gel holders add control when you need direction or color.
DIY can save money for experiments, but paid modifiers are more reliable on jobs. For portraits and events, pick a small softbox; for macro, a tiny wraparound; for travel, a slim card or dome. To compare tools that pair with reflectors and diffusers, consider how you mix them on location.
Skip diffusion when you want crisp specular highlights, maximum reach, or a dramatic, sculpted beam. As you choose, remember what is a flash diffuser meant to do: make light softer, wider, and more forgiving.
What People Ask Most
What is a flash diffuser?
A flash diffuser is a small attachment that spreads and softens the light from your camera flash to reduce harsh shadows and bright spots.
How does a flash diffuser improve portrait photos?
It creates gentler, more even lighting on faces so skin looks smoother and highlights are less glaring.
When should I use a flash diffuser?
Use it for close-up shots, indoor events, or portraits when direct flash makes your subjects look too bright or washed out.
Will using a flash diffuser make my pictures blurry?
No, a diffuser softens light but does not cause blur; you may need to slightly adjust exposure or shutter speed for best results.
Are flash diffusers hard to set up?
Most are simple to attach, either slipping over the flash head or popping open, and can be ready in seconds.
Can I use a flash diffuser with any camera flash?
Many diffusers work with a wide range of flashes, but check the fit to ensure it stays secure on your flash unit.
What common mistakes do beginners make with flash diffusers?
Beginners often leave the flash too far from the subject, forget to adjust exposure, or expect the diffuser to replace good positioning and composition.
Final Thoughts on Flash Diffusers
If you came in wondering whether a small bit of plastic can actually fix harsh on-camera flash, the short answer is yes — used right it turns bright, contrasty bursts into soft, flattering illumination that wraps around faces and tames shiny skin. You’ll trade power for look; spec sheets sometimes throw numbers like 270 around, but what counts is the gentler falloff and subtler shadows you see in the frame. This piece showed what they are, how they change light, and which designs fit portraits, events, and close-ups.
Be realistic: diffusers cut exposure and can add a slight color cast or extra setup time, and DIY options need heat-safe materials. They work best for beginners and intermediates, portrait and event shooters, and product photographers who want more forgiving, natural-looking light without a full studio.
So experiment with size, distance, and power — try TTL tweaks or manual control to learn the tradeoffs. You’ll soon see how a little diffusion makes a big visual difference and helps your images feel both intentional and warm.


0 Comments