
What if a single lighting choice could cut your edit time, lift skin tones, and speed your workflow? Choosing the best lights for studio photography isn’t about brand hype or spec sheets. It’s about professional consensus, real-world user feedback, and how gear actually performs under hot-light, deadline-driven conditions.
In recent years LEDs have become indispensable for creators who shoot both photo and video. Their real-time preview and color control make setup faster and more reliable. Modern LEDs now rival strobes in color fidelity for many shoots.
Yet strobes and flash continue to dominate commercial studios where absolute output, repeatability, and tiniest color variance matter. Top professionals still rely on burst power to freeze motion, achieve deep depth of field, and outgun ambient light. So choosing the right system hinges on your workflow more than buzz.
This guide filters the noise and highlights lights that earn real praise from pros and enthusiasts alike. You’ll get practical recommendations focused on consistency, usability, and studio performance so you can pick with confidence. We also weigh durability, serviceability, and long-term cost so your choice lasts beyond a single shoot.
Whether you run a one-light portrait setup or a multi-light commercial studio, this guide helps match light type to workflow, budget, and space. Learn which characteristics matter most and how to prioritize them for predictable, professional results.

Godox AD300Pro 300Ws TTL 2.4G outdoor strobe, rechargeable battery (Canon Nikon Sony FUJIFILM Panasonic Pentax Olympus)
1. Broncolor Scoro/Satos Power Packs with Pulso/Unilite Heads
High-output replacement tube delivering stable, crisp flashes with fast recycle and extended lifespan for professional studio use
Check PriceThe Broncolor Scoro/Satos power packs paired with Pulso G or Unilite heads are widely regarded by pros as the pinnacle of studio lighting. They are prized for rock-solid consistency, color accuracy, and the kind of reliability you need on commercial shoots.
In practical use these systems deliver color and power consistency often under 1% variance, which means far less guesswork and minimal color correction in post. That repeatability is why fashion, advertising, and high-end portrait studios choose them for their “quality of light” and wide modifier compatibility.
Users consistently report a rugged, serviceable build and the reassurance of factory-trained technicians available in many countries. That support network matters when deadlines are tight and gear needs to be back in service quickly.
If you run a high-end commercial or fashion studio that demands repeatable, color-accurate output, this system is an investment that pays off in workflow efficiency and image consistency. However, the gear comes with a high cost and a feature set that can feel complex for newcomers or budget-conscious shooters; it’s designed for professionals who will use and maintain the system regularly.
- Exceptional color and power consistency
- Wide selection of light shapers and modifiers
- Reliable, professional-grade build
- Industry-leading service and support
- High cost
- Complex, feature-rich system daunting for newcomers
2. Profoto D2 Monolight Strobe

Profoto 1000Ws flashtube for D2/500/1000 monolights
Portable 300Ws battery-powered strobe with TTL and reliable wireless control for fast, on-location shooting
Check PriceThe Profoto D2 Monolight is often called the “gold standard” for high‑end studio strobes, and for good reason — it’s built for commercial, fashion, and high‑speed work where reliability and performance matter. As a studio shooter, I reach for the D2 when I need absolute predictability and the ability to freeze action without compromise. Its consistent, professional‑grade output lets you nail exposures and color in fast workflows.
What really sets the D2 apart is speed: it’s the world’s fastest monolight with TTL, offering flash durations up to 1/63,000s — ideal for freezing the tiniest motion, from hair flicks to splashes. It also supports Profoto’s AirTTL wireless system, so you can control power and triggering remotely and still take advantage of TTL when needed. The unit is compact and lightweight for a pro monoblock, which makes multi‑light setups and transport between studios feel much easier.
No light is without tradeoffs: the D2 carries a premium price and some users find its lack of a sync socket limiting for older or specialty trigger setups. If you rely heavily on legacy sync hardware or are strictly budget‑conscious, this might be a sticking point. For anyone shooting high‑end commercial, fashion, or fast‑action work who wants best‑in‑class flash duration, wireless TTL, and rock‑solid consistency, the D2 is a top choice.
- Ultra‑fast flash (up to 1/63,000s)
- AirTTL wireless control
- Consistent, pro‑grade output
- Compact, reliable build
- High cost
- No sync socket / limited legacy support
3. Godox AD300 Pro Portable Strobe
Godox AD300Pro 300Ws TTL 2.4G outdoor strobe, rechargeable battery (Canon Nikon Sony FUJIFILM Panasonic Pentax Olympus)
Compact, beginner-friendly studio flash system offering consistent output, simple controls, and rapid recycling for tabletop and portrait work
Check PriceGodox AD300 Pro Portable Strobe is one of those lights I reach for when I need real punch without lugging a pack-and-head system. It’s recognized for delivering professional features at an accessible price, which makes it popular among enthusiasts and mid-level pros.
In practice it offers strong output, reliable wireless control, and portability. I’ve used it to light full-length portraits in tight studio spaces and to overpower ambient light outdoors on bright days — it handles both scenarios well.
The Godox system is easy to scale; expanding into a multi-light setup is straightforward thanks to the integrated wireless ecosystem. Users consistently report a good balance of performance and affordability, so you can build a capable kit without breaking the bank.
There are trade-offs to accept if you want this level of value. Color temperature consistency isn’t as tight as top-tier brands, and the build quality is solid but not as rugged as the premium units — so if you demand absolute color repeatability or beat-up road use, consider that.
Overall, if you’re an enthusiast, location shooter, or mid-level studio user wanting a portable strobe that truly punches above its price, the AD300 Pro is a very practical choice. It gives professional-level output, reliable wireless control, quick recycling, and good battery life in a compact package.
- Powerful, portable, and versatile
- Affordable for professional-level quality
- Robust wireless control
- Quick recycling and good battery life
- Color temperature consistency not as tight as top-tier brands
- Build quality solid but not as rugged as premium units
4. Elinchrom D-Lite RX/ONE To-Go Kit

Elinchrom Compact D-Lite RX One EL20485.1
Powerful bi-color LED with precise color tuning, robust output, and V-mount flexibility for film and broadcast lighting
Check PriceThe Elinchrom D-Lite RX/ONE To-Go Kit is a very approachable studio strobe package from a respected brand. It feels like a balanced, user-friendly option that gives you reliable strobes without a steep learning curve.
Setup is quick and straightforward, and the kit actually includes practical modifiers — a softbox and reflector — so you can start shaping flattering light from day one. That makes it especially handy for portraits and small product shoots where soft, controlled light matters.
Controls are simple enough that beginners and intermediate shooters will master them fast, yet the output is consistent enough for repeatable results. In real-world use the power is sufficient for most studio work, so you can get clean exposures and pleasant skin tones without fuss.
If you’re building a small studio or growing your kit for client portrait or product work, this is a solid choice. Keep in mind the trade-offs: the power isn’t aimed at very large spaces or extremely high-speed applications, and the plastic-bodied build isn’t as rugged as metal alternatives. Still, for the price-to-features balance it’s a practical, reliable starting point that scales as you learn.
- Easy to set up and use.
- Consistent, reliable output.
- Includes useful modifiers out of the box.
- Good value for features.
- Lower power output for very large spaces or high-speed work.
- Plastic build less durable than metal-bodied competitors.
5. Aputure 300X LED Light

Aputure LS 300X 300W Bi-Color LED video light, V-Mount
Reliable on-set accessory providing durable build, intuitive operation, and consistent performance under demanding production schedules
Check PriceThe Aputure 300X is a go-to if you need powerful, affordable continuous light for both photo and video. I’ve used it for product shoots and interview setups where seeing the light in real time matters. It delivers strong brightness for its size and a reliably accurate color rendition.
Technically it’s very flexible — adjustable color temperature from 2700K–6500K and a high CRI of 96+ mean what you see is what you get. It’s silent in operation, so it won’t ruin audio on interviews, and the wireless control makes adjusting levels quick and painless during a shoot. The Bowens-mount compatibility also opens up a huge range of modifiers for shaping the light.
In practical terms it’s ideal for hybrid creators who switch between video and stills, and for product shooters who need consistent, color-accurate output while tweaking reflections and highlights. The lamp’s size and output make it easy to place in tight setups without losing punch. Expect a WYSIWYG workflow that speeds up setup and reduces test shots.
Two real-world caveats: the unit can get warm during extended sessions, so plan heat management for long days. Also, cordless battery life is limited, so mains power is recommended for marathon shoots or when you need total consistency across long takes.
- Adjustable 2700K–6500K color temp
- High CRI (96+) for accurate color
- Quiet operation — good for interviews
- Bowens-mount for wide modifier choice
- Heat buildup during prolonged use
- Limited cordless battery life
Choosing Continuous Versus Strobe Lighting
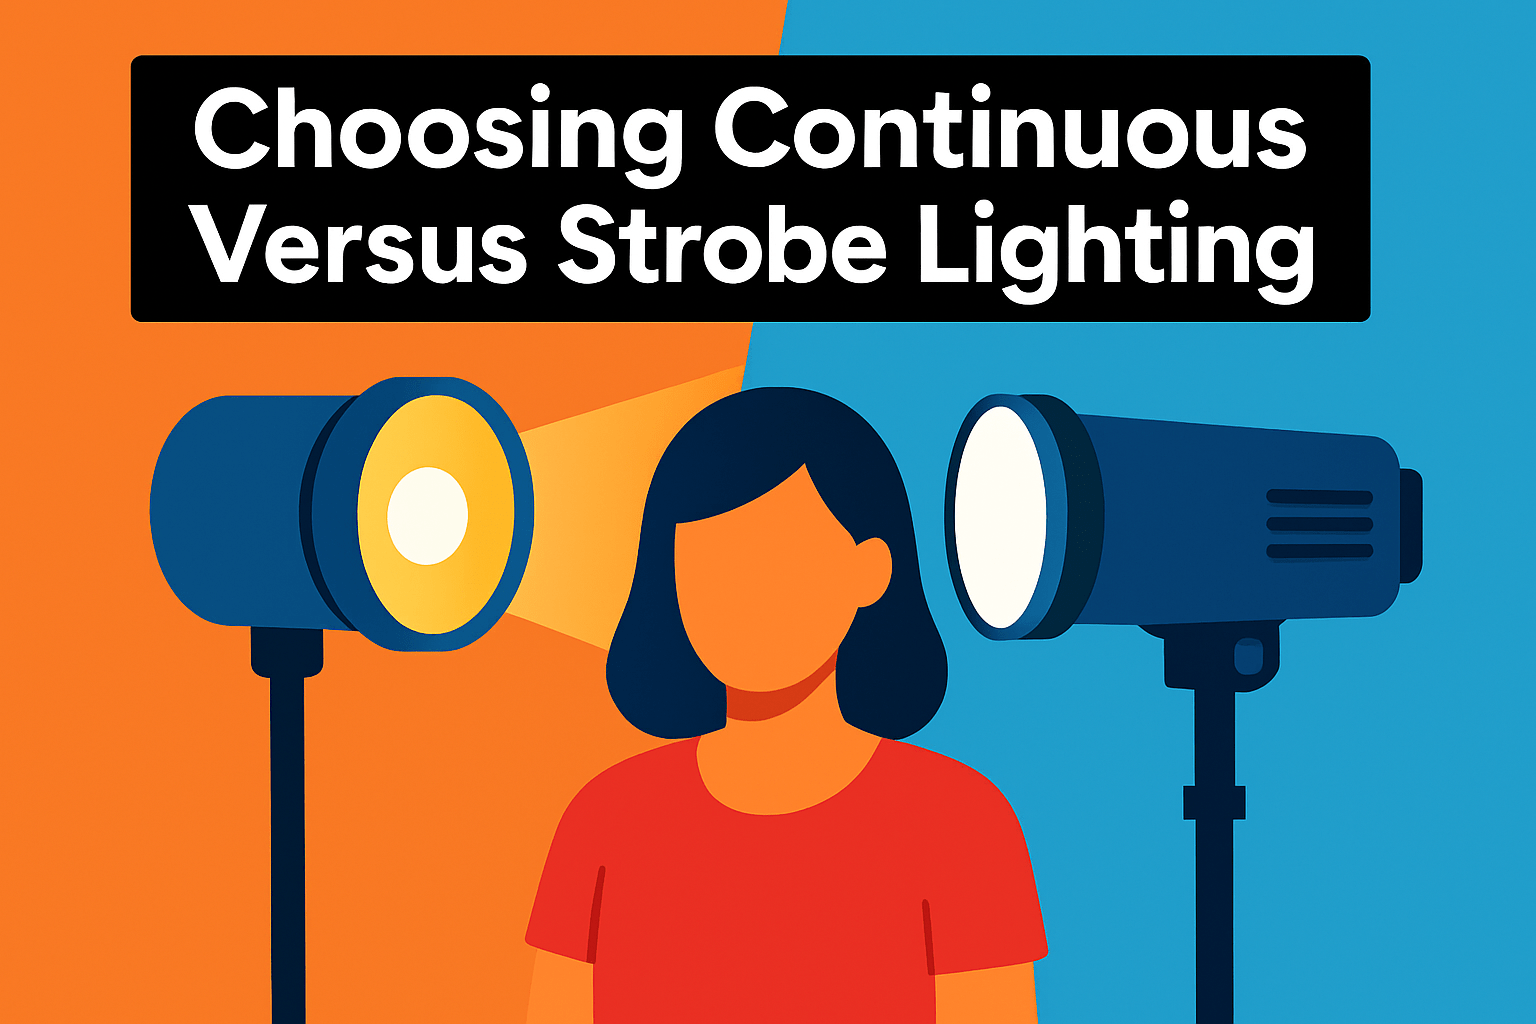
Choosing between continuous and strobe lighting is one of the first practical decisions you’ll make when building a studio kit. It affects setup speed, the ability to freeze motion, and control over depth of field.
Continuous light gives you a true WYSIWYG preview, essential for video, product work and hybrid shoots. Modern LEDs like the Aputure 300X deliver high CRI, tunable color temperature and quiet operation. They still have less peak output than strobes, so expect wider apertures, higher ISO or longer shutter speeds if you rely on them exclusively.
Strobes produce short, intense bursts that freeze motion and let you use smaller apertures at low ISO for maximum image quality. They can overpower ambient light and give you precise control over contrast and depth. The trade-offs are no live preview, extra syncing and power management, and limits around high-speed sync and video use.
If your work is mainly video, product or hybrid, lean toward continuous fixtures and build from a strong LED core. If you need repeatable color, ultimate output or high-speed freeze, choose strobes from Broncolor or Profoto; Godox and Elinchrom are solid, budget-friendlier alternatives. If you travel a lot, compact units like the Godox AD300 are a good balance of power and portability.
When mixing systems, match color temperature as closely as possible or shoot a gray card to speed color correction. Run quick test shots to dial power ratios and verify flash durations when you need to freeze motion. Also factor in workflow speed and operator skill—continuous lighting is forgiving for beginners while strobes reward experience.
Choose continuous for instant feedback and hybrid work; choose strobes for raw power and motion-freezing. A mixed kit lets you adapt quickly to different jobs. That flexibility lets you pick the right tool for each shoot without unnecessary compromises.
Setting Up Three-Point Lighting
Three-point lighting is the baseline for studio work. It’s simple, versatile and gives instant control over form and separation. It’s useful for portraits, products and headshots.
Place the key light about 45° to one side of the subject and slightly above eye level so it points down across the face. This sculpts the features and creates natural shadow. Use a large softbox for flattering softness or a smaller modifier for punchy contrast.
Put the fill on the opposite side near the camera axis to soften those shadows. Keep it noticeably weaker — aim for a 2:1 key-to-fill ratio for natural light, or 4:1 for moodier, more contrasty images. A reflector often gives a nicer, subtler fill than a second softbox.
Set a back or hair light behind the subject, slightly elevated, to rim shoulders and hair. Keep it subtle — one to two stops under the key — and use a grid or snoot to avoid spill and flare. Use flags to keep rim light from spilling onto the background.
Modifiers are your tone controls: softboxes and umbrellas soften, grids and snoots tighten and control spill. Move a softbox closer to soften the light and increase falloff, remembering the inverse‑square law affects intensity and falloff. Experiment with angles until shadows land where you want them.
Three‑point setups work with strobes or continuous lights. With strobes, check power settings and flash duration so your effective exposure and motion‑freezing behave as expected. With continuous lights you get WYSIWYG control, which speeds setup for hybrid photo/video shoots.
Start with all lights at low power, take a frame, then nudge one light at a time — first power, then angle, then distance. Keep color temperature consistent across heads to avoid color casts and make post processing easier. Treat this as your baseline and add or subtract lights as the scene demands.
What People Ask Most
What are the best types of lights for studio photography?
High-end pack systems, professional monolights, portable strobes, balanced studio kits, and LED continuous lights are commonly used in studios. Choose the type that matches your workflow, budget, and whether you need hybrid photo and video capabilities.
Continuous lights vs strobes: which is better for studio photography?
Continuous lights give a WYSIWYG preview and are ideal for video or product work, while strobes deliver much higher peak output and can freeze motion. Pick based on whether you need real-time adjustment and video or high output and motion-freezing power.
What lighting setup is best for portrait studio photography?
A three-point lighting setup with a key, fill, and backlight is a reliable baseline for portraits. Use modifiers and power ratios to control softness and contrast and adapt the arrangement to your subject and mood.
How many lights do you need for studio photography?
A simple baseline is three lights following the three-point approach, but you can add or remove lights depending on scene complexity and creative needs. Start with a core setup and expand to gain more control over background and accents.
What modifiers should I use with studio lights to get soft light?
Softboxes, umbrellas, and reflectors produce a soft, even quality of light, while grids and snoots help control direction and falloff. Choose modifiers that are compatible with your fixtures to shape the light for the look you want.
What color temperature should studio photography lights be set to?
Keep color temperature consistent across all lights to minimize color shifts in-camera and in post-processing. Use fixtures or LEDs that offer reliable color accuracy so your results remain repeatable and easy to grade.
How do you light products in a studio for clean, consistent results?
Use a stable, repeatable setup with appropriate modifiers and steady light so reflections and shadows remain consistent between shots. Continuous lights are often preferred for product work because they allow real-time adjustments, and choosing fixtures known for color consistency helps reduce post-processing.
Conclusion for Best Studio Lights
Choosing studio lights comes down to matching gear to your workflow: premium packs and monolights for repeatable, color-accurate commercial work, portable strobes for flexibility and value, and LEDs when live preview and video compatibility matter most.
Strobes give you higher peak output and the ability to freeze motion, while continuous lights offer a WYSIWYG approach that’s ideal for hybrid photo/video shoots and product work.
Use a three-point setup as your reliable baseline and then shape the scene with modifiers, power ratios, and placement to control softness, contrast, and subject separation.
If you want to improve your choices and lighting skills, read more articles on the site to learn practical workflows, comparisons, and setup tips at your own pace.
Have a question or want feedback on a kit or setup? Leave a comment below and we’ll usually reply within a few hours.




0 Comments