Want to know how to blow up photos without losing sharpness or creating noise?
This guide shows how to blow up photos the right way. You will learn capture tips, interpolation choices, a step-by-step Photoshop workflow, DPI print math, and proofing steps.
You will also get practical settings, recommended tools, before/after crops, and a simple cheat sheet for common print sizes. Quick troubleshooting tips will help fix softness, color shifts, and noise.
Follow these steps and you’ll be ready to make large, high-quality prints from your images. Keep reading to get clear, repeatable results fast.
Use High-Quality Images
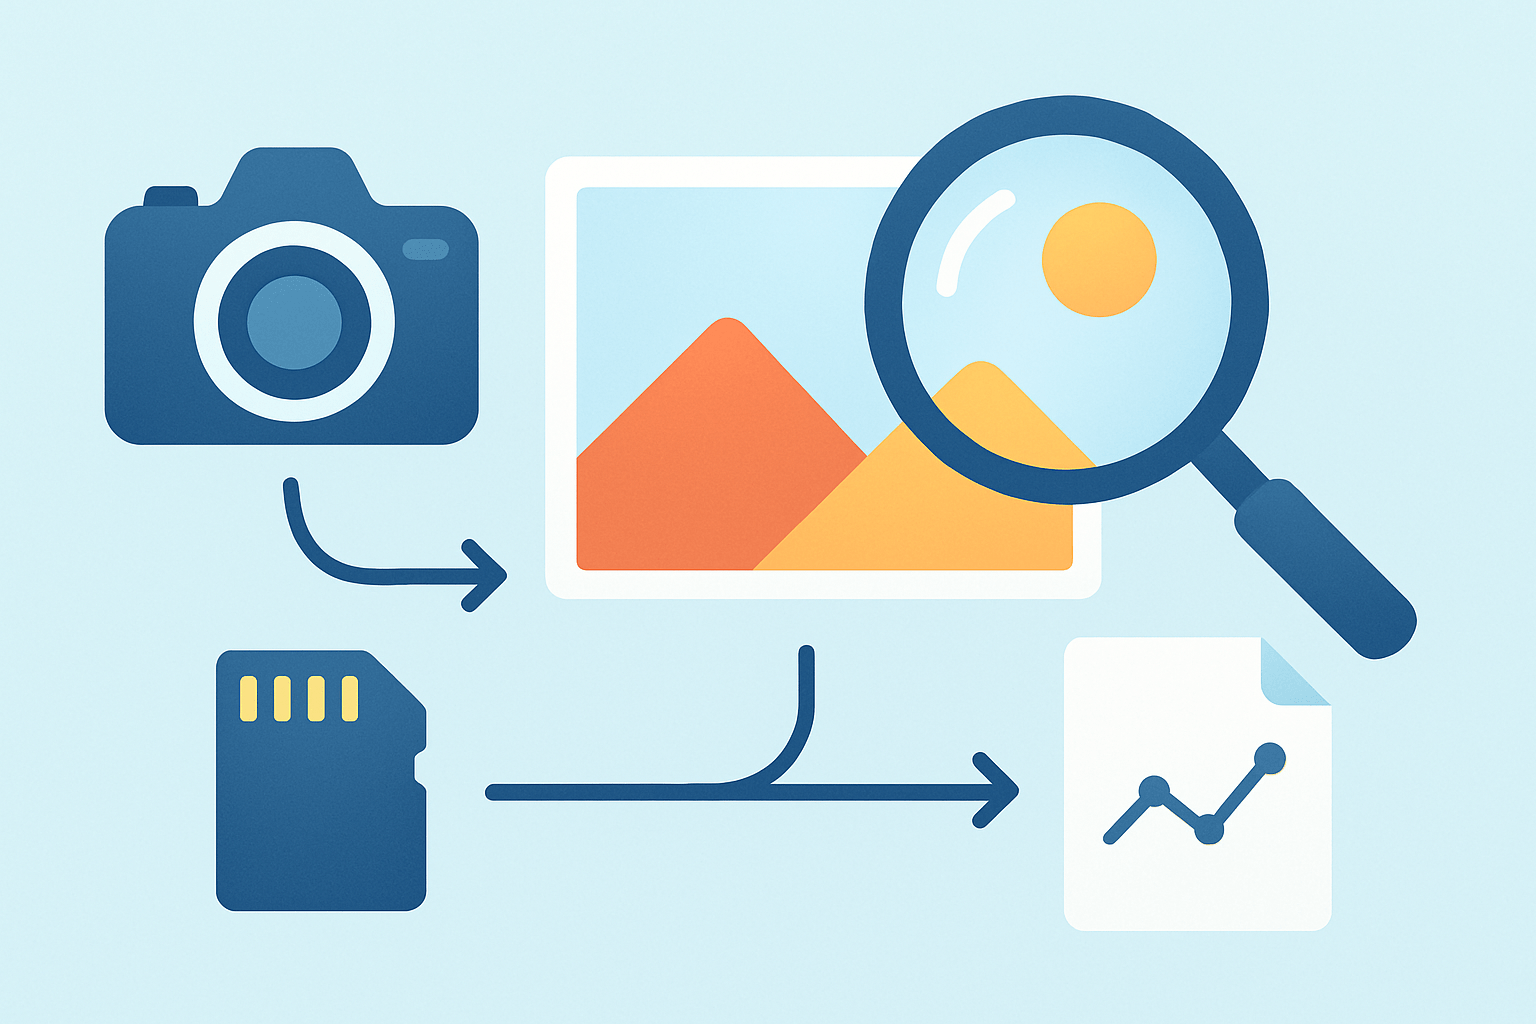
When people ask how to blow up photos, I always start at the capture. Enlargement only magnifies whatever is already there, good or bad. The cleaner and sharper your original, the bigger you can print without trade‑offs.
Shoot RAW at the highest resolution your camera offers. Keep ISO as low as the light allows, use a tripod when shutter speeds drop, and pick a sharp aperture, usually f/5.6 to f/8 on most lenses. Focus with care and use reliable glass.
If you are working from prints or film, scan at a high DPI. Aim for 600 dpi for small prints and up to 1200 dpi for tiny originals or 35mm film, and keep the originals clean to avoid dust repairs later. Disable aggressive auto-smoothing that erases texture.
Avoid heavy cropping because it steals pixels. A 50% crop halves the width and height, leaving only one quarter of the original pixels, which slashes your enlargement headroom. Compose tighter in camera whenever you can.
Keep your master file as RAW or a 16‑bit TIFF and do not round‑trip through JPEG saves. My fast capture checklist is simple: RAW, correct exposure, lens corrections on, conservative noise reduction, light capture sharpening, then final sharpening after enlargement. A side‑by‑side of a clean RAW versus a noisy JPEG tells the story instantly.
Using Interpolation Methods for Enlarging Photos
To understand how to blow up photos well, you need a quick primer on interpolation. Interpolation is how software invents new pixels from the ones you already have, and common methods include Nearest Neighbor, Bilinear, Bicubic, Bicubic Smoother or Sharper, Lanczos, adaptive or fractal options, and modern AI super‑resolution.
Nearest Neighbor is lightning fast but creates blocky edges, which is ideal for pixel art, not portraits. Bilinear is smoother but often a bit mushy on fine detail.
Bicubic is the classic choice, with Bicubic Smoother tuned for upscaling and Bicubic Sharper for downscaling. Lanczos can keep edges crisp in some apps, though it may ring on high‑contrast borders.
Adaptive and fractal tools, like ON1 Resize or PhotoZoom Pro, can keep texture alive better than plain bicubic. AI options such as Adobe Super Resolution and Topaz Gigapixel go further by predicting plausible detail for big jumps.
For small enlargements up to about 1.5 to 2×, modern bicubic variants or Preserve Details work very well. For bigger jumps, lean on AI or a dedicated tool, and compare a 100% crop of hair, fabric, and leaves to judge artifacts; this digital photo enlargement overview explains the trade‑offs clearly. Historic advice favored 10% steps, but with today’s algorithms a single step is often best, though older tools may still benefit from quick tests.
How to Enlarge an Image in Photoshop
1. Prep the RAW. Open the file in Adobe Camera Raw or Lightroom, enable lens corrections, set exposure and white balance, and apply light noise reduction. This sets the stage for how to blow up photos with the least noise and the most detail; if the image can handle it, choose Enhance → Super Resolution for an instant 2× boost before resizing.
2. Work non‑destructively. In Photoshop, duplicate the background layer and convert it to a Smart Object so every filter and resample remains editable. Name your layers so you can track changes later.
3. Choose Image Size. Go to Image → Image Size, enter your target dimensions or resolution, check Resample, and pick Preserve Details 2.0 for the cleanest results; in older versions, use Bicubic Smoother. Keep the Reduce Noise slider gentle, usually between 0 and 20%, and preview at 100%.
4. Finish the pixels. After resampling, treat noise selectively on skies and shadows, then sharpen for detail with Smart Sharpen set to Remove: Gaussian Blur, or with Unsharp Mask. As a starting point, try Amount 80–150% and Radius 0.5–2.0 px depending on the final print DPI.
5. Manage color. Soft‑proof using View → Proof Setup → Custom with your lab or printer ICC profile, toggle gamut warnings, and make small tweaks to saturation and tone. When it matches your proof, convert or assign the profile as the lab requires.
6. Save properly. Keep a 16‑bit TIFF as your master, then export a separate JPEG at the lab’s requested size, profile, and quality setting. Embed the ICC profile and include bleed if the product needs trimming.
If you prefer specialized tools, send a copy out to Topaz Gigapixel, ON1 Resize, or PhotoZoom, then return to Photoshop for retouch, color, and print prep. This hybrid approach often delivers the cleanest big enlargements while keeping your edit history tidy.
For a fast refresher on the printing side, this quick tutorial on how to enlarge a photo is a handy companion to the steps above. Use it to double‑check sizing, paper choices, and expectations before you commit to a huge print.
Adjusting DPI (Dots Per Inch) for Printing
Resolution nomenclature can be confusing, so let’s separate PPI and DPI. PPI is the pixel density inside your file, while DPI describes the dot density your printer uses to place ink on paper.
To size a print, multiply inches by PPI to get pixel dimensions. For example, a 16×20 print at 240 PPI needs 3840×4800 pixels, which is about 18.4 megapixels; at 300 PPI that same print needs 4800×6000 pixels.
For close‑viewed prints like albums and small frames, aim for 300 PPI. Mid‑size wall pieces look great at around 240 PPI, large art is fine at 150–200 PPI, and huge posters or banners can dip toward 100–150 PPI because viewers stand farther back.
Here is a mental cheat sheet at 300 PPI: a 4×6 needs about 2.2 MP, a 5×7 about 3.1 MP, an 8×10 around 7.2 MP, and a 16×20 about 28.8 MP. If your file falls short, AI upscaling can bridge the gap and still look clean at normal viewing distances. For more nuance on sizing and viewing distance, see this photo enlargements guide.
In Photoshop, changing the Resolution field with Resample off only alters print size, not pixels; turning Resample on changes pixel count. Avoid unintentional resampling when you just want to adjust layout, and if the aspect ratio does not match the print, crop carefully, add tasteful borders, or extend canvas with content‑aware fill rather than stretching.
Make Test Prints Before Final Printing
Before sending the final file, soft‑proof the image. In Photoshop, choose View → Proof Setup with your lab’s ICC profile, check gamut warnings, and nudge color or brightness until the proof matches your intent.
Then make a hard proof. Print a small section at 100% scale on your own printer or order a contract proof from the lab, and study the result at the same viewing distance planned for the final display.
Sharpen for the actual output, because papers behave differently. Glossy and metal carry more micro‑contrast so you can push sharpening a bit, while matte, fine art, and canvas need slightly larger radius with lower amount to avoid crunchy grain.
When you deliver files, follow the lab’s checklist: TIFF 16‑bit or high‑quality JPEG as requested, embedded ICC profile, correct pixel dimensions at the chosen PPI, and any needed bleed or crop marks. Include finishing notes like matte, glossy, canvas, lamination, or mounting so the lab prepares materials accordingly.
Evaluate the print for crispness, noise clumps, halos, and color shifts, then iterate with small tweaks to noise reduction, shadow lift, or sharpening. Keep your monitor calibrated and judge prints under consistent light so your edits translate reliably.
If something still feels off, try fast fixes. If the image looks soft after upscaling, add targeted Smart Sharpen to edges and reduce noise on flat tones; if colors shift, recheck the ICC profile and soft‑proof again.
If you see banding in skies, work in 16‑bit and add slight dither. If grainy shadows bother you, lift exposure carefully and denoise before sharpening, then reprint a small proof.
When resolution is too low even for AI, it may be wiser to reshoot or scan a higher‑quality source rather than force an oversized print. Also be mindful of rights when enlarging other people’s work, especially for commercial use. Popular tools include Photoshop with Preserve Details and Lightroom’s Super Resolution in the Adobe subscription, Topaz Gigapixel as a one‑time buy, ON1 Resize for gallery wraps, and PhotoZoom Pro for precise control, all excellent companions when learning how to blow up photos the right way.
What People Ask Most
What is the easiest way to learn how to blow up photos?
Start with a clear original, use a simple photo editor or upscaling tool, and enlarge in small steps while checking quality. Practice on different images to see how size affects detail.
Can I learn how to blow up photos from my phone without special software?
Yes, many free phone apps offer basic upscaling and sharpening that work for quick enlargements. Just avoid huge jumps in size and compare before and after.
How to blow up photos without losing quality?
Begin with the highest-quality original you have, enlarge gradually, and use a smart upscaler or gentle sharpening to keep edges clear. If the image is very small, expect some quality loss no matter what.
Will blowing up photos make them look blurry or pixelated?
Sometimes they can if the original is low resolution, but smart upscaling and light sharpening reduce blur and pixelation. Always preview at final size before printing or sharing.
Is it better to crop or resize when learning how to blow up photos?
Avoid cropping before enlarging because it reduces image pixels; resize first or work from the full image to keep more detail. Crop only after you see how the enlarged version looks.
Can I use blown-up photos for prints and online posts the same way?
Not exactly — prints usually need higher clarity and careful upscaling, while online images can get away with more compression. Check the final look for the intended use before sharing.
What common mistakes should beginners avoid when learning how to blow up photos?
Don’t over-enlarge small files, over-sharpen, or skip checking the image at final size, and always work from the best original available. Test settings on a copy so you don’t ruin the original file.
Final Thoughts on Making Large, Sharp Prints
Whether your file starts as 270 or something smaller, starting with the best source and using smart interpolation and the Photoshop workflow we showed will give you the biggest chance of a clean, detailed enlargement. We began by asking whether you can blow up a photo and keep it sharp, and the guide answered that question with practical capture tips, interpolation choices, and step-by-step resizing and proofing.
Realistically, you still can’t invent fine detail out of a blurry, heavily cropped original — massive upscales can look convincing but have limits, and AI may introduce artifacts you’ll need to catch. This process benefits photographers who sell prints, gallery artists, wedding pros, and serious hobbyists who want large, faithful reproductions.
Run the quick checklist, make small test prints, and iterate until the texture and color read right at viewing distance. With attention to capture, the right resampling method, and careful proofing, your enlargements will finally match the vision you had when you pressed the shutter.


0 Comments