
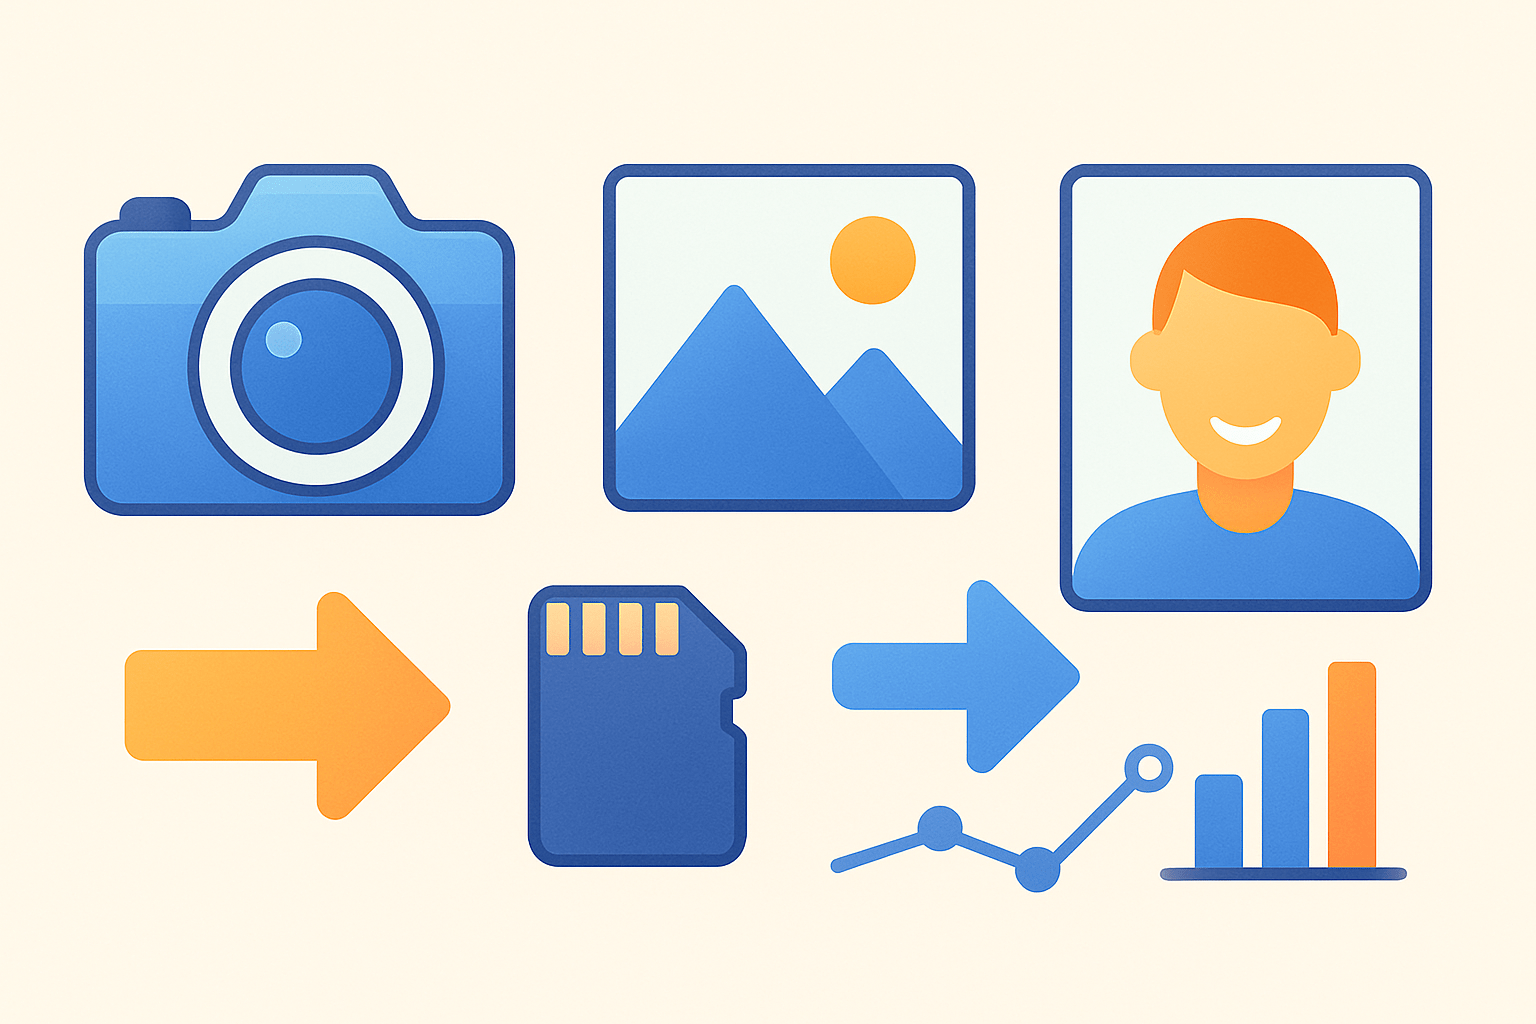
Want to know how to morph photos into smooth face swaps, wild object transformations, or eye-catching GIFs?
This guide shows how to morph photos step by step, with clear workflows for beginners and pros. It covers image selection, alignment, control points/meshes, color matching, masking, and export.
You’ll get quick methods using apps, Photoshop/After Effects recipes, free specialized tools, and an overview of advanced Blender shape‑key techniques. Annotated screenshots, a before/after GIF, and troubleshooting tips are included.
Follow these steps and you can create smooth, believable morphs for social, web, or film. Pro tip: start with well‑matched photos — good source images are the single biggest shortcut to a natural morph.
What is morphing
Morphing is the smooth change from one photo to another. Software moves pixels (warping) while also blending colors (cross‑dissolve). If you have asked how to morph photos without it looking fake, this is the core idea.
There are a few styles: feature‑based morphing uses control points you place on key features, mesh warp morphs use a grid, and shape‑key morphs live in 3D tools. A simple cross‑dissolve is like a slideshow with no real warping.
You see morphs in face apps, product metamorphs, film effects, and social GIFs. A small animated before/after GIF and a diagram with matching points make the concept click fast.
Choose and prepare photos for smooth morphs
Great morphs begin with photo choice. Learning how to morph photos smoothly starts with matching angle, pose, and lighting. This single step decides if your result will feel natural.
Good pairs share focal length and distance, like two 50 mm portraits at eye level. Poor pairs mix a wide group selfie with a tight telephoto headshot or a laugh with a closed‑mouth pose. If faces tilt very differently, pick a closer match or crop tighter.
Make both files the same canvas size and aspect ratio. 1920×1080 or 1080×1080 are safe picks for video or square feeds. Keep the subject near the same scale in both frames.
Place the photos in one document on separate layers and lower the top layer opacity. Align the eyes on a straight horizontal line, then nudge to match pupils and mouth center.
Mark landmarks you want to line up: pupils, eyelids, nose tip, mouth corners, chin, jawline, and hairline. An overlay at 50% opacity makes off‑by‑one‑pixel errors obvious.
Decide if the background should be removed. If the backdrop is busy or shifts a lot between photos, cut the subject out with Select Subject or an AI portrait cutout, or use remove.bg, and replace with a simple gradient.
Match color and tone before morphing. Use Curves or Levels to sync exposure, then run Color Match or white balance tools so skin looks consistent.
Pro tip: a one‑pixel misalignment can create ugly ghosting. Work non‑destructively by keeping layers, masks, and a saved image sequence you can tweak later.
How to morph photos (step‑by‑step)
Here is a clear path on how to morph photos from start to finish. Follow these steps in any editor that supports layers and warps.
1. Open both images on the same canvas as two layers. Name them A for the start and B for the end.
2. Resize and crop so both layers fill the canvas exactly. Lower the top layer to about 50% and align the landmarks.
3. Create matching control points or a mesh on both layers. Mark eyes, nose, mouth, chin, jaw, and hairline in the same order.
4. Run the morph engine so it interpolates between the points across your chosen number of frames. Add more frames for a slower, smoother move.
5. Tidy the in‑between frames. Use masks, light retouch, and color tweaks to kill ghost edges or flicker.
6. Render the sequence. Export as a GIF or a video file and review the motion at full speed.
Quick method: use an online morph tool or mobile app, select your two photos, let auto‑landmarking run, set the speed, and export a GIF. For a beginner‑friendly walkthrough of simple options, check this face morph guide, but expect limited control over points and color.
Intermediate method (Photoshop / After Effects): in Photoshop, stack layers, align, then animate Warp or Puppet Warp on the Timeline while cross‑fading A to B. In After Effects, use Reshape or Mesh Warp on precomps, keyframe correspondences, color‑match, and render via Media Encoder.
Free or specialized software: SqirlzMorph, Morph Age, and FantaMorph let you import two images, drop matching anchor points, preview, then export MP4 or GIF. Add more points around eyes and mouth, set frame count, and you are done with solid control.
Advanced (Blender / shape keys): project each photo onto a subdivided mesh, create a Basis and a Target shape key, then animate the influence from 0 to 1 while cross‑fading textures. This is powerful for parallax or camera moves, but it takes time to set up.
Workflow & techniques for realistic results
For a believable morph, plan your control points. Faces often need 40–80 points with clusters around eyes, mouth, and nose; simple objects can work with 12–20. Place the same features in the same order so the software knows what should meet what.
Increase mesh density in areas that bend, like lips, nostrils, and eyelids. Too few quads cause pinching; too many can jitter when you preview, so add detail only where the motion is complex.
Blend edges with soft masks. Feather 3–15 pixels, paint stray hairs or eyebrows on a few in‑between frames, and use light Gaussian blur to hide tiny seams.
Set timing that feels natural. For video, 24–30 fps with 30–60 frames of morph yields a one‑ to two‑second move; for GIFs, 10–15 fps with fewer frames keeps files small. Ease‑in and ease‑out curves stop the morph from starting or ending with a jerk.
Add a touch of camera motion if you like. A gentle zoom, a tiny rotation, or a slight parallax shift can add energy without stealing focus from the transformation.
If you see ghosting, your points or masks are off, so re‑align around the eyes first. Color flicker means match exposure and white balance again; for deeper theory, read this concise morphing overview and reapply the fixes.
Exporting and producing output
Pick an output that suits your goal. GIF is widely supported and small but limited to 256 colors; MP4/H.264 or WebM give the best quality‑to‑size; Animated WebP or APNG work great on modern web; image sequences like PNG or JPEG are best for further compositing.
Use 24–30 fps for video and 10–15 fps for GIFs. For 1080p MP4, 6–12 Mbps VBR is a good start; raise it for fast textures like hair. For GIFs, reduce the palette to 64–128 colors, choose perceptual or adaptive, and enable dithering to avoid banding.
To loop, try a ping‑pong: A to B, then B back to A. You can also crossfade the first and last frames a little so the cycle is seamless.
Mind the platform specs. Instagram likes 1080×1080 or 1080×1350; X prefers 16:9 like 1920×1080; websites load fastest with MP4. If size is tight, trim duration, drop fps slightly, reduce GIF colors, or scale down a bit.
In Photoshop, Save for Web previews GIF size and lets you tune lossy compression; in After Effects, send to Media Encoder and pick a High profile H.264 preset. Many dedicated morphers include ready exports; the concise FantaMorph tutorials mirror settings you can copy in any editor, and knowing how to morph photos well helps you choose the right preset.
What People Ask Most
What does it mean to morph photos?
Morphing photos means blending two or more images so one smoothly transforms into another. It’s often used for fun edits, creative effects, or artistic transitions.
How can I learn how to morph photos as a beginner?
Start with an easy app or online tool that guides you through importing images and aligning features. Practice with simple faces or objects to get comfortable with sliders and masks.
Do I need special skills to morph photos well?
No, basic photo editing skills are enough to get good results, and most tools have simple controls for beginners. Better alignment and lighting awareness will improve your outcomes quickly.
Are there common mistakes to avoid when morphing photos?
Yes — avoid misaligned subjects, big differences in lighting, or using very low-resolution images. Small adjustments and matching angles make the morph look natural.
Is it okay to morph photos of other people?
Only do it with consent, especially if you plan to share the results publicly, to respect privacy and avoid misleading viewers. Always be clear about edits when necessary.
Will morphing photos lower the image quality?
Some tools compress images or lose detail during editing, but using high-resolution originals and proper export settings keeps quality high. Saving a copy of the original helps if you need to redo the edit.
Can morphing photos be used for social media or creative projects?
Yes, morphs make eye-catching posts, GIFs, and transitions for videos or slideshows, and they’re great for storytelling or before-and-after effects. Just avoid deceptive edits and credit collaborators when needed.
Final Thoughts on Morphing Photos
Morphing photos turns two stills into a smooth visual metamorphosis, blending shape warps and color dissolves to tell a short story in motion — that’s the core payoff. With thoughtful frame choices (270 is a good benchmark for very smooth video), you’ll get a natural flow that reads as a single, living image rather than two snapped frames. It’s a quick way to add cinematic polish to portraits and objects.
Be realistic: a believable morph starts with matching photos and careful landmark alignment — bad source images or one-pixel errors will make artifacts you can’t hide. The guide walked through practical workflows, masking fixes, timing tips, and export choices so you can avoid those traps. Photographers, social creators, and hobbyist VFX artists will get the most from these steps.
Remember the opening question — what is morphing? — and how we answered it with clear definitions, a straight numbered workflow, tool-specific recipes, and troubleshooting examples so you can try it yourself, knowing what to watch for. Keep experimenting; each attempt teaches you how to shape motion that feels true.

0 Comments