What is cropping in photography, and how can a simple cut turn an ordinary shot into something powerful? This guide explains what cropping is in plain language and shows you how to use it to improve your images.
We will define types of cropping like frame cropping, aspect-ratio changes, and magnification. You’ll also learn about non-destructive vs destructive edits and why keeping your RAW files matters.
You’ll get clear rules for when to crop, practical techniques, and a short checklist for Lightroom and Photoshop. Expect before/after examples, overlay tips, and quick pixel-to-print notes so your crops work for web and print.
Whether you shoot portraits, landscapes, or action, this article will help you decide when to crop and when to reframe in-camera. Read on to learn simple, visual steps that make your photos stronger.
What is Cropping in Photography?
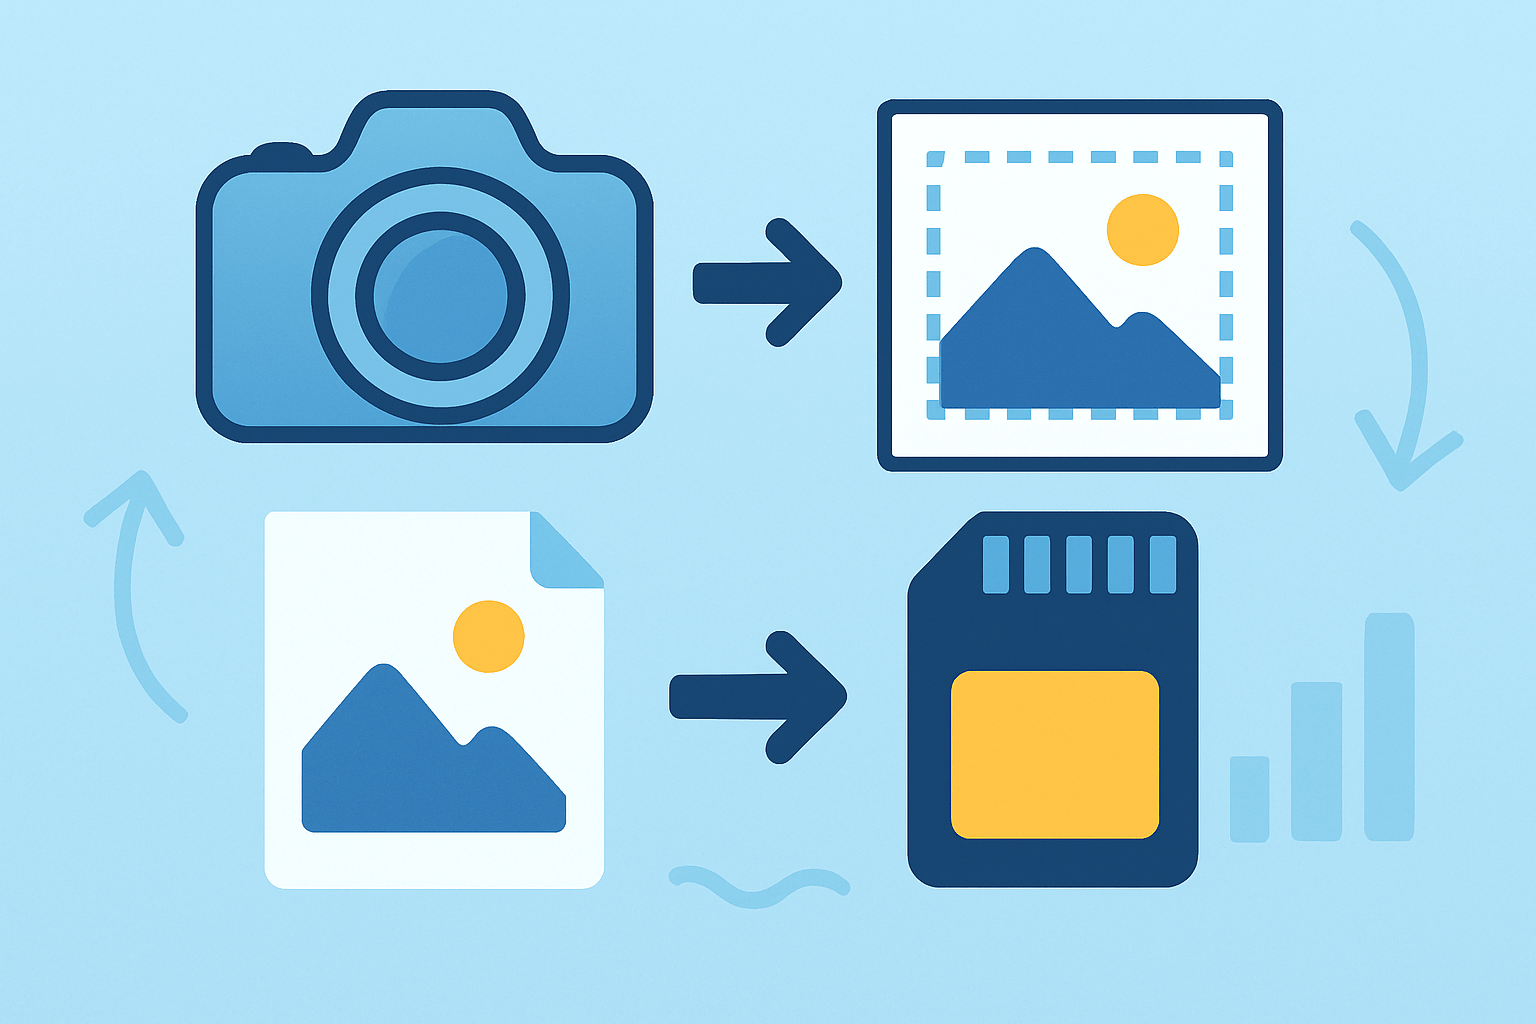
What is cropping in photography? It is the act of removing or reframing parts of a photo, either in-camera or later in post, to change composition, aspect ratio, or emphasis. You use the crop tool to select a stronger frame and guide the eye.
There are a few common flavors. Frame cropping is simple reframing that selects the best area of the image. Aspect-ratio cropping changes the shape of the frame. Magnification cropping trims pixels to create an apparent telephoto effect.
Photographers have always cropped. In the darkroom, we masked prints; in the digital era, we nudge rectangles in software and preview changes instantly. That speed made cropping a central step in a modern workflow and a quiet superpower for clarity.
There is also a big difference between non-destructive and destructive cropping. RAW editors store your full file and remember the crop as instructions, while destructive pixel edits permanently discard data. Keep the original RAW, and export different crops as needed.
Picture a simple before-and-after pair. Before: a wide landscape with a tilted horizon and a bright trash bin at the edge. After: a leveled frame that cuts the bin and places the lone hiker on a third. Caption and alt text should explain that intent.
If you are learning what is cropping in photography, think of it as editing by subtraction. You decide what to exclude, just as much as what to include, and that decision reshapes story, balance, and attention.
The Purpose of Cropping
The first purpose is to improve composition. A small nudge can move your subject to a stronger position or tighten the frame so lines and shapes connect. A street portrait comes alive when a cluttered edge disappears and the gaze lands on the eyes.
Cropping also removes distractions. Stray elbows, exit signs, and bright sky slivers pull attention. Cutting them away is often faster and more honest than cloning, and it keeps the photograph grounded in the moment you saw.
Another reason is to change aspect ratio for the final output. Prints like 8×10 want 4:5, many cameras shoot 3:2, and social portraits often prefer 4:5, 1:1, or 9:16. The crop adapts the same frame to different screens and paper.
Sometimes you crop to isolate a subject or magnify detail. Wildlife and sports benefit when action becomes larger in the frame, but you must watch resolution so the file still holds up. Stronger emphasis is good; soft, noisy pixels are not.
Cropping curates emotion and story by deciding which details matter. A wedding image can exclude the buffet and hold only hands, faces, and light, turning a busy room into a quiet moment. For more ideas on timing and balance, you can study how to crop your photos for better compositions.
Crops also fix alignment or straighten horizons, and they can reduce file size for web delivery with care. Always tie the crop to the final use, whether that is a hero image on a site, a magazine cover, or a client print order.
When to Crop
Crop in post when composition needs refining or when the output demands a specific shape. Crop in-camera when you must preserve maximum resolution and cannot rely on trimming later. Heavy crops are a choice, but they always cost pixels.
Definitely crop when you need to remove stray elements, fit a client aspect ratio, reframe creatively, or increase emphasis. Avoid cropping if the subject is tiny relative to your intended print size, or if moving yourself would fix the problem better.
Watch for awkward body cuts that hurt the pose. Cropping halfway through wrists, ankles, or the chin can feel jarring, so give those areas room. A short study of a portrait cropping guide helps you see where to trim and where to leave space.
Build your workflow around safety. Shoot RAW and leave a little margin so you can crop later. Decide the crop before heavy retouching, then sharpen and export for the final size, not for an earlier, larger frame.
Know your pixel math before committing to a tight crop. An 8×10 at 300 PPI needs about 2400×3000 pixels, while a 4×6 at 300 PPI needs 1200×1800 pixels. Check your file’s dimensions so you do not discover softness after printing.
For moving subjects, crop with extra lead room in the direction of travel or gaze. Cutting off motion cues makes the frame feel cramped, and giving space makes speed and intention easier to read.
Techniques for Effective Cropping
Here are practical techniques that improve results consistently. Think of them as quick tests you can apply, and imagine a simple before-and-after pair beside each step to see the shift clearly.
Use overlays and guides to judge balance. Toggle rule of thirds, golden spiral, and diagonal overlays while you nudge the rectangle, and watch how the subject sits against lines and curves. The right overlay often reveals the cleanest resting point.
Start with composition, not habit. Thirds work well for many scenes, but symmetry loves center alignment, and a lone figure against negative space may sing off-center. When a curve or leading line matters, the golden spiral can land the eye precisely.
Decide whether to fill the frame or leave space. Tight crops increase impact and remove clutter; empty space can communicate scale, silence, or direction. A product shot may need crisp edges, while an environmental portrait benefits from breathable margins.
Protect breathing space around faces and movement. Keep headroom natural, leave lead room for running or looking, and avoid chopping joints when possible. Your viewer reads comfort and energy from the edges you choose.
Practice exclusion, the art of removing what does not serve the story. In a wedding aisle, cut the distracting speaker and keep the locked eyes and clasped hands. For more depth on the idea, explore cropping and exclusion as a storytelling choice.
Reframe to magnify a subject when you must. Frame cropping acts like a digital telephoto, but remember you are stretching fewer pixels. Use it when the image gets stronger, and stop when quality drops below what the output demands.
Change aspect ratio to match the destination. 3:2 fits most DSLRs, 4:5 is perfect for many portrait prints and social uploads, 1:1 squares are punchy and fast, and 16:9 makes a widescreen banner. Pick the shape that the platform and story need.
Balance cropping against lens choice. Cropping narrows angle of view but reduces pixel density on the subject; a longer lens preserves resolution at capture. If you own the reach, use it; if not, crop lightly and accept the trade.
Work a simple, non-destructive mini-workflow. Straighten the horizon first, lock the aspect ratio you need, toggle the overlay to test placements, then nudge edges by tiny amounts until the frame clicks. Commit and export at the final pixel size.
Know your tools quickly. In Lightroom Classic, press R for the Crop Overlay, use O to cycle guides, press X to swap orientation, and keep the crop non-destructive by design. In Photoshop, press C for the Crop Tool, uncheck Delete Cropped Pixels, use the Straighten tool on a horizon, and press Enter to apply.
Keep a short crop checklist in mind. Keep the RAW safe; confirm pixel dimensions; choose the final aspect ratio; straighten before fine-tuning; test overlays; avoid cutting at joints; leave lead room for motion; sharpen last for the target size.
Use a pixel quick-reference before printing. A 4×6 at 300 PPI is about 1200×1800 pixels, and an 8×10 at 300 PPI is about 2400×3000 pixels. If you fall short, light upscaling can help, but reshooting or a lighter crop usually looks better.
Imagine several simple before-and-after pairs as you work. One shows a cluttered pier trimmed to a clean leading line; another converts a loose portrait into a tight, crisp headshot; a third demonstrates 3:2 to 4:5 conversion; a fourth keeps extra lead room on a runner.
Watch for common mistakes. Do not rely on cropping as a band-aid for weak camera position, and do not push a tiny subject into a big print. Avoid awkward limb cuts, and never forget what aspect ratio the job actually needs.
Shooting with Cropping in Mind
Build safety into your capture. Shoot RAW, leave a little margin around your subject, and use a slightly wider framing if you plan to crop. Turn on your camera’s grid or aspect preview to see balance before you click.
Pick gear that protects quality. Higher-resolution sensors give more room to trim, and a longer lens preserves detail at capture. For action, raise your shutter speed and leave space in the direction of movement or gaze so the crop breathes.
Adopt a simple on-set workflow. Tether or review on a calibrated screen to test crops in real scale, and adjust while the scene is still in front of you. If clients need specific ratios, compose with those shapes in mind but keep the RAW full frame.
Remember the mindset that ties it all together. Aim to get it right in camera, but use cropping as a creative and corrective tool. The viewfinder is the draft; the final crop is the sentence you publish, clear and intentional.
What People Ask Most
What is cropping in photography?
Cropping in photography means cutting away the outer parts of an image to change the framing or remove distractions. It helps you focus attention on the main subject.
Why should I crop a photo?
Cropping removes unwanted elements and tightens composition so the subject stands out more. It also helps match images to different print or screen sizes.
When is it okay to crop a photo?
Crop when the original framing includes distractions, empty space, or a weak composition that you can fix by tightening the shot. It’s also useful for creating a different mood or emphasis.
Does cropping lower image quality?
Cropping can reduce resolution because you use fewer pixels, but for web and small prints it usually looks fine. Start with a high-resolution file to keep the image sharp after cropping.
How can cropping improve composition?
Cropping lets you follow simple rules like the rule of thirds and remove confusing elements, making the photo look cleaner and more balanced. It helps direct the viewer’s eye to the subject.
Is cropping the same as zooming in?
Cropping is done after taking the photo by trimming the edges, while zooming changes the scene when you shoot. Both make the subject appear larger, but cropping may reduce detail more than optical zoom.
Can I fix a bad photo by cropping?
Cropping can rescue a photo with poor framing or distractions, but it can’t add missing content or fix serious focus problems. It’s a useful tool for improving many imperfect shots.
Final Thoughts on Cropping in Photography
Cropping isn’t just a technical trick — it’s the simplest way to reshape a photo’s story, tighten composition, and match images to their final use; even when you scale an image down to 270 px for a thumbnail, the same compositional choices matter. We covered what cropping is, why you’d crop, when to do it, practical techniques, and how to shoot with cropping in mind so you can make thoughtful adjustments instead of guessing. One realistic caution: heavy crops cost resolution and can reveal noise or soft detail, so plan shots to preserve pixels rather than relying on extreme post-crops.
This guide’s straightforward examples and before/after visuals are especially useful for hobbyists pushing toward pro work, portrait and wedding shooters, and anyone who needs consistent output for web or print. We began by asking “what is cropping in photography?” and answered it with clear definitions, hands-on techniques, and a practical workflow you can use right away. Keep experimenting with small crops and big ideas — the next frame you refine could be your best one yet.

0 Comments