
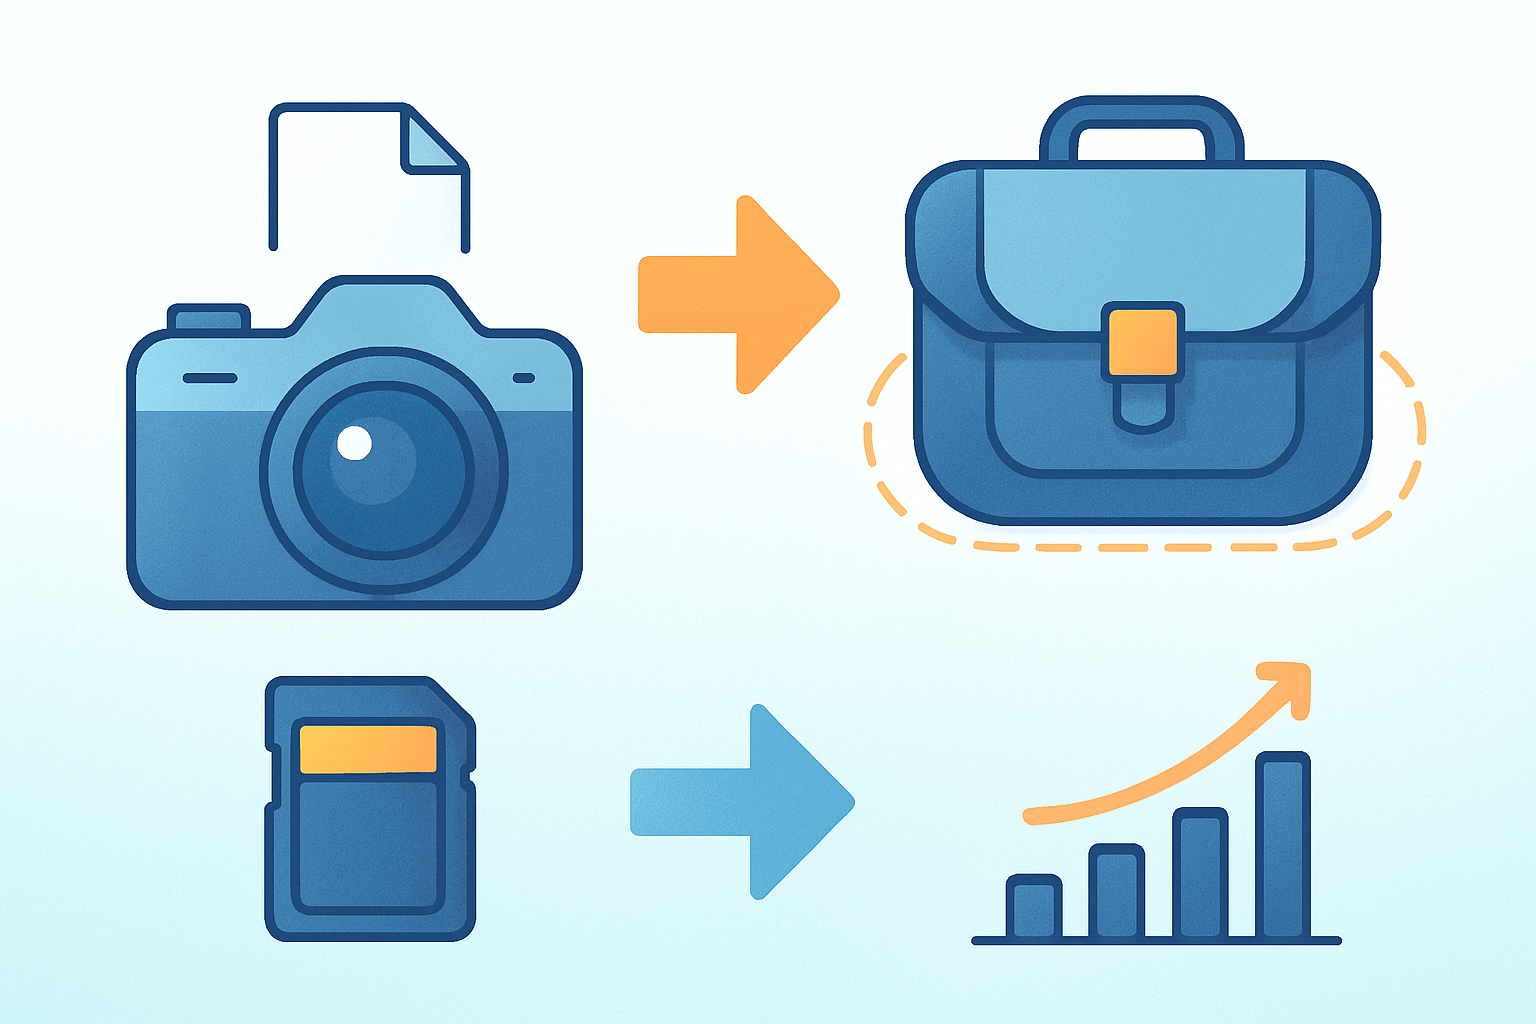
How to pack a camera bag so you never miss a shot and your gear stays safe?
This quick guide gives a simple step-by-step packing checklist you can follow. It also includes easy pack templates for street, hiking, and travel shoots.
You will learn how to choose the right bag, arrange inserts, balance weight, and set up quick-access pockets. The article also covers protection tips, airline rules, and a printable one-page checklist.
Follow the steps and photos to pack smarter, travel lighter, and shoot with confidence. Let’s get your camera bag ready.
How to Pack a Camera Bag: Step-by-Step Guide
This is the packing checklist to follow when you want a safe, balanced, and fast-to-use kit. If you’ve wondered how to pack a camera bag the right way, use these steps every time.
Lay every item on a flat surface and group by type: bodies, lenses, batteries, media, support, and accessories. Take a clear top-down photo of the layout, which becomes your re-pack map and a handy inventory for insurance.
Pick and configure inserts so each item sits snugly. Velcro dividers give you flexible lanes; add slim foam or neoprene if something rattles. Pro tip: build a shallow “shelf” for small items so they don’t sink to the bottom.
Place essentials first. The camera body with your primary lens should be where your hand naturally goes, usually top-center for backpacks or near the flap for messenger bags.
Keep batteries and memory cards in a top or front pocket for quick swaps. Label card cases with “E” for empty and “U” for used, and rotate batteries so at least two are always charged.
Set heavier items close to your back for backpacks or near the main strap for slings, and keep weight low. This improves balance and reduces shoulder strain; imagine a diagram with weight centered along your spine for comfort.
Pack lenses in padded slots or neoprene pouches. Attached lens means faster shooting but takes more space and adds leverage on the mount; detached lens saves space and can be safer, but costs seconds on setup.
Secure small items like filters, cables, and adapters in zipped pouches and label them. Common mistake: tossing loose filters into side pockets where they scratch or crack.
Attach a tripod or gimbal using external straps or an internal compartment if your bag has one. Center it on a backpack for balance; on slings or messengers, use the opposite side of your camera to counterweight.
Wear the bag and test it. Walk, bend, and reach for your camera; remove anything you won’t use and leave a little empty space for flexibility.
If you want more layout ideas, these practical bag tips can help you fine-tune your setup.
Printable quick-check checklist: ☐ Body + main lens, ☐ Spare lens, ☐ Batteries charged x2+, ☐ Memory cards in case, ☐ Filters in pouch, ☐ Cleaning cloth/pen, ☐ Tripod or strap, ☐ Rain cover, ☐ ID/inventory photo, ☐ Room left for extras. Print this mini camera bag packing list and slip it into a pocket.
Choosing the Right Camera Bag
Backpacks are best for full kits and long days, spreading weight across both shoulders. Slings and messenger bags shine for street and events where you need fast side access, while rolling and hard cases protect bigger systems or lighting.
Modular inserts turn any daypack into a stealth camera bag, great when you want to blend in. Pick capacity based on your largest lens and the future lens you hope to add, not just today’s gear.
Decide on access style: top loaders are quick; rear-open designs protect zips from crowds; front-open is great on the ground. Look for solid padding, reconfigurable dividers, weatherproof fabric, a rain cover, tripod straps, lockable zips, and comfort features like a sternum strap and hip belt.
Soft padded bags are perfect for carry-on and everyday shooting. Hard cases like Pelican protect against crushing and are safer for checked gear, but always carry fragile items and batteries with you.
Measure your gear before you buy, and test-fit fully loaded if you can. For a refresher on smart add-ons and priorities, browse these concise camera bag essentials. Common mistake: choosing a bag that fits everything but your back; comfort is part of protection.
Assess Your Gear Needs
Mission-specific packing beats bringing everything. The fastest way to master how to pack a camera bag is to match your kit to the shoot and leave the rest at home.
Street walk template: one body with a 35mm or 24–70mm, two batteries, two cards, a cleaning cloth, and a tiny flash if you like fill. Keep it light so you can move and react.
Day hike landscape template: one body, a wide zoom plus a light tele, compact tripod, three batteries, four cards, and a rain cover. Add a dry bag liner and snacks, because comfort equals better photos.
Travel flight template: two bodies so one is a backup, two to three lenses that cover wide to short tele, charger, and a carry-on backpack or travel hard case. Duplicate batteries and cards, and keep them in carry-on only.
Compare your plan with this practical travel packing list, then trim anything you rarely touch. Pro tip: if an accessory doesn’t get used in two shoots, it waits at home; leave space for souvenirs or an extra lens you might rent.
Organize for Protection, Balance, and Quick Access
Use body and lens caps, snug dividers, and padded pouches to stop movement. Slip silica gel packs into small pockets to fight moisture, and keep sensor-safe tools separate from gritty cloths.
For checked segments, put non-fragile items in a hard case and carry bodies, lenses, and batteries with you. Pro tip: add a bright tag inside and out, and photograph the contents before sealing.
Balance matters more than you think. Keep heavy items near the center of your back and balance side-to-side; orient long lenses vertically when space allows so they don’t torque the bag.
Quick access wins shots. Keep the camera, one fresh battery, and one empty card on top or in an external pocket, and label pouches; color-coded dividers make muscle memory faster.
Stay discreet in crowded places with a nondescript bag and lockable zips. Record serial numbers and keep that top-down gear photo in the cloud; clean and reassess your layout every few shoots to keep habits sharp.
Pack Based on Your Itinerary (Travel, Flight & Special Shoots)
Airline rules change, so verify current limits on lithium batteries and power banks before you fly. Always carry batteries and memory cards in your carry-on, with terminals covered and cards in a rigid case.
Use a hard case for heavy lighting or stands you must check, and keep expensive or fragile gear with you. Common mistake: trusting soft bags in the hold; pressure and impacts will defeat foam.
Adapt to the environment. Rain needs a rain cover and a dry bag liner; cold needs batteries kept warm in inner pockets; desert dust needs sealed pouches and frequent cloth swaps.
Build a tiny contingency kit with spare cards, extra batteries, gaffer tape, an Allen key, and a multi-tool. Pro tip: insure your gear and keep a copy of your camera bag packing list and inventory on your phone so you can act fast if something fails.
Mastering how to pack a camera bag means planning the route, packing light, and protecting what matters most. When you pack camera gear for travel with intention, your bag becomes a silent partner, not a burden.
What People Ask Most
How to pack a camera bag for beginners?
Start with essentials like your camera, one or two lenses, spare batteries, and memory cards. Use padded dividers to keep items from shifting.
How to pack a camera bag for a day shoot?
Bring the camera body with your go-to lens, one backup lens, extra batteries, and a small cleaning kit. Arrange gear so heavier items sit close to your back.
How should I protect my gear inside a camera bag?
Use padded compartments, lens caps, and a protective pouch for small items. Fill empty spaces to prevent gear from moving around.
How should I pack lenses to avoid damage?
Place each lens in its own padded compartment with caps on both ends. Store heavier lenses lower in the bag to reduce pressure on smaller items.
Can I pack a tripod inside my camera bag?
If your bag has straps or a dedicated sleeve you can secure the tripod inside, otherwise attach it to the outside to save interior space. Make sure it’s fastened so it won’t swing or scratch gear.
How should I pack batteries and memory cards?
Keep batteries in a padded pocket and memory cards in a labeled, protective case. Store them together so you can find spares quickly.
What is a common mistake when packing a camera bag?
Overpacking with gear you won’t use and leaving gaps that let items shift are common mistakes. Aim for a lean setup that keeps essentials organized and accessible.
Final Thoughts on Camera Bag Packing
Think of this packing checklist as your 270-degree safety net: it helps you pack smarter, protect gear, and reach essentials fast. We promised a simple, step-by-step plan at the start, and the article walked you through layouts, bag types, and real-world templates so you can copy the exact moves. The real benefit is less fumbling and more shooting — a lighter load that still keeps your kit safe and ready.
Be realistic about one thing: don’t pack “just in case” extras that add weight and slow you down; weigh gear and leave space for what you’ll actually use. This approach helps travelers, event shooters, and hiking photographers most, but any photographer who values protection, balance, and quick access will get smarter packing out of it.
You’ll see how the opening promise — a printable, repeatable checklist — was answered by clear steps, protection tips, and packing templates you can test tonight. Keep practicing the layout and balance rules, and you’ll head into shoots calmer, lighter, and more focused on what matters.


0 Comments