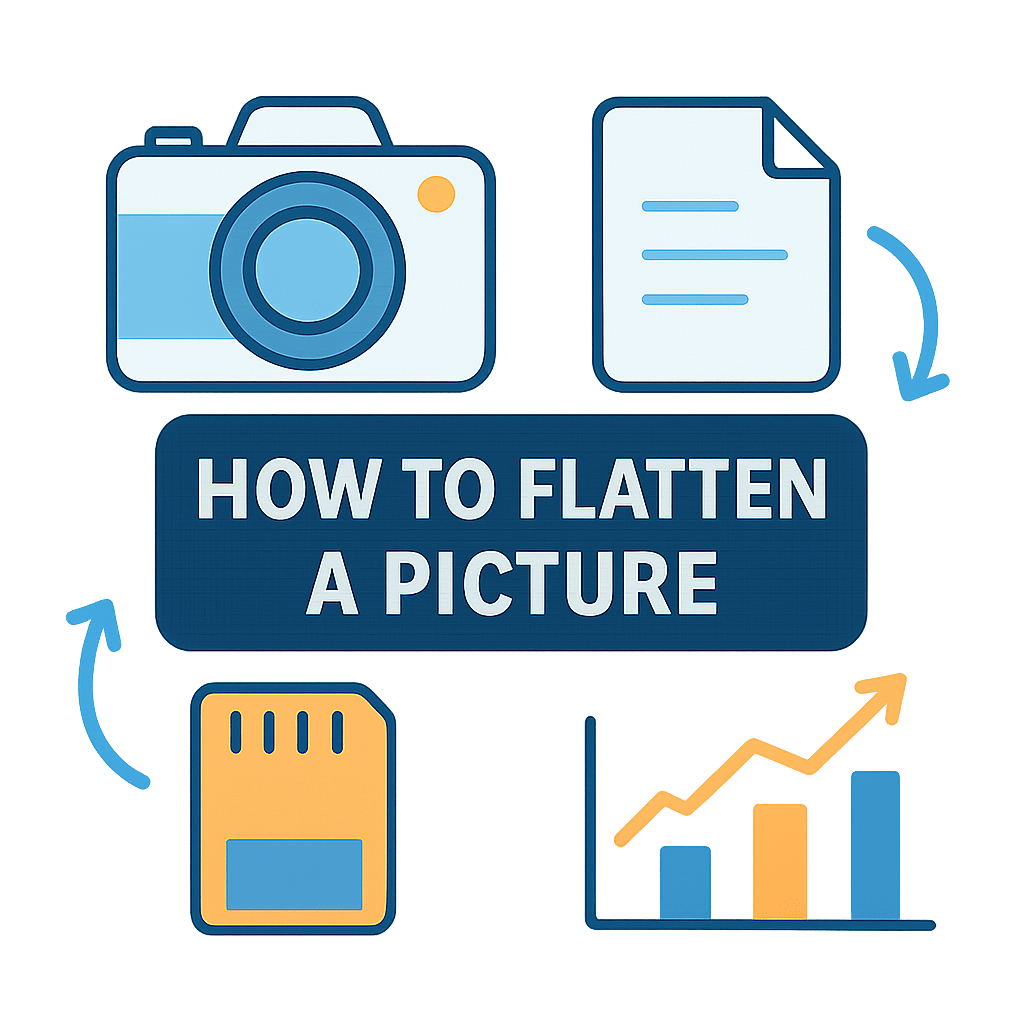
Wondering how to flatten a picture without losing layers or color? This simple guide shows fast steps and smart tips for web and print.
First, get a one‑minute, app‑agnostic quick answer that walks you through the exact steps. You will learn to open the file, save a layered master, flatten or merge, export, and verify the final image.
Next, find copyable Photoshop commands and shortcuts and clear explanations of Flatten Image vs Merge Visible vs Stamp Visible. We also cover common pitfalls and how to avoid them, like preserving transparency and keeping a PSD master.
Finally, get concise steps for GIMP, Canva and online editors, plus export settings to keep resolution and color correct. A practical checklist, before/after screenshots, and sample files let you practice safely.
How to Flatten a Picture — Quick Step-by-Step
If you only have a minute and want to know how to flatten a picture, here is the fast path. Open your file in your editor and check the Layers panel so you know what you are working with. The goal is to make a safe master and then create a flattened copy.
Save a layered master copy first as a PSD or TIFF, or create a backup version. This keeps all your edits, text, and effects intact for future changes. Never work only in your final JPEG.
When you want a flattened copy, look for the command called Flatten Image or Merge Visible. Most apps place it in the Layer or Image menu, and it takes seconds to run. Flattening merges every visible layer into a single pixel layer and usually removes transparency.
Once merged, export or save to your final format like JPG, PNG, TIFF, or PDF. Choose quality settings that suit your use, and attach the right color profile. sRGB is best for web, while print shops may ask for CMYK or a specific PDF preset.
Before you send or print, verify resolution and size. Check that the image is sharp at the intended output and preview the file. A quick before and after view of your Layers panel helps confirm you flattened what you intended.
If you want a deeper dive into the concept, this overview of flattening in Photoshop is a helpful companion. You now have the quick answer to how to flatten a picture, and the rest of this guide shows you options and best practices.
How to Flatten a Picture in Photoshop (step-by-step + options to know)
Start by saving your layered master so nothing gets lost. Use File > Save As… to save a PSD, or File > Save a Copy… if you need to keep the original untouched. This is your safety net for every future change.
To do a full flatten, choose Layer > Flatten Image. This converts everything you see into one background layer and discards hidden layers. Use it when you are truly finished and ready for a final output.
If you only want the visible layers merged, choose Layer > Merge Visible. This combines what is turned on in the eye icons but keeps hidden layers intact for later. It is a safer choice when you may still need hidden alternatives.
To merge just a selection, select the layers and use Layer > Merge Layers or press Ctrl/Cmd+E. This is great for grouping text with its shadow or a photo with its color grade. It reduces clutter without flattening the entire file.
For a non-destructive trick, press Ctrl/Cmd+Alt/Option+Shift+E to make a stamped visible layer. Photoshop creates a new merged layer at the top and leaves all original layers as they are. You can edit or mask this stamped layer and still roll back easily.
If you must keep editability inside a single layer, convert elements to a Smart Object via Layer > Smart Objects > Convert to Smart Object. You can then apply filters and transforms and reopen the object later. It is not the same as fully flattened, but it keeps things tidy.
When exporting, use File > Export > Export As… to pick format, size, and to convert to sRGB for web. For tighter JPEG control, File > Save for Web (Legacy) still shines with quality 8–10. For print, follow your printer’s rules, including CMYK conversions or PDF/X settings if required.
How to Flatten a Picture in GIMP, Canva and Online Editors (concise steps)
In GIMP, open your image and choose Image > Flatten Image to merge everything into one layer. GIMP fills the background with your set background color when flattening. If you prefer control, use Layer > Merge Down or Merge Visible to combine selected layers instead.
Flattening in GIMP removes the alpha channel, so transparency is lost when a background is created. If you need transparency, do not flatten and export as PNG or use Merge Visible with alpha preserved. Review the Layers dock to confirm the result before saving.
Canva works differently because it does not expose traditional layers. Downloading as PNG or JPG flattens the design automatically, and for print PDFs you can toggle Flatten PDF in the download dialog when available. This is handy when print shops want a single, trouble-free file.
Online editors are fast for one-off tasks. In Photopea, use Layer > Flatten Image; in Pixlr E, use the Layer menu to flatten or simply export to PNG or JPG to flatten on the fly. If you are preparing a job for a campus or office printer, this short guide on flattening an image will help you match expectations.
Microsoft Paint has no concept of layers, so saving any edit is already a flattened file. This is fine for quick crops or annotations. For layered work, stay in an editor that supports layers until your final export.
How to Flatten a Picture Without Losing Quality — best practices & export settings
The secret to quality is a non-destructive workflow. Always keep a layered master in PSD, PSB, or TIFF and never overwrite it with a final JPEG. If you need a flattened version, duplicate the document and flatten the duplicate, or use a stamped layer.
Match resolution and color to the job. For print, work at 300 ppi at the final size and only convert to CMYK if your printer asks for it. For web, 72–150 ppi is fine and converting to sRGB during export avoids color surprises.
Choose formats that fit your goal. Use PSD or TIFF with LZW compression for your master, and PNG when transparency is needed. For final web images, a JPEG at quality 80–90 or quality 8–10 balances size and detail; PNG‑24 preserves transparency, and WebP can cut file sizes even further.
Avoid repeated saves in JPEG because each save adds compression. Save a fresh flattened final once, and keep your layered source for changes. If size matters, run the export through ImageOptim, TinyPNG, or Squoosh and use modest, previewed compression so you flatten without losing quality you can see.
Practical Tips, Common Pitfalls & When Not to Flatten (writer checklist & assets to include)
Before flattening, save a layered master, confirm resolution and color profile, and decide whether you need transparency. If you plan to print, check the shop’s specs for CMYK, bleed, and whether they want a flattened PDF. Do a quick visual comparison so you catch any shifts before you send.
Common mistakes include flattening and later discovering a typo, flattening text or vectors that then pixelate on enlargement, and delivering files without embedded profiles that print with color shifts. The fix is simple: keep the PSD, keep vector sources, and embed or convert profiles at export.
Flatten when you deliver final web images, email previews, client approvals, or when software downstream cannot read layers. Do not flatten while edits are ongoing, when you expect to resize often, or when the receiving team needs vector text and shapes. For physical prints that are curled, learn how to handle old rolled photographs instead of forcing them flat under a scanner.
For your own workflow assets, capture annotated screenshots of the Photoshop Layer menu and the GIMP Image menu. Prepare a before and after layers panel view and a small layered sample file so readers can practice. A short GIF of the Photoshop steps can make the process clear in seconds.
What People Ask Most
What does it mean to flatten a picture?
Flattening a picture means combining all layers into one single image so it behaves like a regular photo. This removes separate layer edits but makes the file simpler to use.
Why should I flatten a picture before printing?
Flattening a picture ensures effects, fonts, and colors print consistently and prevents missing linked files. It also makes the file easier for print workflows to handle.
Will flattening a picture reduce file size?
Yes, flattening a picture often reduces file size because it removes layer data and extra information. The amount saved depends on how many layers and edits were in the original file.
Can I flatten a picture without losing image quality?
Flattening a picture usually does not change pixel quality, but it removes editable layers and adjustments. Save a copy with layers if you want to keep editing options.
How do I flatten a picture in basic photo editors?
Use options like “Flatten Image,” “Merge Layers,” or export to a flat format such as JPEG to flatten a picture. These commands are typically in the File or Layer menu.
Is flattening a picture reversible?
No, flattening a picture is generally not reversible once you save the flattened file, because the separate layers are lost. Always keep a layered backup if you might need to edit later.
Does flattening a picture affect web upload or sharing?
Yes, flattened files are more compatible for web upload and sharing and often load faster due to smaller size. They also avoid issues with unsupported layer formats on other devices.
Final Thoughts on Flattening Pictures
You came here asking how to flatten a picture, and this guide gave clear one-minute steps plus tool-specific commands so you can finish exports quickly. Even if you’re batch-exporting 270 images, the same workflow keeps files consistent and predictable. Flattening turns layered work into a single, shareable pixel file that prints and posts without surprises.
The real win is that flattening simplifies delivery — it removes layer confusion, reduces file size, and prevents apps from choking on unsupported layers. But don’t forget the catch: flattening removes editability and often transparency, so always save a layered master first. This approach is best for photographers, students, and designers who need reliable final files for web, email, or print.
We answered that opening how-to by giving step-by-step actions, menu commands, export settings, and safety tips for Photoshop, GIMP, Canva, and online editors so you won’t be left guessing. You’re ready to flatten confidently next time you finalize an image.

0 Comments