What is an intervalometer, and how can it turn long hours into smooth time-lapse videos? It automates the shutter so you can shoot hands-free.
This article explains what an intervalometer is in plain language and shows common forms: built-in timers, wired controllers, wireless remotes, and smartphone apps. You will learn how it works, the key settings to program, and a simple planning formula to calculate total capture time.
You will get step-by-step setup help, a compact pre-flight checklist, and two worked examples with the math for a sunrise time-lapse and a star-stack run. There is also a compatibility note for major camera brands and a handy cheat-sheet of interval recommendations for common scenes.
Whether you are a beginner or a pro, this guide gives clear steps and practical tips to get consistent time-lapses, long exposures, and focus stacks. Read on to plan your session, avoid dropped frames, and capture smooth results.
What is an Intervalometer?
An intervalometer is a device or camera function that automatically triggers the shutter at set times or repeatedly at a set interval, acting like a remote shutter and scheduler. It takes over the timing, so you can shoot long sequences hands-free and with consistent spacing.
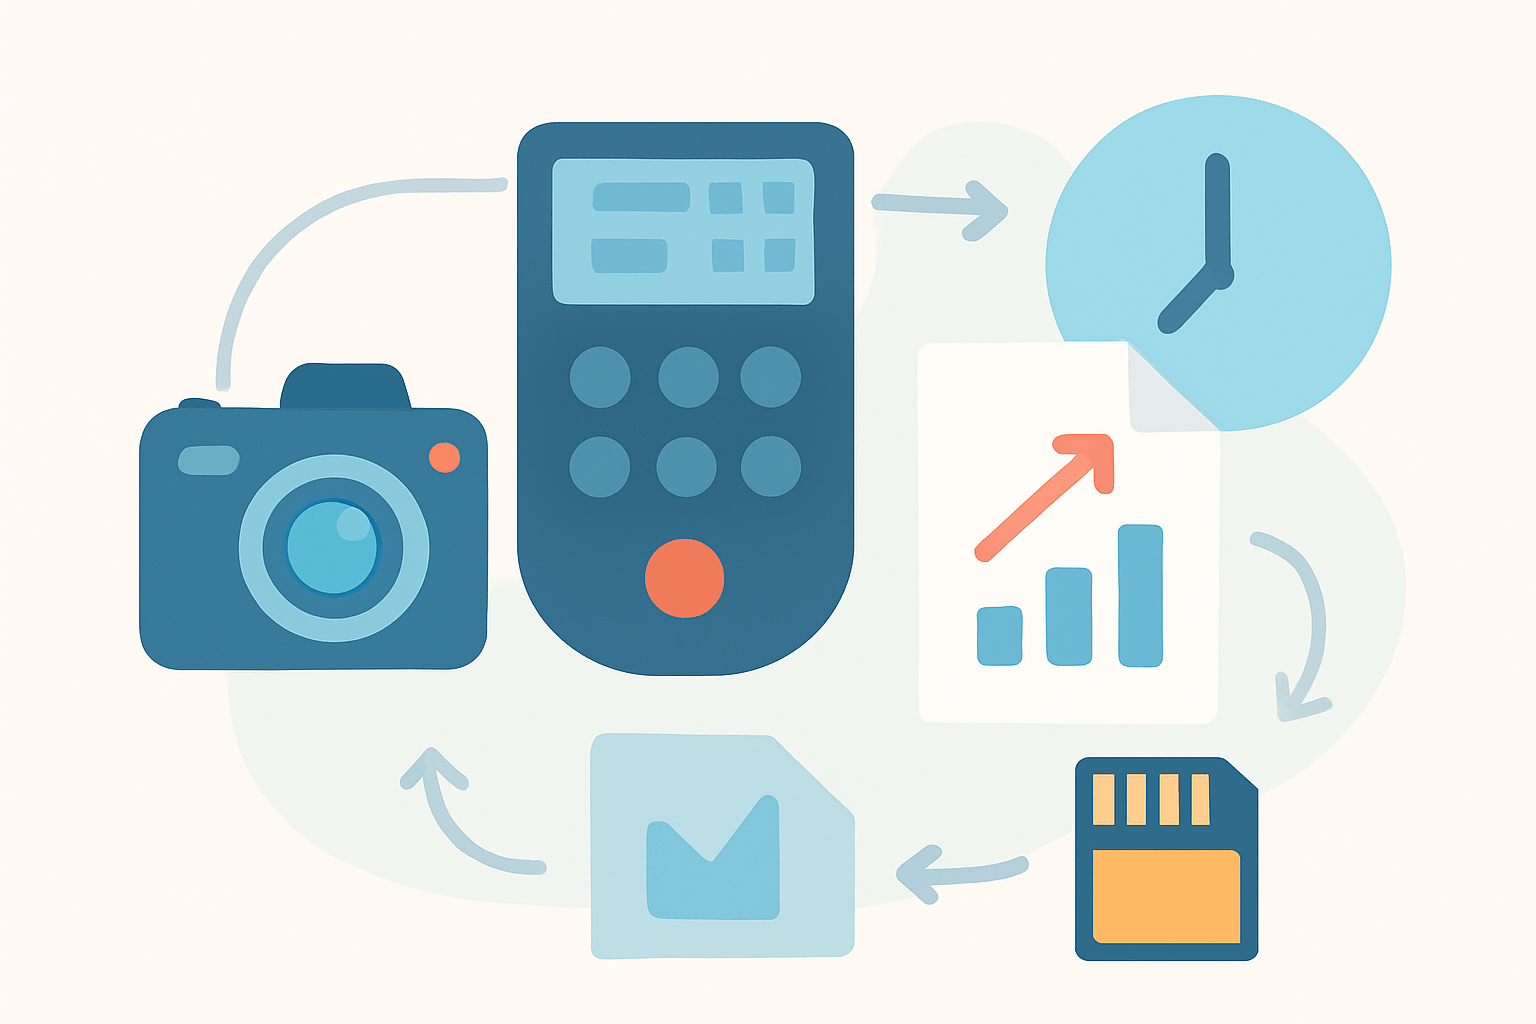
Intervalometers come in several forms. Many cameras now include a built-in interval timer in the menu, while small wired controllers plug into the remote port, and wireless remotes use radio, infrared, Bluetooth, or Wi‑Fi. You can also use smartphone apps or DIY controllers that talk to the camera.
The primary purpose is time-lapse capture, where you stitch many frames into a video that shows motion sped up. Photographers also use them for automated long-exposure sequences, focus stacking, and hands-free shooting where touching the camera would cause vibration.
If you have ever asked “what is an intervalometer” during a shoot, think of it as your reliable assistant that presses the shutter on a schedule. Hobbyists and pros alike benefit from automation, consistency, and simple repeatability.
For a broader context and quick history, this concise intervalometer overview is a helpful companion to what you will learn here.
How Does an Intervalometer Work?
Inside the device is a small timer or microcontroller that sends a shutter-release signal to the camera at programmed times. It usually emulates a half-press to focus and a full-press to fire, by closing the camera’s remote contacts in a specific pattern.
Connection methods vary by camera and controller. Wired units plug into the remote port, while others fire via RF or infrared, and apps control the camera over Wi‑Fi or Bluetooth; compatibility differs by brand and model. If you are shopping for an external unit, a quick primer on how to choose one can save you from cable and feature mismatches.
Most intervalometers let you set a start delay, the interval, the exposure length, the number of frames, and sometimes the press duration or pulse length. Delay controls when the first exposure starts, interval is the time between the start of one exposure and the start of the next, exposure length is essential when using Bulb mode, and number of frames defines the run length.
The interval being measured between starts is a key detail. It means your interval must be long enough to include the exposure itself plus any camera processing and write time, or your sequence will drift or skip frames.
To plan, use a simple estimate: total capture time ≈ interval × (frames − 1) + exposure_length. Always allow buffer for camera write time and card speed; some devices measure interval differently — test first. Short test runs verify that your timing math and the device’s behavior match.
In Bulb mode, the intervalometer holds the shutter open for the programmed exposure length, then releases it. Therefore the interval must be equal to or greater than exposure length plus a small buffer, or the next shot will try to start while the camera is still busy.
Why Do Photographers Use an Intervalometer?
The classic use is time-lapse, such as sunrises, cityscapes, drifting clouds, and construction progress. The intervalometer makes each frame consistent and frees you from hovering over the shutter for minutes or hours.
Astrophotographers use intervalometers for stacking and star trails, where hundreds of equal exposures are required. Automation keeps timing tight so gaps do not puncture trails, and you avoid touching the camera in the dark.
They also power long-exposure series in Bulb mode, like smoothing water over many frames or capturing light painting sequences. For macro and landscape shooters, fixed intervals can drive focus stacking or bracketed composites, and wildlife shooters can trigger from a distance without disturbing subjects.
Automation is the big advantage, but there are more. Consistent timing improves post-processing, remote release reduces camera shake, and mirror lock-up or electronic shutter can be coordinated to make sharp frames at the start of each cycle.
Compared to a self-timer, which triggers once after a delay, an intervalometer runs a repeatable, programmable sequence. Built-in timers are convenient, but external units often add longer runs, Bulb control, and even exposure ramping; just confirm cables, ports, and pulse settings because some brands expect specific press durations.
How to Use an Intervalometer
Start with power and storage. Make sure your batteries are full and your card has ample space, or use an AC adapter for multi-hour sessions that you cannot interrupt.
Turn off Auto Power Off and any sleep modes so the camera does not rest mid-sequence. Disable image review after capture to reduce delays and save battery, and mute beeps to keep things quiet.
Fix your look before you start. Set white balance to a constant value, use Manual exposure unless you are ramping on purpose, and keep ISO steady so every frame grades together cleanly.
Set Manual focus and lock it, or use back-button focus and then switch to Manual. Consider disabling Long Exposure Noise Reduction if exact timing matters, because LENR adds a dark-frame pause; the tradeoff is more noise but perfect cadence.
Step 1: connect your intervalometer, or open the camera’s interval shooting menu. Step 2: enter your Delay (optional), Interval, Number of Frames, and Exposure Length if you are in Bulb.
Step 3: calculate the total duration and your final video length, where final seconds ≈ frames ÷ frame_rate. Step 4: run a short test of 10–30 frames to confirm exposure, focus, and that no frames are missed, then Step 5: start the full session and monitor battery and temperature.
Example A — Sunrise time-lapse: you want 10 seconds of final video at 24 fps, so you need 240 frames. If the interval is 5 seconds, capture time equals 240 × 5 = 1200 seconds, or 20 minutes; you can shorten the interval to 3 seconds for 12 minutes, or keep 5 seconds and accept the longer shoot for smoother cloud motion.
Example B — Star-stack trails: you want 200 exposures at 30 seconds each. Set interval to 31 seconds (30 seconds exposure plus 1 second buffer) and your total time is ≈ 31 × 199 + 30 ≈ 6,199 seconds, or about 1.7 hours; the buffer covers write time so the next frame starts cleanly.
As a simple cheat sheet, fast-moving clouds or busy crowds respond well to 0.5–2 seconds between frames, while city traffic and light trails prefer 1–3 seconds. Sunrise and sunset often look best at 2–5 seconds, or a bit longer if your foreground is still.
For stars, choose 20–30 second exposures with a small buffer to keep cadence, and keep the interval just over the exposure. For construction and plant growth, use minutes to hours between frames, and consider external power and a weatherproof setup.
Many cameras label this feature as Interval Timer Shooting or Interval Shooting in their menus. Nikon often lists Interval Timer Shooting, Canon bodies may show Interval timer, Sony calls it Interval Shoot Func., and others like Fujifilm, Panasonic, and OM System use similar names; external remotes may need brand-specific ports like 2.5 mm TRS, N3, E3, or proprietary connectors, so check your model carefully and consider reading focused timelapse tips before your first long run.
Tips for Intervalometer Use
Always do a short test run before a long session to confirm timing and exposure. Allow interval to be at least exposure time plus camera write time, and remember that faster cards reduce buffer delays.
RAW files give you the best grading latitude, but bigger files slow writes, so plan more buffer. Lock white balance and exposure for consistency, and only use exposure ramping with devices that make smooth changes to avoid flicker.
Use mirror lock-up or an electronic shutter to reduce vibration at the first frame and mount the camera on a solid tripod. Consider turning off Long Exposure Noise Reduction for continuous runs, and use ND filters for daytime long exposures or controllers with ramping for seamless day-to-night transitions.
Power and storage matter for long shoots, so use external power or AC and large, fast cards formatted in-camera. Avoid pointing at direct sun for long durations because sensor heat creates hot pixels and increases noise.
If you see missed frames, increase the interval, disable image review, or switch to a faster card. If you see flicker, lock exposure and white balance or use deflicker software in post; too-short intervals are a common cause of dropped frames, so add buffer and test again.
For visuals that help you remember this workflow, include an annotated photo of an external intervalometer connected to a camera, a screenshot of a camera’s built-in interval menu, two simple diagrams showing timing math and final video length, and a one-page intervalometer cheat sheet graphic you can save to your phone.
What People Ask Most
What is an intervalometer?
An intervalometer is a device or camera feature that triggers your camera shutter automatically at set time gaps, useful for time-lapse, star trails, or hands-free shooting.
How does an intervalometer help with time-lapse photography?
It takes photos at regular intervals without you pressing the shutter, so you can stitch the images into a smooth time-lapse video.
Can I use a smartphone instead of an intervalometer?
Yes, many smartphones can act like an intervalometer using camera apps or remote shutter apps, though features and reliability vary by app and phone.
Is an intervalometer only useful for time-lapses?
No, it also helps with long exposures, star trails, HDR sequences, and any situation where you need repeated or hands-free shots.
Do I need an intervalometer for long exposure photography?
Not always, since some cameras have built-in timers or bulb modes, but an intervalometer makes repeated or very long exposures easier and more consistent.
What common mistakes should beginners avoid when using an intervalometer?
Beginners often set intervals too short, forget about battery and storage limits, or skip test shots before running a full sequence.
How long should the interval be for a smooth time-lapse?
It depends on how fast the subject moves; try short intervals like 1–5 seconds for quick action and longer ones like 5–30 seconds for slow scenes, then adjust after testing.
Final Thoughts on Intervalometers
An intervalometer—built-in, wired, or app-based—is the tiny scheduler that turns long, repetitive shoots into reliable hands-free workflows and that’s its biggest payoff. If you set the interval to 270 seconds, you’ll see how steady timing creates smooth time-lapses and repeatable stacks that’d be impractical by hand; beginners to pros will benefit, since it saves time, reduces shake, and makes multi-frame projects manageable.
Be realistic about limits: battery life, card write speed, and sensor heat can derail long runs, so always allow a buffer and run a short test. Remember the opening question about capturing long, consistent time-lapses without babysitting your camera? This piece showed how they work, what settings to program, and gave worked examples so you can calculate total capture time and final video length.
Check your camera’s interval menu or cable compatibility, set a safe interval, and run a trial to confirm timing and exposure. Try a short test run and watch your ideas unfold frame by frame; you’ll be surprised how far patience and simple timing will carry you.


0 Comments