
Searching for the best document camera for your classroom? What if a single device could project any student’s work to the whole class with crisp detail and zero fuss?
Document cameras have replaced fussy visualizers and overheads in many lessons. They bring live demos, close-ups, and flexible sharing to everyday teaching.
Options now range from ultra-portable models that fit in a teacher’s bag to more substantial units built for lab demos and lecture halls. You can prioritize portability, image clarity, or classroom-friendly features depending on your teaching style and space.
Teachers use them to model problem solving, showcase student work, and make tiny objects visible to a full class. They also simplify recording demonstrations and sharing lessons with absent or remote students.
Choosing the best document camera for classroom use isn’t only about raw resolution or specs on paper. Connectivity, annotation tools, mounting options, and reliable day-to-day performance often make the biggest difference.
In practice, small differences in features and build quality can reshape daily lessons, influence classroom management, and change how students interact with material. With the right priorities and a bit of classroom-friendly planning, choosing a camera becomes quick, sensible, and immediately useful.
1. AVer U50+ Overview

AVerVision U50+ Document Camera
High-resolution visual presenter with flexible arm and quick-focus capture for classrooms and meetings
Check PriceThe AVer U50+ is a polished, classroom-ready document camera built around a 5-megapixel sensor that captures smooth 30 fps video. Its 8X digital zoom and reliable autofocus let you pick out fine detail quickly, which is a real boon when photographing textbook pages, art, or small specimens.
Physically it’s practical: a foldable, lightweight design with a flexible neck makes it easy to move between rooms and to angle over larger objects. The viewing area covers roughly an A3 sheet, so whole worksheets, books, or science setups fit without awkward stitching or multiple frames.
Connectivity is thorough — USB 3.0, HDMI, and VGA ports mean it plugs into most classroom setups and interactive boards without adapters. The bundled user-friendly software includes annotation tools and video recording, so you can livestream a demo, mark up student work in real time, or record lessons for later review.
As a photographer, I appreciate how the camera balances image quality and practicality for everyday teaching. If you need clear live streams and easy setup across diverse AV systems, the U50+ is a strong choice. Keep in mind it lacks built-in lighting, so you’ll want good room lighting or an auxiliary light. Some buyers also note the price is on the higher side, but for many classrooms the feature set justifies the cost.
- 5-megapixel sensor (clear images)
- 30 fps video for smooth motion
- 8X digital zoom + autofocus
- USB 3.0, HDMI, VGA connectivity
- Somewhat expensive
- No built-in lighting
2. IPEVO VZ-R Overview

IPEVO VZ-R HDMI/USB 8MP Document Camera
Versatile HDMI/USB capture with crisp 8MP imaging and plug-and-play connectivity for teachers and creators
Check PriceAs a photographer who often needs crisp detail and dependable lighting, the IPEVO VZ-R stands out with an 8-megapixel sensor and Full‑HD 1080p output at 30 fps, which means you get clean, high-resolution stills and smooth video for classroom demonstrations. The combination of that high resolution and a multi-jointed stand makes it easy to frame documents, close-ups, or small objects without fuss.
The built-in adjustable LED lights are a real boon when classroom lighting is unpredictable; they give you consistent illumination for legible text and textured subjects. Because the lights are adjustable, you can control reflections and shadows more effectively than with fixed lamps.
Compatibility is straightforward: the VZ-R works with iOS, Microsoft, and Chromebook devices, so it fits into most modern classroom ecosystems. If you want a simple setup without a computer, you can also use the HDMI output to run the camera directly to a display, which is great for quick demos and shared viewing.
One limitation to keep in mind is audio: the microphone only works in USB mode, so HDMI-only setups won’t capture sound from the built-in mic. Also, while the unit is compact, it’s slightly heavier than some ultra-light models, which could matter if you move it frequently between rooms.
- 8-megapixel sensor with Full‑HD 1080p
- Built-in adjustable LED lights
- Multi-jointed flexible stand
- Works without a computer via HDMI
- Microphone only works in USB mode (limited in HDMI mode)
- Compact but slightly heavier than some models
3. PAKOTOO USB Document Camera Overview

PAKOTOO USB Document Camera A3 Foldable Dual Microphone
Foldable A3-size capture solution with dual microphones and USB power for portable scanning and live demonstrations
Check PriceAs a photographer who spends hours framing, lighting, and conveying detail, I appreciate the PAKOTOO USB Document Camera’s pragmatic design. Its foldable body makes it easy to move between classrooms or tuck into a bag, yet it unfolds to give a steady platform for overhead shots and demonstrations.
Lighting is often the difference between a flat image and something that reads clearly on screen. The PAKOTOO’s 3-level LED lights let you dial illumination up or down to avoid glare on glossy pages or to lift shadowed areas in a dim room. The image invert feature is a nice, practical touch when the camera must be mounted or flipped for different setups — it saves time and keeps the framing consistent.
Connectivity-wise, this camera is built for modern classrooms. It’s compatible with Mac OS, Windows, Zoom, and OBS, so you can plug it into live lessons, record demos, or stream close-ups without wrestling with converters. Audio is often overlooked, so the dual microphones here are welcome; they catch student questions and narration more clearly than single-mic units.
There are caveats. Some users report software compatibility issues on certain systems, so test it with your AV setup before committing to large lessons. Also, the zoom range is limited compared to higher-end models, which means it’s ideal for documents, books, and larger specimens but less suited to extreme close-ups of tiny details.
- Highly portable and easy to set up
- Built-in LED lights provide good illumination
- Compatible with various platforms for versatile use
- Dual microphones enhance audio quality
- Some users report software compatibility issues on certain systems
- Limited zoom capabilities compared to other models
4. Epson ELPDC21 Overview

Epson ELPDC21 Document Camera
Reliable high-quality imaging and easy integration for classrooms, featuring smooth autofocus and sturdy mounting
Check PriceAs a photographer, I appreciate a document camera that captures texture and fine detail, and the Epson ELPDC21 delivers on that front with its high-resolution imaging. It renders small objects and intricate work—think tissue fibers, handwriting, or craft details—clearly enough for an entire classroom to study without squinting.
The flexible arm is a real asset in a teaching environment. It lets you dial in the exact angle and distance you need for overhead shots or close-ups, so demonstrations look professional and intentional rather than improvised.
Compatibility with various devices makes setup painless in most classrooms. Whether you’re connecting to a laptop or integrating with classroom AV, the camera’s device support keeps things simple and reliable during a live lesson.
That said, the ELPDC21 is more of a stationary workhorse than a grab-and-go unit. Its size reduces portability, so it’s best suited to a dedicated teaching station rather than a teacher who moves between rooms every period.
Also keep in mind that connectivity options are somewhat limited compared to other models. If your classroom relies on a wide assortment of ports or needs multiple simultaneous outputs, you may find the ELPDC21 a bit restrictive.
- High-resolution imaging for detailed close-ups
- Flexible arm for precise angle adjustments
- Clear, detailed images ideal for small objects
- Compatible with a range of classroom devices
- Less portable due to size
- Limited connectivity options
5. OKIOCAM S Overview

OKIOCAM S-4K 8MP 2-in-1 Document Camera & Webcam with OKIOPoint
Ultra-clear 4K capture with dual-mode webcam functionality and interactive pointing tool for hybrid teaching and streaming
Check PriceAs a photographer, the first thing I notice about the OKIOCAM S is its high-resolution imaging. The image clarity makes it well suited for detailed presentations and close-up work in the classroom.
Its portable design and lightweight build mean you can move it between rooms without hassle. For teachers who need a grab-and-go solution, this camera is refreshingly simple to transport and set up.
Compatibility is another strong point — it works with multiple platforms, including Windows and Mac. That cross-platform support keeps workflows smooth whether you’re connecting to a laptop, desktop, or classroom machine.
There are a couple of practical limits to keep in mind. Some users report autofocus issues in certain lighting conditions, so you may need to tweak placement or rely on manual focus if your lesson has mixed lighting. Also, built-in lighting is limited, so a supplemental light source might be necessary for dim rooms or detailed specimen work.
Overall, if your classroom needs a portable, high-resolution document camera that plugs into standard classroom setups, the OKIOCAM S is a good fit. It’s especially useful for teachers who prioritize image detail and cross-platform compatibility, but you should plan for external lighting in darker environments and test focus performance in your typical lighting before relying on it for critical demonstrations.
- Highly portable and lightweight
- High-resolution imaging
- Suitable for detailed presentations
- Compatible with multiple platforms (Windows, Mac)
- Autofocus issues in some lighting
- Limited built-in lighting
Tips For Effective Document Camera Use
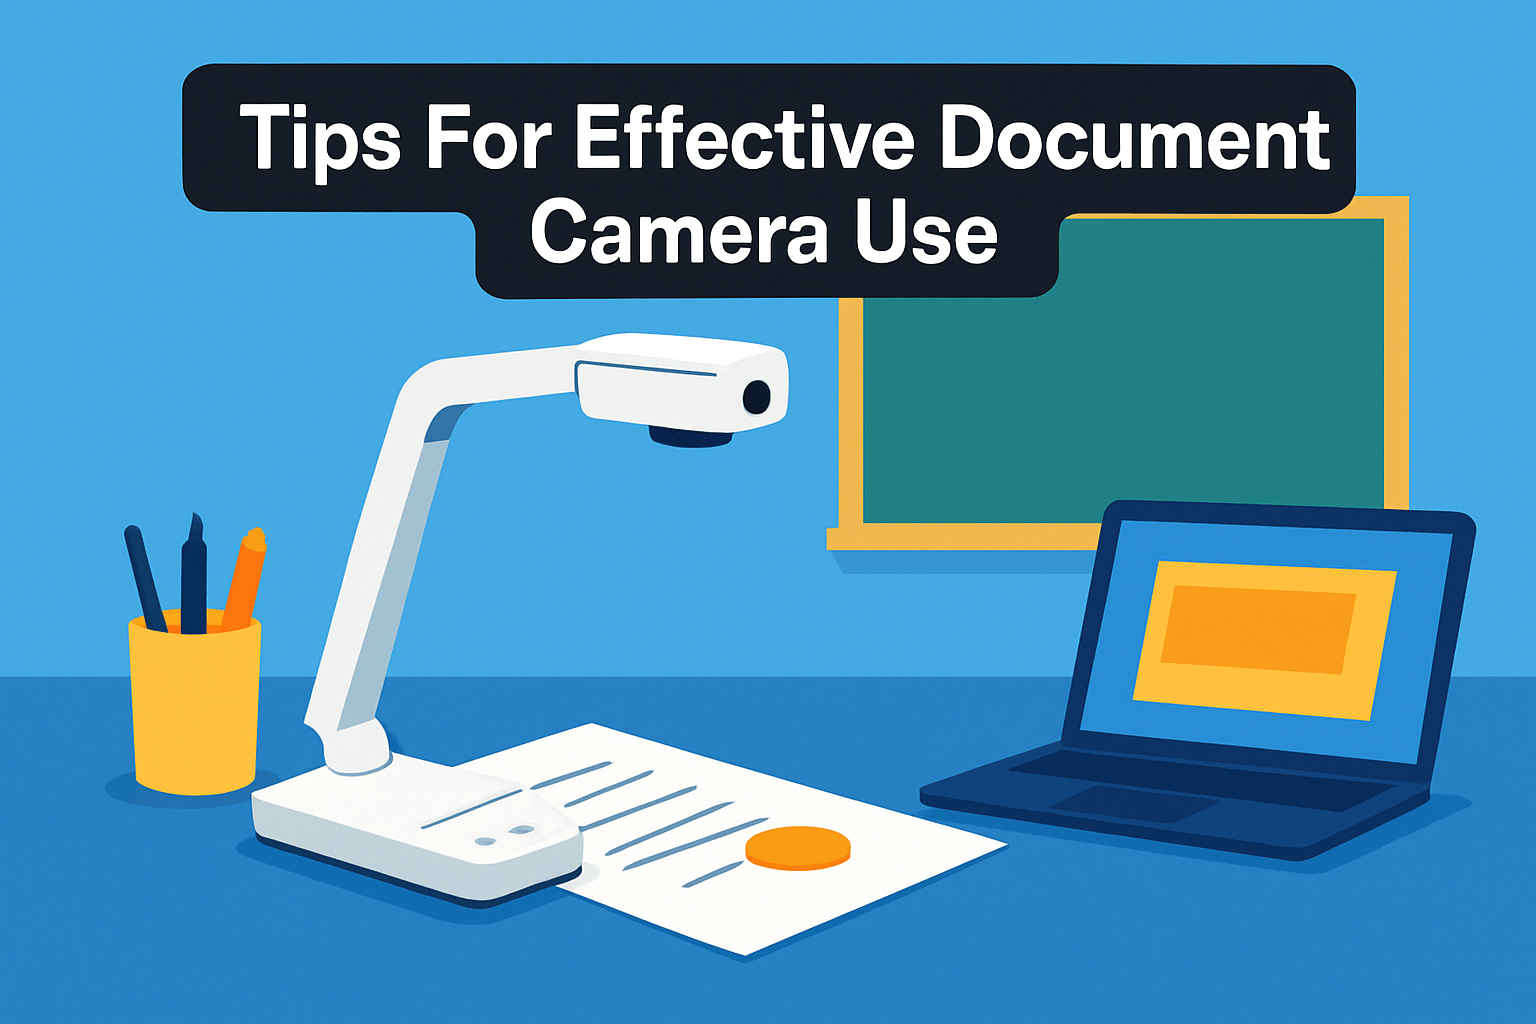
Think of your document camera as a small studio on a cart. Good lighting and simple composition make every object read clearly on screen, so position a soft LED at an angle to reduce glare and use a neutral background to boost contrast for text or specimens.
Get close, then zoom. Modern cameras handle tight crops well, but optical framing still matters. When showing tiny details—leaf veins or circuit traces—bring the camera in, stabilize the arm, then fine-tune focus so students see crisp edges instead of blur.
Make annotation part of the rhythm, not an afterthought. Circle important words, draw arrows, or highlight steps while you explain; the live interaction keeps attention and turns passive viewing into active learning.
Record the demo whenever possible. Short clips of experiments or problem-solving save a lot of re-explaining later and help absent students catch up. Do a quick playback to check audio and framing before you save or share.
Use zoom and framing to manage classroom behavior subtly. Large, clear visuals help students pace tasks and reduce questions. Display a timer or step list on the feed so everyone can follow the same rhythm.
Let students take the camera. Handing a high-resolution, wireless or portable unit to a presenter builds confidence and gives authentic assessment moments. Coach them on steady hands, slow movements, and where to place objects for best visibility.
Before class, run a short tech check. Confirm input selection on the AV system, plug in power, and adjust brightness and contrast to your room’s lighting. A five-minute routine prevents mid-lesson scrambling.
Finally, treat the lens well. Wipe with a microfiber cloth, avoid touching the glass, and keep ventilation clear. A clean, well-positioned camera delivers reliable, professional-looking lessons every time.
Document Camera Maintenance And Care
Think of your document camera the way you treat a favorite lens: the glass is everything. Wipe the lens and any LCD or viewfinder daily with a soft microfiber cloth slightly dampened with water, using gentle circular strokes from the center outward. For routine dust, a blower or lens brush is safer than canned air.
Make weekly deeper cleans part of your routine. Remove fingerprints and stubborn smudges carefully, but avoid harsh chemicals or household cleaners that can ruin coatings. Keep a small kit with microfiber cloths, a blower, and a lens pen in the classroom so you can tidy the camera between lessons.
Prevent overheating by keeping ventilation slots clear and never covering the unit during use. Place the camera on a firm, flat surface rather than soft materials that block airflow, and avoid stacking books or papers on top when it’s running.
Physical protection matters. Inspect the body and connections before each session for cracks, loose parts, or frayed cables, and secure cords so they don’t get yanked during a demo. Use protective lens caps and a padded case when transporting between rooms.
Manage batteries and power thoughtfully. Keep batteries charged and store them at stable room temperatures; unplug the unit during thunderstorms or long periods of nonuse. If a camera has removable batteries, rotate them occasionally so one isn’t left fully depleted for months.
Do a quick functional check before class: power on, confirm battery and storage status, test zoom, focus, and do a short recording-playback to catch audio or framing issues early. These small checks prevent awkward interruptions during a lesson.
If you notice smoke, strange odors, or electrical damage, stop using the camera and refer servicing to qualified technicians. Don’t attempt to open or repair electronics yourself—professional care will preserve both safety and image quality for years to come.
What People Ask Most
What features should I look for in a document camera for classroom use?
Look for clear image quality, reliable autofocus, flexible positioning, and good connectivity to your classroom display or computer. Useful extras include built-in lighting, annotation software, and a durable, easy-to-transport design.
How do document cameras benefit teaching and learning in the classroom?
They let teachers share detailed demonstrations and student work with the whole class, which supports visual learning and active discussion. They also make it easy to record lessons for review or absent students.
Can a document camera be used as a webcam for remote or hybrid teaching?
Many document cameras can act as a camera for video calls when connected to a computer, allowing you to show documents or demonstrations live. Verify compatibility with your video conferencing setup before relying on it for every session.
What resolution and image quality are ideal for a classroom document camera?
Choose a camera that produces clear, detailed images so text and small objects are easy to see from a distance. Good lighting and proper focus are as important as raw resolution for a usable classroom image.
Are document cameras compatible with interactive whiteboards and classroom software?
Most models work with common displays and classroom software and offer features like live annotation and recording. Always confirm compatibility with your specific interactive board and software before purchase.
How easy is it to set up and operate a document camera in a classroom setting?
Setup is typically straightforward: connect to your display or computer, choose the correct input, and adjust position and focus. Some models are plug-and-play while others may require brief software installation.
Should I choose a portable document camera or a ceiling-mounted/fixed model for my classroom?
Choose portable models if you need flexibility and shared use across rooms, and opt for fixed or ceiling-mounted units for a permanent, hands-free setup. Consider classroom layout, storage, and how often you will move the camera.
Conclusion On Classroom Document Cameras
The five models covered here offer a clear spectrum of choices, from ultra‑portable designs to higher‑resolution, feature‑rich options, so you can match a document camera to your classroom’s teaching style and technical needs.
Remember that the real value comes from thoughtful setup, consistent maintenance, and using features like zoom, annotation, and recording to make lessons more interactive and accessible.
With a little practice and the right care, any of these cameras can meaningfully improve live demonstrations, student presentations, and lesson capture for absent learners.
If you want to build your skills further, explore more articles on our site to learn techniques, classroom workflows, and practical tips for getting the most from classroom AV gear.
Please leave a comment with your questions or experiences — we usually reply within a few hours and are happy to help you choose or troubleshoot a setup.



0 Comments