
Which Gorillapod will keep your DSLR steady while wrapped around a railing or perched on a windblown rock?
If you’ve ever watched a perfect frame wobble as you fumble with a bulky tripod, this guide is for you.
This quick guide compares five Gorillapod models that make sense for DSLR shooters.
We focus on what matters in the field, not marketing copy.
You’ll get straightforward analysis of capacity, real-world performance, practical pros and cons, and simple setup tips.
These are the factors that actually affect shots when it counts.
Capacity and balance decide if a flexible tripod is a clever hack or a liability under a long lens.
Hands-on testing reveals how leg construction, mounting choices, and head behavior influence stability.
I’ll share usable setup tips to improve balance, reduce vibration, and tame uneven terrain.
Small adjustments often yield steadier frames than upgrading to pricier gear.
Expect concise, photo‑tested advice to match a Gorillapod to your DSLR, lens, and shooting style.
No jargon. No fluff. Just clear direction so you can spend less time guessing and more time shooting.
You’ll also read field notes from shooters who carried these tripods on hikes, rooftops, and crowded streets.
Those reports show which models travel light and which hold up under heavier kits.
I’ll outline the trade‑offs so your pick fits real shoots, not spec sheets.
By the end you’ll know how to choose a Gorillapod that reduces wobble and expands creative angles.
Steadier frames and confident shooting await—let’s get you set up.

Joby GorillaPod 1K GripTight 360 Kit tripod with ball head and rotating phone mount, 1 kg capacity

Joby GorillaPod 5K Kit ball head tripod for DSLR/mirrorless, 5 kg capacity

Joby GorillaPod 500 compact tripod for sub-compact cameras and devices, 500 g capacity
1. Joby GorillaPod 5K With Ballhead
Joby GorillaPod 5K Kit ball head tripod for DSLR/mirrorless, 5 kg capacity
Studio-grade flexible legs and sturdy locking head provide rock-solid support for heavy cameras, backpacks, and creative on-the-go setups.
Check PriceThe Joby GorillaPod 5K Kit with Ballhead is built for photographers who mount heavy DSLR rigs and large telephoto lenses. It supports up to 5 kg (~11 lbs) and its thick, contoured legs give you a firm grip whether you’re setting it on a rock or holding it for run-and-gun vlogging.
The included pro-grade ballhead is a real practical bonus: an Arca‑Swiss compatible quick‑release plate, a numbered panorama scale and a panning-axis locking knob let you make precise compositions and smooth pans. The ballhead is removable, so you can swap it onto a full-size tripod when you need a more traditional setup or want different head functionality.
In real-world use the 5K shows up as the stable backbone for heavy setups — creators like Peter McKinnon have used it with wide-angle lenses and vlogging mics, and users consistently report sturdiness and reliability. The comfortable grip and beefier legs make handheld shots and low-angle work far easier than with smaller GorillaPods.
That said, the trade-offs are obvious: it’s heavier and bulkier than smaller models, so it’s less travel-friendly if you’re trying to minimize weight. It also comes at a higher price compared with lower-capacity options, but that premium nets you capacity, a pro ballhead and the confidence to mount larger rigs safely.
- Supports up to 5 kg (~11 lbs)
- Very stable for heavy DSLR rigs
- Pro-grade Arca‑Swiss compatible ballhead
- Thick, contoured legs for comfortable grip
- Bulkier/heavier — less travel-friendly
- Higher price than lower-capacity models
2. Joby GorillaPod 3K Kit

Joby GorillaPod 3K Kit ball head tripod for compact cameras, 3 kg capacity
Portable, flexible tripod with secure head for mirrorless and compact cameras; versatile positioning and reliable stability for travel photographers.
Check PriceAs a working photographer I reach for the Joby GorillaPod 3K Kit when I need a reliable, travel-friendly support for most DSLR and mirrorless setups. Its 3 kg (~6.6 lbs) capacity covers standard camera bodies with normal primes or zooms, and the flexible legs let you wrap around poles or set up on awkward surfaces for creative angles.
At 393 g it’s light enough to toss in a daypack without feeling like dead weight. That portability-strength balance is why vloggers and on-the-go photographers favor it; you get solid stability for handheld shots and quick outdoor setups without hauling a full tripod.
The built-in bubble level is a small but meaningful detail. It speeds up leveling for horizons and video, saving time when you can’t fuss with adjustments. The legs grip well on railings, branches, and uneven terrain, which expands your shooting options in the field.
Be realistic about limits: the 3K struggles with heavier or long telephoto lenses. If you routinely use big glass or add microphones and lights, you’ll approach the edge of safe, stable use. Also expect the included ballhead to be functional but not silky smooth compared with pro heads.
In short, the 3K is a strong all‑rounder for travel, run‑and‑gun shoots, and vlogging where mobility matters. Choose it if your typical rig stays under ~6.6 lbs and you value compactness and flexible mounting more than absolute maximum stiffness for long lenses.
- Supports up to 3 kg (~6.6 lbs)
- Lightweight (393 g) and compact
- Built-in bubble level for quick leveling
- Flexible legs for versatile mounting
- Not ideal for heavy telephoto lenses
- Ballhead rotation/smoothness limited
3. Joby GorillaPod 1K Kit
Joby GorillaPod 1K GripTight 360 Kit tripod with ball head and rotating phone mount, 1 kg capacity
Compact travel stand with rotating phone clamp and adjustable head for seamless vertical and horizontal storytelling, vlogging, and live streaming.
Check PriceThe Joby GorillaPod 1K Kit is a small, no-nonsense tripod designed for mirrorless bodies, compact DSLRs, and lighter camera setups. It’s rated to support up to 1 kg (~2.2 lbs), so think lightweight kits rather than full-size DSLRs with long zooms.
What makes it useful in the field is its size and flexibility — it’s extremely portable and will easily fit in a backpack or larger pocket. The flexible legs give you creative wrap‑around mounting options on railings, branches, and uneven terrain for shots you wouldn’t get with a rigid tripod.
As a photographer I reach for a 1K when I need something faster and less cumbersome than a full tripod: quick street shots, travel vlogs, and run‑and‑gun YouTube work. Users find it solid and stable for lighter cameras, and it’s popular with beginners and travel photographers for that reason.
Be clear about the limits: the 1K becomes unstable if overloaded, and the legs can struggle on very uneven or slippery surfaces. If your setup approaches or exceeds 1 kg once you add batteries, microphones or heavier lenses, you’ll want to step up to a higher‑capacity Gorillapod.
- Extremely portable
- Versatile mounting
- Adequate stability for lightweight cameras
- Supports up to 1 kg (~2.2 lbs)
- Limited to lightweight cameras
- Legs less stable on very uneven/slippery surfaces
4. Joby GorillaPod 500
Joby GorillaPod 500 compact tripod for sub-compact cameras and devices, 500 g capacity
Ultra-light, pocketable tripod offering flexible legs and quick setup for point-and-shoot cameras, action cams, and lightweight devices.
Check PriceThe Joby GorillaPod 500 is a tiny workhorse for ultralight camera setups. It’s rated to support up to 500 g (1.1 lbs), which makes it ideal for high-end compact cameras like the Sony RX100, Canon PowerShot G series, and action cams.
In the field I reach for this when I need a pocketable rig that still gives me stable framing and creative mounting options. The flexible legs let you wrap around railings, branches, or create low-angle table shots without dragging a full tripod.
It uses a fixed ballhead with a tightened ball socket, so adjustments require a twisting motion rather than separate knobs. That keeps the overall size and weight down, but you’ll notice less smooth, fine-tuned movement compared with larger ballheads.
The cut-away section is a thoughtful detail — switching to portrait orientation is quick and reliable, which is handy for social/video-first work. Many vloggers and mobile content creators favor this model for its portability and the way it integrates into fast-moving workflows.
Be realistic: this isn’t designed for DSLRs. User feedback consistently notes limited adjustability and a less-smooth ballhead, so if you need precision panning or are hauling heavier glass, look elsewhere. For light travel, pocket carry, and run-and-gun mobile shoots, the GorillaPod 500 is a strong, practical choice.
- Supports up to 500 g (1.1 lbs)
- Very compact and lightweight
- Cut-away for easy portrait switching
- Flexible legs for versatile mounting
- Limited ballhead adjustability
- Cannot support DSLRs
5. Joby GorillaPod 325 Reference Model

Joby GorillaPod 325 compact tripod for compact cameras and devices, 325 g capacity
Tiny, travel-friendly mini tripod that stabilizes sub-compact cameras and smartphones while fitting easily in bags and pockets.
Check PriceThe Joby GorillaPod 325 is a very lightweight, ultra-small tripod designed for compact cameras and phones. As a working photographer I keep something like this in my bag for quick tabletop setups and spontaneous low-angle shots.
Its flexible legs let you wrap around railings, pipes, or create a stable little platform on uneven surfaces. Because it’s used mainly by phone photographers and as a tabletop tripod, it’s fantastic for vlogging with a phone, hands-free behind-the-scenes clips, and quick product or food shots.
Be clear about its limits: the 325 cannot support DSLR cameras, so it’s not a backup tripod for heavier kits. The stability is tuned for very small devices, so expect some give if you try to push beyond compact cameras or add accessories.
If you need something ultra-portable for social content, travel light days, or a stable surface for phone interviews, the 325 is a practical, no-fuss tool. If you shoot with a DSLR, however, this model isn’t appropriate — choose a solution rated for your camera’s combined weight instead.
- Extremely small and portable
- Flexible legs for wrap-around mounting
- Great for phone photographers
- Useful as a tabletop tripod
- Cannot handle DSLRs
- Limited stability beyond small compact devices
Tripod Balancing and Setup Tips
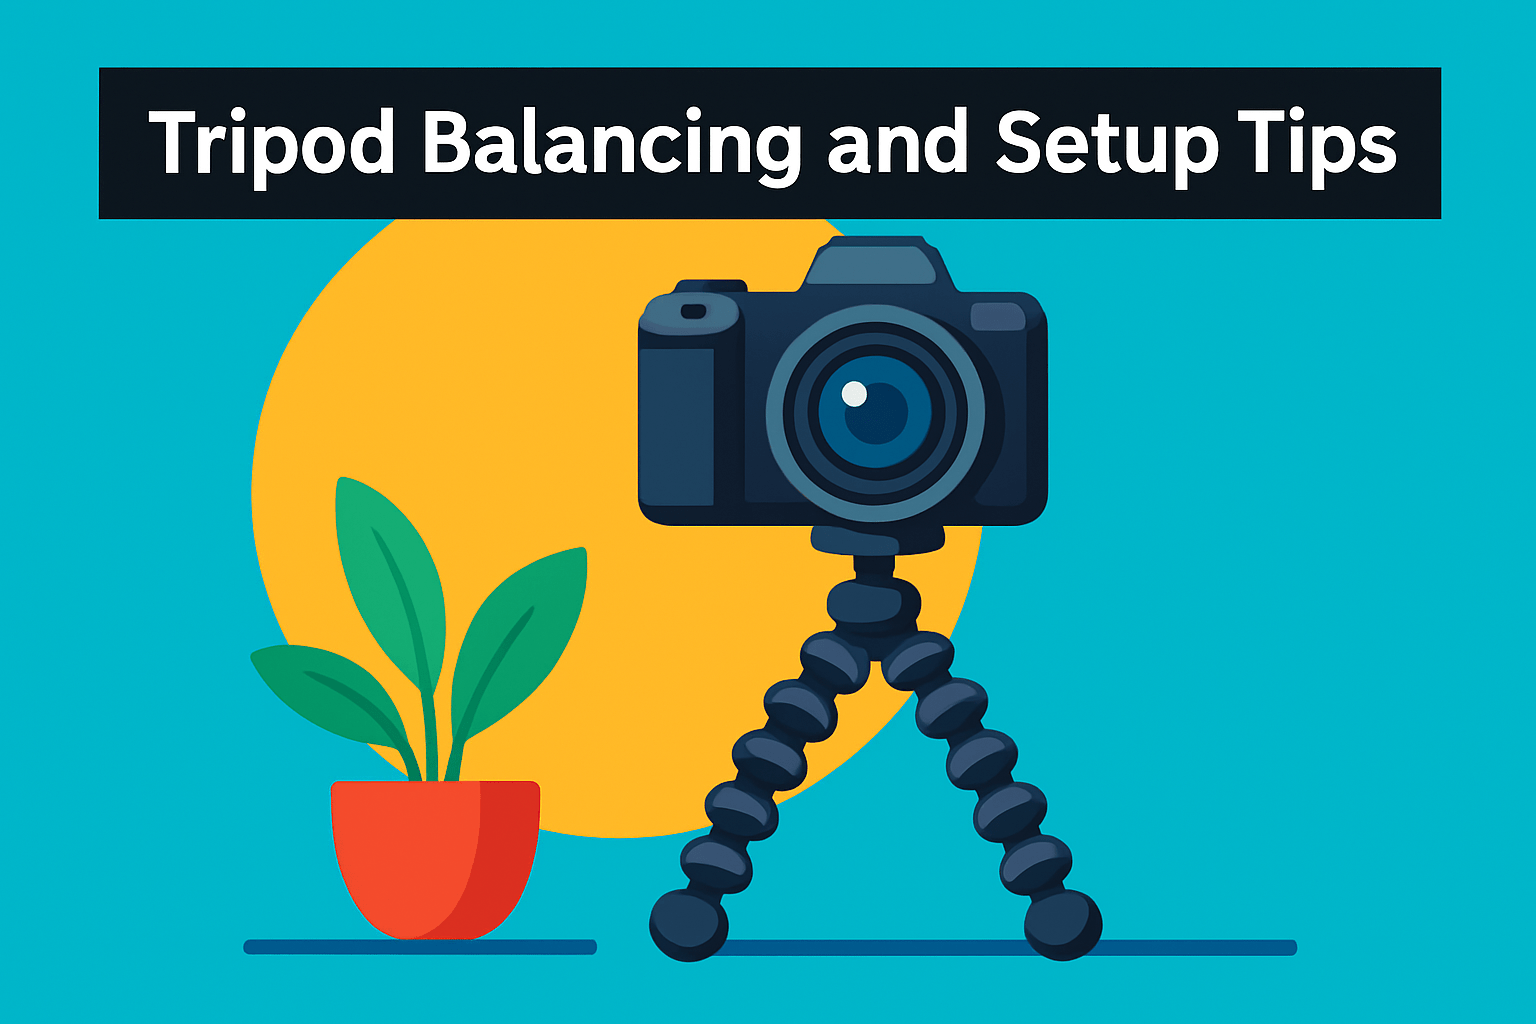
Start every setup by spreading the legs as wide as they’ll comfortably go. A broader base beats clever angling every time; it lowers the center of gravity and gives you a forgiving margin if someone brushes past or a gust catches your rig.
When you’re mounting a DSLR with a protruding lens, tuck one leg underneath the lens barrel so the leg carries some of that forward weight. That simple counterbalance often turns a tip-prone rig into a usable platform.
Don’t try to force the legs flat on a surface — press them firmly so each joint seats against the substrate instead. A properly “set” leg grips better than one you’ve bent into an awkward position.
On uneven ground, treat each leg independently: bend and rotate until the camera is level and the load feels equally shared. For railings, branches or poles, wrap the legs around and let them “hug” the object; wrapped legs almost always out-hold a flat stance.
Keep the GorillaPod as low as possible for tricky shots. Lower systems reduce leverage and are far less likely to tip than a high, extended setup.
If your model lacks a refined head, add a small ball head between the Pod and camera for precise framing. It also helps you avoid awkward strain on the Gorillapod’s joints when angling heavy lenses.
Vibrations are the silent killer of sharp images. Use a remote or self-timer, and for sensitive exposures give the rig 10–12 seconds after triggering to let any settling finish.
Avoid pulling or using a camera strap as a makeshift handle while the camera is mounted; that extra force is often enough to upset the balance. Instead, use the legs as a makeshift shoulder rig or wrap-and-hold technique for more stable handheld shots.
Finally, always test your exact camera + lens combination before committing to a critical shot. Even within capacity ratings, balance and center of gravity determine whether a setup is safe and usable in the real world.
Camera Weight and Compatibility
The first rule I give every photographer is simple: know the true weight of the kit you’ll mount. Don’t just count the camera body — add the lens, battery, memory cards, microphone and any battery grips. A mid‑range DSLR with a 24–70 or a small zoom will often sit comfortably on a 3K GorillaPod, but anything with a long telephoto or robust accessories pushes you into 5K territory.
Capacity numbers matter, but so does balance. A heavy lens shifts the center of gravity forward and makes tipping more likely even if the total weight is within the rating. If your lens is long or front‑heavy, choose a model with extra capacity and plan to position a leg under the lens foot or point one leg forward to counterbalance the weight.
Check mounting compatibility before you buy. Most Gorillapods use the standard 1/4″-20 thread so they’ll screw directly into DSLR plates and many quick‑release adapters. If you want fine framing control, pick a kit that includes a solid ball head or plan to add one between the pod and camera for smoother panning and tilt.
Practical testing beats theory. Set the camera up at home, spread the legs wide, and gently nudge the rig from different angles. If there’s noticeable sag or wobble, step up to the next capacity class. Keep the pod low when possible, and use a remote or a 2–10 second self‑timer to let any vibration settle for sharper results.
Finally, when in doubt aim higher. A GorillaPod rated above your gear’s combined weight gives you margin for extra accessories, rough surfaces, and safer wrap‑around mounts. It’s the difference between “it stands” and “it stands confidently” when you’re on a shoot.
What People Ask Most
Which GorillaPod is best for DSLR cameras?
Choose the GorillaPod that matches the combined weight of your camera, lens, and accessories. Heavier DSLR rigs typically require the higher-capacity models while lighter setups can use the smaller ones for greater portability.
Can a GorillaPod safely support a DSLR and lens?
Yes, a GorillaPod can support a DSLR if you select a model rated for your gear and ensure the setup is well balanced. Always test the combination and secure the legs or wrap them to reduce tipping risk.
What size GorillaPod do I need for a full-frame DSLR?
Pick a model rated to handle the camera plus any lens and accessories you plan to mount. When in doubt, opt for a higher-capacity option and verify stability before relying on it for important shots.
Are GorillaPods stable enough for long-exposure or low-light DSLR photography?
They can be stable when positioned low, balanced, and placed on a solid surface, and when you use a remote or timer to avoid shake. For the most demanding long exposures, a rigid full-size tripod generally offers better inherent stability.
What’s the difference between GorillaPod 1K, 3K, and 5K for DSLRs?
The models differ mainly by intended payload, leg thickness, and portability. Smaller ratings suit lightweight cameras and travel, while larger models handle heavier DSLR bodies and long lenses more securely.
How do I choose the best GorillaPod for my DSLR?
Match the Gorillapod’s rated capacity to your combined camera and accessory weight, consider how you plan to mount or wrap the legs, and weigh portability versus stability. Test your specific setup and prefer a model with some capacity margin for safety.
Can I use a GorillaPod with a DSLR and a tripod head or ball head?
Many GorillaPods accept standard mounts or include a ball head, and adding a quality head improves fine adjustments and framing. Ensure the head and camera combination remains within the pod’s rated capacity for safe use.
Conclusion for Best GorillaPod for DSLR
Choosing the right GorillaPod comes down to matching capacity to your full rig, thinking about balance and ballhead quality, and weighing portability against stability for the shoots you do most.
Prioritize a pod rated above your camera-plus-accessories weight, and always test your exact setup on the surfaces and angles you plan to use before trusting it for important shots.
Simple balancing techniques — keeping the rig low, positioning a leg to counter a heavy lens, or wrapping the legs around a secure object — will make a big difference in real-world stability.
If you want to sharpen your setup and shooting skills, explore more guides and tips on the site to help you choose gear and refine techniques at your own pace.
Have questions or want to share your setup experiences? Leave a comment below — we usually reply within a few hours.




0 Comments