
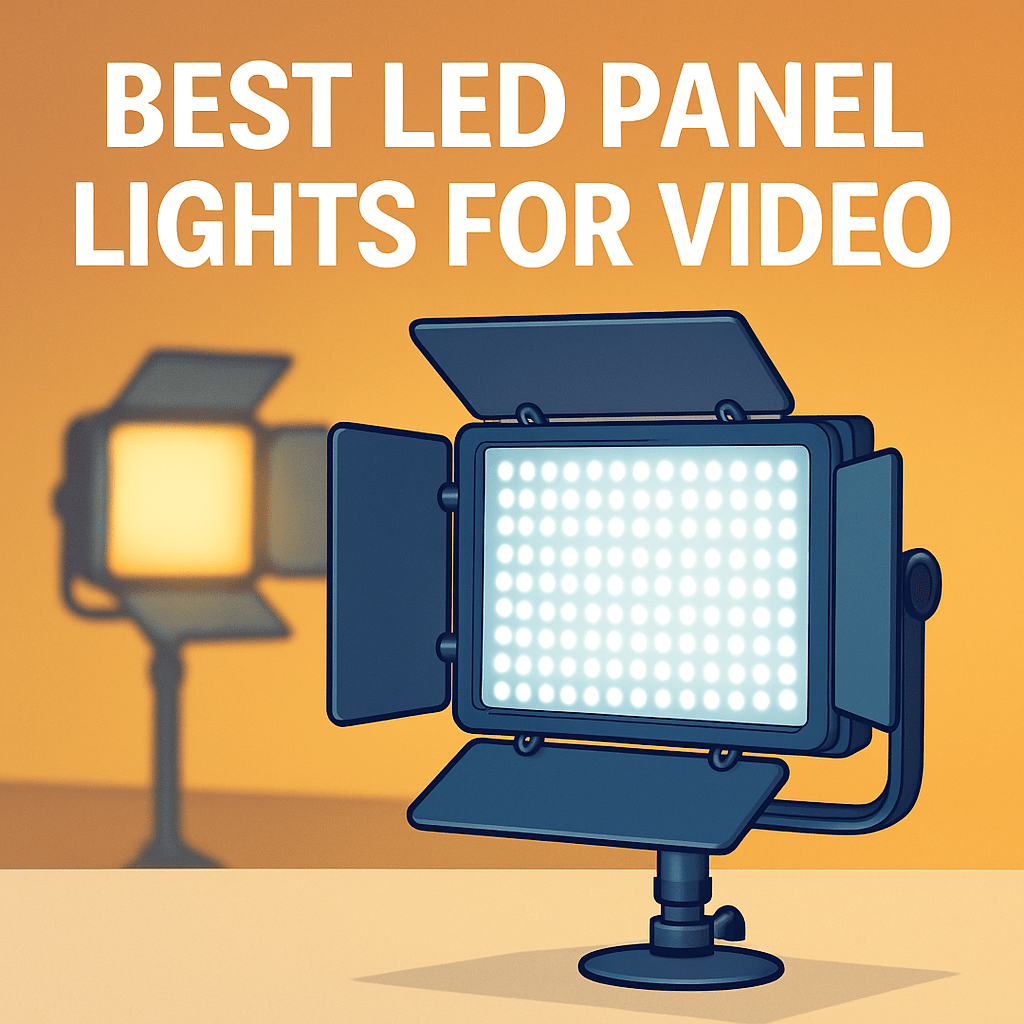
What if a single LED panel could instantly make your footage look cinematic, consistent, and professionally lit?
This guide helps you find the best LED panel lights for video and shows how to use them to improve every shot.
We cut through specs and marketing hype to focus on what actually matters on set and on location.
Expect straightforward advice you can apply whether you’re shooting solo or running a small crew.
This guide is for creators and professionals who want dependable, repeatable lighting.
Solo YouTubers, indie filmmakers, streamers, and studio crews will find practical recommendations that match their budgets and workflows.
Inside you’ll find five top LED panel lights chosen for different needs, from compact on-camera units to robust studio fixtures.
We also explain the key buying features to prioritize, offer clear setup tips, and answer the FAQs that often confuse buyers.
Learn how to balance color accuracy, brightness, power options, and portability so your choice fits real shooting scenarios.
You’ll also get quick setup guidance to achieve flattering three-point lighting and efficient multi-panel arrangements.
Whether you want soft interview light, crisp product shots, or dramatic cinematic looks, this guide will steer you to the right panel.
Read on and make lighting a strength of your video production, not an afterthought.

Rotolight NEO 3 PRO Imagemaker Kit On-Camera RGBWW LED with HSS Flash App Control
1. GVM SD80D Product Overview

GVM SD80D 80W LED Video Light Kit Bowens Mount Softbox Tripod CRI97+
Powerful 80W softlight with Bowens compatibility, high color accuracy, included softbox and tripod for smooth, professional studio illumination.
Check PriceThe GVM SD80D is a compact, 80W daylight LED panel that punches well above its size. It outputs a daylight-balanced 5600K and boasts very high color accuracy with CRI/TLCI 97+, so skin tones and colors render naturally without much correction in post.
Weighing just 1.2 kg and able to run from an AC adapter or NP-F batteries, this panel is genuinely portable for location and home-studio work. The whisper-quiet cooling fan keeps the unit inaudible on set, which matters when you’re recording clean audio for interviews or vlogs.
What stands out for me as a working photographer and videographer is the GVM mobile app. It’s stable, intuitive and lets you tweak output and access lighting effects remotely—great when you’re shooting solo or directing talent. The lamp’s soft output responds very well to a softbox, making it usable as a key light in small studios or YouTube setups.
The trade-offs are straightforward. It’s daylight-only, so if you need tungsten warmth or full bi-color flexibility you’ll want a different panel or gels. Also, NP-F runtime is modest, so plan for extra batteries for longer shoots or rely on AC power when available.
Bottom line: if you need a bright, color-accurate, portable daylight panel with excellent app control and silent operation, the SD80D is a strong, budget-friendly choice for YouTubers, home creators, and on-the-go videographers.
- Excellent power-to-size ratio
- Reliable, intuitive app control
- Silent fan operation
- Good value vs pricier models
- Limited to daylight color temperature (no bi-color)
- Modest NP-F battery runtime for long shoots
2. GVM-850D Product Overview

GVM 850D 2-Pack RGB Bi-Color LED Video Light Kit App Control CRI97+
Dual light set offering RGB and bi-color modes, app control, excellent color fidelity, versatile for creative video and photography.
Check PriceThe GVM-850D is a photographer’s-friendly panel that trades tiny size for serious output and versatility. It’s a lightweight 1.0 kg unit but claims an impressive equivalent of 18,000 lux at 0.5 m, so don’t be fooled by the small footprint.
Color fidelity is excellent with rated CRI/TLCI 97+, and the panel offers both full RGB and bi‑color control from 3200K–5600K. You can run it from AC or dual NP‑F batteries, which keeps options open for studio or semi-mobile shoots.
One of the features I value most is the fanless, silent operation — perfect when you’re recording live audio or streaming. The Master‑Slave app control makes synchronizing multiple units effortless, so a multi‑light setup can be dialed in from one interface without fuss.
In practice the 850D can light entire rooms or serve as a solid key for medium to large studio setups, and the RGB gamut really adds creative possibilities for mood or background accents. If you’re a YouTuber, live streamer, or a small production team seeking a powerful, quiet main light with color flexibility, this fits that brief very well.
Be mindful of a couple of tradeoffs. The official wattage spec (40W) is noted as inconsistent, which can confuse buyers comparing power specs. Also, while it’s only 1.0 kg, the form factor makes it less ideal for frequent travel or run‑and‑gun work compared with more compact panels.
- 18,000 lux eq. at 0.5 m — very bright
- CRI/TLCI 97+ for accurate color
- Fanless silent operation
- Full RGB + 3200K–5600K bi‑color
- Official wattage spec (40W) inconsistent/confusing
- Less portable form factor for travel/run‑and‑gun
3. Arri SkyPanel S60-C Product Overview

ARRI SkyPanel S60-C LED Softlight Manual
Premium tunable softlight with cinematic soft output, precise color control, scalable for studios and location shoots.
Check PriceThe Arri SkyPanel S60-C is a workhorse I often see on serious sets — it packs a 400W LED output that gives you cinema-grade illumination without needing multiple fixtures. As a cinematographer, that sheer output means cleaner, more flexible setups and fewer lights to hide or power.
Color control is where the SkyPanel shines: it covers 2800K–10,000K so you can match tungsten, daylight, or anywhere in between, and its CRI 95 / TLCI 90 values deliver natural skin tones and reliable color matching. That precision makes it ideal when you need to match practicals, gels, or other fixtures exactly.
Build and reliability are industry standards — crews praise its robustness and on-location weather performance, though note the S60-C itself is IP20 rated while Arri’s newer X-series offers IP66 weatherproofing. In practice this means the S60-C is tough for studio and many location shoots, but for wet or very exposed environments you may prefer the X variants.
It’s not a run-and-gun light: the S60-C is heavy and requires AC power, so it’s best for studios, large sets, and dedicated location rigs rather than handheld or battery-run shoots. If you need precise control, powerful output, and top-tier color fidelity, this is one of the safest bets in professional video lighting.
- 400W LED output
- Wide 2800K–10,000K range
- High color accuracy (CRI 95 / TLCI 90)
- Industry-trusted durability and performance
- Heavy — not portable
- AC power only, no battery operation
4. Rotolight NEO 3 Product Overview
Rotolight NEO 3 PRO Imagemaker Kit On-Camera RGBWW LED with HSS Flash App Control
Compact on-camera RGBWW light with high-speed sync flash, app customization, and creative effects for run-and-gun shooters.
Check PriceThe Rotolight NEO 3 is a compact, lightweight workhorse built for hybrid shooters who need both continuous light and flash in one package. Its full RGBWW spectrum with electronic color filters gives you precise color control and useful in-camera effects without carrying extra gels or color panels.
As a photographer I appreciate the dual-mode design — flash and constant light — which lets you switch between stills and video workflows fast. The color touchscreen interface is intuitive on set, so you can dial exact hues and effects without fumbling through menus or apps.
Size and weight make the NEO 3 ideal for on-camera use and tight setups; it’s small enough for run-and-gun shoots but versatile enough for interviews and social content. Reviewers praise its color accuracy and special effects, which are genuinely creative tools for portraits, product clips, and vlogs.
Be realistic about limitations: its flash power is lower than traditional dedicated flashguns, so you won’t replace a studio strobe for heavy-duty action or long-range fill. Also, under continuous high-power use the battery runtime is noticeably shorter than larger panels, so plan for spares on long shoots.
Overall, if you’re a content creator or photographer who values portability, quick switching between flash and video, and wide color options, the NEO 3 is a strong, practical choice. It’s especially good for on-camera lighting, small studio setups, and anyone who wants creative lighting effects without bulky gear.
- Compact, on-camera friendly
- Full RGBWW with electronic color filters
- Dual flash and continuous functionality
- Intuitive color touchscreen control
- Flash output weaker than conventional dedicated flash units
- Limited battery life under continuous high-power use vs larger panels
5. Godox Knowled Series M600D Product Overview

Godox Knowled M600D Daylight LED Light
Powerful daylight-balanced fixture delivering punchy, flicker-free output, suitable for film sets and photography with easy rigging.
Check PriceAs someone who lights both studio interviews and location shoots, the Godox Knowled Series M600D stands out for sheer output and control. The family spans a 230W–740W power range, so you can choose a unit that matches the scale of your set.
The build feels rugged and professional, and the fan is silent — a must for clean location audio. You get fine control too, with 0.1% brightness steps and remote adjustment via the RC-A6 or the Godox Light app.
Beam shaping is where this panel really earns its keep. It accepts Fresnel lenses and barndoors, letting you tighten the field for cinematic spotlighting; with a Fresnel it can reach about 46,400 lux, and about 15,700 lux at 3 m with the reflector.
Integration is production-friendly: DMX works for multi-light rigs, and there are programmable practical effects (lightning, broken bulb, etc.) that save time on set. That combination of power, effects, and control makes it a true studio-grade unit.
Be realistic about portability. These panels are heavier and bulkier than compact LEDs, so they’re better suited to studio or vehicle-lifted location setups than run-and-gun work. They also often require separate power solutions and accessories to unlock their full potential.
- 230W–740W power range
- Up to 46,400 lux with Fresnel
- 0.1% precise dimming
- DMX + RC-A6/app control
- Heavy and bulky for travel
- Needs separate power and accessories
Key Features for Choosing LED Panels
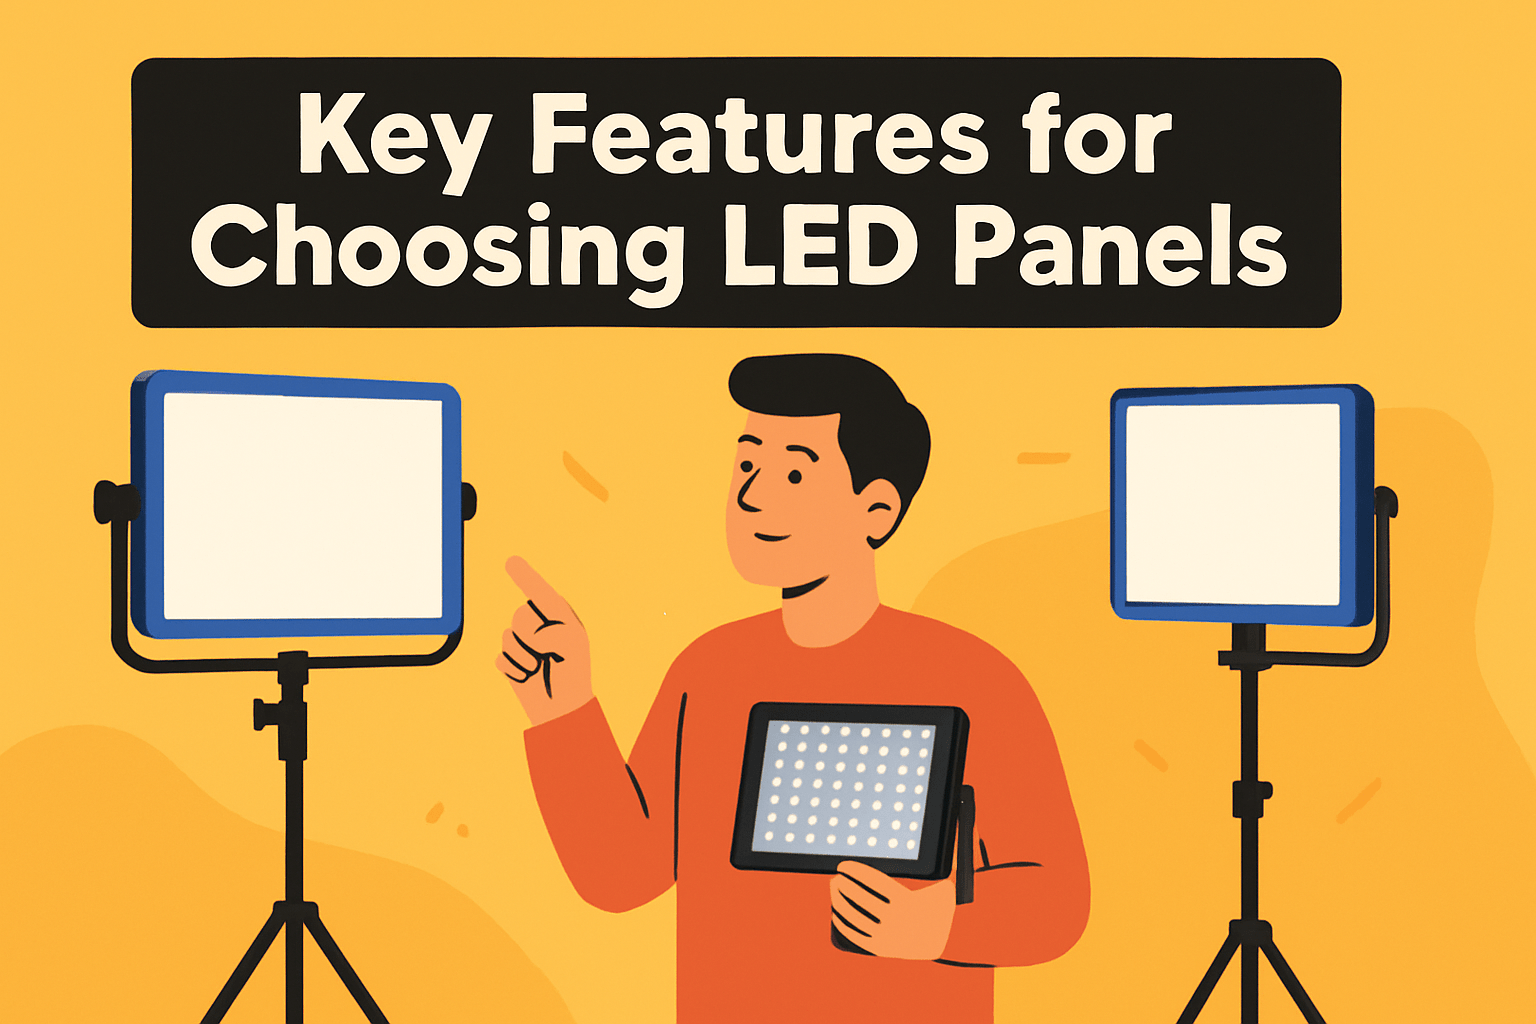
Think of LED panels the same way you think about lenses: pick the right tool for the job, not the fanciest one you can find. For run-and-gun work I prioritize lightweight panels with reliable NP-F battery options, silent operation, and decent color (CRI/TLCI above 90); for studio or cinematic shoots I lean toward higher-output units, DMX/remote control, and the ability to fit Fresnels or modifiers to shape the beam.
Color accuracy matters more than advertised wattage. Aim for CRI and TLCI in the mid-90s for flattering skin tones and predictable color grading, and watch how a unit behaves when dimmed — smooth, flicker-free dimming without hue shifts is essential for clean footage.
Decide early if you need bi-color or daylight-only lights. Bi-color gives you on-set flexibility to match ambient lights, but daylight-only panels are often brighter and simpler; if you work mostly in daylight or controlled studio setups, a daylight-specialized panel can be the better value.
Think beyond raw brightness. A small, powerful panel is great as a hair or fill light, but to get soft, cinematic light you’ll usually still need diffusion or a softbox and to place the panel close to your subject. Conversely, for punchy backlight or key light on larger subjects, a high-output panel with lensing or barn doors will make shaping the beam much easier.
Practicalities make or break a shoot. Check power options and realistic battery runtimes, fan noise levels for audio-sensitive work, and app/remote stability if you plan to tweak lights from a distance. Rugged build and good thermal management mean fewer surprises on long days.
Finally, balance features with workflow. If you often synchronize multiple fixtures, prioritize master-slave or DMX capability; if you’re mobile, choose portability and fast setup. Matching the panel’s strengths to how you shoot will save time and give you nicer-looking footage every session.
Tips for LED Panel Lighting Setups
Think of LED panels as tools for shaping light, not just sources of brightness. Start with a simple three‑point approach — key, fill and backlight — and treat each panel as a layer you can soften, feather, or dim to craft the mood you want.
For flattering portraits and interviews, push panels close and add diffusion. Close, diffused light wraps skin and reduces contrast; if you don’t have a softbox, a scrim or even a large diffusion cloth works wonders to avoid hard shadows and hot spots.
Keep the fill noticeably lower than the key to maintain depth. A subtle fill or a controlled bounce keeps shadows readable without flattening the face; if you need dramatic separation, use negative fill (a black card) on the shadow side instead of increasing contrast artificially.
Place your backlight slightly above and behind the subject to create a rim or hair light. A little separation makes the subject pop from the background, and using barn doors, grids, or a Fresnel attachment lets you tighten that rim without spilling light onto the background.
Match color temperature across all panels to avoid odd skin tones — bi‑color or app‑controlled units make this fast. Aim for high CRI/TLCI fixtures so colors stay natural on camera, and experiment with a slightly warmer temperature for a cozy feel or cooler for a clinical look.
On location, pick panels that suit your workflow: compact, battery‑powered units for run‑and‑gun, larger silent fan or fanless panels for quiet studio work. Use master/slave or smartphone control to fine‑tune levels without pausing the take, and always have spare batteries or a generator for long shoots.
Finally, watch reflections and glare: raise the key a bit and feather it towards the face to avoid catchlight issues in glasses. Before rolling, do a quick camera test for flicker and shadow artifacts — small tweaks at setup save time on set and make your footage look far more professional.
What People Ask Most
What are the best LED panel lights for video production?
There is no single best option; the right choice depends on your workflow and shooting environment. Prioritize color accuracy, reliable control, and the balance of output versus portability that suits your needs.
What should I look for when choosing an LED panel light for video?
Look for adjustable color temperature, high color rendering, and smooth, flicker-free dimming to ensure natural results on camera. Also consider size, power options, diffusion compatibility, thermal management, and remote control features for your workflow.
How many LED panel lights do I need for video shooting?
It depends on the scene and desired look, but a common approach uses a key, fill, and back light to model the subject. Add additional panels to soften shadows, light the background, or achieve even coverage as needed.
What color temperature is best for video with LED panel lights?
Match the color temperature to the ambient light and the mood you want to convey; warmer tones feel cozy while cooler tones read as daylight. Panels with adjustable color or bi-color modes make matching and creative grading easier.
Are LED panel lights flicker-free for video recording?
Many modern LED panels are designed to be flicker-free for video, but not all models perform the same. Check manufacturer specifications and test lights on camera if you plan to shoot at different frame rates or shutter settings.
How do LED panel lights compare to softboxes for video lighting?
LED panels deliver flat, even illumination and work well with a variety of modifiers, while softboxes provide very soft, directional wrap and distinctive falloff. Choose panels for versatility and portability, and use softboxes when you need a softer, more sculpted quality.
How do I position and mount LED panel lights for interviews or vlogs?
Place a diffused key light slightly to one side and above the subject, use a lower-intensity fill on the opposite side to reduce harsh shadows, and add a back or hair light behind the subject for separation. Mount panels securely on stands or rigs and adjust distance and angle to control softness and reflections.
Conclusion for Best LED Panels for Video
This guide pulled together five LED panel options to cover workflows from run-and-gun portability to cinema‑grade studio power, helping you see where each style fits your shooting needs.
When choosing, focus on the combination of color flexibility, output, portability and control features rather than any single spec, so the light supports your workflow and creative goals.
Also weigh practical things like mounting, power options and modifier compatibility so your chosen panel integrates smoothly into setups from solo vlogs to multi‑light studio shoots.
If you want to sharpen your lighting skills and gear choices, explore more articles on the site for setup ideas, comparisons and practical tips to level up your productions.
Have questions or want help picking the right light for a specific shoot? Leave a comment below and we usually reply within a few hours.


0 Comments