
How to transfer data between sd cards switch? Want a simple, safe way to move your Nintendo Switch games and files without losing anything?
This guide gives a clear step-by-step PC method. You will also get a hardware and software checklist, formatting tips, and verification steps before you delete the original card.
Important: save data usually stays on the console unless you use cloud saves. Do not format or erase the old card until you confirm the new card works.
Follow the easy steps, screenshots, and quick fixes for common problems. Time estimates and one-line alternatives (like duplicators or cloning tools) are included to help you choose the best option.
How to Transfer Data Between microSD Cards for Use on Nintendo Switch
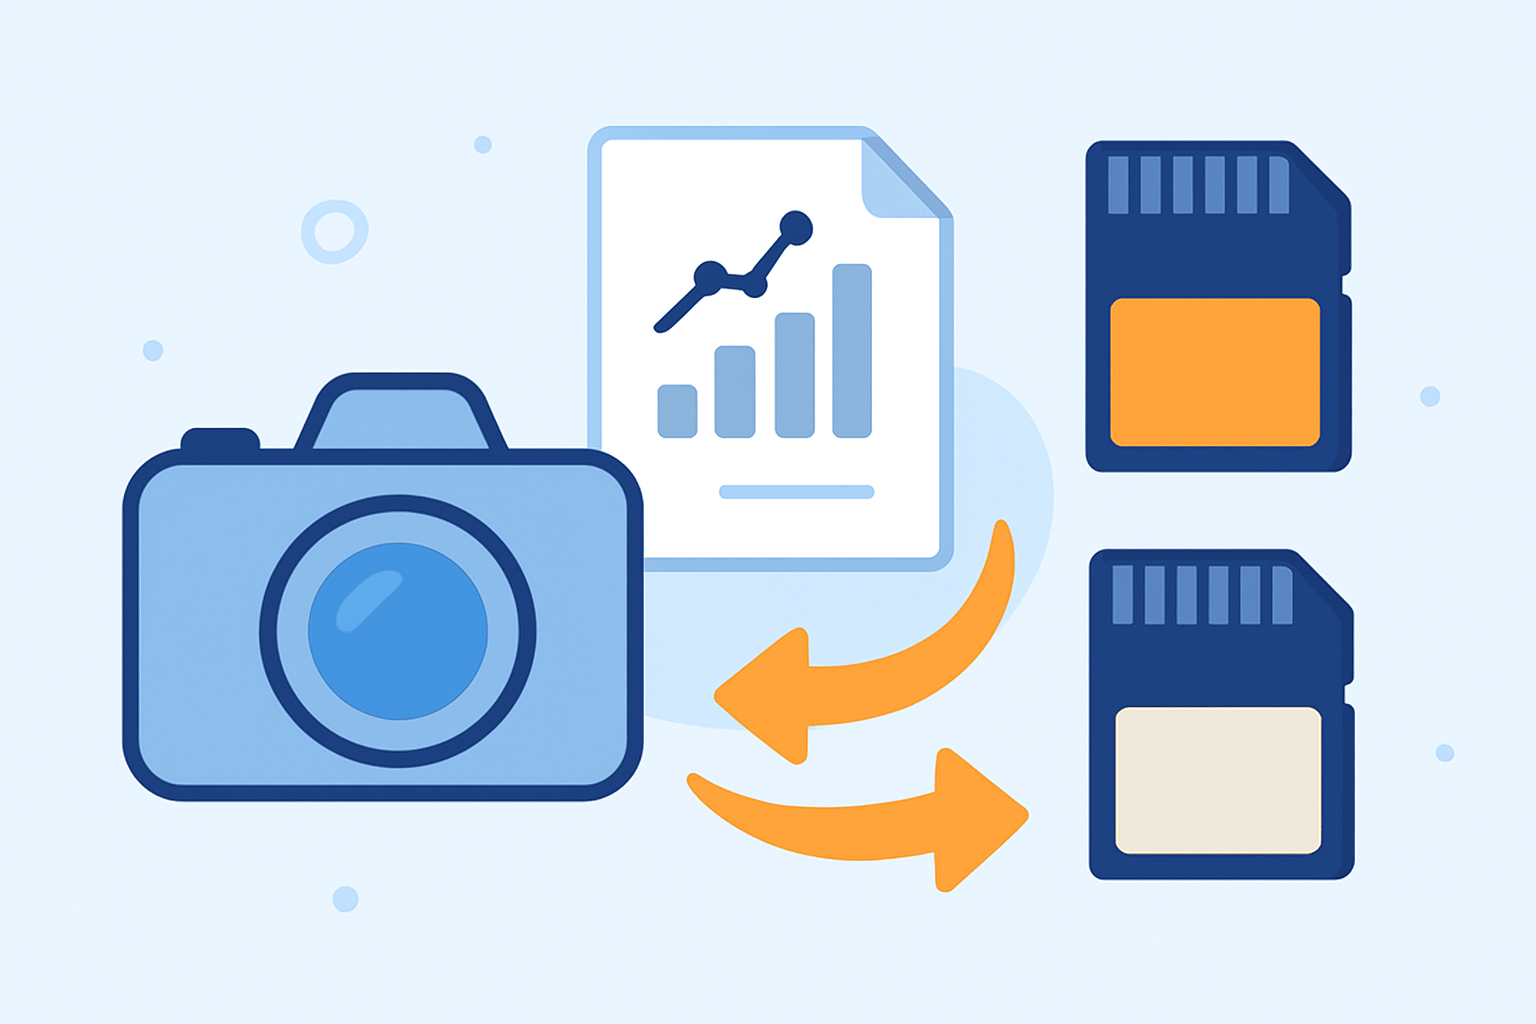
If you’re searching how to transfer data between sd cards switch, the safest method is to copy the entire card to a PC, format the new card correctly, copy everything back, and then verify it on the console. Never format or erase the old card until you confirm the new one works.
Shut the Switch down completely, not sleep. Remove the old microSD, copy every file and folder from the card’s root to a backup folder on your computer, format the new card, copy the backup back to the new card, reinsert it, and check your games and Album.
Powering off prevents file corruption and intermittent errors. Save data lives on the console, not the microSD, unless you use Nintendo Switch Online cloud saves. A full backup preserves downloaded games, DLC, screenshots, and captured videos.
Time depends on size and USB speed: a 64 GB card can take around 30–60 minutes over USB 2.0, and roughly 10–20 minutes over USB 3.0 with a good reader. For extra reassurance, compare your steps with Nintendo’s official guide. An SD-to-SD duplicator or cloning tool can work too, but you still need to verify on the console.
What You Need to Transfer Data Between microSD Cards
You need the original microSD and a new microSD with equal or larger capacity than the used space. Choose a reputable UHS-I card, ideally U3 for better load times and sustained writes. Avoid suspicious, ultra-cheap cards which are often counterfeit.
Have a reliable USB microSD reader or adapter and a Windows, macOS, or Linux computer. A dedicated SD duplicator is optional; it can clone directly, but most users gain little versus the simple copy-and-verify workflow on a PC.
Use your system’s file manager, such as Explorer or Finder, for copying. You may also want a formatting tool that supports exFAT and, on Windows, a GUI FAT32 formatter if you insist on FAT32 beyond 32 GB. Enable viewing hidden files so nothing gets skipped.
Before starting, make sure your Switch firmware supports exFAT and confirm the new card’s capacity exceeds the data on the old card. Check authenticity by testing speed and capacity, and keep your PC backup folder until you’ve verified on the console. This preparation keeps how to transfer data between sd cards switch smooth and stress-free.
Step-by-step instructions for transferring data using a PC
Here is how to transfer data between sd cards switch with a PC. Step 1, power down the Switch via System Settings, Power Options, Turn Off, and remove the old microSD. Step 2, insert the old card into your reader and confirm it mounts, then open your file manager.
Step 3, copy the entire contents at the root of the card into a clearly labeled backup folder on your computer. Use copy, not move, and wait for it to complete without errors or skipped files. Step 4, safely eject the original card from the computer.
Step 5, insert the new microSD and format it as described in the formatting section below. Step 6, paste the backup contents into the root of the new card, then wait for the transfer to finish and check for any error prompts or unusual warnings.
Step 7, safely eject the new card, insert it into the Switch, power on, and verify your games and Album media open normally. If you see copy errors, retry, run chkdsk or Disk Utility, and try a different reader; huge single files require exFAT. For regional guidance, you can also refer to Nintendo support; advanced users running CFW or emuMMC should follow partition-aware, specialized methods.
Formatting the new microSD card
Choosing the right filesystem matters. exFAT is recommended for cards larger than 32 GB because it supports large files and avoids splits, while FAT32 remains useful only for rare compatibility needs and limits single files to 4 GB.
The Switch supports exFAT but may ask for a small system update to enable it. Avoid NTFS and other unsupported formats, and keep the allocation unit size at the default for a good balance of performance and stability on the console.
On Windows, right-click the card in Explorer, choose Format, and select exFAT; if you truly need FAT32 on a large card, use a trusted GUI FAT32 formatter. Double-check the drive letter so you don’t accidentally erase the wrong drive.
On macOS, open Disk Utility, select the card, choose Erase, and pick ExFAT or MS-DOS (FAT) as needed. On Linux, advanced users can run mkfs.exfat or mkfs.fat -F 32, though most people will be more comfortable with the GUI tools on Windows or macOS.
Verifying data on the new microSD card before deleting original
Verification is the step that protects your library. Compare the backup folder and the new card by checking total size and file count, or use a simple checksum or directory compare to confirm that nothing is missing or corrupted after the copy.
Insert the new card into the Switch and confirm it’s recognized without prompts to reformat. Launch a few downloaded games, open your screenshots and clips, and remember that save data is stored on the console storage, not the microSD, unless you rely on cloud saves.
If the Switch doesn’t see the card, reformat as exFAT or FAT32 and ensure your folder structure sits at the root. If you see cloud or redownload icons, just sign in and redownload licenses; if content looks corrupt, recopy from the backup, run disk checks, or try another reader.
Keep your old microSD untouched for a few days of normal play before wiping it, just in case you need to recopy something. For a quick visual refresher, follow this short video walkthrough, and only then consider formatting the original card once you’re satisfied everything works.
What People Ask Most
How to transfer data between SD cards Switch?
Power off the Switch, remove the microSD card, insert it into a computer or adapter, and copy the files from one card to the other using your computer.
What’s the easiest way to copy screenshots and game files from one microSD to another for the Switch?
Use a PC or Mac with a microSD adapter to copy the files you want, then safely eject the card and insert the new one into the Switch.
Can I move game save data between SD cards on my Switch?
No, save files stay on the console memory and can’t be copied between SD cards; use cloud saves or a system transfer to keep your progress.
Do I need to format the new SD card before transferring data for my Switch?
You may need to format a new card for the Switch to use it, so back up your files first and follow the Switch prompts if it asks to format.
How do I safely remove and swap SD cards to avoid data loss on my Switch?
Always power off the console before removing or inserting a card, and never pull a card while the Switch is on or saving data.
What common mistakes should I avoid when transferring SD card data for a Switch?
Don’t try to copy save files via the SD card, don’t remove cards while the console is running, and always keep a backup on your computer.
Is it better to use a computer or the Switch to transfer data between SD cards?
It’s better to use a computer because the Switch doesn’t have a built-in tool for copying files directly between SD cards.
Final Thoughts on Transferring microSD Cards for Nintendo Switch
Upgrading a Switch microSD is easiest if you copy the whole card to your PC, format the new card, copy the files back, and don’t format the old card until you’ve verified everything. If you’re moving to a 270 GB or faster card, this preserves downloads, captures, and the Nintendo folder structure so the console can read it. Remember, saves live on the console (or cloud), so backing up and verifying is essential.
The guide walked through prechecks, formatting choices, and step‑by‑step transfer so you’ll know what to expect and how to fix common copy or format errors. It’s aimed at everyday Switch owners upgrading capacity or swapping faulty cards, and at cautious users who want a low‑stress method.
Keep the original card untouched until you’ve launched a few games and verified folder sizes, then wipe or repurpose it if you want. You’ll be back to playing with extra space and fewer headaches as soon as the verification’s done.



0 Comments