Which lighting kit will take your footage from flat to cinematic without a steep learning curve or a complicated setup? Whether you’re livestreaming, shooting interviews, or building a home studio, the right lights make all the difference.
This guide compares five lighting kits and delivers practical setup and color-temperature guidance tailored for video creators. It focuses on real-world solutions for lighting faces, adding depth, and controlling color in varied shooting conditions.
Our picks and advice are drawn from expert reviews, user feedback, and hands-on testing—not from price tags or retailer hype. We evaluate how each kit performs on set: ease of use, color fidelity, durability, and flexibility.
No pricing or retailer information is included—only what works, why it matters, and who will benefit most. Whether you’re a solo vlogger, desktop streamer, or a small production team working under tight time constraints, you’ll find clear direction.
You’ll also get straightforward three-point lighting tips and color-temperature best practices you can use immediately, plus mobility tips for on-the-go shoots. The aim is fast, repeatable setups that make your footage look consistent and professional.
By the end of the piece you’ll know which kind of kit suits your camera, space, and workflow. You’ll be ready to set up camera-ready lighting with confidence and to spend more time creating.

GVM SD80D 80W LED Video Light Kit with Softbox, Bowens Mount and Tripod Stand
1. GVM SD80D Light
GVM SD80D 80W LED Video Light Kit with Softbox, Bowens Mount and Tripod Stand
Versatile high-output LED kit with softbox and sturdy tripod, offering studio-quality light shaping and easy Bowens-modifier compatibility.
Check PriceThe GVM SD80D is my go-to when I need a compact yet punchy light that behaves like a studio fixture. Recognized as the best overall portable LED video light for 2026, it balances serious output with a small footprint and pro-level features.
In practice its brightness is impressive — it will serve as a strong key light and, when paired with a softbox, can easily overpower ambient room light. That makes it ideal for home studios and YouTube setups where you need clean, controllable illumination without hauling big kit.
Users also praise the stable mobile app and remote adjustment, which make on-the-fly tweaks simple during a shoot. The fan is whisper-quiet, so you won’t pick up cooling noise on camera, and the reported CRI/TLCI rating of 97+ means skin tones and colors remain accurate and natural.
If you’re a vlogger, home creator, or small-studio pro looking for a powerful portable key light with precise color rendering and app control, this is an excellent choice. Be aware, though, that the SD80D is fixed to daylight color temperature and lacks bi-color or RGB options. Also, the app interface can feel a bit complex if you’re new to smartphone-controlled lighting. Overall, for anyone prioritizing brightness, color fidelity, and portability, the SD80D delivers more than its size suggests.
- Excellent power-to-size ratio
- Stable mobile app with lighting effects
- CRI/TLCI 97+ for accurate color
- Whisper-quiet cooling fan
- App can be complex for beginners
- Fixed daylight color temperature (no Bi-Color/RGB)
2. GVM-850D Light Panel

GVM 850D 2-Pack RGB Bi-Color LED Video Light Kit
Dual-panel RGB bi-color set delivering flexible color control, cinematic gradients, and precise brightness for video and streaming.
Check PriceThe GVM-850D is a high-output panel that feels built for studio work rather than on-the-go vlogging. It combines impressive brightness with full RGB and high-quality bi-color modes, so you can shape both mood and skin tones without adding gels.
In practice it can light an entire room, which makes it a viable main studio key light for interviews, tutorials, and multi-subject shoots. That level of output means fewer fixtures are needed to achieve even coverage.
For multi-light rigs the built-in Master‑Slave function is a real time-saver. You can link and control multiple units from one head, which simplifies setups and keeps adjustments consistent across the scene.
Users praise its fanless design, and that matters more than you’d think. Silent operation removes a common on‑set distraction and lets you place the light closer to microphones or quiet dialogue scenes.
Color quality is another strong point: reviewers note excellent color consistency and a usable range between daylight and tungsten tones. Between the bi-color control and RGB options you get creative flexibility for both realistic and stylized looks.
If you’re a YouTuber, live streamer, or small production team you’ll appreciate what the 850D offers as a central studio fixture. It’s best suited to fixed setups where power and space aren’t a limitation.
A couple of real considerations before you buy: the official power specification is unclear, and the unit is larger than truly portable options. If you need lightweight, battery‑powered panels, this probably isn’t the ideal choice.
- Extremely bright output
- Master‑Slave function for multi‑light workflows
- Fanless, completely silent operation
- Full RGB and high‑quality bi‑color modes
- Official power specification is unclear
- Larger than truly portable options
3. Elgato Key Light Air Dual Setup

Elgato Key Light 2800-lumen LED Studio Light with Desk Clamp
Slim desk-mounted studio light with adjustable brightness and professional color accuracy for broadcasting, streaming, and home offices.
Check PriceThe Elgato Key Light Air Dual Setup is a streamer-friendly solution that nails ease-of-use and clean aesthetics. Its sleek, slim panels and app-based controls make dialing in flattering illumination fast, which is exactly what you want when you’re switching between scenes or guests.
In practice it’s ideal for desktop streaming and video calls—providing even, natural-looking light that softens skin and reduces harsh shadows. The dual setup is smart: one panel can act as a key for your face while the other lifts background detail, giving a polished, three-dimensional look without complicated rigs.
User feedback lines up with what I look for: high color accuracy (CRI > 95) and genuinely silent operation. That high CRI means skin tones and product colors render accurately on camera, and the no-fan design keeps recordings clean of unwanted noise.
Mounting is painless too—quick clamps fit most desks and monitors and the smartphone app is intuitive with useful presets, so you spend less time fiddling and more time creating. Where it doesn’t shine is sheer output: it’s not a studio powerhouse, so keep it close for best results.
Also note there’s no battery option—these must be plugged in, so they’re best for a fixed desk or office setup rather than mobile shoots. If you want an easy, modern, and quiet lighting solution for face-to-camera work, this setup is a very good, low-friction choice.
- Even, soft lighting with high CRI—flattering for faces and product shots
- Simple, intuitive mobile app and presets
- Quiet, no-fan operation
- Modern, slim design with tool-free installation
- Lower output than professional studio lights—best for close-up, desk-based use
- No battery support—must be plugged into power
4. Lume Cube Panel Pro 2.0

Lume Cube Panel Pro 2.0 RGB Camera Light with Camera Mount and Diffuser
Compact RGB on-camera panel offering powerful, tunable color, diffusion for soft output, and secure mounting for run-and-gun shooting.
Check PriceThe Lume Cube Panel Pro 2.0 is the sort of compact, no-nonsense light I reach for on run-and-gun shoots and vlogging days. It’s small enough to tuck into a shoulder bag, yet offers serious color accuracy with a 96+ CRI that keeps skin tones honest under mixed lighting.
For interviews and outdoor B-roll it performs well as a fill or key when you’re close to the subject. The panel’s built-in battery gives you roughly ~2 hours of full-brightness use, and the power bank capability means you can charge a phone or accessory on location—handy when there’s no convenient power source.
Control is straightforward via Bluetooth and the unit includes seven special effects modes for creative looks without carrying extra gels or accessories. It’s lightweight, mounts easily to cameras and rigs, and the Bluetooth adjustments let me tweak output without breaking my shot flow.
There are a couple of caveats to keep in mind. The LCD is hard to read in sunlight, so outdoor adjustments sometimes require shading the display or using the app. Also, maximum brightness is lower than larger panels, so I use it mainly as a fill light or for small setups rather than trying to dominate a room with it.
If you’re a solo creator, travel videographer, or vlogger who values portability and color accuracy, this panel is a strong, budget-friendly tool. It won’t replace big studio fixtures, but it’s a dependable, versatile light to carry on location.
- Very portable — fits easily in a camera bag
- 96+ CRI for accurate color rendering
- Built-in battery (~2 hours at full brightness) and power bank
- Bluetooth control and seven special effects modes
- LCD difficult to read outdoors
- Lower maximum brightness than larger panels
5. Godox SL-60W Lighting Kit

Godox SL-60W LED Video Light Kit 5600K with Softbox and 2.8m Stainless Steel Light Stand (Bowens Mount)
Daylight-balanced continuous light with softbox and heavy-duty stand, delivering consistent, flicker-free illumination for interviews and product shoots.
Check PriceThe Godox SL-60W Lighting Kit is the kind of studio light I reach for when I need reliable, daylight-balanced illumination. It delivers a bright, consistent 5600K output that makes it ideal as a key light for interviews, product work, or green-screen setups.
Out of the box you get large softboxes and sturdy, adjustable stands, so you’re not juggling light modifiers or flimsy mounts on set. That combination produces even, soft illumination and, when paired with diffusion filters, very skin-friendly results that flatter subjects without harsh hotspots.
In real-world use this kit feels built for a dedicated studio rather than run-and-gun shoots. It’s easy to set up and gives the kind of controlled light you need for product videography and semi-pro video work, but because it requires external power and isn’t as portable as smaller panels, it’s best if you have a fixed space or are prepared to transport a fuller light kit.
If you want consistent color, strong key-light performance, and value for professional features, the SL-60W is a solid choice. If your workflow is travel-heavy or entirely location-based without mains power, you might prefer a battery option instead.
- 5600K daylight-balanced, consistent output
- Large softboxes for soft, flattering shadows
- Sturdy, adjustable stands included
- Good value for professional features
- Not very portable—dedicated setup
- Requires external power (no battery)
How to Set Up Three-Point Lighting
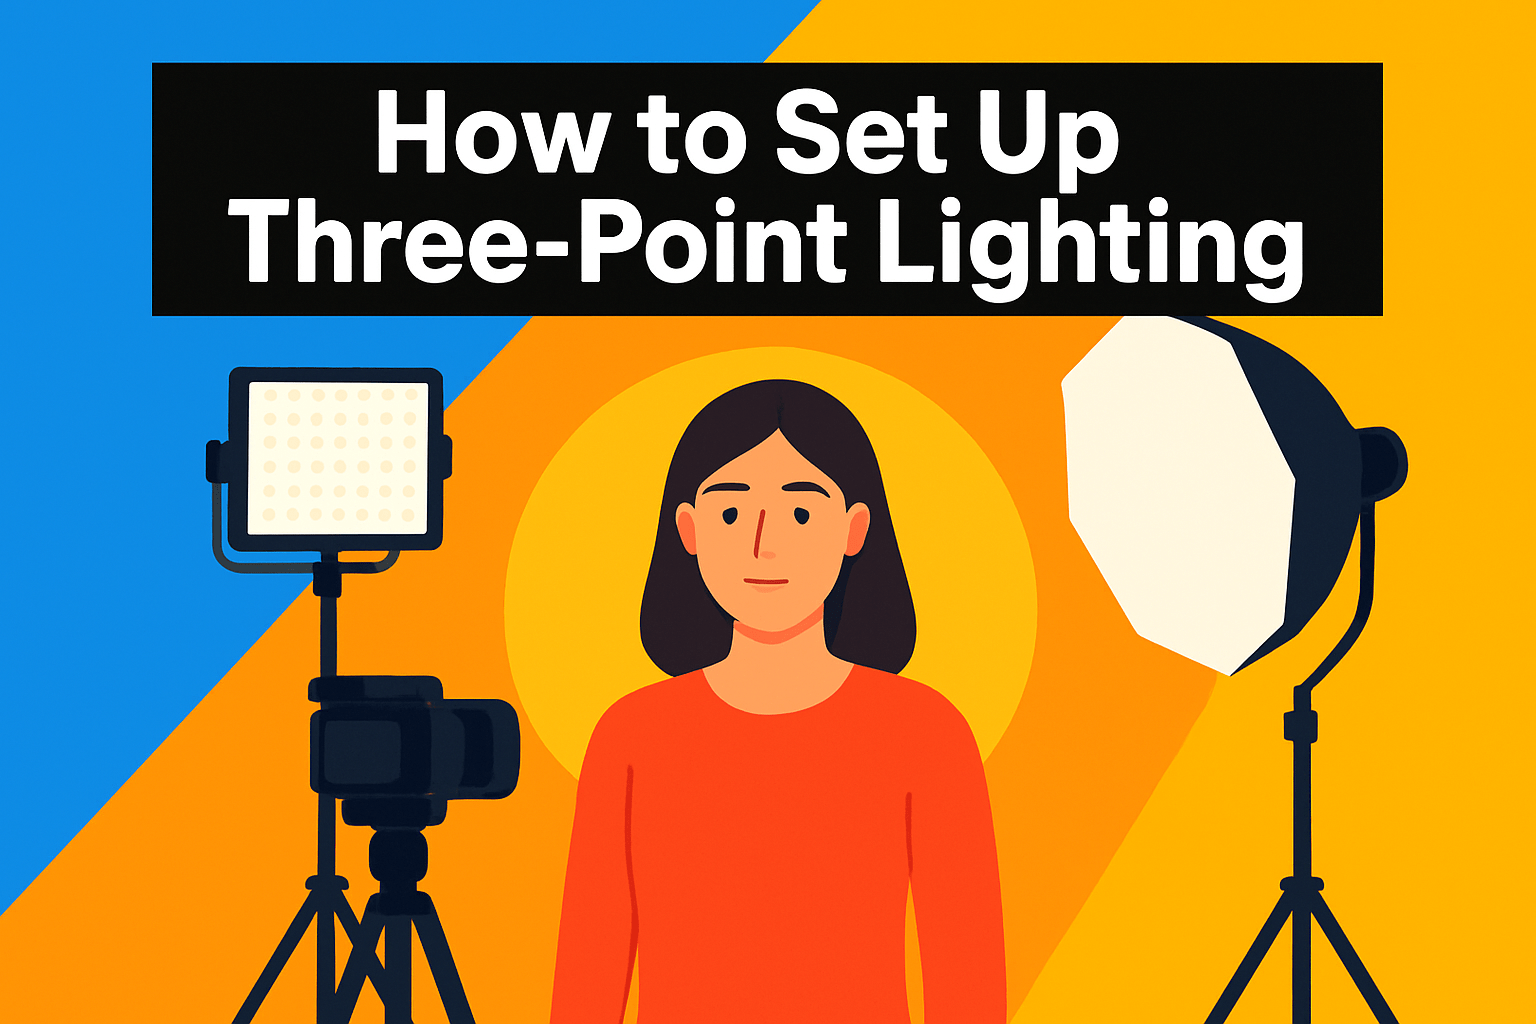
Three-point lighting is the quickest way to make video look intentional and three-dimensional. By arranging a key, fill, and backlight you control depth, separation, and mood so interviews and talking-head pieces read as polished rather than flat.
The key light is your primary source and deserves the most attention. Place it roughly 45° off the camera axis and slightly above eye level; that angle sculpts the face and creates flattering catchlights. Use a softbox, umbrella, or diffusion if you want softer, more forgiving shadows.
The fill light lives opposite the key and tames shadows without erasing them. Aim for a lower output—about a 2:1 ratio for cinematic contrast or 1.5:1 for a friendly commercial look—and soften it with a diffuser or a reflector. Moving the fill farther away is an easy way to drop its contribution without changing power settings.
The backlight (rim or hair light) sits behind the subject at a higher angle to outline shoulders and hair. It’s primarily for separation—subtle but bright enough to lift the subject off the background. Sweep the angle while watching for lens flares until the rim reads cleanly.
In practice, plan this during pre-production: scout the room, decide the mood, and place your key first. Shape it with modifiers, then bring in the fill and dial it down so shadows remain present. Finish with the backlight and tweak positions until the face has dimensionality and the background stays controlled.
No pro kit? No problem. A window makes a lovely key, a foam board or reflector can be your fill, and a lamp or small LED works as a backlight. Always review the image on a monitor and make small adjustments—often a few degrees of angle or a stop of light is all you need to go from flat to cinematic.
Daylight Vs Tungsten Color Temperature
Color temperature is one of the quickest ways to change the mood of a shot. It measures the hue of white light in Kelvin.
Daylight sits around 5600K—cool and slightly blue—while tungsten is near 3200K with a warm orange‑yellow cast. Those numbers are a shorthand for how your camera and skin tones will render.
If your key source is a window or sun, aim for daylight white balance for a modern, crisp look. If you’re lighting an interior with practical lamps, tungsten often reads more natural and intimate.
Mixing sources is extremely common. Use gels to unify the scene: CTO to warm daylight, CTB to cool tungsten, or simply dial your bi‑color LEDs to match one Kelvin value. Gels are the fastest way to avoid a battle with stubborn color casts later.
Sometimes a middle white balance (around 4300K) is a pragmatic compromise on fast shoots, but test it first—skin tones will tell you if it works. For interviews and corporate projects, consistency between shots is more important than creative contrasts.
Save time by setting a custom white balance off a gray or white card and checking it on a larger monitor. What looks fine on a camera LCD can reveal color shifts on a calibrated screen.
A warm key with a cool rim light is a classic cinematic move: warmth up front for intimacy and cool backlight for separation. It’s an easy way to add depth while keeping skin tones believable.
You can correct small issues in post, but it’s far cheaper and faster to nail color temperatures on set. Pro tip: always double‑check white balance and review test clips on a reference monitor before you roll.
What People Ask Most
What is the best lighting setup for video production?
A three-point lighting arrangement is a reliable starting point, using a main key light, a fill to soften shadows, and a backlight for separation. Adjust positions and intensities to match the mood and subject for a polished look.
What lighting kit do YouTubers use for filming videos?
Many creators prefer versatile LED panels or compact softbox kits that deliver consistent, flattering light and easy control. Choose gear that suits your shooting style, space, and portability needs.
How many lights do you need for shooting video?
Three lights are a common setup for balanced, professional-looking video, but you can often get by with fewer by using reflectors or natural light. The goal is to control your key source, reduce harsh shadows, and create subject separation.
Should I use LED lights or softbox lights for video?
LED fixtures are portable and offer flexible control, while softboxes create a softer, more flattering quality of light. Select the option that best matches your need for mobility and the softness you want on the subject.
What color temperature is best for video lighting?
Match the dominant light in the scene and set your camera white balance accordingly to keep colors natural. Cooler tones feel modern and crisp, while warmer tones read as cozy and intimate, so choose based on the mood you want.
What size softbox is best for video interviews?
Larger softboxes generally produce softer, more flattering light for interview subjects, while smaller modifiers create more contrast and harder shadows. Pick a size that fits your space and the level of softness you prefer for faces.
How do I set up a three-point lighting kit for video?
Place the key light to one side and slightly above eye level, use a fill on the opposite side to reduce shadows, and position a backlight behind the subject to create separation from the background. Make small tweaks while viewing the camera monitor until the balance looks natural.
Conclusion for Best Lighting Kit for Video
Choosing the right light comes down to your workflow: compact, powerful panels win for home creators and run-and-gun vloggers, larger bi‑color/RGB panels suit studio teams and multi‑light setups, sleek desktop panels are ideal for streamers, and classic softbox kits deliver reliable studio results for semi‑pro work.
Use the three‑point lighting framework—key as your main source (around 45° and slightly above), a softer fill opposite to tame shadows, and a backlight to add separation—to create depth and a polished look.
Think about color temperature as part of your creative intent: daylight gives a crisp, modern feel while tungsten reads warm and intimate, and when mixing sources use gels or a compromise white balance so skin tones stay natural.
Always plan and test on location: set white balance, review footage on a monitor, and tweak positions and intensities until the scene reads the way you envision it.
If you want to build your skills and confidence, keep exploring the guides and tutorials on this site to learn more lighting techniques and setup ideas.
Have questions or want feedback on your setup? Leave a comment below and we usually reply within a few hours.

0 Comments