Tired of juggling cables, slow transfers, or last-minute connection failures during a shoot?
If you’ve ever asked “how to connect my camera to my computer”, this guide will fix that. You’ll learn the right cables and camera modes without the guesswork.
You’ll get faster transfers, near-real-time tethering, and fewer surprises. The article shows which method cuts lag, which avoids file limits, and when to choose wireless over wired.
A lot of shooters think HDMI moves photos — that’s a persistent myth we’ll debunk. Whether you’re a studio pro doing tethered work, a wedding photographer, or a hobbyist streaming on the go, you’ll benefit.
You’ll get tips on brand menu names and where common toggles live so you won’t waste time. We’ll also cover quick cable choices, menu settings, and simple troubleshooting to keep shoots moving.
Plus you’ll get clear fixes for driver hiccups and pairing problems. Keep reading because the fix is simpler than you think.
Overview of connection methods: USB, HDMI, Wi‑Fi, Ethernet
When folks ask how to connect my camera to my computer, I start with USB. USB handles file transfers and “tethering,” which means shooting while the images appear on your computer instantly.
HDMI is different. It sends clean video to a monitor or capture card, but it carries no files and offers no camera control.
Wi‑Fi lets you go cable‑free for transfers or remote control. It’s convenient, but radio interference and 2.4 GHz congestion can slow things down.
Ethernet is common for IP and security cameras. One cable can carry both power and data using PoE, and the connection is usually rock‑solid.
So, if you’re weighing how to connect my camera to my computer, think purpose first. USB for control and transfers, HDMI for video out, Wi‑Fi for mobility, and Ethernet for fixed installs.
Cable types explained: USB 2.0, USB 3.0, USB‑C, Thunderbolt, FireWire
USB 2.0 is the older, slower standard at 480 Mbps. It works, but big RAW files take longer, and tethered shooting can lag slightly.
USB 3.0 and USB‑C typically run at up to 5 Gbps or more. Look for the blue insert on USB‑A, and prioritize short, high‑quality cables for stability.
Common camera cables include USB‑A to micro‑USB, USB‑A to USB‑C, and USB‑C to USB‑C. Match the plug to the camera’s data port, not the charging‑only port.
Thunderbolt sits in the pro league for high bandwidth peripherals. You’ll see it on computers and hubs; cameras usually don’t speak Thunderbolt natively.
FireWire is legacy. If your camera is old enough to use it, you’ll likely need adapters and drivers, which can be finicky on modern systems.
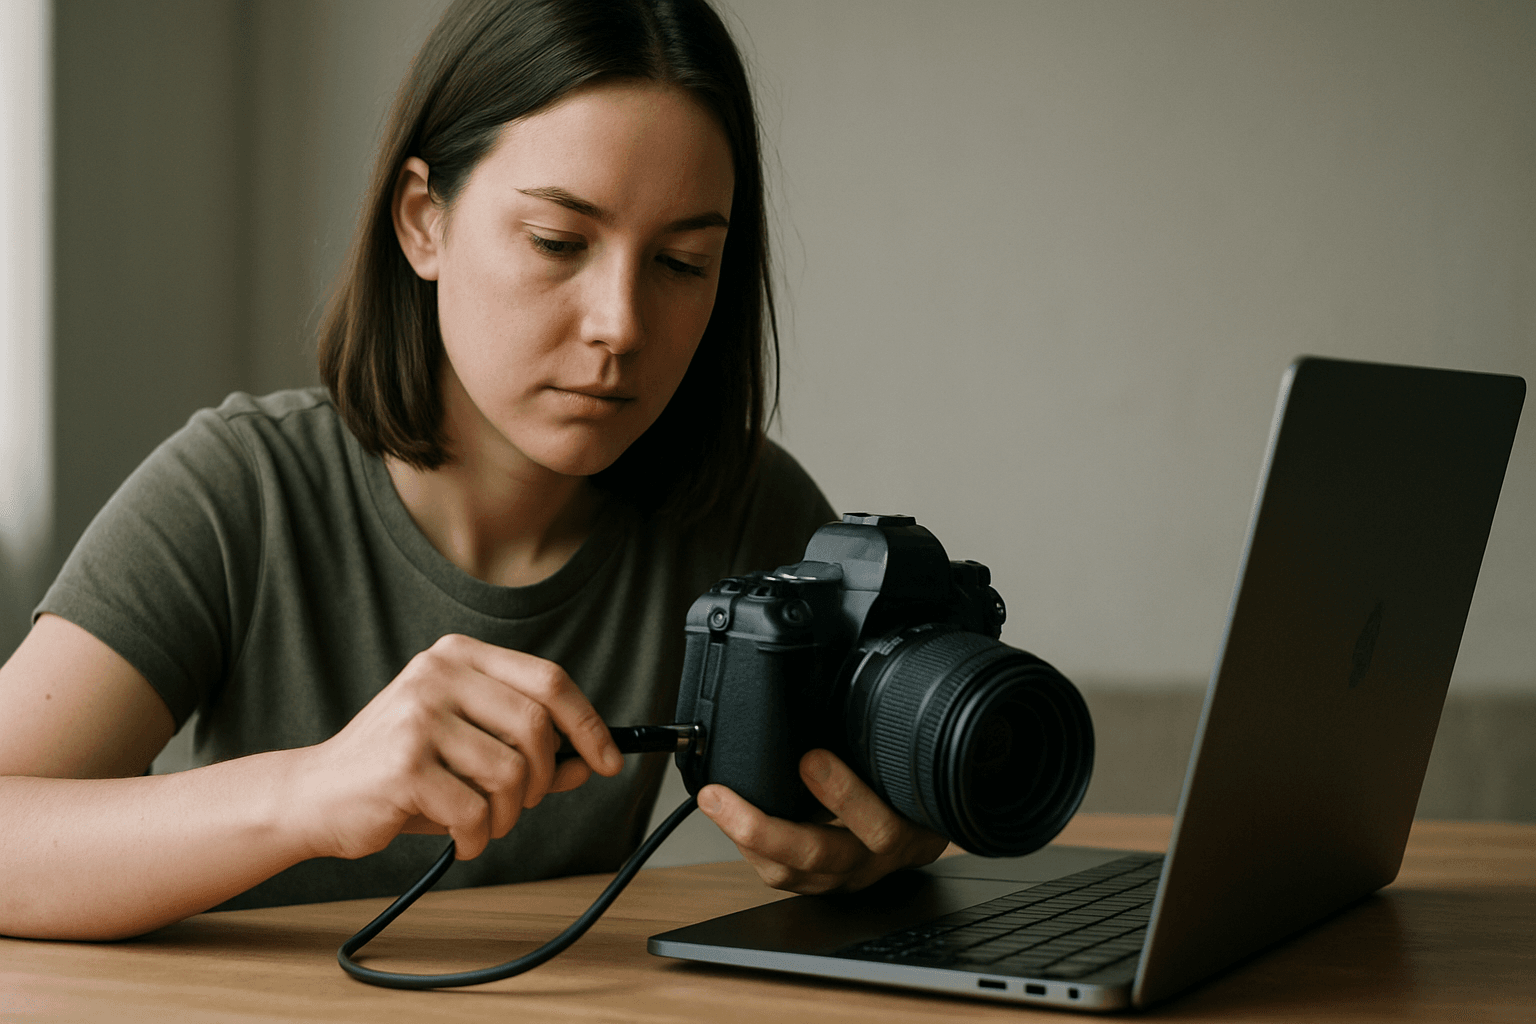
Step‑by‑step USB connection and camera settings
First, identify the camera’s data port. It’s often labeled USB or has a distinct icon; avoid any port marked “charge only.”
Pick the cable that physically fits the data port and the computer. Shorter cables reduce dropouts, especially for USB 3.0 and USB‑C.
With the camera off, connect the cable to camera and computer. Then power the camera on; many systems detect more reliably in that order.
Open the camera menu and enable its PC mode. Names vary: “PC Remote,” “USB streaming,” “Mass Storage,” or “PTP/MTP” are common options.
If the computer doesn’t recognize it, cycle modes. For tethering, choose “PC Remote” or equivalent; for simple file transfer, try “Mass Storage” or “MTP.”
Wireless connections: Wi‑Fi Direct vs router/AP setups
Wi‑Fi Direct turns the camera into its own hotspot. You join that network on your phone or laptop for quick field transfers without internet.
Connecting through a router uses your existing Wi‑Fi network. This is great for studio workflows where both devices already share the same network.
Brands differ in pairing steps. Some show a QR code; others require entering a password or using a companion app for the handshake.
Expect more latency and lower throughput on 2.4 GHz. If both camera and computer support 5 GHz, you’ll see faster transfers and more reliable remote preview.
For anyone still puzzling over how to connect my camera to my computer wirelessly, start with Wi‑Fi Direct to verify basics. Then graduate to router setups for consistency.
Tethering basics with Lightroom, Capture One, and vendor tools
Tethering means the camera talks to your computer as you shoot. Files appear almost instantly, and you can trigger the shutter from the keyboard.
Adobe Lightroom Classic and Capture One Pro are the big names. Vendor tools like Nikon Camera Control Pro or NX Tether also provide deep camera settings control.
USB tethering shines with near‑real‑time transfer, often under one second. That speed helps clients approve framing and exposure on the spot.
Live preview on supported cameras saves time. I’ll tweak lighting while watching changes on‑screen, then lock exposure before final sets.
Set the software to a watched folder for auto‑import. Rename files on arrival and apply presets, so your selects are half‑finished before you break for coffee.
Using a camera as a webcam (USB streaming mode)
Many newer cameras offer “USB streaming” or “webcam” modes. Flip that on, and the computer sees your camera like a plug‑and‑play webcam.
If your camera lacks this mode, install the manufacturer’s webcam utility. It converts the USB feed into a standard video source for Zoom or OBS.
Some setups still need an HDMI capture device. That’s handy when you want clean 1080p or 4K output with minimal compression.
Power is critical for long sessions. Use a dummy battery or USB power delivery so the camera doesn’t die mid‑meeting.
Test audio routing before you go live. I prefer a separate USB mic, since in‑camera mics pick up lens noise and room echo.
Specialized connections: Ethernet and PoE for IP/security cameras
IP cameras live on your network like any computer. Ethernet cables provide stable bandwidth and can carry power using PoE, which simplifies cabling.
Connect the camera to a PoE switch or injector. Your viewing software will auto‑discover cameras on the same network in most cases.
For remote access, use the camera’s UID or configure port forwarding. Security matters, so change default passwords and update firmware.
Fixed installations benefit from Ethernet’s reliability. Unlike Wi‑Fi, cables aren’t affected by interference or thick walls.
If you’re starting from scratch, this primer on how to connect CCTV camera to PC covers typical wiring and software steps succinctly.
Brand‑specific setup notes and menu walk‑throughs (Sony, Nikon, Canon)
Sony users should look for “PC Remote” for tethering and “USB streaming” for webcam use. The Sony remote connection guide details exact menu paths by model.
Nikon offers NX Tether and Camera Control Pro for robust control. You’ll find compatible bodies and setup tips under Nikon tethering info.
Canon’s EOS Utility handles both tethering and live view. Many models also support EOS Webcam Utility for streaming over USB.
On all brands, match the USB mode to the task. Choose PC/tether modes for control, Mass Storage/MTP for transfers, and webcam modes for live video.
Firmware updates often unlock stability improvements. I check for updates before paid shoots to avoid mid‑set surprises.
Comparing connection methods: speed, latency, and reliability
USB 3.0/USB‑C delivers the best balance of speed and simplicity. Tethered capture feels instant, and cable locks keep things stable in studio.
Wi‑Fi is the most flexible but the least predictable. It’s fine for casual transfers, yet it can stutter with crowded airwaves or thick walls.
Ethernet offers consistent throughput and uptime. For long sessions, streamed events, or security views, it’s the most dependable path.
Thunderbolt shines for high‑bandwidth peripherals like fast storage. While cameras rarely use it directly, your workstation benefits during heavy post work.
HDMI is great for clean monitoring and capture. There’s zero file control, so pair it with USB if you need both video and tethering.
Practical tethering workflow and cable management tips
I start with a short, high‑quality USB‑C cable and a spare. Long cables introduce dropouts, so I add an active extension only if I must.
Secure the cable at both ends. A camera‑side anchor prevents port damage, and a computer‑side loop keeps a snag from yanking your laptop.
Keep power separate from data. I avoid draping power bricks near the tether line to reduce electromagnetic interference.
On set, I place a simple diagram near the cart showing ports and flow. New assistants learn the path instantly and spot issues faster.
If you love visuals, photograph your camera’s ports and label them. A quick glance beats menu hunting when pressure is on.
Troubleshooting common connection issues (drivers, recognition, pairing)
If the computer doesn’t see your camera, verify the cable. Try another port, and confirm you’re using the camera’s data port, not a charge‑only port.
Check the camera’s USB mode. Toggle between PC Remote, Mass Storage, and PTP/MTP to match your workflow and operating system needs.
Install vendor drivers or utilities on Windows and macOS when required. Reboot after installation; some services only initialize at startup.
Sequencing matters. Connect with the camera off, power on, then launch the tethering software, and finally switch the camera into PC mode.
For Wi‑Fi pairing failures, forget and re‑pair devices. Ensure both are on the same band, and temporarily disable router isolation or guest networks.
When to choose wired vs wireless for different shooting scenarios
In studio, I choose wired USB‑C every time. Clients see images instantly, and I can adjust exposure without waiting on a wireless handshake.
On location with limited movement, wired still wins. I’ll gaffer‑tape the cable path and shoot comfortably within a safe radius.
For quick travel transfers or remote selfies, Wi‑Fi is perfect. I accept the delay and prioritize mobility over speed.
Livestreams deserve a belt‑and‑suspenders approach. Use USB for control and HDMI to a capture card for clean, stable video.
Fixed surveillance or long‑term time‑lapse calls for Ethernet/PoE. It’s efficient, dependable, and easy to power from a central switch.
What People Ask Most
How do I connect my camera to my computer for tethered shooting?
I match the camera’s data port to the correct cable, connect to the computer, enable the camera’s PC/USB or tether mode, and then open my tethering software to receive images in near real time (tethering = direct live transfer and remote capture).
Which USB cable do I need to connect my camera to my PC?
I check the camera’s port and use a USB 3.0 (blue insert) or USB‑C cable when possible for faster transfers; common cables are USB‑A to micro‑USB, USB‑A to USB‑C, or USB‑C to USB‑C—avoid power‑only cables.
Can I connect my Sony camera to my computer via Wi‑Fi?
Yes, many Sony cameras support Wi‑Fi and can pair with a computer using Sony Imaging Edge Remote or the camera’s built‑in wireless/PC Remote options, though pairing steps vary by model and 2.4 GHz Wi‑Fi may be slower than wired links.
What software do I need to transfer photos from camera to computer?
I use tethering apps like Adobe Lightroom Classic, Capture One Pro, or vendor tools (e.g., Nikon Camera Control Pro/ NX Tether, Sony Imaging Edge), or simply copy files with my OS file browser for non‑tethered transfers.
How do I use my camera as a webcam on my laptop?
I enable the camera’s webcam/PC streaming mode if it has one and install the manufacturer’s USB streaming app, or I use an HDMI capture device and capture software for cameras without native USB webcam support.
Why isn’t my computer recognizing my camera when connected by USB?
Usually it’s the wrong cable or a power‑only port, the camera isn’t set to its PC/USB mode, or drivers/software are missing—so I check the cable/port, enable the camera’s computer mode, install vendor drivers, and try connect‑while‑off then power on.
Can I connect my security IP camera directly to my PC?
Yes—IP cameras typically connect via Ethernet and often support PoE (power over Ethernet) so one cable carries power and data; I put the camera on the same network or use a PoE injector and client software to discover and view it, ensuring network/UID settings and firewall rules allow access.
Wrapping Up: Choosing the Right Camera–Computer Connection
By answering the question how to connect my camera to my computer, this guide removes the guesswork about ports, modes, and software so you can choose the right path. Instead of wrestling with cables, you’ll now be able to match speed and control to your needs. That solves the opening image of a frustrated photographer stuck amid a pile of cords.
The core benefit is clearer decisions: pick convenience when mobility matters or pick wired links for speed and reliable tethering. Keep in mind wireless can still introduce lag or pairing quirks that’ll slow a shoot. Studio tetherers, live creators, and security installers will get the most from applying this guidance.
Treat the advice as a practical toolkit: test your preferred combo, tidy and secure cables, and confirm settings before a job. Once hardware, menus, and software are aligned, that opening tangle stops being a roadblock. Give the setup a real shoot and you’ll see troubleshooting time shrink and creative time grow.


0 Comments