

How to create a photo backdrop that looks professional without breaking the bank? This guide gives simple steps and smart choices so you get great results fast.
You will get clear lists of materials and tools and easy step-by-step builds. I cover painted canvas, wood panels, and draped fabric plus quick DIY project cards for beginners.
Each project shows time, cost, and simple fixes, from a 30-minute headshot backdrop to a weekend wood wall. Find photos, diagrams, a printable checklist, and safety tips to keep your shoot smooth.
Whether you are a beginner or pro, you will get practical tips to match your style. Read on to learn how to create a photo backdrop step by step and start shooting today.
What you will need
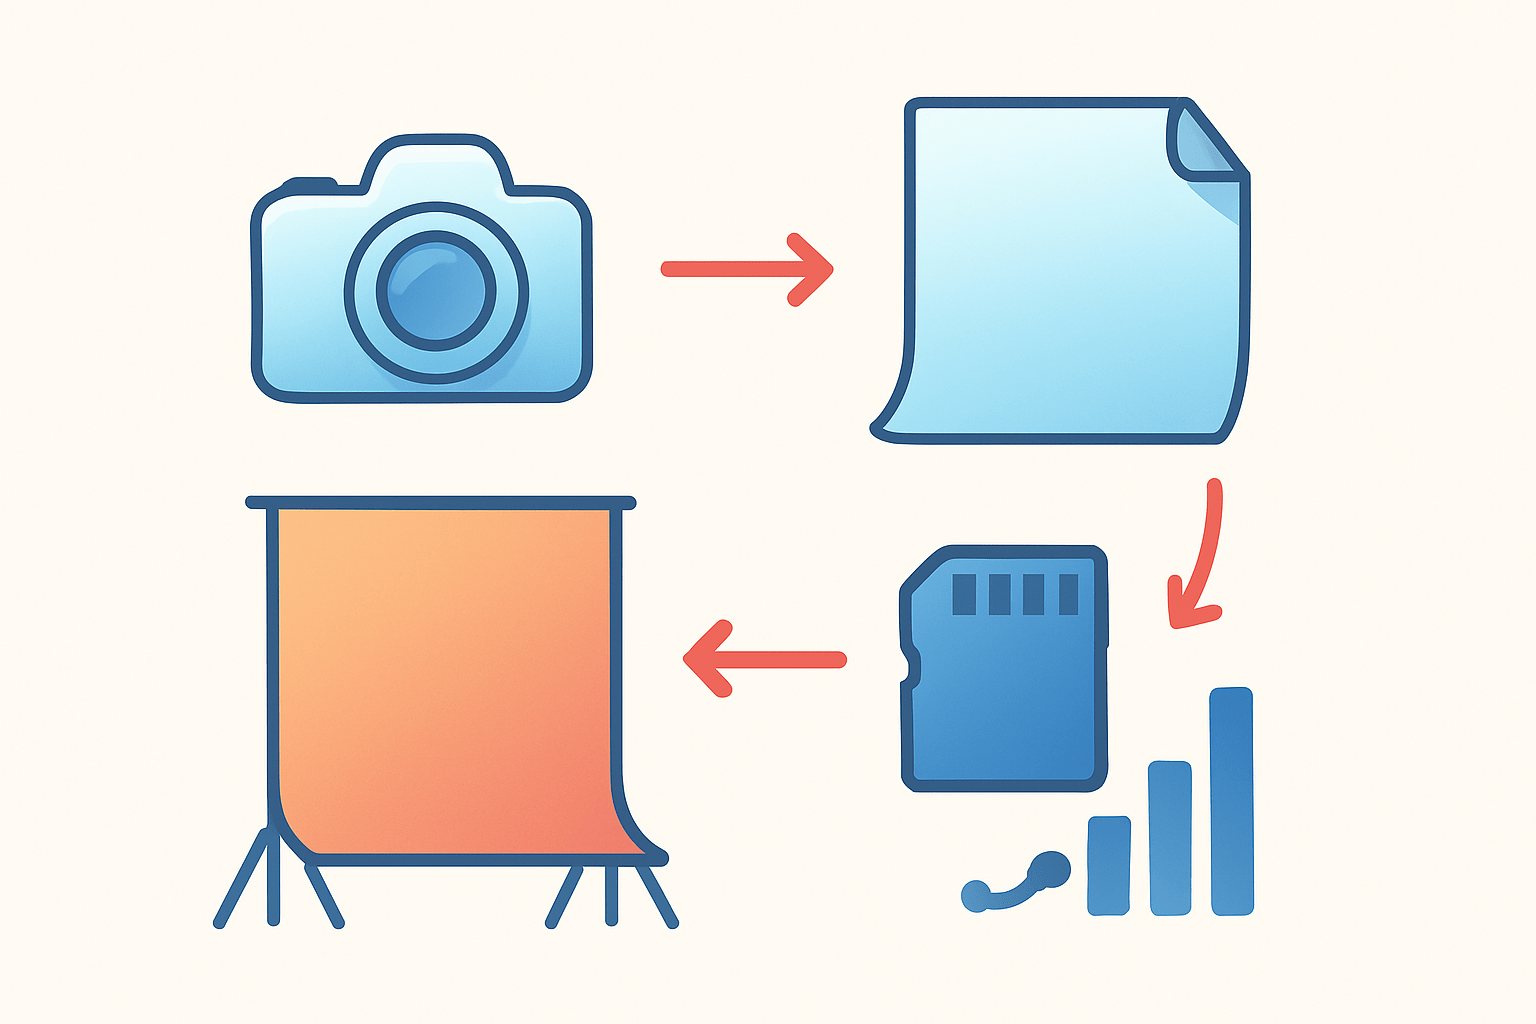
Before you buy anything, decide the look you want and how much space you have. This quick gear map keeps you from overspending and helps you plan how to create a photo backdrop that fits your shoot and your room.
Muslin or other cloth is the all-rounder for portraits. Go 5×7 ft for headshots and 8×10 ft when you need more room, and choose a heavier weave to avoid see-through issues.
Canvas or a painter’s drop cloth gives a classic, textured look. It is heavier than muslin and takes paint beautifully, but you will need strong clamps and a sturdy stand.
Seamless paper is the clean, modern option. The 53 inch roll handles headshots and tabletop, while the 107 inch roll covers full body and allows a smooth floor sweep.
Plywood sheets or reclaimed wood planks add rustic drama. They are great for editorial portraits but are heavy, so plan anchors and test the wall studs before hanging.
Foamcore is the lightweight hero for product and tabletop scenes. It paints fast, stands on simple supports, and can be replaced cheaply when it gets scuffed.
Faux boxwood panels or other greenery create a natural, lifestyle feel. They attach to a simple frame with staples or zip ties and hide seams well in shallow depth of field.
Vinyl backdrops are durable and wipe clean, which is handy for food or messy shoots. Keep lighting soft and angled to reduce glare and reflections.
For finishes, use acrylic or latex paint on wood and canvas, and fabric paint or dye for textiles. Prime canvas with gesso, and seal wood with a matte polyurethane so it does not shine on camera.
A backdrop stand with crossbar is the easiest mount, but a PVC frame works when budgets are tight. Pack spring clamps, C‑clamps, a grommet kit, a staple gun, a utility knife, a drill, rollers, brushes, sponges, a hot glue gun, a tape measure, and a level.
Lighting basics matter as much as the background. Two light stands, a softbox or umbrella, a reflector, a few sandbags, and safe extension cords keep your scene clean and controlled.
Stay safe and tidy. Use a respirator for spray paint, gloves for chemicals, drop cloths to protect floors, masking tape for clean edges, and cleaning wipes to remove dust or hair.
For budgets, you can start under $50 with a drop cloth, clamps, and a roller. The $50–$200 range adds seamless paper, a stand, and paint, while pro options include printed or custom canvases from online vendors.
Size your backdrop to your shoot. Headshots work with 5×7 ft, three‑quarter portraits need 6×9 or 8×10 ft, and full body in studio asks for 8×12 ft or a 107 inch paper sweep; small products sit well on 2×3 ft boards.
Avoid glossy paints for portraits, thin fabrics that show seams, and untreated flammables near hot lights. Cheap, flimsy stands can tip easily, so weigh them down or upgrade when you can.
For a quick refresher on materials and finishes, skim this helpful backdrop handbook. It is a fast way to confirm sizes, weights, and surface choices before you start.
How to make your own custom backdrops
If you are wondering how to create a photo backdrop from scratch, start with one of three paths. Pick a painted muslin or canvas for soft portraits, a hard wood panel for character, or a draped fabric or specialty wall for speed and style.
For painted muslin or canvas, choose a limited palette that flatters skin. Neutral grays, warm taupes, and muted blues are easy to light and color grade later.
Prep the cloth by hanging or laying it flat and protecting the floor. Prime canvas with gesso if the weave is rough, and iron or steam muslin before you paint.
Roll on a base coat in an even layer and let it dry completely. Work thin, even passes to avoid stiff fabric, and keep the edges a little darker if you want a natural vignette.
Build texture with diluted acrylic washes and a sponge or rag. Tap, swirl, and layer from broad tones to small accents, stepping back often to judge the gradient.
Finish with a matte sealer or mix paint with a fabric medium to keep the cloth soft. Add grommets along the top or sew a rod pocket so hanging is quick on shoot day.
Test color swatches on a scrap and check them in window light and under flash. Photograph each stage; use simple alt text like “DIY painted muslin backdrop — step 3 sponging texture” so your images are searchable and clear later.
For wood, start with plywood or reclaimed planks and sand the surface smooth. Fill holes you do not want to show and keep the grain visible for character.
Add age with stain, dry brushing, and light edge sanding. A thin gray or brown wash mutes bright tones and helps skin look natural in camera.
Seal with matte polyurethane so the surface does not glare. Install cleats or brackets on the back, and always secure heavy builds to studs or a rated stand.
Fabric-only builds are the fastest. Iron first, dye or spray a gradient, heat‑set as directed, and slide a dowel through a rod pocket to keep the top line straight.
Faux-greenery and specialty walls add impact with little paint. Build a light frame, zip tie panels in a tight grid, and test stability before anyone stands nearby; novelty walls like vinyl records look great but need soft light to tame reflections.
Try a two-hour mottled muslin for about $30. Buy a 6×9 ft muslin, three small bottles of acrylic, fabric medium, and a roller and sponge, then paint a dark base and sponge two lighter tones while damp for a smooth, skin-friendly blend.
Or build a weekend 5×7 ft rustic wood wall for around $90. Mount planks on two vertical braces, add a light stain and a dry-brushed gray, then seal matte and attach safe hanging hardware.
If paint dries stiff on fabric, thin it with fabric medium and water and rework with light passes. If wood paint cracks, sand lightly and recoat thin; if panels sag, add cross supports or a second brace.
Photograph your process: materials laid out on the floor, mid‑texture close‑ups, and the final backdrop hanging on a stand. Use descriptive alt text like “wood backdrop dry brushing close up” so your guide is easy to follow later.
For broader background know‑how, bookmark this essential guide. It complements these steps and helps you refine choices as you learn how to create a photo backdrop you can reuse.
Easy DIY Photography Backdrops
Start simple and build confidence with quick projects. Each of these choices is fast, inexpensive, and reliable for beginners who want real results this week.
Seamless paper is the fastest headshot and product solution. Roll it down, clamp the top, and let it sweep to the floor for a clean edge; light with a soft key and meter for even tone, then shoot around f/4 at ISO 100–200 and 1/160.
A painted drop cloth makes a versatile portrait canvas. Prime, roll a base, and sponge texture, then light with a large umbrella to soften texture and fix any hot spots with a small adjustment to the key angle.
A hand-painted muslin gradient is perfect for lifestyle portraits. Mist the cloth with water, add two diluted tones from top to bottom, and blot transitions while damp to keep the blend smooth.
A reclaimed wood plank wall gives rustic depth. Fix planks to a frame, distress lightly, and seal matte; aim your key at about 45 degrees and let shadows shape the grain without crushing detail.
Foamcore painted with a soft vignette is ideal for tabletop. Paint a darker edge and lighter center, place two boards as a sweep, and use a small softbox overhead for even product light at f/8–f/11 on a tripod.
A faux-greenery panel creates a natural, cozy set. Attach boxwood tiles to a lightweight frame and tuck in a strand of tiny lights to add sparkle and separation from the subject.
A vinyl record wall or other novelty surface adds editorial punch. Adhere records to a board, light with large sources from the sides, and use a polarizer if reflections get distracting.
Layered fabrics give a textured studio look on a budget. Hang a solid fabric and drape a sheer layer over it, then move the key light until the folds look dimensional but not harsh.
Use a simple project card template to stay organized. Write Title, Difficulty, Time, Cost, Materials, Tools, Steps, and Photo suggestions, and add alt text notes you will use when sharing your build.
For a 30‑minute headshot backdrop, hang a plain fabric, steam it, and light with a single umbrella and a reflector opposite. Keep your subject three to five feet off the background for soft shadow falloff.
For a weekend rustic 5×7 build, cut and assemble a wood frame on Saturday and stain and seal on Sunday. Let it cure overnight and mount it safely before you shoot.
For a budget product setup under $25, paint two foam boards and tape them into a sweep. Add a desk lamp with diffusion paper and shoot at low ISO on a tripod for crisp results.
The setup
After you build the backdrop, you need to hang it safely and light it cleanly. A stable mount and a simple lighting plan are the difference between a messy frame and a pro image.
The classic stand with crossbar is the easiest solution. Assemble the stands, lock the crossbar, and raise slowly with sandbags in place.
Ceiling hooks or a curtain rod work in tight rooms. If you rent, use removable anchors and always test the load before you leave the setup unattended.
A PVC frame is cheap and adaptable for small spaces. Cut the pipes, dry fit them, then glue only when you are sure the size and orientation fit your room.
A doorframe mount or clamp‑and‑rod helps when stands take too much floor space. Clamp the rod high, check for level, and keep kids and pets away from the doorway.
To keep fabric or paper tight, use grommets and cord along the top and sides. A rod pocket and dowel help at the top, and a weighted hem or bar keeps the bottom smooth.
Start your lighting with a soft key about 45 degrees off camera and just above eye height. Move it closer for softer light and farther for more contrast.
Add fill with a reflector or a lower power light on the opposite side. Aim for a simple 2:1 ratio so the face stays dimensional but not dramatic.
Use a background light pointed at the backdrop to control separation or add a vignette. A hair or rim light behind and above the subject lifts them off the scene without spilling into the lens.
Natural light also works. Place your subject near a bright window, diffuse the sun with a sheer, and use a reflector to balance the opposite side while setting white balance to daylight.
For portraits, start around f/2.8–f/5.6 at ISO 100–400 and sync your shutter with flash at about 1/160–1/200. Set white balance to flash or daylight and adjust by eye on a gray card if needed.
For products, stop down for depth of field, use a tripod, and tether to a laptop for precise focus checks. A polarizing filter can calm reflections on vinyl or glossy props.
Place your subject three to eight feet from the backdrop to control shadows and blur. If the background meets the floor, create a smooth sweep so the transition disappears in camera.
Always shoot a quick test frame to check color, wrinkles, and hot spots. Adjust light power and distance, and review on a larger screen if a client is present.
Keep safety first with sandbags, neat cable routing, and rated anchors. Never exceed the load limits of your stands or wall hardware, especially with wood builds.
If you want more diagrams and modifier options, study these clear lighting techniques. Combine those ideas with your backdrop to refine the look without buying new gear.
Tips for wrinkle-free backdrops
Prevent wrinkles before you shoot. Hang fabric the night before and steam it so gravity has time to help.
Roll paper and vinyl for storage and never fold them. After unrolling a new paper, let it relax for a day so the curl softens.
Use rod pockets or grommets with cord to add even tension. A dowel across the top and a weighted bar at the bottom keep lines clean.
Muslin loves a wash and a hang dry to pre‑shrink. Press lightly after drying and store in a breathable bag to avoid mildew.
On set, clamp the top and sides, and hang a small weight at the bottom edge. A medium‑soft key reduces texture shadows while a gentle backlight adds separation.
Move your subject farther from the backdrop and open your aperture to blur minor creases. A shallow depth of field cleans the background without extra tools.
When you face a quick emergency, use a handheld steamer or a low iron and test on a corner first. For muslin, a light water mist and a smooth hand can knock out small dents.
For paper tears, tape the back with gaffer tape or cut away the damaged section and drop fresh paper. Keep a spare roll on hand so you never stall a session.
In post, use clone and heal for small lines and content‑aware tools for bigger patches. A subtle surface blur can even tones, but keep some texture so the scene stays believable.
Store fabric rolled on a tube or loosely hung, paper in a dry upright rack, and vinyl away from heat. Replace a backdrop when stains or chipped paint are visible at your working apertures.
Small space shooters can fake a sweep by using a wall and ceiling corner. Build a narrow PVC tension frame that fits in a doorway and hang a 5×7 ft cloth for fast sessions at home.
Print a day‑of checklist with steamer or iron, clamps, gaffer tape, sandbags, a spare backdrop, lights, extension cords, and a lint roller. With these habits, you will know exactly how to create a photo backdrop that stays smooth and looks pro every time.
What People Ask Most
What is the easiest way to learn how to create a photo backdrop?
Start with a plain sheet, a tension rod or clips, and natural window light. Practice simple setups before trying more complex designs.
Can I create a photo backdrop with items I already have at home?
Yes — sheets, curtains, poster board, and fabric scraps work well. Use clamps or tape to secure them and smooth wrinkles for a clean look.
How do I choose the best spot when I want to create a photo backdrop?
Pick a space with enough room to stand back from the backdrop and with even lighting. Avoid cluttered backgrounds and glare from direct sunlight.
What common mistakes should I avoid when learning how to create a photo backdrop?
Don’t use wrinkled or overly reflective materials and avoid uneven lighting. Also avoid busy patterns that distract from your subject.
How can I make a backdrop look more professional without buying equipment?
Use clamps to stretch fabric tight, add simple props for depth, and light it with a window or lamps. Neutral colors and soft textures usually read as more professional.
How do I store and transport a homemade photo backdrop?
Fold or roll fabric around a tube to prevent creases and keep paper backdrops in a flat tube or folder. Label and organize pieces so you can find them quickly.
How long does it take to create a photo backdrop for a quick shoot?
A basic backdrop can be set up in 10–20 minutes once you have your materials ready. More elaborate designs may take an hour or more to arrange and style.
Final Thoughts on DIY Photography Backdrops
If you started the article wondering whether you could craft pro-looking backdrops at home, this guide shows you how — from the simple 270 starter setups to weekend wood builds — so you can shape mood, color, and texture on your own terms. It lays out materials, step-by-step methods, and setup tips so shoots feel custom without breaking the bank.
That said, DIY isn’t magic — it often takes time, testing, and a few repairs, and finishes can read differently on camera; heavy backdrops also demand safe anchoring. Photographers, content creators, and small studios will get the most mileage here, because they can trade pennies for personality and tweak looks to fit each client.
A quick 30-minute headshot backdrop or a weekend wood sweep shows how the processes and tips here convert into real results, and the wrinkle and lighting fixes keep images looking polished. Keep experimenting—your next signature backdrop is waiting.





0 Comments