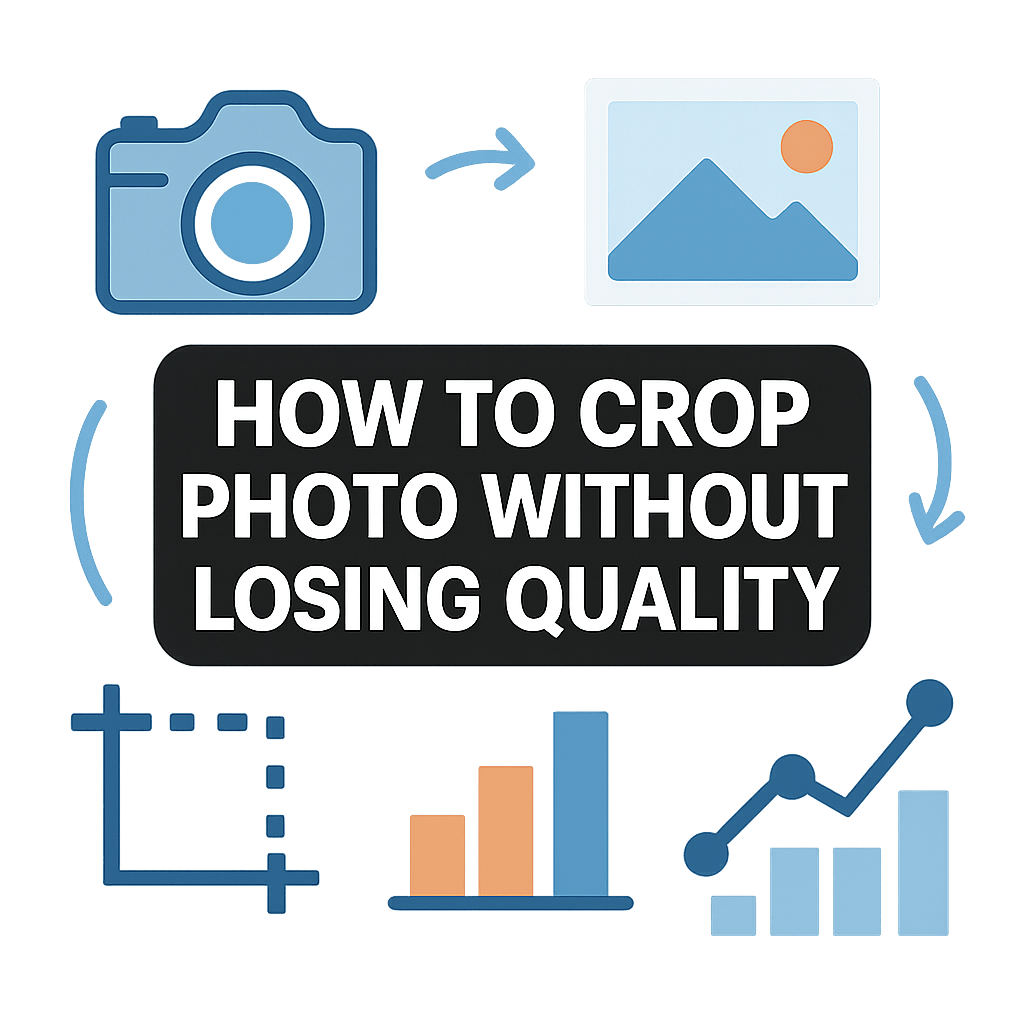
How to crop photo without losing quality? Want crisp results even after trimming or resizing?
This guide gives a simple, step‑by‑step workflow you can follow. You will learn non‑destructive cropping, how to pick exact pixel dimensions, and when to resample or upscale.
We cover crop tool overlays, common aspect ratios, and exact Photoshop steps with screenshots. You will also get hands‑on portrait and landscape examples so you can copy the settings.
Plus practical tips for AI upscaling, sharpening, and export settings for web and print. A one‑page cheat‑sheet and final checklist are included so you can crop confidently every time.
How to crop an image without losing quality

Cropping always removes pixels, but you can still preserve perceived quality. The key is to work from the best original, crop non‑destructively, match the final pixel dimensions to your output, then use careful resampling and sharpening. If you came here asking how to crop photo without losing quality, that is the full recipe in one line.
Start by opening the highest quality original you have. RAW files or 16‑bit TIFFs keep more detail and tolerate adjustments far better than small compressed JPEGs.
Duplicate your master or work non‑destructively from the start. In Photoshop, turn off Delete Cropped Pixels or convert the layer to a Smart Object so you can undo or adjust later without damage.
Decide your final use before you crop. Web, social, and print all demand specific pixel dimensions or inches by ppi, and that decision guides every move you make afterward.
Compose with intent using the crop tool. Set the exact aspect ratio you need, enable overlays like rule of thirds or a grid, and straighten horizons now so you do not need extra trimming later.
If your target size is smaller than your original, you are in luck. Crop to the composition you want, then downsample with a high‑quality method during export to keep edges crisp and artifacts low.
If you need more pixels than the cropped image has, crop first, then upscale only the area you plan to use. Use a modern AI upscaler or Photoshop’s Preserve Details for the cleanest enlargement and keep sharpening for the very last step.
Apply light noise reduction before heavy upscaling if the file is noisy or compressed. Removing speckled noise and JPEG blocks first helps the upscaler make better edges and textures.
Run quick checks before you publish or print. Confirm the final pixel dimensions meet your target, inspect at 100% for halos or blockiness, and set the color profile to sRGB for web or the profile your lab requires for print.
Here is a simple, hands‑on landscape example. I start with a 6000×4000 RAW, crop a 16:9 slice for a banner, then export at 2048 px wide using high‑quality downsampling and sRGB. At 100% there are no halos, the horizon is straight, and edges stay sharp.
For a portrait example that needs enlargement, I crop tight around the eyes from a 4000×6000 original to a 2400×3000 frame. The target is an 8×10 print at 300 ppi, so I upscale the cropped file 1.25×, denoise slightly, then sharpen last at low amounts.
If you are brand new to the crop tool, this short guide on how to crop and straighten shows the basic moves with screenshots. Learn the muscle memory now and you will work faster and safer later.
Callout: always keep an original. Never overwrite it, and avoid repeated JPEG re‑exports because each save throws away data. Keep a layered PSD or TIFF as your master, and export flattened copies for delivery.
Another callout: leave breathing room. Over‑tight crops around faces or limbs feel cramped and limit future formats, so keep a little copy space unless the tight crop is a deliberate style choice.
Visual note for accessibility: any before/after you share should include concise ALT text. For example, “ALT: Before and after crop of city skyline showing straightened horizon and 16:9 ratio, final size 2048×1152 px” clearly communicates what changed and why.
If you prefer a quick checklist, keep a one‑page card near your desk. It should remind you to set ratio, straighten, crop, resample for target size, set color profile, then sharpen last. This simple workflow answers how to crop photo without losing quality in everyday work.
Crop tool features and aspect ratios
Composition overlays are your quiet assistants. Toggle rule of thirds for everyday balance, grid for symmetry and leveling, and golden spiral when you want a more dynamic flow to your subject.
Better composition often looks like better quality because your viewer’s eye knows where to land. If you need a refresher on why and when to crop for impact, this guide to better compositions is a great warm‑up.
Choose your aspect ratio to match output, not mood alone. Use 1:1 for square feeds, 3:2 for classic DSLR frames and prints, 4:5 or 8:10 for portraits, and 16:9 for video covers, banners, or thumbnails.
Set exact pixel targets inside the crop tool when needed. Typing 1080×1350 locks in the Instagram portrait size, while 2048 wide suits many responsive websites without oversizing files.
Straighten while you crop to save pixels. Rotate the crop boundary or use a straighten tool, and if corners show gaps after rotation in Photoshop, Content‑Aware Crop can fill them convincingly.
Think ahead for moving subjects and copy space. Leave a touch more room for motion blur if you plan to print large, and keep safe areas around faces so alternate crops for reels, stories, or thumbnails remain clean.
Using the crop tool in Photoshop
Open your original and protect it first. Duplicate the layer with Ctrl/Cmd+J or convert it to a Smart Object so you can edit non‑destructively from start to finish.
Press C to activate the Crop tool. In the options bar, set your aspect ratio or type the exact pixel dimensions for the final output you have in mind.
Uncheck Delete Cropped Pixels to preserve what you trim off. Tick Content‑Aware if you expect to rotate and fill small blank corners automatically during the crop.
Cycle overlays with O until you see a guide that fits your subject. Drag handles for framing, and hover outside the crop box to rotate slightly or use the Straighten line tool to fix slanted horizons.
Confirm the crop when you like the composition. Because you kept pixels, you can later nudge the frame or change the ratio without redoing the whole edit.
Reduce size with Image → Image Size only after cropping. Choose Resample and set Bicubic Sharper (reduction) for small downsizes, or Automatic if you are unsure and want Photoshop to decide.
Enlarge cautiously when you need extra pixels. In Image Size choose Preserve Details 2.0 for the cleanest upscales, or use Super Resolution in Camera Raw for a strong AI boost, especially with RAW files.
Apply sharpening at the end and keep it subtle. Smart Sharpen or Unsharp Mask on a Smart Object lets you back off amounts later, and masking limits sharpening to edges instead of smooth tones.
Keyboard tips save time. C selects the crop tool, Shift locks ratio in older Photoshop versions, and Alt/Option crops from the center for symmetrical frames around a subject.
For portrait work, learn the common do’s and don’ts. This concise portrait cropping guide helps you avoid cutting through joints or crowding the chin, which can make even sharp images feel awkward.
Common pitfalls are easy to dodge. Don’t accidentally delete cropped pixels, don’t over‑sharpen after upscaling, and remember to convert to sRGB when exporting for the web so colors stay consistent.
Visual note for accessibility: when you share a screenshot of the Crop options bar, write “ALT: Photoshop Crop tool options showing Delete Cropped Pixels off and Content‑Aware on.” That brief line explains the control states to everyone.
Upscale images without quality loss
You only upscale when the cropped image fails to meet your pixel target. Perhaps a tight crop looks great, but the print needs 300 ppi at 10 inches and your file falls short.
Photoshop’s Super Resolution is a strong first choice. Open the image in Camera Raw, right‑click, choose Enhance, and check Super Resolution to make a clean 2× enlargement of the cropped file.
Preserve Details 2.0 in Image Size is another excellent option. It preserves edges well while avoiding crunchy halos when you push beyond modest enlargements.
Third‑party AI tools can go even further. Topaz Gigapixel AI and ON1 Resize offer fine control and batch workflows, while some free online upscalers are good for tests if you do not need full control.
Crop to your final composition before you upscale. That way the algorithm focuses on the pixels that matter and you avoid wasting time enlarging areas you will not use.
Pre‑clean the file if it is noisy or heavily compressed. Run a light denoise or remove JPEG artifacts so the upscaler does not amplify the problems along with the details.
Upscale in one or two measured jumps and sharpen last. Small, careful increments can sometimes look smoother than one giant leap, especially with highly detailed textures.
Callout: when to use AI upscaling and when not to. Use it to meet firm print sizes or large displays, but avoid it for tiny web outputs or when the source is already soft and noisy; those cases rarely improve much.
Practical tip for big prints: compare the native file and the AI‑upscaled version at 100% and 200% zoom, then make a small proof print. Your eyes on paper will tell you which version holds detail more naturally.
Always keep a non‑upscaled master. If a better upscaler arrives next year, you can start fresh and gain quality you cannot get back from a baked‑in enlargement.
Export settings for resolution and scaling
Export only to the target you actually need. Decide whether the image is for the web, social, or print, and set pixel dimensions and profiles with that single goal in mind.
For the web, think in pixels, not ppi. Common max widths range from 1200 to 2048 px, and a JPEG in sRGB at about 80–85 quality balances small file size with clean detail.
For Instagram, use 1080×1080 for square, 1080×1350 for portrait, and 1080×1920 for stories or reels. Export in sRGB and keep quality around 80–90 to avoid banding in gradients.
Use Export As or Save for Web to control color and scaling. Check Convert to sRGB and Embed Color Profile so colors look the same on phones and browsers.
For print, size by inches and ppi. A 4×6 at 300 ppi needs 1200×1800 px, 5×7 needs 1500×2100 px, and 8×10 needs 2400×3000 px for clean, detailed output on most lab printers.
Save your master for print as a TIFF or a high‑quality JPEG if the lab requires it. Embed Adobe RGB or the ICC profile your lab specifies, and disable extra compression that could create banding.
Choose the right resampling method. Use Bicubic Sharper for downsizing, and Preserve Details 2.0 or an AI upscaler for enlargements when the cropped image is shy of your target pixels.
Do a last‑minute check before you click Export. Confirm pixel dimensions and file size, inspect at 100% for artifacts, verify the color profile, and save a layered PSD or TIFF master for future edits.
Export checklist — final 10 seconds before you publish: confirm the crop ratio matches the destination, ensure the horizon is straight, verify sRGB for web or correct print profile, and apply a subtle final sharpen suited to output size. Then export a flattened copy only.
For your toolkit, keep a one‑page cheat‑sheet near your desk. List common aspect ratios, pixel sizes for social and popular print sizes, recommended resampling choices, and your favorite export presets so you never guess under deadline.
Visual note for accessibility: when you show your Export dialog, use “ALT: Photoshop Export As dialog set to sRGB, 2048 px wide, JPEG 85 quality” so the settings are clear to everyone. This habit also reinforces your own workflow accuracy.
If you have followed the steps here, you know how to crop photo without losing quality from capture to export. Match your ratio to the destination, keep the crop non‑destructive, resize smartly, sharpen last, and your images will look clean wherever they appear.
What People Ask Most
How to crop photo without losing quality?
Use a non-destructive editor or crop tool that preserves the original pixels and save the final image in a lossless or high-quality format to avoid degradation.
Will cropping a photo always reduce its resolution or quality?
Cropping reduces the pixel dimensions but won’t always cause visible quality loss if the remaining pixels are sufficient for your final use.
Can I crop a JPEG without losing quality?
You can crop a JPEG, but repeatedly saving it in JPEG can lower quality, so keep the original and export once at high quality or use a lossless format while editing.
What is a common mistake when trying to crop without losing quality?
One common mistake is over-cropping or saving multiple times in a lossy format; always keep the original file and edit non-destructively.
Should I use online tools or desktop software to crop photos without losing quality?
Either can work, but pick tools that offer non-destructive editing and allow exporting at high quality, and check export settings before saving.
How do I crop photos for print or social media without losing quality?
Choose the correct crop dimensions and resolution for the target platform and avoid extreme cropping to keep enough pixels for clear output.
Can I crop a photo and then upscale it without noticeable quality loss?
Upscaling can improve size but may soften detail, so use high-quality upscaling tools sparingly and try to minimize cropping to preserve original detail.
Final Thoughts on Cropping Without Losing Quality
Think of the workflow as a 270‑point checklist: start with your highest‑quality original, work non‑destructively, pick the exact pixel dimensions for the final use, then resample and finish with careful sharpening. That approach preserves perceived detail and keeps edges clean so crops read as intentional compositions rather than degraded files. We opened by asking how to crop photo without losing quality and answered it with a step‑by‑step checklist, practical Photoshop tips, upscaling strategies, and export rules you can follow.
A realistic caution: AI upscalers and aggressive enlargements can help recover size but won’t invent true detail, and repeatedly re‑saving JPEGs will still introduce artifacts—so keep your master files and denoise before any heavy upscaling. This method benefits anyone who edits images for web, social, or print—beginners will get a reliable routine, and pros will find faster, repeatable ways to protect image quality.
Keep the simple habits (don’t delete originals, check color profiles, inspect at 100%) and you’ll reduce surprises at export and when printing. Expect cleaner final images and more confidence the next time you crop and scale — the techniques here turn an unclear risk into a predictable process.


0 Comments