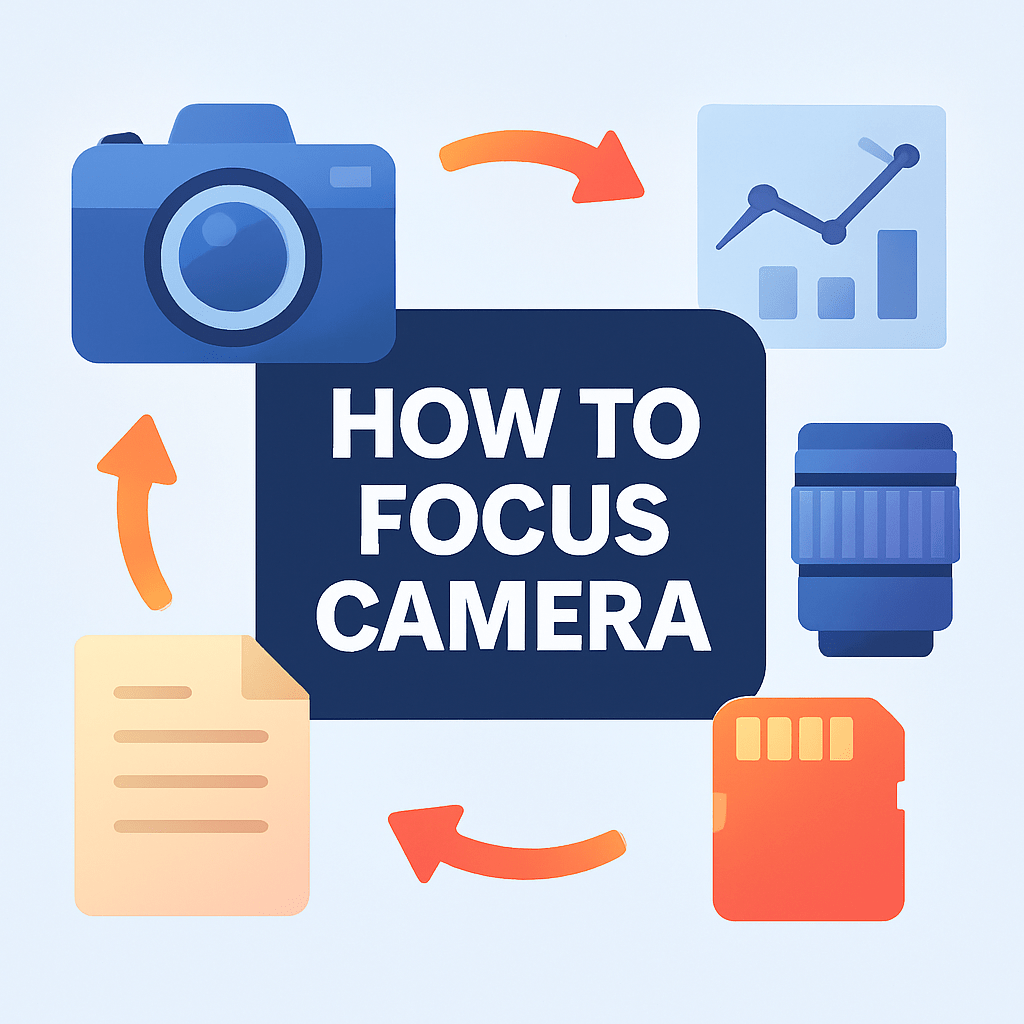
How to focus camera so your subjects are razor-sharp? This guide shows easy steps any photographer can use. No complicated theory, just practical routines you can try right away.
You will learn when to use autofocus and when to switch to manual focus. I explain AF modes, AF areas, and back-button focus in plain terms. You will also get quick settings for portraits, sports, landscapes, and macro.
I’ll give step-by-step instructions for manual focus using Live View, magnified view, and focus peaking. I also show the focus-first-then-recompose trick and how to avoid common focus mistakes. Plus there are quick troubleshooting tips and a printable pre-shoot checklist.
By the end you will have a short workflow, a scenario cheat-sheet, and simple practice drills to build focus skills fast. Ready to stop missing focus? Let’s get started.
How to nail your focus every time
If you came here asking how to focus camera quickly and reliably, use this simple routine. It works for portraits, street, landscapes, and even fast action.
1. Decide AF or MF in one second. If the subject is moving or you need speed, use autofocus; if it’s low contrast, macro, or you need precision, switch to manual focus.
2. Pick an AF mode and area that match the scene. Use single point for static subjects and AF-C with tracking or a small zone for moving people, pets, or sports.
3. Place the active AF point on the critical detail. For portraits, that’s the near eye; for other scenes, pick the closest important element that must be sharp.
4. Lock focus with a half‑press or back‑button, then shoot. Recompose only when depth of field is forgiving and the subject is not too close.
5. If anything might move, shoot a short burst and review instantly. Zoom to 100% on the LCD to confirm the critical detail is razor sharp.
Use this quick pre‑shoot checklist so you don’t forget the basics. AF vs MF, AF mode, AF point placement, shutter speed target, aperture for depth of field, ISO, stabilization on or off, and back‑button focus set if you use it.
Common mistakes and fast fixes are easy once you know where to look. If the camera focuses on the background, switch to single point and place it precisely on the subject.
If your images look soft even when focus is correct, raise shutter speed using the reciprocal rule or bump ISO. If the center is soft but corners are sharp, check lens micro‑adjustment or try a different aperture.
If autofocus is hunting, use the center AF point, turn on the AF assist lamp, or switch to Live View and manual focus. In very low light, add a small flashlight to create contrast, then refocus and shoot.
For deeper learning on how AF and DOF interact, study a clear primer on understanding focus. It helps you see why the plane of focus and your aperture choice matter so much.
In one line, remember the tradeoff: AF gives speed, MF gives precision. When in doubt, try again with the other method and recheck at 100%.
Autofocus vs Manual Focus
Autofocus uses sensors to detect focus quickly, often with phase‑detect and contrast‑detect working together. Phase‑detect estimates focus direction and distance, while contrast‑detect fine‑tunes sharpness by maximizing contrast.
Manual focus puts you in full control using the focus ring and visual aids. Modern bodies add Live View magnification and focus peaking, which outlines in‑focus edges to confirm sharpness.
AF is fast and great for moving subjects, events, and fleeting moments. It can still mislock through glass, on low‑contrast surfaces, or in dim light where the camera struggles to see edges.
MF shines when precision matters more than speed. Landscapes, macro work, and low‑contrast textures benefit from careful manual adjustment and Live View zoom to nail the exact plane of focus.
Choose AF for action, sports, and wildlife, using continuous AF and tracking. Choose AF with single‑point on the eye for portraits, and switch to MF if your lens or AF system is inconsistent.
For landscapes and macro, MF with Live View magnify and peaking is dependable. You can also AF once, then verify and refine manually for a perfect result.
Use this one‑line decision flow to keep it simple. Is the subject moving fast or unpredictably? Go AF. Is the scene low contrast, extremely close, or very precise? Go MF using aids.
If you want a deeper walk‑through of technique and tools, try a concise manual focus guide. Learning those aids will instantly raise your keeper rate.
Choose your AF mode wisely
Your camera’s AF modes are labeled differently by brand. AF‑S or One‑Shot locks focus for static subjects, while AF‑C or AI Servo keeps focusing as the subject moves.
AF‑A or AI Focus tries to switch between single and continuous on its own. It can help beginners, but committed shooters get better results by choosing AF‑S or AF‑C themselves.
AF area types decide how many points the camera uses. Single‑point is precise and ideal for portraits or still subjects where you care exactly what is sharp.
A small zone or dynamic area helps with erratic movement. The camera looks at neighboring points if your subject slips off the main point for a moment.
Wide or auto‑area scans many points to grab whatever seems most important. It is useful for fast action when you can’t predict exactly where the subject will be.
Eye‑AF and face detect are powerful on mirrorless bodies. Use them for portraits and run‑and‑gun street, and still check the result by zooming in to confirm the near eye is crisp.
Here are quick starting points that you can try today. Portraits of still subjects: AF‑S with single point on the near eye, f/1.8–f/4, and shutter speed at least 1/125.
Portraits with motion or kids: AF‑C with a small zone and at least 1/250. Sports and wildlife: AF‑C with large zone or tracking, and 1/500 to 1/2000 depending on speed.
Landscapes: AF‑S or MF with a single point near the hyperfocal distance, f/8–f/16, and tripod for the cleanest files. Street: AF‑S or AF‑C depending on pace, single point or small zone, and 1/320 or faster to freeze motion.
Back‑button focusing separates focus from the shutter for more control. It prevents refocus when you recompose and makes tracking smoother because your thumb runs AF while your index finger shoots.
When chasing maximum depth across a scene, learn to place focus using hyperfocal distance. A helpful guide on getting everything in focus shows how to balance aperture, focus point, and distance.
Before every shoot, run a quick mental check. Confirm AF mode, AF area, shutter speed target, aperture for the desired depth, ISO for exposure, stabilization settings, and whether back‑button focus is active.
How to manually focus: step by step
1. Flip your lens to MF or use manual‑focus override on lenses that allow it. Keep your stance steady, and brace the camera to avoid tiny shifts while you adjust.
2. Switch to Live View and magnify the critical detail by 5–10×. Turn the ring slowly until edges snap into crisp contrast and halos disappear.
3. Turn on focus peaking if your camera has it. Use peaking as a guide, but still confirm with magnified view to avoid peaking that overstates sharpness.
4. For landscapes, use the lens distance scale or a hyperfocal calculator to place focus. After setting it, confirm at 10× Live View that mid‑distance and infinity both look acceptably sharp.
5. For macro, use a tripod or focusing rail and make tiny focus adjustments. Consider focus stacking several shots to overcome shallow depth of field at close range.
Turn off image stabilization when on a tripod to prevent micro‑vibrations. Use a remote release or a 2‑second timer so you don’t bump the camera at the moment of exposure.
In very low light, add a small flashlight to paint contrast on the subject. Focus with the extra light, then turn it off and shoot if you need to preserve the scene mood.
Be careful with the infinity mark, because some lenses focus past infinity for temperature safety. Always verify the actual result with magnified Live View rather than trusting the mark alone.
If you’re practicing how to focus camera by hand, repeat this routine on a tripod with still subjects. After a few sessions, your fingertips will find perfect focus faster and more confidently.
Focus first, then recompose
Focus and recompose is a simple technique that saves time. Lock focus on the subject with a half‑press or back‑button, hold that lock, reframe for a better composition, then shoot.
This works well when the subject is not too close and you’re using a smaller aperture. The extra depth of field covers the tiny shift of the focus plane as you reframe.
It becomes risky with close subjects and wide apertures, because shallow depth of field is unforgiving. A small camera movement can shift focus from the near eye to the ear or cheek.
To stay safe, choose a nearby AF point so you don’t need to recompose much. Back‑button focus also helps because pressing the shutter won’t refocus while you fine‑tune your framing.
If you must recompose at f/1.4 to f/2.8 on a close portrait, take a quick test shot and zoom to 100%. Adjust your angle or pick a different AF point if the eye is not tack sharp.
Use this rule of thumb to avoid surprises. Skip recomposing at apertures wider than about f/2.8 when your subject is within three to four meters, unless you confirm with a zoomed review.
Here are two short practice drills to build muscle memory fast. Do a five‑minute eye‑focus drill on a friend or a mannequin, aiming the single AF point at the near eye, shooting a burst, and zoom‑checking for consistent hits.
Then do a moving subject tracking drill with AF‑C and a small zone, following someone walking toward you. Keep them centered in the zone and shoot short bursts while panning smoothly.
If you want to master how to focus camera across different scenes, set a weekly challenge. Shoot one scene with AF and the same scene with MF, compare at 100%, and share your pairs to see what method wins for you.
What People Ask Most
What is the easiest way to learn how to focus camera?
Start by using the center focus point or tap-to-focus and practice half-pressing the shutter to lock focus, then take the shot. This simple routine helps you build consistency fast.
When should I use autofocus versus manual when I want to focus camera?
Use autofocus for quick or moving subjects and switch to manual for tricky scenes or when autofocus hunts. Both methods are useful, so try each to see what works best.
How can I keep my subject sharp when I move the camera?
Use continuous focus or lock focus on the subject before moving and then recompose, while keeping a steady grip. Practice tracking moving subjects to improve accuracy.
Why does my camera focus on the background instead of my subject?
That usually happens because the camera is using a wide focus area or the focus point is on the background, so select or tap the subject to fix it. Changing to single-point focus often solves this problem.
Can I focus camera with a phone the same way I do with a regular camera?
Yes, the basics are similar: tap the screen to focus or tap and hold to lock, while phones handle focusing automatically in most cases. Learning the phone controls helps you get sharper photos.
What common mistakes should I avoid when learning how to focus camera?
Avoid rushing the focus, using too large a focus area, and shooting in very low light without support. Also avoid moving the camera during focus to prevent blur.
How can I practice focusing camera to improve quickly?
Practice on simple stationary subjects, then try moving targets and different light conditions, reviewing each shot to learn what works. Short, focused practice sessions speed up improvement.
Final Thoughts on Nailing Focus
You came here to stop guessing and get sharp photos every time — a promise I’ll keep with practical steps and habits. The quick routine and troubleshooting in this guide give you the same reliability I teach in workshops, whether you’re shooting portraits, action, landscapes or using a tricky 270 lens. Photographers who want dependable, crisp results will benefit the most because they’ll trade luck for control.
We walked through a do‑this‑now workflow, how to pick AF modes and areas, and a step‑by‑step manual focusing method so you won’t be left guessing at the decisive moment. A realistic caution: recomposing with very shallow depth‑of‑field or relying on AF in low‑contrast light can still fail, so test settings and zoom‑check your shots. That’s the practical balance between speed and precision the opening question promised.
If you’re practicing the quick checklist and the short exercises, you’ll build muscle memory and fewer keepers will be left to chance. Use back‑button focus, single‑point for portraits, and Live View magnify for tricky close work, and you’ll notice steadier results. Keep shooting and refining — better focus is just a few deliberate steps away.


0 Comments