
How to look good in back camera — ready to turn your rear lens into your best portrait tool?
This short guide gives a clear 6-step setup, angle tips, seven easy poses, composition tricks, and simple focus moves. You’ll also get a cheat sheet, gear picks, and before/after photos to copy.
Easy tests and photo examples will help you find your best angle fast. Use small movements, bursts, and the right setup to see quick improvements.
Whether you have a phone or a camera, these tips will make your back-camera shots sharper, more flattering, and more confident. Scroll down to start with the quick do-this-now checklist.
Mastering Back Camera Selfies: Tips & Tricks
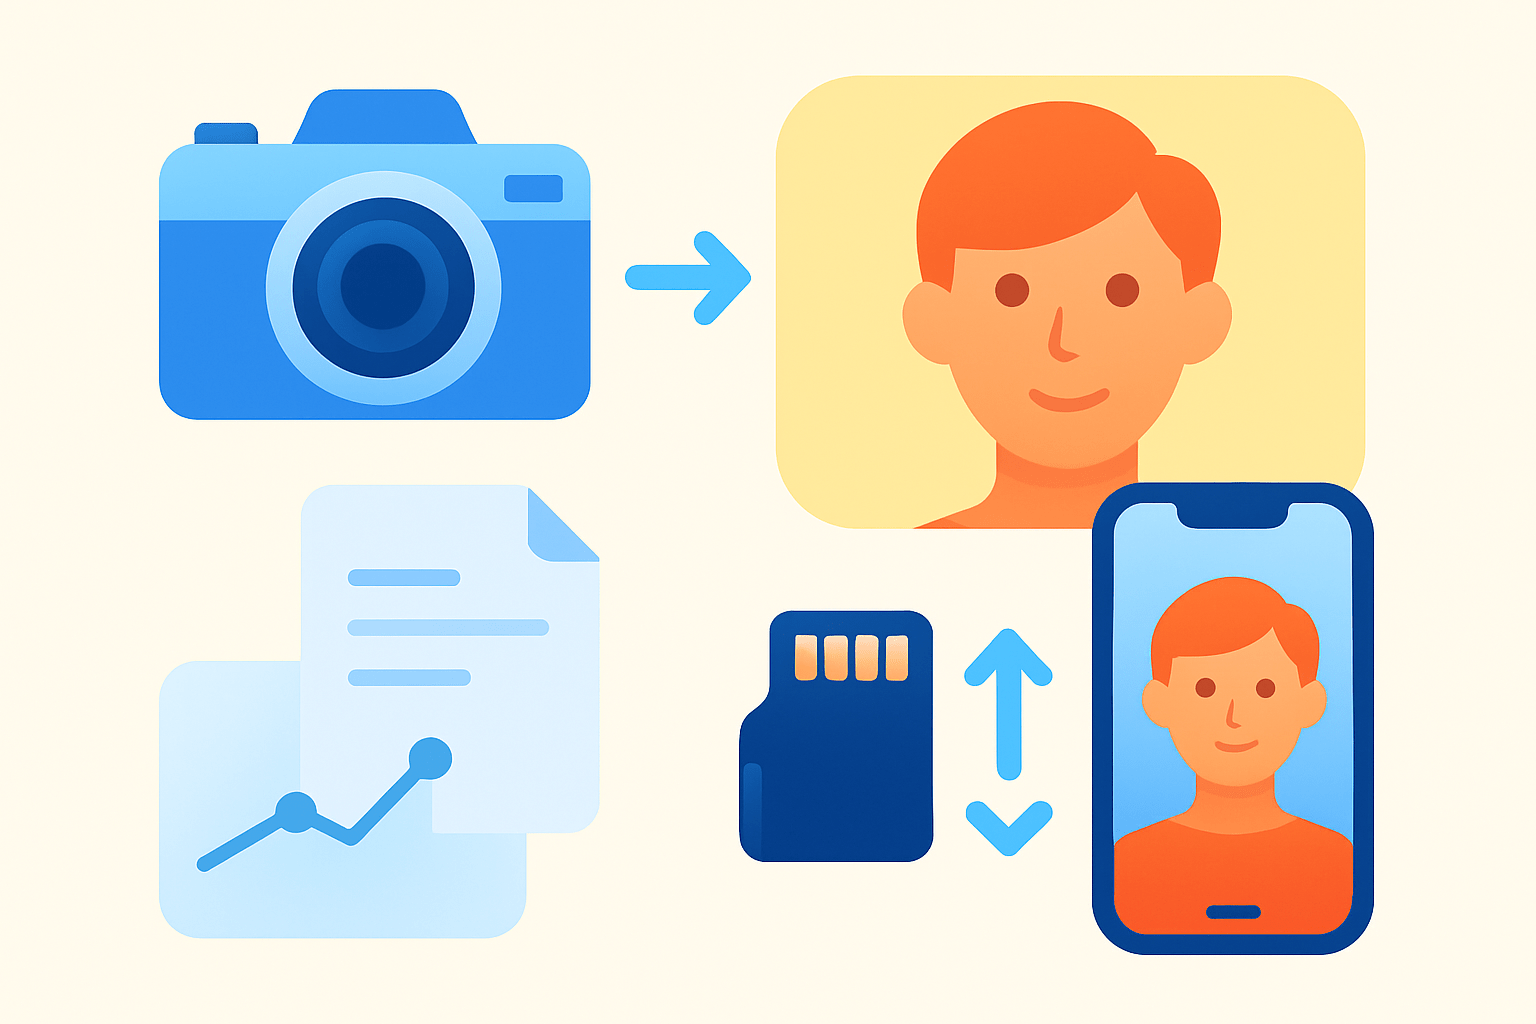
Yes, you can get sharper, more flattering photos by using the rear camera with a simple setup. Do this now: clean the lens → stabilize on a tripod or steady surface → pick 1x or a tele lens or Portrait mode → set a timer or remote → lock exposure and focus → pose and shoot bursts. If you want a quick win on how to look good in back camera, start with this six-step flow.
Choose the rear lens with the most natural perspective, which is usually 1x or the tele lens for tight portraits. Avoid ultra‑wide lenses at close range because they stretch features and enlarge whatever is nearest to the camera. A longer focal length gently compresses features and flatters the jawline.
Wipe the lens with a microfiber cloth to remove haze and fingerprints, then enable grid lines in your camera settings. Turn on Portrait mode or a portrait-like mode to soften the background, but keep an eye on edge detection and hair details. Lock focus and exposure on your face so brightness stays steady while you move.
Stabilize your phone with a small tripod, a clamp, or a wall shelf, and trigger the shutter hands-free. A Bluetooth remote, smartwatch trigger, or wired earbuds volume button keeps the phone still and reduces blur. The self-timer is perfect if you have no extra gear, and you can pair it with burst mode for movement poses.
Use a remote when you want razor-sharp shots and precise timing, especially for walking or hair-toss moments. Use a timer when you need both hands free or you are placing the phone out of reach. In either case, shoot mini sequences and change your pose by small increments between frames.
Light shapes everything, so pick soft, even light from a window or open shade outdoors. Golden hour gives warm skin and soft shadows, while overcast days behave like a giant diffuser. You can backlight for a glowing rim on hair and add a subtle fill with a small reflector or your friend’s phone screen at low brightness.
Avoid harsh overhead light and midday sun that create deep eye sockets and shiny hotspots. Step under a tree line, into the shade of a building, or turn so the light hits your face at a 45‑degree angle. A white wall or light sidewalk can bounce fill back into your eyes.
Frame with intention even if you can’t see yourself perfectly. Use a mirror behind the phone or a second device as a preview if possible, and place your eyes on the top third using the grid. Leave a little headroom and space in the direction you’re looking so the shot feels balanced.
Think about the final use before you shoot so framing matches the platform. Vertical works best for reels and stories, while horizontal gives more room for full‑body and environment. Step back slightly and use a longer lens if you want flattering proportions from head to toe.
Your quick workflow is simple and repeatable. Plan your outfit and background, mount the phone, frame the shot, then lock exposure and focus. Pose in tiny steps, shoot a short burst, review for adjustments, and repeat until your favorite image appears.
Cheat Sheet you can screenshot: clean lens; use rear camera; tripod or remote; grid on; Portrait mode or tele lens; chin forward; body angled 30°; soft light; lock focus; shoot many frames. Keep this list handy when you’re learning how to look good in back camera on busy days. Simple habits compound into consistent results.
Here’s a compact gear kit to make everything easier. Start with a phone tripod and a Bluetooth remote, plus a collapsible 5‑in‑1 reflector, a small ring light for indoor nights, and a microfiber cloth. For tripods at different budgets, consider UBeesize 60″ (budget), Joby GorillaPod 3K (mid), or Manfrotto Befree Advanced (pro).
Need a last‑minute shot in 60 seconds. Clean the lens, put the phone at eye level on a shelf, switch to 1x or Portrait mode, face a window, lock AE/AF on your face, and set a 3–10 second timer. Make three micro-poses and shoot a burst for each.
For a polished 10‑minute setup, choose a simple background and lay out two outfit tweaks like a jacket or hat. Put the phone on a tripod, use a reflector for fill, connect a remote, and test exposure with a quick sample shot. Shoot three looks with five micro-poses each, then review and refine.
Visuals help you learn faster, so make your own mini reference set. Capture a front-camera vs back-camera before/after, a photo of your tripod setup, and screenshots of AE/AF lock, grid lines, and Portrait mode. These examples will remind you of what works the next time you shoot.
Stay safe and respectful while shooting in public. Be aware of traffic, steps, and crowds, and keep your bag and phone within reach. Choose spots that don’t block doors, sidewalks, or private property.
If you want an extra primer on setup and angles, these back camera selfie tips expand on stabilization and timing. Combine them with the steps above to accelerate your results. Mastery is repetition with intention.
Master Your Best Angles
Angles change how your features appear because of perspective and lens compression. A small tilt or height shift can sharpen a jawline, lift cheekbones, and slim the silhouette. Think of it as sculpting with camera position and body rotation.
Avoid facing the camera straight on unless that’s the look you want. Rotate your body about 30–45 degrees and turn your shoulders slightly toward the lens. This creates depth and naturally narrows the midsection.
Bring your chin a touch forward and slightly down for a longer neck and a defined jaw. This move minimizes any hint of a double chin without straining. Keep it subtle so it feels natural.
Hold the camera at or just above eye level for a flattering perspective. A slightly higher angle opens the eyes and smooths features. Avoid very low angles that emphasize nostrils and widen the face.
Steer clear of ultra‑wide lenses at arm’s length, especially close to the face. Step back, use 1x or a tele lens, and let the lens compress features softly. Your jawline and nose will look more balanced immediately.
Run quick angle tests to discover your sweet spot. Take five photos while turning your head in roughly 10‑degree steps from left to right. Compare cheekbone pop, jawline clarity, and symmetry, then remember your top two positions.
Also test camera height by shooting at eye level and just above eye level. The higher frame will often brighten the eyes and trim the lower face. Pick the one that fits your facial structure and style.
Posture sells the angle, so build from the ground up. Shift weight to the back leg, stand tall, and let one shoulder drop to create a gentle S‑curve. Relax your shoulders and lengthen through the crown of your head.
For round faces, a slight 45‑degree turn with the camera just above eye level usually works well. Add the chin‑forward cue and a soft side part to introduce angles. Light from the side can further carve gentle shadows.
For square faces, add a tiny head tilt and avoid a dead‑center, squared torso. A 30–45‑degree body turn plus soft hair framing will ease strong lines. Keep the light slightly off-center to round the look.
For long faces, try the camera at eye level or a hair lower and micro‑tilt the chin up. Avoid very high angles that lengthen the face further. A bit of volume in hair or collar balances the frame.
Create your own angle diagram by saving a nine‑frame grid of your favorite positions. Label the camera height, body rotation, and chin tilt in each. When you revisit how to look good in back camera later, this map will cut your setup time in half.
How to Pose: 7 Simple Ways to Look Better in Photos
Posing is about tiny adjustments and staying relaxed. Keep your hands busy, add a hint of movement, and let each frame feel like a beat in a rhythm. Small changes read big on camera.
Pose 1: Torso twist at 30 degrees. Turn your hips away and let the shoulders angle slightly back toward the camera, which slims the waist and creates depth.
Pose 2: Chin forward and down. Push your chin gently forward, then tilt a little down to define the jaw and smooth the neck.
Pose 3: Shift weight to the back leg. Let the hip pop a touch and drop the free shoulder to form an S‑curve that looks natural and relaxed.
Pose 4: Hands engaged. Slide a thumb into a pocket, hold a collar or mug, or lightly touch the hair so your arms don’t hang stiff at your sides.
Pose 5: Over‑the‑shoulder glance. Turn the body away and look back at the lens for instant jawline definition and a candid vibe.
Pose 6: Movement shot. Take a step, slowly spin, or do a light hair toss and shoot a burst to add life and hide stiffness.
Pose 7: Leaning pose. Rest against a wall or railing, relax the shoulders, and let one foot cross or toe touch to add depth and ease.
Polish the look with micro‑tips that stack nicely. Relax your shoulders between frames, smile with your eyes, and keep fingers soft and slightly curved. Use a jacket, bag, or cup to anchor natural hand positions.
Avoid the most common posing traps. Don’t stand square to the camera, don’t lock your knees, and don’t clench your hands or stare blankly. Breathe, blink, and reset after every burst.
Build a simple pose gallery and note which angles pair best with each stance. One photo per pose is enough to remember the micro‑moves. This library makes it easy to repeat wins when you need to look great fast.
If you want more structure for your next shoot, skim this guide on how to pose. Combine those ideas with your angle tests and you will feel natural by the second burst. That’s the heart of how to look good in back camera every time.
Make Use of Negative Space and Positive Space
Composition matters as much as pose and light. Positive space is you, and negative space is the room around you that shapes mood and focus. Managing both makes your portrait feel intentional rather than accidental.
Start with the rule of thirds and aim to place the eyes near an intersecting point. This naturally draws the viewer’s attention to your gaze. Small placement choices change the whole feel.
Leave look space in the direction you’re facing so the frame breathes. If you look left, keep a little more room on the left side of the image. Balance headroom to avoid a cramped top edge.
Use leading lines to guide the eye straight to your face. Stairs, railings, sidewalks, and architecture can point into the frame. A gentle diagonal is often the most dynamic choice.
Create depth by separating yourself from the background and using Portrait mode when needed. Step a few feet forward and let the background blur to make you pop. A 1x or tele lens with a larger aperture look will help.
Check your background for clutter and edge distractions. Avoid lampposts or trees that look like they are growing from your head, and watch for trash bins and bright signs. Clean edges keep attention on you.
Mind your crop lines to avoid cutting at wrists, elbows, knees, or ankles. Either include the full limb or crop mid‑thigh or mid‑forearm where it looks intentional. Give breathing room to the feet in full‑body frames.
Color and contrast help with subject separation. If your outfit is dark, pick a lighter wall; if your hair is light, choose a slightly darker backdrop. Plain or softly textured backgrounds keep it timeless.
Try simple scenes you can find anywhere. A painted urban wall with negative space creates a magazine feel, while trees behind you turn into creamy bokeh outdoors. Doorframes and arches act as natural frames inside the frame.
Create a quick before/after to train your eye. Shoot once with a busy background and then again with a clean wall and look space. You will instantly see how composition upgrades your look.
For more posing and framing ideas you can adapt to your setup, browse these concise posing tips. Mix them with your angle and lighting choices for a complete recipe. This is a practical route to how to look good in back camera without new gear.
Locking Focus
Locking focus and exposure is the difference between a great shot and a nearly great one. It keeps your eyes sharp and your brightness steady when you recompose or change pose. Do it once, then move freely.
On iPhone and most Android phones, tap and hold on your face until you see AE/AF Lock and then slide your finger up or down to fine‑tune exposure. Use grid lines and face detection if available, and double‑check in bright backlight. Choose 1x or a tele lens and tap the eye nearest the camera.
Trigger the shutter with the volume button, a Bluetooth remote, or a smartwatch to avoid shake. Shooting in bursts helps you catch micro‑expressions and movement poses. If your phone supports it, enable a modest HDR to hold highlights without flattening the image.
When shooting groups, focus on the eye closest to the camera and stop down slightly if you can control depth. For solo portraits, a gentle background blur is ideal as long as the eye remains tack sharp. Review at full zoom to confirm sharpness before moving on.
With DSLR or mirrorless cameras, set up back‑button focus so your thumb locks focus and your index finger shoots. Use Single‑point AF or Eye‑AF for portraits, focus on the eye, recompose, and fire a short burst. This lets you change framing without the lens hunting every time.
Pick an aperture between f/1.8 and f/4 depending on the blur you want, and keep shutter speed at or above 1/160s for handheld shots. Raise ISO as needed to maintain that speed in dim light. If you or your subject are moving, use Continuous AF; if you are still, Single AF is simpler and precise.
Watch for common pitfalls that ruin otherwise great frames. If exposure locks on the bright sky, your face will go dark, so relock on skin and adjust. In very low light, face detection can fail, so switch to a single AF point or step into better light.
Here’s a quick settings cheat you can remember without a chart. On iPhone, turn on grid, use Portrait or 1x, engage AE/AF Lock on your eye, and use a 3–10 second timer or a remote; consider ProRAW only if you plan to edit. On Android, enable grid, use Portrait or 1x/2x, long‑press to lock focus and exposure, and use burst for movement; shoot RAW if your app supports it and you’ll edit later.
For DSLR or mirrorless, assign AF‑ON for back‑button focus, use Eye‑AF or Single‑point AF on the eye, set f/1.8–f/4 with 1/160s or faster, and shoot short bursts. Stabilize with a tripod if the shutter drops, or raise ISO to keep motion crisp. Always check focus at 100% before changing locations.
Edit lightly so you still look like you. Crop for stronger composition, nudge exposure and white balance, and add a touch of clarity around the eyes while keeping skin smoothing minimal. Lightroom Mobile, Snapseed, or VSCO will handle all of this in minutes.
A quick mistakes callout can save a shoot. The most frequent slips are a camera held too low, standing too close with an ultra‑wide lens, arms hanging stiff, a cluttered background, and forgetting to lock focus or exposure. Check these before every burst and you will keep more winners.
Make a tiny flow in your head and repeat it: lock focus, recompose, and shoot a burst. Then reset your pose, breathe, and repeat. This rhythm builds confidence and makes how to look good in back camera feel effortless.
Finally, stay aware of your surroundings and privacy when using the rear camera in public spaces. Keep valuables in sight, avoid blocking walkways, and ask permission if you include others in the frame. A calm, respectful setup leads to better photos and a better experience.
What People Ask Most
What are quick tips on how to look good in back camera?
Stand a little back from the phone, angle your body slightly, and keep your chin down for a slimmer, more natural look.
How should I use lighting to look good in back camera?
Face soft, natural light or a window and avoid harsh overhead lights that cast unflattering shadows.
Which poses work best for the back camera?
Turn your shoulders slightly to the side, shift weight to one leg, and relax your face for a confident, natural pose.
Do clothing choices affect how I look in back camera?
Yes—pick solid colors and simple patterns that contrast your background so you stay the focus of the photo.
What simple camera tricks help when using the back camera alone?
Use a tripod or steady surface, set a timer or remote, and take several shots while adjusting small movements.
What common mistakes should I avoid to look better in back camera?
Avoid extreme angles, digital zoom, cluttered backgrounds, and slouching, which all make photos less flattering.
How important is posture when trying to look good in back camera?
Very important—stand tall with shoulders back and keep your neck long to appear more confident and polished.
Final Thoughts on Mastering Back Camera Selfies
Want pro-looking selfies using your rear camera? Use 270 as a quick mental shorthand for the checklist that gets you there: clean lens, tripod or steady surface, tele/portrait mode, timer or remote, AE/AF lock, and thoughtful posing — the result is sharper, more flattering images that feel intentional rather than accidental. It’s a fast route to pro results without fancy gear.
That said, it does ask for a bit more patience and setup than a quick front-camera snap — expect to spend a few extra minutes on framing, lighting, and locking focus, and be prepared to review frames and refine between takes. Photographers, content creators, and anyone who wants better portraits will get the biggest payoff from these steps, since small technical controls and angle work really change the final image.
Remember the opening question about whether the back camera could outshine the front — the article answered it with practical steps on setup, angles, poses, composition, and focus so you won’t be guessing when you shoot. Keep practicing and you’ll see steady, confidence-building improvements each time you pick up the camera.





0 Comments