
Wondering how to take nature photos that make people stop and look?
This easy guide gives a clear 6-step workflow from planning to final edit. You will learn how light, camera settings, composition, and the right gear make better nature shots.
You’ll find shot recipes, quick settings, a packing checklist, and common beginner mistakes to avoid. Photo examples and short case studies show each step in action.
Whether you shoot with a phone or a DSLR, these simple steps will help you take better nature photos fast. Start here and be ready for your next trip.
How to Take Nature Photos

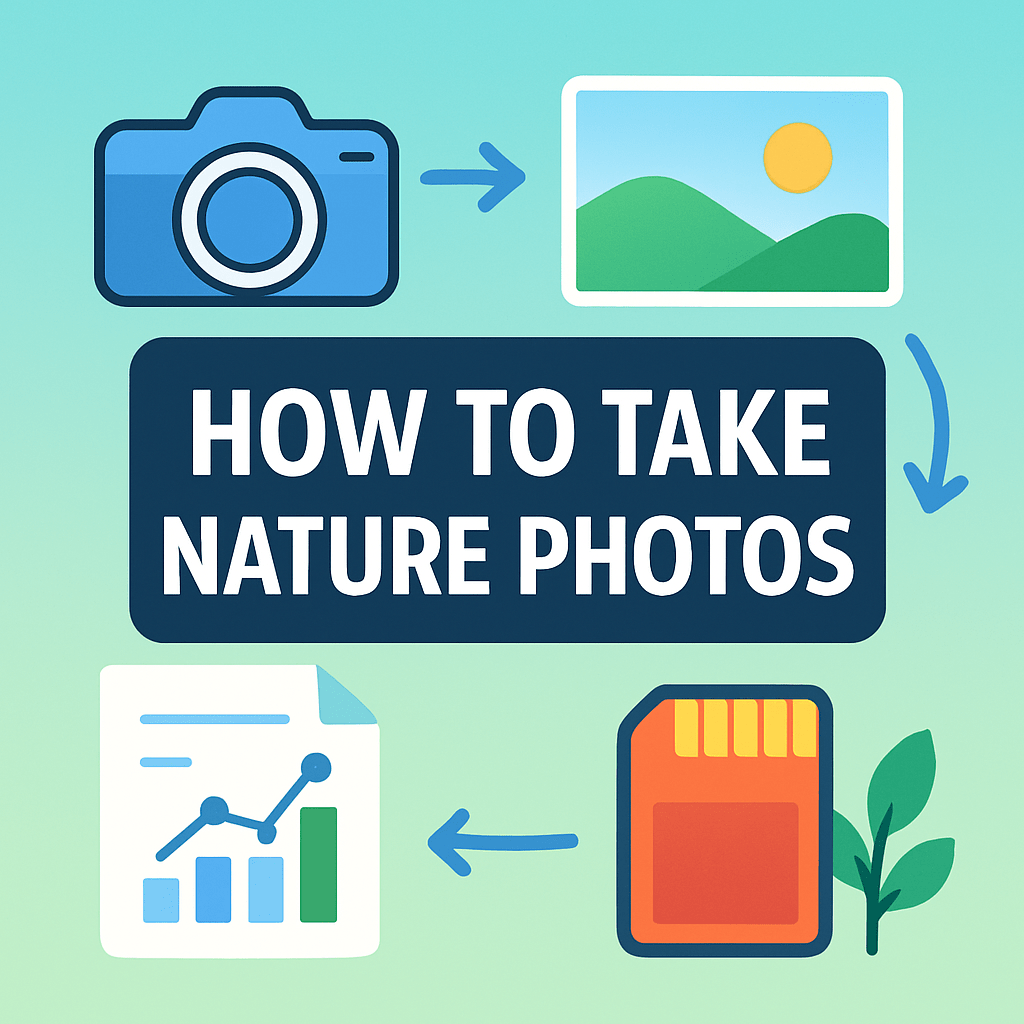
If you came here to learn how to take nature photos, start with a simple plan you can repeat. Think of your shoots as a loop: story, scout, light, compose, shoot, refine.
Here is the six‑step workflow in plain language. You will find a story, scout the place, watch the light, build a composition, set your camera and shoot variations, then review, edit, and back up.
Find a story or subject first. Decide whether today is about a sweeping landscape, a wildlife moment, a macro detail, or a seasonal mood like fog or fresh snow.
Scout and plan before you go. Check access, trails, tide tables, permits, and where the sun and moon will be at your time of day.
Observe the light and environment when you arrive. Slow down, listen, and watch for changes in wind, clouds, and behavior of animals.
Compose the frame with purpose. Build from foreground to midground to background and pick one clear point of interest that holds the viewer.
Set your camera for the scene and shoot variations. Change angles, bracket exposures if the sky is bright, and try different focus points for safety.
Review, edit, and back up the work. Cull gently in the field, then process the RAW files at home and copy them to at least two locations.
Different types of nature shots ask for different choices. A wide landscape needs a strong foreground and patient light to tie the scene together.
An intimate landscape is a small slice of chaos made simple. Look for repeating patterns, color blocks, and tight framing in forests and riverbanks.
Waterfalls and long exposures prefer even, soft light. Use a tripod and slow shutter to turn flow into silk while keeping rocks sharp.
Wildlife and action shots are about timing and distance. Place the animal against a clean background and leave space in the direction it looks or moves.
Macro work turns the tiny into the epic. Stabilize the camera and watch your plane of focus, because depth of field is razor thin.
Weather scenes add mood that can carry an image. Fog simplifies messy backgrounds, rain adds shine, and snow turns the world into shapes and tone.
Panoramas help when the scene is wider than your lens. Shoot a level series with overlap and keep exposure consistent across the sweep.
Packing smart makes the first outing smoother. Bring a camera with a charged battery, a lens that fits the goal, a sturdy tripod, and spare cards.
Add a weather app, a rain cover or plastic bag, drinking water, and a headlamp if you will be out for dusk or dawn. Carry any required permits in your pocket.
Watch out for common beginner mistakes. Midday harsh light, cluttered foregrounds, missed focus, and a noisy high ISO are easy to fix with planning.
Here is a quick step‑by‑step example shoot you can copy. Scout a lakeshore the day before, plan sunrise on the east bank, arrive early and study the wind patterns on the water.
As light arrives, move low to place reeds in the foreground and the mountain as your anchor. Shoot a clean frame, then a second with a longer shutter to soften ripples, and a third with a vertical composition.
Case study one, caption: Foggy pine ridge, soft light. I placed the nearest trunk on the left third and exposed for the highlights in the mist to keep glow in the air.
Case study two, caption: River cascade, long exposure. A polarizer killed glare and a two‑second shutter smoothed the flow while moss stones stayed crisp.
When you want to deepen your on‑site process, study proven fieldwork techniques. Practicing a repeatable routine makes your creativity feel calm and focused.
Try these shot recipes to speed up learning. Foggy forest: RAW, f/8, ISO 200, 1/60–1/125s, wide angle with moss foreground; then try a lone tree silhouette against the fog.
Windy meadow flowers: RAW, f/4–f/5.6, ISO 200–400, 1/500s, focus on one bloom and let motion blur paint the rest; then try a slower 1/30s pan with the wind.
Coastal sunset rocks: RAW, f/11, ISO 100, 1/4–1s with tripod, bracket −1/0/+1 EV for safety; then try a lower angle to exaggerate tide pools.
Keep simple editing in mind while you shoot. If the sky is bright, plan to blend two frames or recover highlights from a darker exposure later.
For before and after learning, make a small series. Do one straight exposure, then a second exposed for the sky, and finally a finished blend with gentle contrast, neutral white balance, and light sharpening.
Save time in the field with a printable cheat‑sheet. Include sunrise and sunset times, starting settings for landscapes and wildlife, and a tiny packing list you can check with a finger.
If you post images online, write helpful alt text for accessibility and SEO. For example, “Golden fog over pine trees at sunrise, soft backlight and silhouettes” is better than “forest photo.”
Mini‑challenge for today: pick one nearby spot and shoot three viewpoints of the same subject. Make one low, one eye‑level, and one high, and compare how the story changes.
Pay Special Attention to the Light
Light is the raw material of your photo, not just a thing that illuminates it. Its direction, softness, color, and contrast can make or break the frame.
Front light shows clean color and detail, but side light reveals texture on rocks, bark, and waves. Backlight creates glow, rim edges, and silhouettes that feel alive.
Golden hour happens shortly after sunrise and before sunset. The low sun adds warm tones and long shadows that help shape your landscape.
Blue hour lives in the moments before sunrise and after sunset. The sky turns cool and even, which is perfect for calm water and city‑meets‑nature edges.
Compose for low‑angle light by letting shadows point into your frame. Place a lit subject at a third and use the sun’s path to form leading lines.
Overcast light is a gift for color and detail. Forests, waterfalls, mushrooms, and flowers shine when clouds turn the world into a giant softbox.
On gray days, look for subtle color contrasts and textures. Wet leaves and rocks gain saturation, and your dynamic range is easier to manage.
Harsh midday sun tends to flatten scenes and blow highlights. Fix it by seeking shade, using a polarizer to cut glare, or moving closer for details.
Expose for the brightest important tones when the sun is brutal. For close‑ups, a white card or your palm can bounce a little fill to soften shadows.
Backlighting adds magic when it touches translucent subjects. Leaves, wings, grasses, and fur all glow, so meter carefully and underexpose slightly to keep sparkle in check.
Try intentional silhouettes when the background is brighter than the subject. Compose the outline clearly and keep the horizon clean and level.
Weather drives mood faster than anything. After rain, shoot reflections and saturated earth; in fog, simplify scenes; before storms, frame drama under heavy skies.
Snow scenes can trick your meter into going dark. Add positive exposure compensation and set white balance carefully so whites stay crisp, not blue or gray.
Use planning tools to land the right light on the right place. PhotoPills or The Photographer’s Ephemeris can show sun and moon angles on your map.
Check Windy or AccuWeather for cloud cover, wind speeds, and storm timing. Knowing when a front arrives helps you be standing in the right spot as it breaks.
Quick ideas for today’s light: chase side light for texture, study the shapes of shadows before raising your camera, and let the sun create a line or a silhouette for you.
Visual exercise to learn fast: photograph the same tree at noon, golden hour, and in overcast light. Compare how contrast, color, and mood shift, and note which composition works best in each case.
Shot recipe, storm edge: RAW, f/8, ISO 200–400, 1/125–1/500s, expose for highlights under the cloud anvil; then wait for a sunbeam breaking through and recompose quickly.
Master Your Camera Settings
Strong settings give you freedom to think about story and light. Shoot RAW so you can recover highlights and shadows and correct white balance later.
Use the lowest ISO you can that still gives you a sharp frame. Landscapes often live at ISO 100–200, while wildlife may jump to ISO 800–3200 as light falls.
Aperture controls depth of field and sharpness across the scene. Landscapes love f/8–f/11, while macro often needs f/8–f/16 to hold enough detail.
For waterfalls and long exposures, f/8–f/16 works well with slower shutter speeds. Wildlife and portraits of animals often sing at f/2.8–f/5.6 to isolate the subject.
Shutter speed governs motion and mood. Freeze birds in flight at 1/1000–1/3200s, or blur water in the 0.5–4s range with a neutral density filter.
Keep the handheld rule in mind when you are without a tripod. Your minimum shutter is about one over your focal length times the crop factor to avoid shake.
Choose focus modes to match the scene. Use single‑point AF for rocks, trees, and static subjects, and continuous AF for running animals and birds.
Back‑button focus separates focusing from the shutter and adds control. For macro or big foregrounds, consider focus stacking several frames for full sharpness.
Metering and exposure control matter when the light gets tricky. Matrix or evaluative modes are great general tools, but switch to spot for bright highlights.
Use exposure compensation to protect the brightest tones. Bracket a set of exposures when the sky is dramatic and blend later if needed.
Trust the histogram more than the camera preview. Push your exposure to the right without clipping crucial highlights, then fine‑tune in post.
White balance is easier to nail in RAW. Snow and fog often need a slight warm shift to avoid a cold cast, while forest greens may like a touch of magenta.
Stabilize whenever you can. A tripod, image stabilization, a remote release, and even a steady breath can deliver sharper files and calmer compositions.
Starting point for a still landscape is simple. Set RAW, f/8–f/11, ISO 100, and a shutter speed that fits the light on a tripod, then refine the exposure.
For soft water, begin at RAW, f/8–f/16, ISO 100, and around 0.5–4 seconds. Add an ND filter if the scene is bright and you need more blur.
Wildlife and action need speed. Try RAW, f/2.8–f/5.6, ISO 400–3200, 1/1000–1/3200s, and continuous AF, then adjust as the light shifts.
Macro and flowers benefit from control. Start at RAW, f/8–f/16, ISO 100–400, use a tripod or flash, and watch for wind between gusts.
For deeper dives on fundamentals, skim a concise primer on nature and outdoor photography. Keep your notes small, then practice them right away.
Visual practice idea: photograph your camera’s rear screen. Save screenshots of histograms, exposure compensation steps, and AF point placement for your own quick reference.
Shot recipe, birds at the pond: RAW, f/5.6, ISO 1600, 1/2000s, continuous AF and high burst; then pan smoothly to keep eyes sharp and wings dynamic.
Shot recipe, night sky by the lake: RAW, widest aperture, ISO 3200, 15–20s on a sturdy tripod; then shoot a short, low ISO frame for the lit foreground to blend later.
Bad to rescued example you can try at home. Take one underexposed frame with a bright sky and another exposed for the land, then blend softly or lift shadows and pull highlights in RAW to keep it natural.
Mini‑challenge: bracket three exposures of the same high‑contrast scene. Review the histograms and pick the cleanest highlight retention before you edit.
Use the Rule of Thirds
The rule of thirds is a simple guide to strong placement. Imagine a tic‑tac‑toe grid and place horizons on a top or bottom line and key subjects near the intersections.
Put a mountain peak on the upper third and a rock or flower on the lower third. Give animals or moving water space in the direction they travel.
Combine thirds with other visual tools to add depth. Lead the eye with a trail or a stream, add a natural frame like branches, and keep a clean, simple background.
Foreground interest turns a flat scene into a layered story. One small rock, a patch of grass, or a reflection can anchor the bottom of the frame.
Negative space gives the subject room to breathe. Sky, fog, water, or snow can surround a subject and make it feel quiet and powerful.
Know when to break the rule on purpose. Center the frame when symmetry is perfect or when a strong foreground shape demands the viewer’s full attention.
Minimalist scenes often work best with centered subjects. A lone tree in fog or a rock in calm water can feel stronger in the middle than at a third.
Exercise for faster growth: spend ten minutes in a local park. Shoot ten frames using thirds, then ten centered, and study why each method works or fails.
Horizon exercise to train your eye. Make one version with the sky dominant and a second with the land dominant, then ask which tells the better story.
Do give room in front of a moving subject and align the horizon with intent. Do not slice the frame in half unless symmetry is the point and the water is mirror calm.
Visual practice idea: create a side‑by‑side of a thirds composition and a centered one of the exact scene. Write one sentence on why the stronger image wins.
Always Be Prepared with the Right Gear
The right gear keeps you safe and frees your mind to make photos. A weather‑sealed camera body is great, and a small backup is peace of mind.
Choose lenses that suit the day’s story. A wide angle handles grand scenes, a standard zoom covers general use, a telephoto reaches wildlife, and a macro lens reveals tiny worlds.
Carry a tripod that you can trust and actually want to bring. A ball head is quick to adjust, and a quick‑release plate saves time at the moment of light.
Filters help you tame reflections and control time. A circular polarizer deepens skies and kills glare, ND filters slow water, and a graduated ND can balance bright skies.
Small accessories are big problem solvers. A remote shutter, a microfiber cloth, a basic cleaning kit, extra batteries, plenty of memory cards, and a rain cover should live in your bag.
Dress for the place, not just the photo. Good boots, layers, insect repellent, water, snacks, a small first‑aid kit, maps or GPS, and your phone keep you moving safely.
Know the rules of the area and be kind to wildlife. Keep your distance, move slowly, use silent mode when possible, and skip baiting or calls that disturb animals.
Ethics protect the places we love. Follow Leave No Trace, stay on durable surfaces, avoid trampling vegetation, and never stress wildlife for a shot.
If wildlife is your focus, study practical wildlife photography tips. Practice patience, predict behavior, and always put the animal’s well‑being first.
Back up your work before you get home when you can. Rotate memory cards and copy images to a portable drive or a cloud service in the evening.
Take care of your gear after rough weather. Wipe salt and grit, dry wet items slowly with airflow, and tuck silica gel packets into your bag overnight.
Build a packing habit you can do half asleep. Camera, two lenses, tripod, polarizer, ND filter, remote, batteries, cards, rain cover, headlamp, and a printed permit are a solid base.
Pick a carry system that suits the trail. A supportive hiking backpack or a camera‑focused pack with a hip belt will save your back on longer days.
Visual warm‑up: lay your gear on the floor and photograph the layout. Label the image mentally so you can glance and confirm nothing is missing before you leave.
Mini‑challenge: time yourself packing and unpacking your field kit twice. Aim to do it smoothly without looking down, and your dawn setup will feel effortless.
To keep learning how to take nature photos, repeat the simple loop often. Plan, watch the light, make mindful frames, and refine your edit and backup routine each time out.
Print the one‑page cheat‑sheet that goes with this guide and slide it into your bag. With a small plan and steady practice, you will know exactly how to take nature photos you love, wherever you stand.
What People Ask Most
How to take nature photos if I’m a complete beginner?
Start by learning basic composition, using natural light, and getting close to your subject. Practice often and pay attention to simple focus and exposure settings.
When is the best time of day to take nature photos?
Shoot during golden hour—shortly after sunrise or before sunset—for soft, warm light. Early morning also reduces crowds and increases wildlife activity.
What simple camera settings help me take better nature photos?
Begin in automatic mode and gradually try aperture or shutter priority to control depth and motion. Keep ISO low for clarity and use steady support to avoid blur.
How can I improve my composition when taking nature photos?
Use the rule of thirds, leading lines, and include a clear foreground to add depth. Move around and change angles to find a stronger view.
How do I take nature photos without disturbing wildlife or the environment?
Stay on trails, keep your distance, and avoid loud noises to protect animals and habitats. Use a zoom or crop later instead of approaching wildlife.
What common mistakes should beginners avoid when taking nature photos?
Avoid shooting only in harsh midday light, neglecting composition, or over-editing images. Also don’t rush—patience often leads to better shots.
Do I need expensive gear to take great nature photos?
No, strong images come from practice, composition, and good light more than costly gear. A smartphone or basic camera can capture excellent nature photos with attention to framing and timing.
Final Thoughts on How to Take Nature Photos
You can think of this guide as a field-tested roadmap that turns curiosity into clear steps, and the simple ‘270’ reminder can help lock in your checklist before you head out. From scouting and reading light to camera settings, composition and a reliable backup routine, the main benefit is confidence — you’ll know what to do at each stage instead of guessing. That clarity makes the whole process less stressful and more creative.
A realistic caution: nature won’t always cooperate — shifting weather, fickle light and unexpected gear hiccups mean you’ll need patience and a flexible plan to rescue shots and stay safe. This guide is aimed at beginners and curious hobbyists who want practical, repeatable routines; by giving step-by-step workflows, light tests, camera recipes and packing plans it answers the opening question about how to take nature photos and shows what to practice next. Keep shooting with intention, and you’ll find your pictures and confidence growing with every trip.





0 Comments