What camera was used on the Moon? Read on to get a clear answer and the story behind those famous images.
Short answer: NASA used a specially modified Hasselblad medium‑format 500EL, often called the Hasselblad Data Camera. I will give a quick mission‑by‑mission summary so you can see which cameras served each Apollo flight.
You will learn how Hasselblads were changed for vacuum, gloves and extreme temperatures. The article also covers film magazines, Zeiss Biogon lenses, the reseau plate, and the TV and motion cameras used for live and movie footage.
Finally, I explain how astronauts actually shot the Moon, show iconic photos with credits, and list primary sources and practical tips for writers and photographers. Every image will be captioned with camera model and source so you can verify the facts easily.
Which camera was used on the Moon? — The Hasselblad “Data Camera” (quick answer + mission summary)
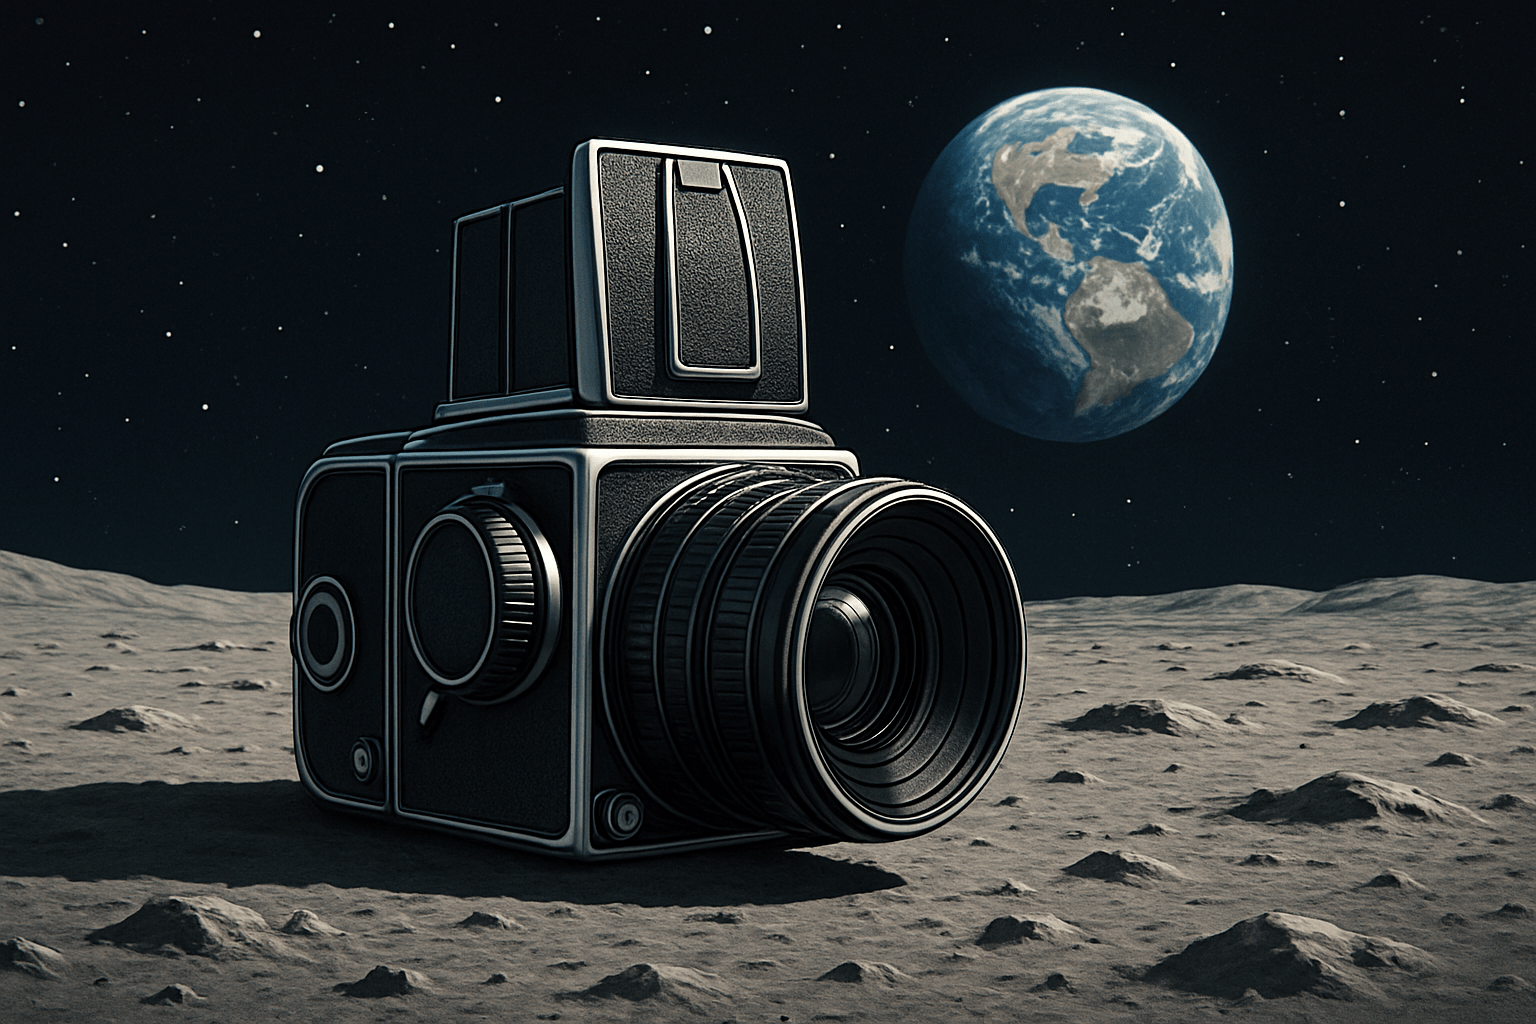
If you’re asking what camera was used on the moon, the straight answer is this: a specially modified Hasselblad 500EL, commonly called the Hasselblad Data Camera (HDC), was the primary still camera on the lunar surface. It used medium‑format 70 mm film and Zeiss lenses, and it included a reseau plate that imprinted crosshairs on every frame. Medium format gave NASA the resolution, reliability, and scientific measurement accuracy they needed.
Apollo 11 carried the HDC with a wide Zeiss lens; live video came from a Westinghouse slow‑scan TV camera, and motion footage from a 16 mm Maurer. Apollo 12 again used the HDC for stills; a new color TV camera failed after it was pointed at the Sun, while the 16 mm Maurer covered EVAs. Apollo 14 continued with HDC stills, improved color TV, and 16 mm film for engineering and training review.
Apollo 15 introduced the lunar rover and kept the HDC; the Command Module added powerful mapping and panoramic film cameras for orbital science. Apollo 16 paired HDC stills with rover‑mounted color TV and flew the Far Ultraviolet Camera/Spectrograph for unique science. Apollo 17 closed the program with HDC stills, remote‑controlled rover TV, and extensive panoramic and metric mapping from orbit.
For deeper mission specifics and part numbers, NASA’s own notes on the Apollo 11 Hasselblad are the best quick reference. They confirm the electric‑drive body, reseau plate, and the practical reasons this camera earned its place in history. When people search what camera was used on the moon, that page is the authoritative starting point.
How the Hasselblad was modified for space
The 500EL body was reworked to survive vacuum, dust, and wild temperatures. Film advance became electric so astronauts could shoot without winding, and every control grew larger so thick gloves could operate them. Exterior coverings that might outgas were removed, and the camera wore a heat‑reflective finish that tamed sunlight.
Internal lubricants were replaced with vacuum‑safe options, and non‑essential parts were simplified for reliability. The reflex mirror was removed for the wide lens, and an aiming sight replaced a viewfinder, saving weight and reducing failure points. Thermal baffling and insulation helped the shutter and film stay stable as astronauts moved from sun to shadow.
The reseau plate was the key scientific addition. This is a precision glass plate placed just in front of the film, etched with evenly spaced cross marks. It gave each photo a built‑in scale and grid, making photogrammetry possible and allowing distortion checks on every negative.
NASA and Hasselblad proved the design in thermal‑vacuum chambers before flight. Components were cycled across extreme temperatures and pressure to confirm timing, coatings, and adhesives behaved. For a concise manufacturer overview of these changes, see Hasselblad in space.
Film, lenses and image quality: Zeiss Biogon, magazines and radiation
The go‑to lunar surface lens was the Zeiss Biogon, a wide‑angle optic chosen for sharpness and very low distortion on medium format. In the spacecraft cabin, crews also used Planar normals and Sonnar telephotos through the windows. The Biogon’s optical design demanded mirror lock‑up, which is why the lunar HDC used a sight instead of a reflex view.
The camera used preloaded 70 mm film magazines with thin‑base stock to fit many frames. Color transparency film such as Kodak Ektachrome documented the surface and equipment, while black‑and‑white stocks captured high‑contrast geology. Apollo 11 magazines typically held on the order of hundreds of 55 mm square frames, and crews trained to swap them quickly without contaminating the film.
Exposure on the Moon is tricky because there’s no air to soften shadows and highlights. Astronauts relied on simple exposure charts, the “sunny” rule of thumb, and occasional bracketing when time allowed. NASA tests found that with the magazine’s metal shell and spacecraft shielding, radiation fogging remained negligible for mission durations.
The reseau crosses are visible on all original negatives and are a signature of the flight cameras. They help align mosaics, measure distances, and detect any later copying or optical printing. For lens heritage and optical insights, the ZEISS 50 years retrospective adds valuable context.
Other cameras on Apollo: TV, motion‑picture and mapping systems
Live TV from Apollo 11 came from a Westinghouse slow‑scan camera transmitting a narrow‑band 10 fps signal, which was converted on Earth for broadcast. Later missions used color TV cameras, and the rover’s camera could be panned and tilted remotely from Mission Control. This is the source of many real‑time shots of astronauts working at a distance.
For motion pictures, crews used 16 mm Maurer data acquisition cameras in the LM and CM and sometimes on the surface. The footage recorded procedures, spacecraft behavior, and scenes used for training and analysis. When you see smooth in‑cabin film or EVA sequences with time data in frame, it is usually the Maurer.
Apollo 15, 16, and 17 added serious science cameras in lunar orbit. Panoramic and metric mapping systems photographed the Moon at high resolution for geology and landing‑site studies. These aerial cameras created the deep library of terrain images used long after the last landing.
How astronauts actually shot the Moon — mounting, handling, iconic photos + practical tips for the writer and photographer
The HDC usually sat on a chest bracket so an astronaut could shoot by looking where they walked and aiming the sight. They could also handhold the camera briefly or mount gear to the rover as the missions evolved. Big, glove‑friendly dials encouraged simple settings and clean compositions.
Changing magazines was a practiced, clean sequence to protect film from dust. Astronauts judged light with exposure cards and training, then set a manual exposure that favored highlights and detail on equipment. The reseau crosses ensured every frame could be measured later, even if the composition was quick.
Many iconic photos came from this simple, robust workflow. Neil Armstrong photographed Buzz Aldrin’s visor portrait on Apollo 11 with the chest‑mounted HDC, while Bill Anders made “Earthrise” from lunar orbit on Apollo 8. When people ask what camera was used on the moon for those moments, the answer is the same Swedish‑American partnership that balanced art and engineering.
If you are writing about this, lead fast with the Hasselblad Data Camera and follow with a brief mission rundown. Present a compact mission camera list covering stills, TV, motion, special systems, and a notable image for each flight. Caption images with camera, lens, film if known, the astronaut‑photographer, and a NASA image ID.
Use primary sources like the Apollo Lunar Surface Journal, NASA Technical Reports Server, and Hasselblad archives to fact‑check model numbers, lens focal lengths, and magazine data. Verify who operated each camera on each frame before you publish. This prevents the common credit mistakes that follow Apollo imagery around the web.
For photographers, you can emulate the lunar look with a wide fixed lens, high‑contrast light, and manual exposure. Bracket to protect highlights, keep compositions simple, and consider medium‑format or a high‑resolution sensor for that crisp, square frame. Most of all, remember why what camera was used on the moon still matters: clarity, reliability, and storytelling under pressure.
What People Ask Most
What camera was used on the moon?
NASA used specially modified film cameras made for space, adapted to handle vacuum, temperature swings, and the astronauts’ suits.
How did astronauts manage to take clear photos in space?
They used simple camera controls, practiced framing and exposure on Earth, and relied on steady mounts or bracing techniques during moonwalks.
Are the famous moon photos real or staged?
The photos are real and were taken by astronauts and robotic probes, with many independent checks confirming their authenticity.
Can modern digital cameras be used for lunar photography?
Yes, modern digital cameras can capture equal or better image quality but need special preparation and protection for the harsh space environment.
Why do moon photos look so sharp and contrasty?
The lack of atmosphere removes haze and scattering, and good camera technique and strong sunlight create high contrast and clear details.
Did astronauts use special mounts or accessories for lunar photography?
Yes, they used mounts, straps, and simple tripods to keep cameras steady and easy to operate while wearing gloves and suits.
Can I recreate moon landing photos as a hobby project?
You can simulate the look with careful lighting, textured props, and editing, but matching true lunar conditions is difficult on Earth.
Final Thoughts on Which Camera Was Used on the Moon
We started by asking which camera was used on the Moon and answered it: a specially modified Hasselblad 500EL Data Camera. This guide—organized into clear 270-word sections—showed how medium-format film, Zeiss optics, and heavy-duty mods gave NASA the resolution and reliability it needed. It also walked mission-by-mission kit and the practical tweaks that made those iconic frames possible.
You now know not just the camera name but why its mods mattered and how film, lenses, mounts, and procedures created enduring images. But remember archival records vary, so double-check exact model numbers and film stocks when you cite specifics. Writers, photographers, and history buffs will find the practical checklist and image-caption guidance especially useful.
We began with the crisp answer—the Hasselblad Data Camera—and then unpacked the who, how, and why across missions, tests, and photos. With that foundation, you can explore the originals, experiment with high-contrast techniques, and keep looking at the Moon with fresh eyes.


0 Comments