
what is a 3d picture? Can a flat photo really jump out and look like real space?
This guide answers what is a 3d picture and why it matters. You’ll learn about stereoscopic images, depth maps, and full 3D models.
We explain how 3D pictures work, the common types, and how they are made. Then we give a simple step-by-step how-to for taking your own 3D photos.
Expect clear diagrams, sample images, and practical gear and software tips you can use today. Whether you are a photographer or just curious, this article will make 3D easy to try.
What is a 3D Picture?
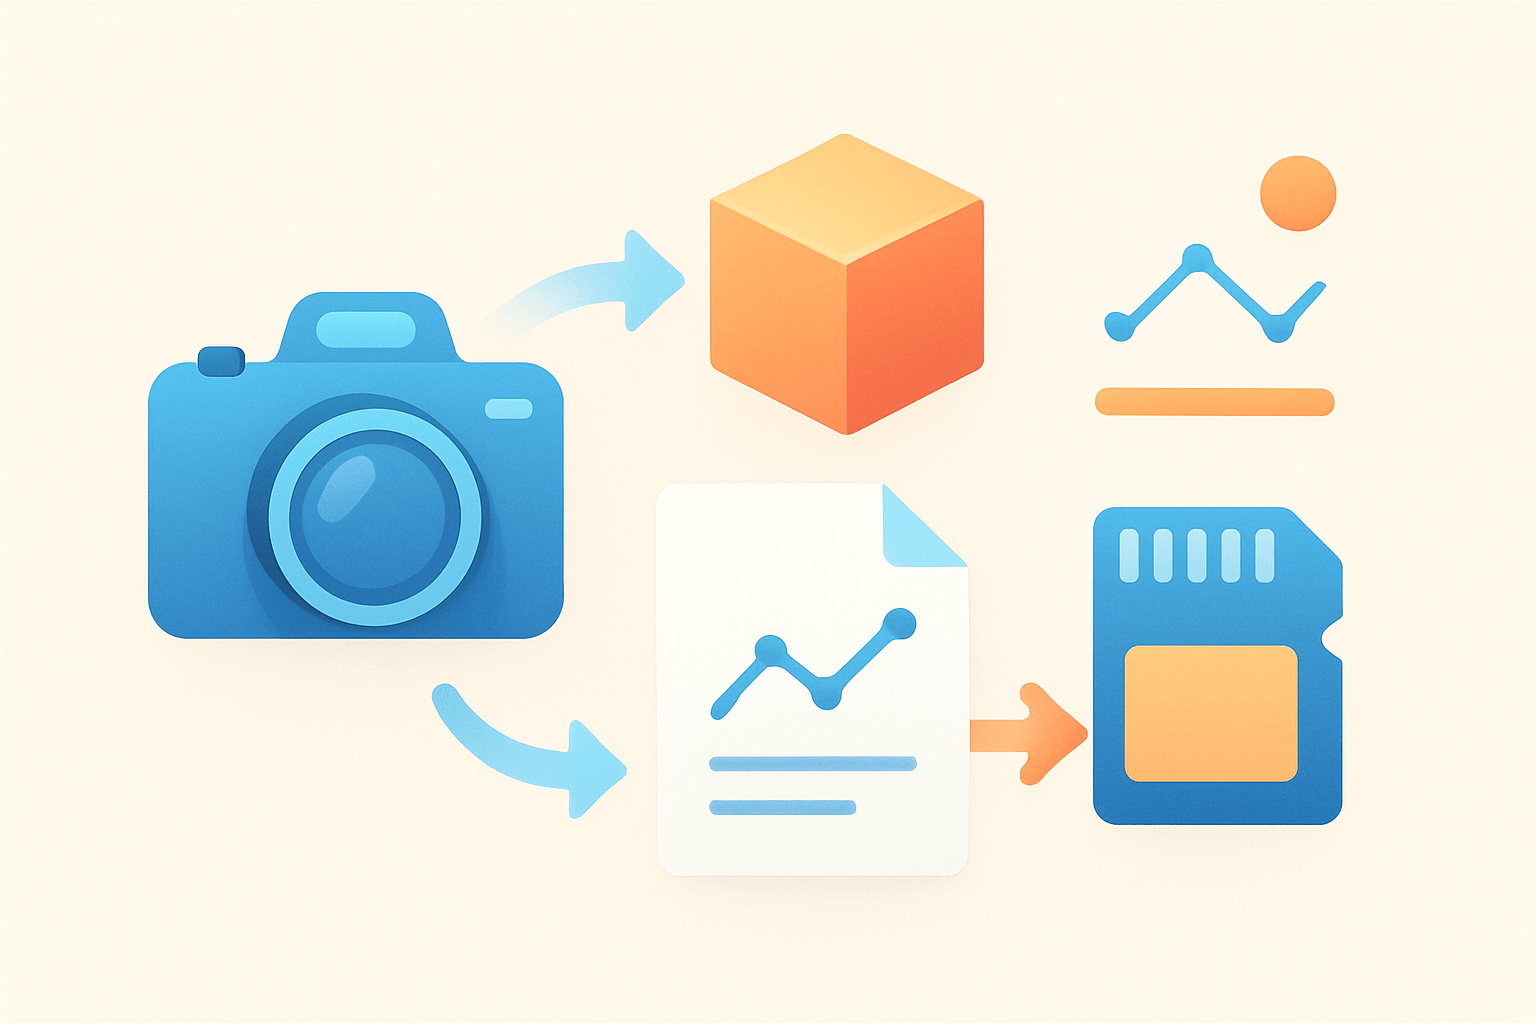
If you have ever asked yourself what is a 3D picture, think of it as a photograph that captures depth as well as width and height. Instead of looking flat, it lets your eyes sense what is near, what is far, and where things sit in space. You do not just see a scene; you feel its volume.
People use the term in a few different ways. A stereoscopic image is made of two slightly different views, one for each eye, so the brain builds depth. A depth-enabled 3D uses a depth map to fake parallax from a single image, sometimes called 2.5D. And full 3D refers to mesh-based models you can orbit in VR or AR.
This idea mirrors human vision, where our two eyes sit a small distance apart. Each eye sees a slightly shifted view, and the brain compares them to judge depth. A 3D picture recreates that shift so your brain does the same trick.
It matters because depth makes images easier to read and more immersive. It improves medical imaging, product visualization, training, and cinema, and it can be playful on social apps. If you want a broader primer, this short overview of 3D image basics pairs well with what follows here.
How Does a 3D Picture Work?
Depth perception starts with binocular disparity, the tiny difference between what your left and right eyes see. Your brain matches points between the two views, measures the shift, and turns that into perceived distance. This process is called stereopsis.
Other depth cues join in to make the effect convincing. Occlusion tells you that a nearer object hides a farther one, while linear perspective squeezes parallel lines as they recede. Motion parallax, shading, and focus blur also signal depth, even in 2D images.
A 3D picture must deliver different information to each eye to trigger stereopsis. The simplest method is anaglyph, where color filters separate the two views. Red/cyan glasses send the red channel to one eye and the cyan channel to the other, and your brain merges them.
Polarized systems are common in theaters and some TVs. The screen emits two images with orthogonal polarizations, and matching glasses let each eye receive only its intended image. Colors are better than anaglyph and ghosting can be lower with good alignment.
Active shutter systems time-slice the views. The display shows left and right frames in a rapid sequence, while battery glasses alternately block each eye in sync. When the refresh rate is high, the brain fuses the sequence into steady depth.
Autostereoscopic displays need no glasses. Lenticular lenses or parallax barriers sit in front of the screen and steer different pixels to each eye. When you stand in the right zone, each eye receives its own view and the scene pops.
Capturing or displaying stereo involves careful geometry. The distance between the two viewpoints is the baseline, and it controls how strong the depth feels. Convergence sets the zero-parallax plane, the spot that appears at the screen level, and everything else floats in front or behind it.
Alignment is critical because the brain dislikes vertical mismatches. During processing we rectify the pair so corresponding features sit on the same rows. When the baseline or convergence is off, depth bends in odd ways and comfort drops fast.
You can try a simple experiment with a stereo pair to feel this. Place two images side by side, relax, and cross your eyes until a third image appears in the center, then let it lock. Or practice parallel viewing by focusing into the distance so your eyes look beyond the screen.
Comfort should guide every choice you make. Too much parallax forces your eyes to diverge or converge beyond their relaxed range and causes strain. Keep depth moderate, avoid vertical parallax, and test on a few viewers before sharing widely.
Types of 3D Images
There is not just one kind of 3D image, and each type fits different screens and use cases. Some aim for simple, cheap fun, while others target accuracy or immersive viewing.
Anaglyph images are the easiest to share because they work on any display with red/cyan glasses. They are cheap and quick, but color fidelity shifts because channels are filtered.
Polarized 3D and active shutter 3D both deliver higher quality when matched with the right displays. Polarized setups keep better colors and are common in cinemas, while active shutter rigs deliver very sharp depth but need synced battery glasses.
Autostereoscopic images are for glasses-free screens and lenticular prints. They feel magical when you stand in the sweet spot, but the hardware and alignment are more complex.
Stereoscopic pairs, shown side-by-side or in cross-eye format, are the raw files many photographers share. They are easy to produce and keep full color, and you can view them with a viewer or by free-viewing with practice.
Depth-map or 2.5D photos store a normal image plus a grayscale depth map. Software uses the map to synthesize small viewpoint changes, perfect for social feeds and quick demos, and this intro to 3D imaging explains how simple depth can still feel real.
Finally, full 3D assets from photogrammetry or scanning are meshes with textures you can orbit and light. These export as OBJ, PLY, or glTF and power AR previews, VR scenes, and design reviews. Holography and volumetric capture exist too, but they are specialized and hardware-heavy; common stereo formats include MPO and JPS, plus anaglyph JPG or PNG and side-by-side layouts.
How 3D Images Are Created
There are several paths to a 3D result, but they share a simple flow: capture, process, and output. Your choices here depend on subject motion, required quality, and how the audience will view the work.
Stereoscopic capture uses two cameras at once or one camera shifted between exposures. Dual capture suits moving scenes, while a single camera on a slider works for static subjects like architecture or product shots.
Depth capture uses sensors such as LiDAR, structured light, or time-of-flight to measure distance per pixel. Many phones now store portrait photos with a depth map, which can be refined into 2.5D motion or even a rough stereo pair.
Photogrammetry reconstructs a full 3D mesh from many overlapping images. You walk around the subject, shoot from many angles, and software triangulates points to build a dense model and then projects textures onto it.
Software synthesis can estimate depth from a single image using AI. It is not as precise as true stereo or scanning, but it creates convincing parallax for portraits and scenes that would be hard to re-shoot.
Processing starts with alignment and rectification so left and right images are coplanar. From there, disparity is calculated to form a depth map, which can be smoothed and refined before convergence is set.
You then choose a zero-parallax plane to decide what sits at screen level. Finally, you convert into the target format, such as anaglyph, side-by-side, MPO/JPS, lenticular interlace, or 3D model export for meshes.
Useful tools include StereoPhoto Maker for alignment and anaglyphs, Adobe Photoshop for layer-based adjustments, and photogrammetry suites like Agisoft Metashape, Meshroom, or COLMAP. Blender helps with retopology, texturing, and rendering for full 3D assets.
Remember the trade-off between single-camera shifts and synchronized dual cameras. Single-camera methods are cheap and sharp but fail with motion, while dual rigs demand careful sync yet handle action with ease.
How to Take 3D Photos
Start by choosing a method that matches your subject and viewing plan. If you only need a small parallax effect for the web, a phone portrait with depth may be enough. For action, a synchronized stereo rig is the safer path, and this concise 3D photography guide pairs with the steps below.
Smartphones are the fastest entry. Many models capture a depth map or use a second camera to estimate depth, and apps can export the map for later editing. The results suit portraits and still life, and they share well on social platforms.
Dual-camera stereo rigs fit moving subjects, events, and wildlife. You can use two matching cameras with a wired trigger or a dedicated stereo camera to ensure the shutters fire together. Mirror or beam-splitter rigs bring the lenses closer for macro or tight compositions.
For static scenes, a single camera on a slider works well. Take the left frame, shift horizontally by a small baseline, and take the right frame before anything moves. Avoid vertical shifts and keep the camera level to reduce later correction.
Begin with a baseline you can control. A good starting point is the 1/30 rule: divide your subject distance by 30 to estimate the baseline, then nudge up or down to taste. Small baseline yields gentle depth, while larger baseline increases the effect but can push comfort limits.
Mount and level the cameras, and try to keep the lenses parallel rather than toe-in. Match focal length, focus, and exposure so each eye sees the same brightness and sharpness. Toe-in can introduce keystone distortion that is hard to fix.
Compose for depth with layers. Place a clean foreground anchor, add mid-ground interest, and keep a readable background so the brain can lock onto distances. Simple, separated shapes help more than busy textures.
When you capture, synchronize the shutters for moving subjects or shoot quickly for static scenes. Use a fast shutter to freeze subtle motion that might spoil alignment later. If light is low, raise ISO rather than risk blur between frames.
In post, align and rectify your pair until vertical parallax is zero. Set convergence so key subjects sit at the screen plane, then trim the stereo window so nothing protrudes beyond the frame cut. Balance colors and remove any ghosting before you export.
Export to match your display and audience. Anaglyph is universal and fast, MPO is great for compatible viewers, and side-by-side works on VR headsets and many 3D players. Lenticular prints need special interlacing from your final frames.
If the result feels uncomfortable, dial back the baseline or move the zero-parallax plane closer. Correct crooked horizons to protect viewer comfort, and avoid cutting off near objects at the frame edge. Always test on a few people before sharing widely.
Phone shooters should export the depth map when possible and refine it to remove halos around hair and edges. Many apps and StereoPhoto Maker can convert pairs to anaglyphs quickly, and some allow live preview while you adjust convergence. Keep movement small to avoid broken depth in AI-derived maps.
A final note on wellness is important. Some viewers are sensitive to strong parallax or rapid eye changes, and a few minutes of viewing can cause fatigue. Offer a 2D version and keep your first edits moderate while you learn what feels natural.
When someone asks you what is a 3D picture, you can now answer with confidence. It is a crafted play between two views, careful alignment, and gentle parallax. With a bit of practice, your images will stop looking flat and start breathing with space.
What People Ask Most
What is a 3d picture?
A 3d picture is an image that shows depth so objects look like they stand out instead of lying flat. It creates a sense of space using visual tricks like shading, perspective, or layered images.
How is a 3d picture different from a regular photo?
A 3D picture gives the impression of depth, while a regular photo appears flat. This makes 3D images feel more lifelike and immersive.
What is a 3d picture used for in everyday life?
People use 3D pictures for advertising, product displays, learning tools, and home decoration to make visuals more engaging and informative. They help viewers understand shapes and features at a glance.
Can I make a 3d picture with my phone?
Yes, many phones and simple apps can capture or convert images into 3D-style photos using multiple shots or built-in effects. You don’t need special equipment to try basic 3D techniques.
Are 3d pictures good for learning and education?
Yes, 3D pictures help learners see spatial relationships and details more clearly than flat images. They are especially useful for subjects like anatomy, architecture, and geometry.
Do 3d pictures cause eye strain or other problems?
Most 3D pictures are safe, but some people may feel mild eye strain or dizziness if they view them for a long time. Taking breaks and adjusting screen distance usually helps.
What common mistakes should beginners avoid when making a 3d picture?
Avoid poor lighting, cluttered backgrounds, and relying only on heavy filters; clear composition and visible depth cues work best. Simple setups with good contrast usually produce the most convincing 3D effect.
Final Thoughts on 3D Pictures
By the end you should see how a simple pair of images can turn a flat frame into a space you can almost step into — even a 270-degree sweep can feel spatial when depth cues line up. That sense of place is the real win: 3D photos make scenes easier to read and more engaging for viewers, which helps everything from product visualization to medical scans, and it’s especially useful for photographers and visual creators starting out.
That said, there’s a practical caution — too much parallax, bad alignment, or moving subjects will give viewers eyestrain or break the illusion, so keep depth moderate and watch for vertical misalignments. This guide answered the opening question about why 3D matters by defining the formats, explaining how they work, outlining creation workflows, and giving hands-on capture tips so you can pick the method that fits your subject and gear.
Take these principles as encouragement: with careful setup and modest depth you’ll add a rewarding new layer to your images, and you’ll keep improving with each shot you make.




0 Comments