
What is a rangefinder lens, and why do photographers still use them?
This article answers that question in plain English and shows when these lenses shine.
You’ll get a simple definition, a clear look at how rangefinder coupling works, and how these lenses differ from SLR and mirrorless optics. I will also explain the viewfinder patch and basic focusing methods.
We cover key traits like compact size, common focal lengths, manual focus feel, and the limits of RF coupling. Read on for pros and cons, practical tips, and lens recommendations you can try.
What is a rangefinder lens?
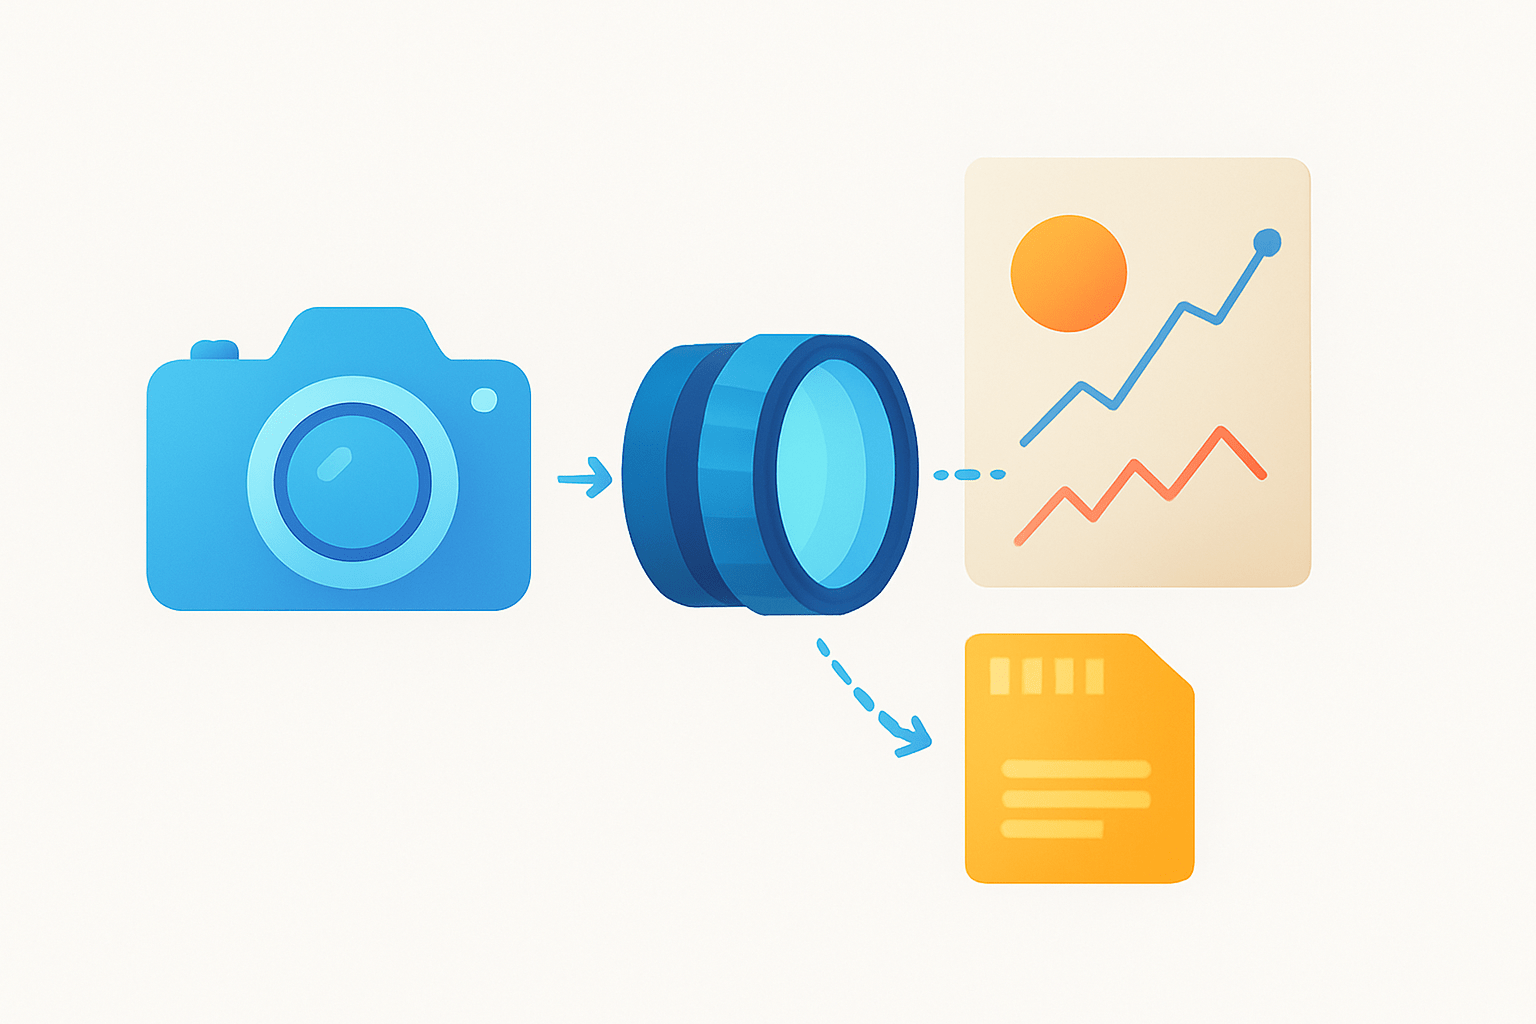
If you have ever asked yourself what is a rangefinder lens, the simplest way to see it is this: it is a lens designed to work with a rangefinder camera’s focusing system. The lens is “coupled” to the camera through a mechanical link, so turning the focus ring moves a cam that tells the viewfinder when your subject is in focus. Most of these lenses are manual focus primes and are made for RF mounts like Leica M or classic screw mounts.
Quick answer: a rangefinder lens is a manual lens built for rangefinder cameras, with a physical coupling that syncs focus with the camera’s rangefinder. It differs from SLR and mirrorless lenses because you focus using a separate optical finder, not by looking through the lens.
The coupling is the heart of the idea. On the lens you will find a small metal cam or sloped surface. Inside the camera a spring-loaded follower rides on that cam as you turn the focus ring. The camera translates that movement into a double-image shift in the viewfinder patch, and alignment means the lens is focused at the shown distance.
This is different from SLR and most mirrorless systems. In an SLR you look through the taking lens via a mirror and prism, so you judge focus through the glass itself. On mirrorless cameras you see a live view feed from the sensor. On a rangefinder, you look through a bright optical finder that is separate from the lens, and the focus is confirmed by the moving patch.
People often get confused by the name. The rangefinder is the camera’s focusing system, not the lens. When someone says “rangefinder lens” they usually mean a lens made for an RF mount and calibrated to push the rangefinder cam correctly, often with a short flange distance and compact build.
Design choices also change because there is no mirror box to clear. Rangefinder lenses can place rear elements closer to the film or sensor, which allows more compact wide-angle designs. SLR wide-angles needed bulky retrofocus layouts to clear the mirror, while many RF wides use more symmetrical formulas that can be smaller and sharper in the corners on film.
In practice you will see many classic focal lengths like 28mm, 35mm, 50mm, and 90mm in very small packages. Most are manual focus only and rely on engraved depth-of-field scales right on the barrel. The feeling is direct, precise, and fast once you learn the focusing throw.
If you want a deeper dive into the camera side of the equation, read about what a rangefinder camera is and how its viewfinder works. That context makes it easier to understand why the lens needs a coupling cam and why framelines matter for framing.
For visuals, picture a close-up photo of a Leica M-mount lens showing the sloped rangefinder cam on the back. An annotated diagram could label the cam, the follower roller inside the camera, and the rangefinder patch in the finder. These assets help the coupling idea click right away.
Key characteristics of rangefinder lenses
The first thing most photographers notice is size. Because there is no mirror to clear, designers can push the rear elements closer to the plane of focus, and that short flange distance keeps lenses smaller and lighter. The result is a compact prime that balances beautifully for street and travel work.
Many classic rangefinder lenses even collapse to save more space. Collapsible lenses fold part of the barrel into the camera body for transport, then extend before shooting. Rigid designs are more common today, but the idea shows how much RF systems value pocketable gear.
The optical layout is also shaped by the mount. Without a mirror box, wide angles can use more symmetrical designs like Biogon or other near-symmetric forms. These formulas tend to control distortion and keep strong central sharpness, and they can keep the lens short and simple.
There are trade-offs, especially on digital bodies. Sensors have microlenses and protective stacks that can dislike very steep ray angles from extreme wide RF optics. Modern digital RF lenses add corrections and special coatings, but some older wide designs may show color shifts or edge softness on certain sensors.
Rangefinder systems lean on a familiar set of focal lengths. The 35mm is the everyday hero for street and travel because it balances context with subject isolation. The 50mm is a classic normal for portraits and general use, while 28mm widens your field for environmental scenes, and 75–90mm covers short tele portraits.
These lenses are nearly always manual focus and often have a long, precise focusing throw. The distance scale and depth-of-field markings are not decorations; they are central to how you shoot fast with an RF. You can read them at a glance and set focus by distance even before the camera reaches your eye.
This brings in scale focusing, which is a natural fit for candid work. Instead of hunting for a patch, you preset the distance and choose an aperture that gives enough depth of field. With practice you will hit focus by feel in a split second.
Coupling specifics matter for reliability. The lens cam pushes a small follower roller in the camera, and that motion translates to the moving patch in the viewfinder. Because the geometry is fixed, the lens and camera must agree on that relationship for accurate focus at both close and far distances.
Every system has a coupling range, which is the distance window where the rangefinder is calibrated to be accurate. On many Leica M bodies, 0.7 meters is the standard minimum for coupling, and some older lenses stop at 1 meter. Going closer can cause errors unless the body supports closer coupling and the lens is designed for it.
Mounts and compatibility affect how you use these lenses today. Leica M is the most common current mount, and older LTM/M39 screw-mount lenses adapt easily to M bodies with a simple ring. You can adapt most RF lenses to mirrorless cameras too, but you lose true rangefinder coupling and must focus using magnified live view or peaking instead.
Physical details matter more than you might think. Many RF lenses use common filter threads and come with vented or compact hoods to avoid blocking the viewfinder. With collapsible lenses, always check the camera’s sensor and shutter clearance and follow the maker’s guidance before collapsing.
Framing is driven by framelines in the body, which are triggered by the lens mount. Common pairs are 28/90, 35/135, and 50/75, and the correct set appears when you mount a lens. Some digital RF bodies also read lens coding to apply corrections and metadata in-camera.
If you want to explore notable models and specs across brands, you can browse curated lists of range finder lenses for a sense of sizes, focal ranges, and maximum apertures. Use those lists as a starting point, then test copies on your own body when possible.
How rangefinder focusing works (and practical implications)
Rangefinder focusing uses simple geometry that you can see in the viewfinder. When you look through the finder, a small patch shows a double image or a superimposed ghost of your subject. Turning the focus ring moves that ghost, and when the two images line up, the subject is in focus.
This alignment is driven by the coupling between lens and camera. The lens cam tells the internal mechanism how far the optical unit has moved, and the mechanism shifts the patch accordingly. The method is bright, fast, and does not dim with small apertures.
To focus, place your subject in the patch and turn the focus ring until the images match perfectly. You can also align a strong vertical line like a door frame or a face edge for better precision. When the patch snaps into one image, your focus distance is set.
Many photographers focus first, then recompose to move the subject off-center. This works well at moderate distances, but it can introduce a small shift in the focus plane at very close range. To reduce errors, keep the camera at the same distance and pivot gently rather than stepping in or out.
Because you are not looking through the lens, parallax becomes a factor. The viewfinder sits offset from the lens axis, so composition at close distance differs from what the lens sees. Modern RF cameras shift framelines as you focus closer to compensate, but the effect still grows as you near the minimum distance.
Parallax affects framing and focus point placement. At close range, compose a touch looser and stop down for a cushion of depth of field. If the subject is critical, use live view or an auxiliary finder to verify framing.
The rangefinder method encourages zone focusing and hyperfocal techniques. You set a distance on the scale, choose an aperture, and rely on the depth-of-field markings to keep likely subjects within the sharp zone. This is ideal for fast street work where you cannot chase focus in time.
To zone focus, pick a middle distance like 3 meters and stop to f/8 on a 35mm lens. The DOF scale will show a band from roughly 2 meters to beyond 5 meters as acceptably sharp, depending on lens and sensor. With practice you will change zones by feel as you walk.
For moving subjects, anticipate rather than react. Prefocus to where the subject will be and press the shutter as they enter your zone. You can also ride the focus ring with small nudges while you track, using the patch as a quick check.
If images look consistently front- or back-focused despite perfect patch alignment, your setup may need calibration. Test with a flat, high-contrast target at near distance and again at infinity, and keep the camera level. Persistent errors can be corrected by adjusting the camera’s rangefinder or by optimizing the lens cam.
Digital RF bodies add helpful tools when perfection matters. Live view and focus peaking bypass the optical patch and show actual sensor data, which is useful for close portraits or very fast lenses. Use these tools to confirm critical shots, then return to the optical finder for speed.
If you are new to RF systems, a primer on rangefinder camera basics helps the whole focusing flow make sense. Understanding the body’s magnification, framelines, and patch contrast will improve your results right away.
Pros and cons of rangefinder lenses (practical trade-offs)
Size and weight are a clear advantage. A 35mm or 50mm RF prime can be tiny, balanced, and quiet, which makes the whole camera feel invisible on the street. Small gear draws less attention and helps you shoot candidly.
The focusing experience is also fast once learned. Turning a smooth mechanical ring is immediate, and the bright patch does not black out like an SLR mirror. In low light, you can keep framing because the finder does not depend on lens aperture.
Optical quality is strong for classic primes, especially wide-aperture normals. Many lenses have distinctive character with pleasing bokeh and crisp mid-frame sharpness. With no mirror slap, you also gain a small edge for hand-held shots at slower shutter speeds.
There are real limits to accept. Long telephoto work is awkward because the viewfinder magnification and framelines are not made for 200mm or 300mm framing, and focusing precision drops. Most RF systems top out around 135mm for practical use.
You do not view through the lens, so you cannot preview depth of field or the effect of filters in the finder. Polarizers and strong ND filters are harder to use because the optical finder stays bright while the lens transmits less light to the sensor. Close-range framing can also be tricky due to parallax.
Zoom options are very limited, and extreme focal lengths need workarounds. Ultra-wide lenses may need an external finder for accurate framing, and very fast wides can test sensor corners on digital. If you need a versatile zoom kit, an SLR or mirrorless system is simpler.
The coupling range sets another boundary. At very close distances, small errors in alignment or technique can cause missed focus, especially at wide apertures. Stopping down and keeping a steady, repeatable focusing method helps a lot.
Choose rangefinder lenses when you value stealth, speed, and simplicity. Street, documentary, travel, and environmental portrait work all play to their strengths. The direct workflow helps you stay in the scene instead of in the menus.
Avoid RF lenses for heavy telephoto, macro, or studio setups that depend on through-the-lens preview and complex lighting. Wildlife and sports are also better served by AF telephoto systems with tracking and stabilization. Match the tool to the job and the choice becomes easy.
If your style loves small primes and intentional focus, a rangefinder kit can be perfect. If you live at 200mm and beyond, or need precise TTL framing with filters and flash, another system is the smarter path. Knowing your needs is the best buying advice.
Practical tips, recommended lenses and use cases
Learn a few zone focusing distances by heart and write a small cheat card. Note what your 35mm lens covers at f/5.6 and f/8 from 2 to 5 meters, and memorize those bands. With that knowledge, you will shoot faster than any autofocus.
For street work, pre-focus between 3 and 7 meters and set f/5.6–8 for a generous safety net. Keep your shutter around 1/250 or faster and ride ISO as needed. You will get a high hit rate with less time spent on the patch.
Test and calibrate your lenses on the body you use most. Make a simple focus chart or use a flat target, and check several distances including minimum focus, medium range, and infinity. If your hits lean one way, consider a professional calibration to sync lens and camera.
Use live view or focus peaking for critical close shots with fast lenses. This is a smart backup for portraits at wide apertures or when shooting subjects with little contrast. Confirm once, then switch back to the optical finder for speed and rhythm.
Consider an external optical viewfinder when framing gets tight or very wide. A dedicated 28mm or 90mm finder gives a more accurate window and can improve composition confidence. It also frees your eye from the patch when you are pre-focused.
If you adapt RF lenses to mirrorless, remember you are leaving the coupling behind. Focus with magnification or peaking and check corners on wide angles, especially on high-resolution sensors. Precision adapters help keep the register and tilt in spec.
Treat collapsible lenses with care, and never collapse a lens unless your camera supports it. Keep a routine for extending and locking before shooting, and watch for wobble or play in the barrel. A damaged mount can throw off coupling accuracy.
Maintain the little things that matter. Keep the rangefinder cam clean and free of oil, and check the mounting surface for dings that could tilt the lens. Even slight tilt can show up as one side being softer at wider apertures.
As for focal lengths, the 35mm is the all-rounder for street and travel because it keeps context without being too wide. The 50mm is a natural, flexible choice for portraits and everyday scenes, while 28mm pushes you closer and works for layered reportage. A 75mm or 90mm is great for portraits with gentle compression while staying manageable in the RF finder.
Good lens families to research include Leica Summicron and Summilux primes, Voigtländer Nokton and Color-Skopar lines, and Zeiss ZM glass. Each brand offers versions with different rendering, from classic glow to modern clinical contrast. Try before you buy if you can, because coupling and character vary by copy.
Before buying used, confirm the mount and how the framelines engage on your body. Check the minimum focusing distance and whether the lens couples accurately from close-up to infinity. Mount the lens, focus on a real target, and inspect results so you know the coupling is trustworthy.
For SEO and clarity, write image alt text that says what the photo shows, like “Leica M mount lens showing rangefinder cam” or “rangefinder patch alignment demo.” A clean meta snippet could be, “A rangefinder lens is a manual, rangefinder‑coupled lens for RF cameras; learn how it focuses, where it shines, and when to choose one.” Use internal anchors like “rangefinder camera basics,” “zone focusing tutorial,” and “best rangefinder lenses for street photography” to guide readers through related topics.
By now you can answer what is a rangefinder lens and explain how it works in your own words. You know the strengths that make RF primes special and the limits that come with the system. With a little practice, the focusing dance becomes second nature and your keeper rate climbs fast.
What People Ask Most
What is a rangefinder lens?
A rangefinder lens is a lens made for cameras with a rangefinder focusing system, designed for manual focus and precise composition through a separate viewfinder. It’s known for compact size and clear optics that many photographers like for street and documentary work.
How does a rangefinder lens help my photography?
Rangefinder lenses make cameras smaller and quieter, which helps with candid shooting and travel. They also encourage careful composition and manual focusing, which can improve creativity and results.
Are rangefinder lenses good for beginners?
Yes, they can be good for beginners who want to learn manual focus and composition, and who value a lightweight, simple setup. Starting with a versatile focal length makes learning easier.
Can I use a rangefinder lens on modern digital cameras?
Many rangefinder lenses can be used on modern digital cameras with adapters, but some combinations may have limits like no autofocus or crop/frame differences. Check compatibility and expect manual focusing in most cases.
Do rangefinder lenses autofocus like modern camera lenses?
Most rangefinder lenses are manual focus and do not autofocus, so you’ll focus by eye using the rangefinder mechanism or the camera’s viewfinder. This hands-on approach can be slower at first but often improves accuracy with practice.
What are common beginner mistakes with rangefinder lenses?
Beginners often forget about parallax at close distances and assume framing is identical to SLRs, which can cause off-center shots at short range. Another mistake is choosing a too-narrow focal length instead of a versatile one for learning.
Will buying a rangefinder lens make my photos sharper?
A rangefinder lens can contribute to sharper images because of good optical design and steady manual focusing, but image quality also depends on technique, lighting, and composition. It’s a useful tool, not a guaranteed fix.
Final Thoughts on Rangefinder Lenses
If you came here wondering what a rangefinder lens is, this guide gave a clear definition and practical view. Built for cameras with coupled rangefinders, these small primes can weigh as little as 270 grams, and they trade mirrorbox clearance for a compact optical layout and direct manual control. The core benefit is straightforward: more portable lenses with instant, precise manual focusing and a distinct optical character.
That payoff comes with one realistic caution: framing and close focusing can be trickier because of parallax and coupling limits, and very long or zoom lenses are rarely practical. They suit street, documentary, travel and many portrait shooters who value discretion, speed and a hands‑on approach.
We closed the loop on the opening hook by showing how coupling, the RF patch, and simple workflows like zone‑focusing answer the core question while offering practical tips and visual checks. Expect lighter, quieter walks and more decisive moments in your shooting ahead.


0 Comments