

You want photos that actually match the scene, not surprise you later with blown highlights or muddy shadows. If you’ve ever wondered whats a digital photo, this guide will clear it up. You’ll get clear terms and useful comparisons, no confusing jargon, and practical field-tested tips.
You’ll learn how sensors, pixels, and simple file choices affect sharpness, noise, and editing flexibility. You’ll also pick up faster workflows so you can shoot, review, and adjust on the fly with confidence. And we’ll debunk one surprise: more megapixels don’t always mean a better print.
This primer is ideal if you’re a beginner, hobbyist, or traveler who shoots with a smartphone or mirrorless camera and wants cleaner images. It’s also useful if you print photos or submit images for official use, and for basic editing work when you need predictable results. So keep reading because the fix is simpler than you think.
What Is a Digital Photo?
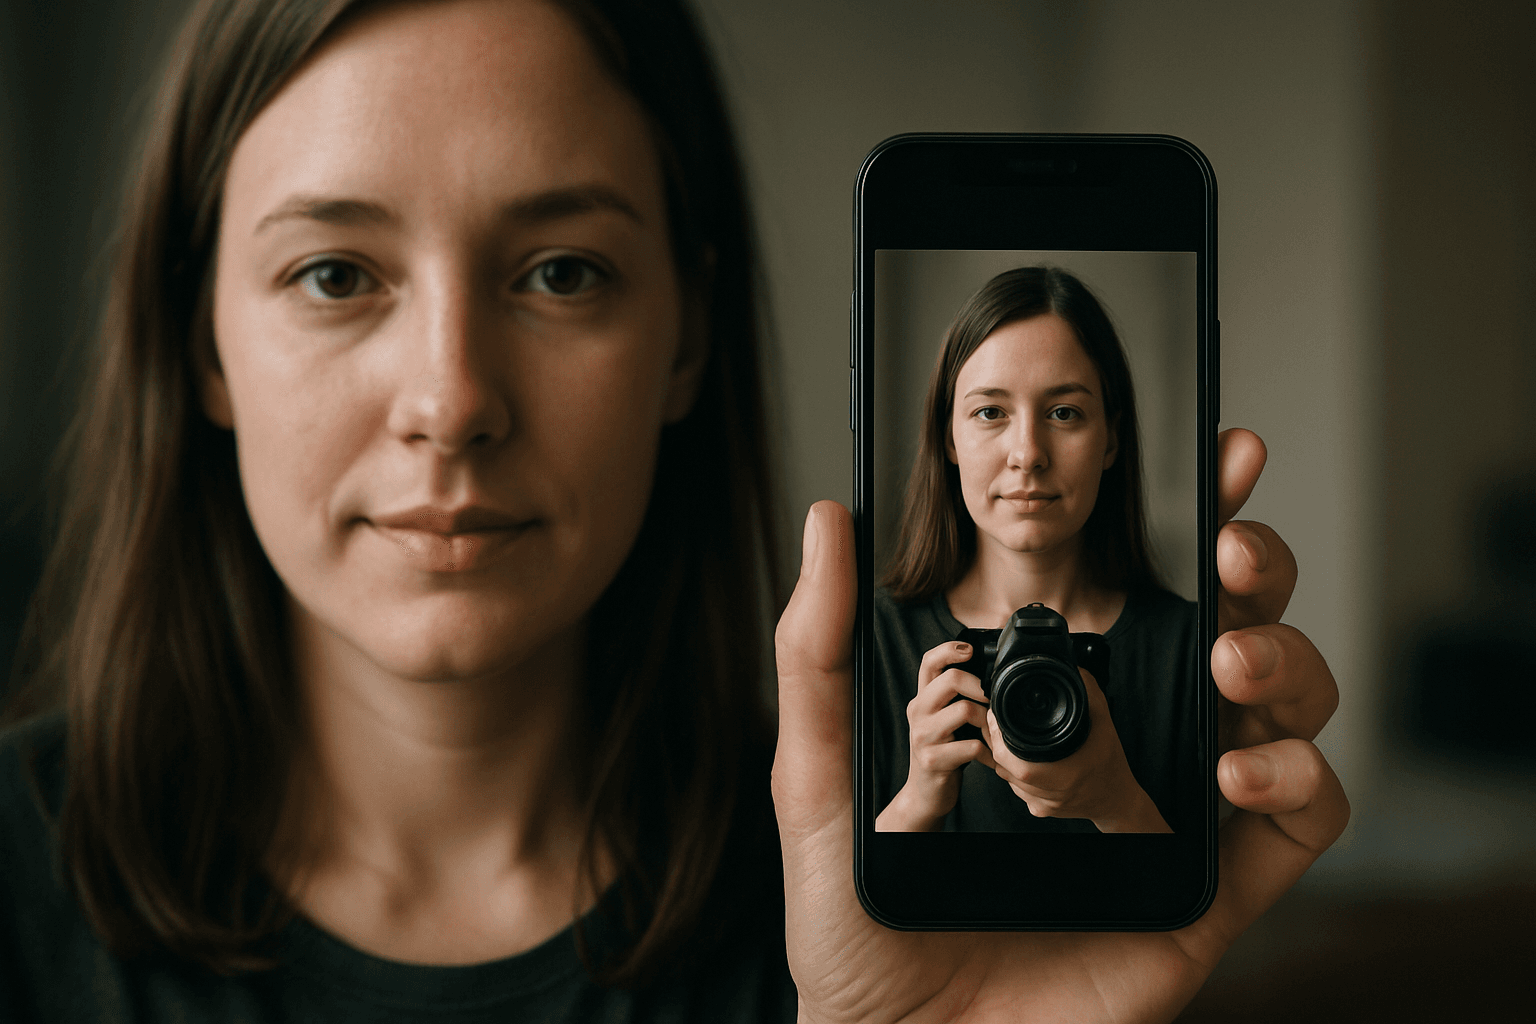
If you’ve ever wondered, “whats a digital photo,” here’s the simple version: it’s an image made from pixels—tiny color squares—captured by electronic sensors and saved as a computer file. Film uses chemicals; digital uses electrons and math. That swap turns waiting hours in a darkroom into instant feedback on a screen.
Each pixel represents the light that hit a corresponding spot on the sensor, like a mosaic tile recording brightness and color. The camera stores those pixels in formats such as JPEG or RAW. That file can be copied, edited, and shared with zero loss from physical duplication.
I grew up smelling fixer in the darkroom, then switched to instant previews and histograms. The core idea stayed: light onto a surface. If you want more background, skim the broader digital photography context later.
So, whats a digital photo in practice? It’s an editable, shareable record of light, captured electronically and preserved as data. Once you see it that way, every camera menu starts to make sense.
How Digital Cameras Capture Images (sensor → ADC → file)
Light enters through the lens and lands on the image sensor, a grid of photodetectors that convert photons into electrical charges. That charge is still analog, like a dimmer switch. The camera must convert it into numbers your device understands.
An analog-to-digital converter (ADC) assigns each pixel a precise value, turning faint light into small numbers and bright light into larger ones. The processor then organizes those numbers into a photo file. Seconds later, you can review it on the LCD or EVF.
Because the whole pipeline is electronic, there’s no chemical processing delay. I often shoot, check, adjust exposure, and reshoot in under a minute. That feedback loop is the superpower behind digital photography’s learning curve.
Diagram: lens → sensor → ADC → file
Diagram: Lens → Image Sensor (photodetectors) → ADC (Analog-to-Digital Converter) → Image Processor → Memory Card File (JPEG, RAW, HEIF). Each stage adds structure, turning light into orderly data. Labels: photodetectors measure light, ADC quantizes values, and file types define storage and flexibility.
Think of it as a relay race where light passes the baton to electrons, then digits, then a file. The camera’s processor also applies choices—like noise reduction—to JPEGs, while RAW keeps options open for later.
Components of a Digital Photo: Pixels, Bit Depth & Color Models
A pixel is the smallest picture element, holding brightness and color information for a single point. Collect millions, and you get an image. Fewer pixels mean less detail, especially when cropping or printing large.
Color is usually stored as RGB—red, green, and blue channels blended to form everything we see. A common 24-bit RGB file uses 8 bits per channel, allowing 256 levels each. More levels mean smoother gradients and fewer color steps.
Bit depth affects editing latitude. A 12- or 14-bit RAW file preserves more subtle tone and color detail than an 8-bit JPEG. That extra headroom helps prevent banding in skies and posterization during heavy edits.
Image Sensors and Camera Electronics
Sensor size influences how much light each pixel can gather. Larger sensors generally offer better low-light performance and less noise. That’s why a full-frame camera often outperforms a phone in dim scenes.
Camera electronics shape quality, too. Image processors handle tasks like noise reduction and color science. Stabilization—either in the lens or body—steadies your shot, while the EVF/LCD enables exposure checks before you commit.
These electronics don’t live inside the photo file, but their decisions do. I’ve compared two cameras with the same sensor and seen different results. Good processing can rescue detail, while poor processing smears it.
Resolution, Megapixels, and Image Detail
Resolution is the pixel dimensions of your photo, written as width × height. Megapixels are simply millions of pixels; 6000 × 4000 equals 24 megapixels. More pixels usually mean finer detail and more cropping flexibility.
Imagine enlarging a map: a 12MP grid shows streets, while 24MP reveals house numbers. At 50MP, you can read doorbells. I sometimes over-shoot resolution so clients can crop later without quality worries.
Still, more isn’t always better. High resolution demands steadier technique, sharper lenses, and larger storage. Choose the resolution that matches your output, not just the biggest number on the box.
File Formats: JPEG vs RAW
RAW stores minimally processed sensor data, preserving maximum detail and dynamic range. JPEG compresses and processes in-camera, creating smaller files. You choose between flexibility and convenience with every shot.
On a sunny wedding, I exposed for the bride’s dress and corrected shadows later. The RAW file preserved highlight texture and shadow color. The JPEG clipped detail in the dress and introduced blotchy noise when lifted.
If speed and storage matter, shoot JPEG with higher quality settings. If you’ll edit heavily or print large, shoot RAW or RAW+JPEG. That way, you get instant shareability and a deep file for later.
Image Qualities: Dynamic Range, Noise, ISO, Aperture & Shutter Speed
Dynamic range is the span from darkest shadows to brightest highlights a sensor can record. More range gives smoother transitions and fewer blown skies. I protect highlights first; shadows are usually recoverable.
Noise is random variation that looks like grain or color speckles. Raising ISO boosts the signal and the noise, like turning up a scratchy radio. Balance ISO with aperture and shutter to keep noise manageable.
Aperture controls light and depth of field; shutter speed controls light and motion blur. ISO controls sensitivity, trading cleanliness for brightness. Together, they form exposure, shaping both technical quality and creative feel.
DPI vs Pixels and Print Sizing
DPI means dots per inch and describes printer output, not the inherent quality of a digital file. Pixel dimensions determine image detail. Change DPI without resampling, and you simply change print size, not information.
Upsampling uses interpolation to invent pixels you didn’t capture. It can smooth edges but won’t create real detail. For crisp prints, capture enough pixels up front and avoid extreme enlargements.
Professionals often target 300 dpi for quality prints. For example, a 6000 × 4000 photo at 300 dpi prints at 20 × 13.3 inches. That helps answer “whats a digital photo” in practical, print-ready terms.
Editing and Processing Digital Photos
Editing adjusts tones, color, and detail, while compression trades file size for quality. Higher-quality JPEG settings keep fine texture for printing. Export thoughtfully, because once detail is compressed away, it’s gone.
RAW workflows are non-destructive, meaning edits don’t overwrite original data. I tweak exposure, white balance, and color profiles freely, then export for the job. It’s the safest path for ambitious edits.
Match color spaces to your destination: sRGB for web, larger gamuts for print if your lab supports them. Save master files and export copies. That habit preserves flexibility long after delivery.
Technical Standards and Requirements for High-Quality Digital Photos
Standards vary by use, but some baselines help. Many professional contexts accept 5 megapixels or higher. For print, 300 dpi is a safe default, assuming you have enough pixels.
- At least 5 megapixels for many professional usages.
- 300 dpi for high-quality prints, paired with adequate pixel dimensions.
- Follow specific submission specs, such as official travel photo guidelines.
I’ve seen images rejected over tiny technicalities like background tone or crop. Always read the specs before shooting or exporting. It saves time, fees, and frustration.
When someone asks, “whats a digital photo that meets requirements,” I point to pixels, dimensions, and adherence to rules. The art matters, but compliance gets the green light.
Practical Tips for Capturing Better Digital Photos
Pick a sensor size that fits your light. If you shoot indoors or at night, larger sensors handle noise better. Pair them with fast lenses to keep ISO modest.
Use stabilization and choose a shutter speed fast enough to freeze your subject. I start at 1/125 for people, faster if they’re moving. Stabilization helps with camera shake, not subject motion.
Review images on the EVF/LCD and watch the histogram or highlight warnings. Adjust exposure before leaving the scene. A quick reshoot now beats a risky rescue later.
Recommended Visuals and Examples to Include
Include a clean sensor-to-file flow diagram showing lens, sensor, ADC, processor, and file types. Labels help beginners trace how light becomes data. It reinforces the capture pipeline they’ll rely on.
Add pixel-grid comparisons for 12MP, 24MP, and 50MP crops to visualize detail differences. When people see the grids, resolution stops feeling abstract. It turns specs into real-world clarity.
Show a RAW versus JPEG edit of a high-contrast scene, plus an infographic clarifying pixels versus dpi. Those visuals answer “whats a digital photo” better than paragraphs alone. Seeing is belief in our craft.
What People Ask Most
What exactly constitutes a digital photo?
I view a digital photo as an image made of thousands to millions of pixels that were captured by electronic photodetectors and stored as a computer file you can open on a screen or edit.
How does a digital photo differ from a film photograph?
Unlike film, which records images via chemical reactions on light‑sensitive emulsion and needs development, a digital photo converts light to electrical signals and immediately writes those values to a file for instant review and editing.
What are pixels and how do they affect a digital image?
I think of pixels as the tiny picture elements that make up an image; more pixels (higher resolution) generally mean finer detail, while bit depth controls color gradation and how well the image holds up during editing.
Which file format is best for digital photos: JPEG or RAW?
I prefer RAW for maximum editing flexibility because it contains unprocessed sensor data and preserves more highlight/shadow information; JPEG is compressed and convenient for smaller files and quick sharing.
How do digital cameras capture images digitally?
I explain it simply: light passes through the lens to the image sensor where photodetectors convert it to electrical signals, an analog‑to‑digital converter (ADC) turns those signals into pixel values, and the camera saves those values as a digital file.
Why does image resolution matter for digital photography?
I use resolution (pixel dimensions) to measure how much detail an image can hold—more megapixels usually mean you can crop more or print larger without losing detail.
Can you change the dpi of a digital photo without losing quality?
I can change the DPI value (which only affects print scaling) without altering the pixels and thus without quality loss, but if you resample (change pixel dimensions) you may introduce blur or artifacts because interpolation cannot add true detail.
Wrapping Up: What This Means for Your Pictures
If you still ask whats a digital photo, the short answer is an image captured by sensors and stored as data — and this piece unpacked that process so it feels usable, not mysterious. You now know how pixels, sensors, and file choices shape final images and how that knowledge helps you shoot, edit, and prepare photos for printing or sharing with purpose. Keep in mind that specs and formats only go so far; good light, steady technique, and realistic expectations about noise and print size still matter.
Photographers who want clearer choices—whether serious hobbyists upgrading gear or pros refining workflow—will get the most mileage from applying these ideas. By tying the lens-to-file flow and format trade-offs back to everyday shooting, the guide closes the loop that started with that opening nagging question about how a digital image differs from film. Try a few deliberate shots with these principles in mind, and you’ll quickly see how a little technical understanding turns into noticeably better pictures.




0 Comments