Which light will make your vlogs look cinematic without blowing your budget?
Choosing the best light for vlogging can feel overwhelming with so many options and jargon. Whether you film at home, on the go, or in mixed lighting, the right fixture changes everything.
This compact guide cuts through the noise and focuses on five top vlogging lights across needs: powerful key lights, on-camera options, portable color accents, and budget-friendly panels. I’ve tested them in real shooting scenarios to see how they handle skin tones, background separation, and mixed ambient light.
Inside, expect clear comparisons of features and real-world user feedback, plus honest pros and cons for each pick. I’ll also share placement, diffusion, and reflector tips that instantly lift production value without needing a studio.
No matter your experience level, the right light helps you control skin tone, depth, and mood. If your goal is natural, flattering skin or bold color accents, you’ll find guidance to choose the best light for vlogging.

Aputure MC RGBWW On-Camera Video Light with Magnetic Mount, USB-C PD and Wireless Charging

Rotolight NEO 3 Pro Imagemaker Kit On-Camera RGBWW LED Light with HSS Flash
1. GVM SD80D Overview

GVM SD80D 80W LED Video Light Kit with Softbox, Bowens Mount, Tripod
High-output bi-color LED kit with included softbox and adjustable stand—Bowens-compatible lighting for crisp, controllable studio and location results.
Check PriceThe GVM SD80D is a compact, 80W daylight-balanced panel (5600K) that punches well above its weight for vloggers who want a true key light without a studio rig. With CRI/TLCI ratings over 97 it renders skin tones accurately, making color grading easier and faces look natural on camera.
Weighing only 1.2 kg and offering dual power via AC adapter or NP-F batteries, it’s a very portable option for semi-permanent setups or creators who move between locations. The whisper-quiet cooling fan stays almost inaudible during recordings, so you don’t sacrifice audio quality when it’s running.
In practice the SD80D’s brightness easily overpowers ambient light, which lets you control contrast and shape the face as a primary key or a strong fill. Add a softbox or diffusion and you get pleasing, soft transitions—although for the softest, beauty-style light you’ll still want larger modifiers.
The stable, intuitive mobile app for remote brightness and color adjustments is a real workflow saver for solo creators. I regularly use the app on shoots to make quick exposure tweaks without running back to the light, which keeps takes moving and preserves natural performance from talent.
Overall this is a pro-feeling fixture at a strong value point—professional-grade features without the bulk. It’s ideal if you need a reliable, color-accurate key light for controlled home studios or portable setups, but plan for spare NP-F cells if you’ll be on battery for long days.
- 80W power with 5600K daylight balance
- CRI/TLCI over 97 for accurate skin tones
- Whisper-quiet cooling fan — good for audio-sensitive shoots
- Mobile app control for remote adjustments
- Often needs additional modifiers for very soft light
- Battery life depends on NP-F cells; spares recommended
2. GVM TL15RS Overview

Kastar 2-Pack NP-F550/NP-F570 Batteries with USB Charger for GVM LED Video Lights
Two high-capacity lithium batteries plus USB charger deliver reliable, long-lasting power and fast recharging for LED video rigs and on-camera lights.
Check PriceThe GVM TL15RS is a small but capable on‑camera light built for creators who move fast. It packs full RGBWW control with high color accuracy (CRI/TLCI 97+) and a bi‑color range of 3200K–5600K, so you can match ambient light or push creative color accents.
Weighing only about 350 g and featuring dual hot‑shoe mounts (mic + light on camera), it makes compact rig setups effortless. The dual hot‑shoe design is a real workflow win when you need a streamlined, carry‑light setup for run‑and‑gun shooting.
Power is provided by an onboard 4000mAh rechargeable battery with USB‑C charging, which keeps the unit truly portable. App control and eight preset lighting effects let you dial moods quickly without wrestling with tiny dials.
In practice I use the TL15RS as a soft fill or accent light rather than a main key. Its RGB control is excellent for adding background or mood lighting to short‑form content, and the color accuracy means skin tones stay believable even with saturated accents.
Be realistic about output: brightness is moderate, so it’s best as a complement to other lights or for small, controlled scenes. Battery life is fine for short shoots, but drains faster under continuous full power or in intense RGB modes, so bring a power plan for long days.
If you are a mobile creator, vlogger, or mobile journalist who values compactness, color creativity, and quick setup, this is a solid tool. It won’t replace a heavy key light for large or very bright scenes, but it will upgrade your on‑camera look with minimal fuss.
- Dual hot‑shoe improves rig compactness
- Full RGBWW with CRI/TLCI 97+ for accurate color
- Portable with 4000mAh battery and USB‑C charging
- App control + 8 preset lighting effects
- Not bright enough as sole light in large or very bright scenes
- Battery drains faster under continuous full power or RGB mode
3. Rotolight NEO 3 Pro Overview
Rotolight NEO 3 Pro Imagemaker Kit On-Camera RGBWW LED Light with HSS Flash
Compact RGBWW on-camera lighting with built-in HSS flash, precise color control, and creative effects for run-and-gun filmmaking and portraiture.
Check PriceThe Rotolight NEO 3 Pro is a compact, travel-friendly LED that packs surprisingly high output and a full color spectrum into a small body. It offers multiple electronic filters and natural skin tone presets, plus special effects you control via a responsive touchscreen. Battery and AC power options make it flexible for both location shoots and studio use.
As a photographer who shoots run-and-gun vlogs, I appreciate how quickly the touchscreen lets you switch color modes and effects without menu fumbling. The light consistently delivers flicker-free output and adjustable color temperatures, so skin tones look natural and predictable on camera. That reliability saves time in post and keeps interviews and solo setups looking professional.
Because it’s compact and lightweight, the NEO 3 Pro is easy to toss in a kit bag and mount on a small rig or tripod. The combination of high output and onboard creative filters means you can use it as a key light for tight shots or as an accent to add mood without hauling heavy modifiers. For travel creators who need a single, versatile unit, it’s an efficient solution.
If you’re a vlogger who values portability, creative control, and natural-looking skin tones, this is mostly a great fit. Casual users on a budget should note it’s positioned at a higher price point. Also, for extremely soft, diffusion-heavy setups you may still want extra modifiers to soften the beam further.
- Compact/lightweight with high output
- Intuitive touchscreen for fast adjustments
- Wide range of color and filter effects
- Battery-powered mobility
- Higher price for casual vloggers
- May need extra diffusion for very soft light
4. Neewer BP300 LED Panel Overview

Neewer BP300 LED Video Panel Kit with 150cm Tripod and Phone Holder
Slim LED panel kit with sturdy 150cm stand and phone holder—versatile, portable illumination for vlogging, streaming, and mobile content creation.
Check PriceThe Neewer BP300 is a compact bi‑color LED panel that punches above its price for run‑and‑gun and entry‑level studio work. It houses 300 LEDs, runs at 10W and gives up to 850 lux at 0.5 m, while offering a useful bi‑color range of 2700K–6500K so you can match ambient light or warm things up for skin tones.
Its built‑in diffuser and large panel area make for even, flattering illumination that reduces harsh shadows—exactly what you want for beauty, makeup, and close‑up talking‑head work. The unit includes 5 color‑temp modes and 10 brightness levels with integrated controls, so you can dial in looks quickly without fumbling extra gear.
As a photographer I appreciate the BP300’s high CRI (95), which keeps skin tones and product colors accurate on camera. It’s lightweight and portable, typically shipping with adjustable tripods and mounting options, so it’s easy to reposition between shots or on location.
Limitations are practical rather than design flaws: the 10W output is modest, so while the BP300 works great as a primary key in small or controlled indoor spaces, it can struggle as the sole light in very bright rooms or outdoors. Also, there’s no advanced app or remote control, so if you want wireless group control or complex scenes you’ll need to step up to a different solution.
- Soft, flattering light for faces
- Adjustable 2700K–6500K and 10 brightness levels
- Portable and easy to set up (includes tripod options)
- High color accuracy (CRI 95)
- Modest 10W output — not ideal in very bright scenes
- No app or remote control
5. Aputure MC RGBWW Overview
Aputure MC RGBWW On-Camera Video Light with Magnetic Mount, USB-C PD and Wireless Charging
Pocket-sized RGBWW light with magnetic mounting, USB-C PD and wireless charging—accurate color, discreet flicker-free output for interviews and travel shoots.
Check PriceThe Aputure MC RGBWW is a compact, full-spectrum RGBWW panel that gives you cinematic HSI plus CCT control across 3200K–6500K. Its reported color accuracy is excellent on paper — CRI 96+ and TLCI 97+ — so what you dial in on the app stays true on camera.
What separates this little unit is usable color control. The app integration plus nine special FX presets make it effortless to create practical color accents, simulated lighting situations, or subtle mood shifts without fiddling with gels.
Physically it’s built for run‑and‑gun and small rigs: it’s compact, has a magnetic back for hands‑free mounting to metal surfaces, and supports wireless charging as well as USB‑C. That makes it easy to stick the light where you need it quickly, or tuck it into tight spaces for creative highlights.
In real shooting the MC performs best as a complementary light. Battery life is described as adequate for moderate use, and app control is reliable for on‑the‑fly adjustments. Brightness is moderate, so expect it to excel as rim, background, or practical mood lighting rather than a primary key light in bright scenes.
My take as a photographer: if you want portable, accurate color and cinematic effects in a tiny package, this is a great tool. If your workflow needs a single, powerful key light for wider shots or daylight windows, plan on pairing multiple MCs or using a brighter main fixture.
For creators focused on mood, portability, and color fidelity, the Aputure MC RGBWW is a versatile, easy‑to‑place creative asset.
- Excellent color precision (CRI 96+, TLCI 97+)
- Full RGB spectrum with HSI + CCT control (3200K–6500K)
- App control, wireless charging, USB‑C; very portable
- Magnetic back for quick hands‑free mounting
- Moderate brightness — not ideal as main key light
- Single unit often insufficient for wide shots
Lighting Placement and Positioning Tips
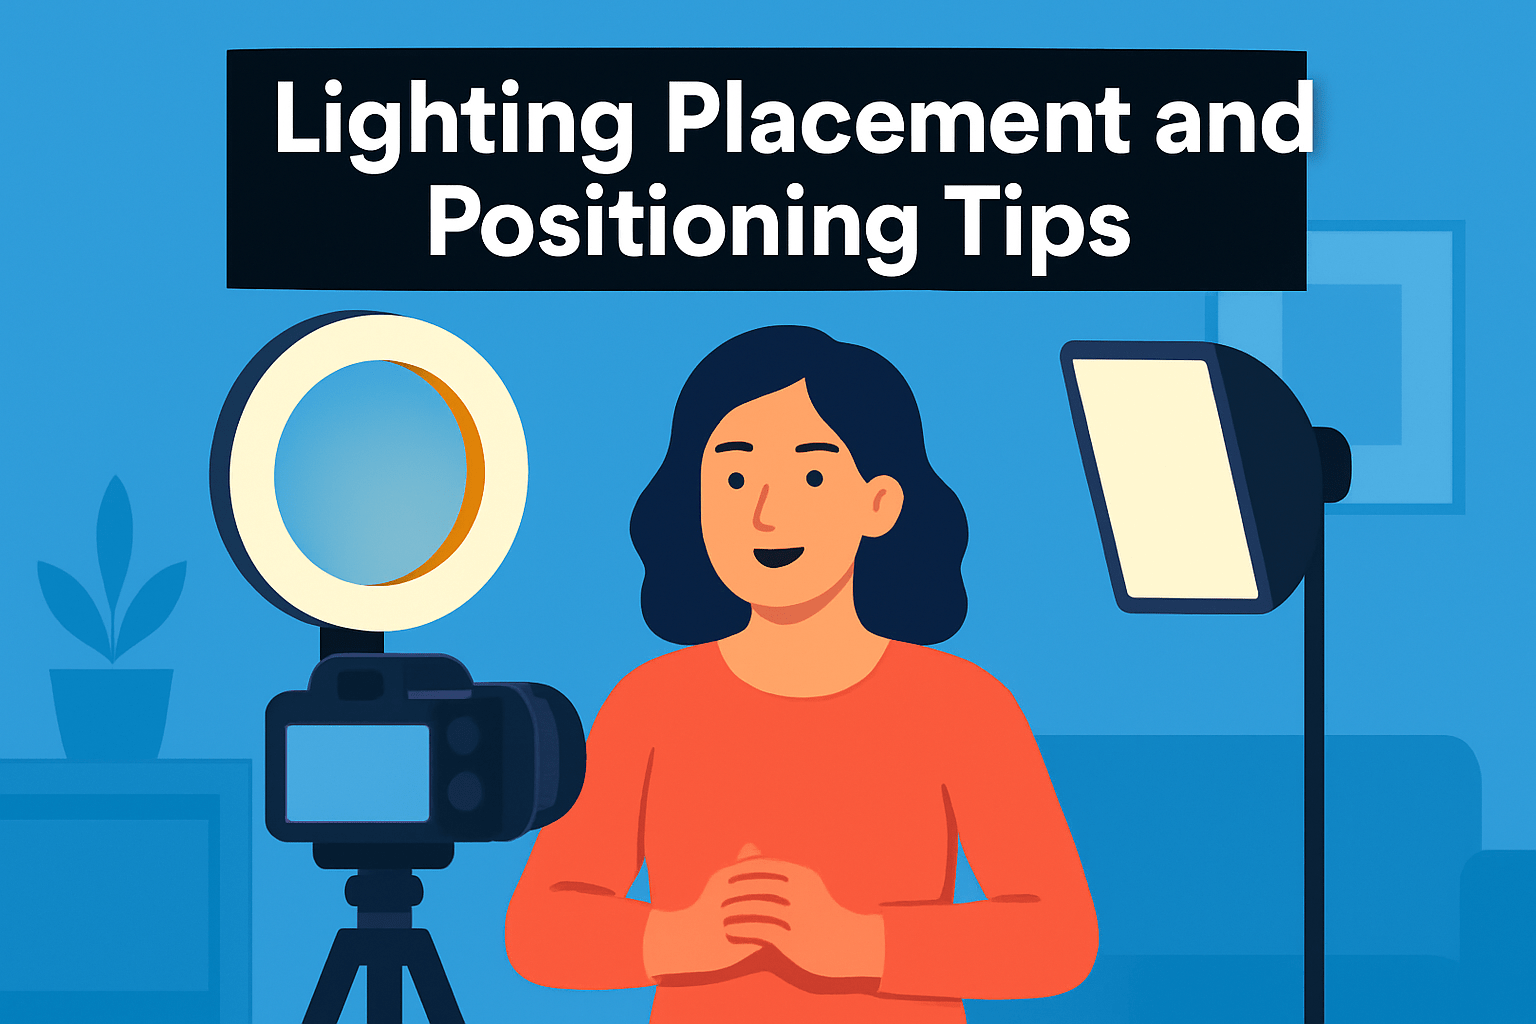
Think of your light like a conversation partner—it should sit where it flatters, not where it yells. Begin with the key light just in front of you and slightly above eye level for even, natural illumination that softens under-eye shadows. If the result looks too flat, nudge that key about 45° off the camera axis and keep it a bit above the eye line; that subtle shift sculpts the face and adds dimension without drama.
Distance matters as much as angle. Start about an arm’s length away and then back the fixture if it reads too hot. Brighter fixtures (or un-diffused LEDs) benefit from extra distance; smaller on-camera units need to be close to remain effective. Small moves change shadow contrast dramatically, so adjust in inches not feet.
Glasses and shiny skin demand mindful positioning. Raise the light slightly higher and angle it off to one side rather than letting it hit the lenses head-on. If reflections persist, tilt your chin or change the light’s pitch; a few degrees often solves the problem without changing your framing.
For a polished, broadcast look use two lights: a key and a fill placed near the camera on opposite sides. Keep the fill noticeably softer or dimmer—around one to two stops less—so you retain flattering shadows and depth. This pairing reduces harsh contrast while keeping facial modeling intact.
Avoid placing lights below the face or directly behind you; under-lighting creates hollow, unflattering shadows and backlighting without separation risks silhouettes. If you want separation, add a small hair or rim light behind and above you rather than blasting from the rear.
Finally, experiment and trust your eyes. Move the light, take a short clip, tweak, and repeat until the skin tones and shadows look natural on camera. Small adjustments yield big improvements; once you find the sweet spot, mark it for quick recall on future shoots.
Using Diffusers and Reflectors
Soft light is flattering on-camera, and the quickest way to get it is with a diffuser. Even a small LED can look cinematic if you stretch a diffusion panel or fabric in front of it. Closer diffusion equals softer light, so move the softbox or diffusion closer to your face until the shadows are gentle but the falloff doesn’t choke the background.
For compact on-camera lights, a simple foam-diffuser cap or a layer of diffusion fabric tacked in front will tame harsh highlights without killing brightness. Panels with built-in diffusers are already a good start, but adding a second layer or a small softbox will smooth skin tones further. Remember: diffusion increases apparent light size more than output, so you may need to raise power or move the light closer.
Reflectors are your secret weapon for shaping light without another lamp. Bounce the key into a white board for soft, natural fill or use a silver reflector when you want a punchier, higher-contrast look. Position the reflector just out of frame, slightly below eye level, to lift shadows under the chin and brighten eyes for more appealing catchlights.
If you want warmth, a gold reflector adds a pleasing color cast; if you need contrast, a black card or flag will deepen shadows and define features. Bounce light off a wall or ceiling when shooting in small rooms—this gives a large, flattering source without extra gear. Be mindful of color casts from walls and correct with gels or white balance.
For subjects wearing glasses, keep lights slightly higher and angled to avoid reflections. Use small flags or cut foam to block direct hotspots hitting lenses. Finally, mix and match: diffuse your key, bounce fill with a reflector, and add negative fill where you want drama. A little experimentation with angles and distance will transform a flat setup into one that feels professional and intentional.
What People Ask Most
What is the best lighting setup for vlogging?
A simple key light paired with a softer fill is a versatile starting point. Position the key slightly above eye level and angle it to shape the face while the fill reduces harsh shadows.
Should I use a ring light, softbox, or LED panel for vlogging?
Choose based on the look you want and how portable you need the gear to be. Ring lights wrap light around the face, softboxes produce broader, softer illumination, and LED panels offer flexible control and mounting options.
How many lights do I need to film vlogs?
Many creators get great results with one or two lights for a clean, flattering setup. Add additional lights for background separation or creative accents when needed.
What color temperature is best for vlogging?
Match your lights to the ambient light in the room for natural-looking skin tones. Keep all lights at a consistent color so you avoid mixed color casts on camera.
How do I light myself for vlogs when filming indoors?
Place the main light slightly above eye level and angle it toward your face for flattering illumination. Use a reflector or a softer fill on the opposite side to soften shadows and even out tone.
Can natural light be used for vlogging and how do I control it?
Yes, natural light is often flattering and easy to use. Soften direct sunlight with sheer curtains or diffuseors and avoid mixing it with lights of different colors.
What are the best portable lights for vlogging on the go?
Look for compact, battery-powered lights with adjustable brightness and easy mounting options for rigs or handheld use. Features like adjustable color control and simple app or onboard controls add useful flexibility.
Conclusion for Best Light for Vlogging
Choosing the right vlogging light comes down to matching output, color control, portability, and price to your shooting style, and this guide gives practical context and user-tested pros and cons to help you decide.
The placement and modifier tips—where to position a key, when to add diffusion, and how to use reflectors—are designed to make faces look flattering and reduce distracting shadows across different setups.
Think in terms of trade-offs: brighter fixtures give more control in challenging lighting, compact RGB lights add creative accents, and budget panels offer simple, soft illumination for starters.
Apply a few of the placement, diffusion, and reflector techniques from the article, experiment with spacing and angles, and you’ll see immediate improvements in skin tones and depth.
If you want to sharpen your lighting skills further, read more articles on our site for deeper techniques, comparisons, and hands-on tips to elevate your videos.
Have questions or want gear-specific advice? Leave a comment below and we usually reply within a few hours.

0 Comments