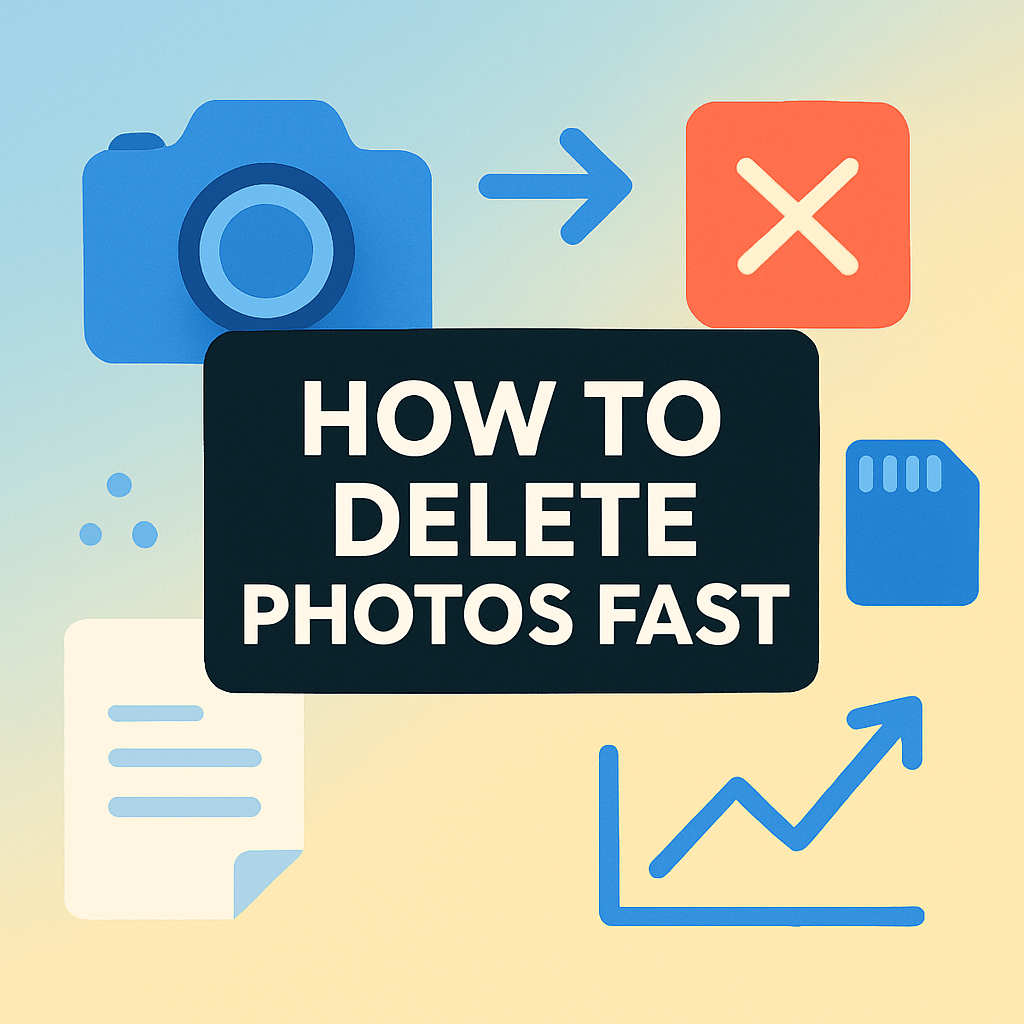
How to delete photos fast? Want to clear hundreds or thousands of pictures in minutes?
This guide shows the quickest way for each storage type: camera cards, iPhone/iPad, Google Photos, and computers. You will get short steps, keyboard shortcuts, and safety checks to move fast.
I’ll show when to format an SD card and when to use desktop web tools. You’ll also learn how to back up, handle cloud sync, and empty Recently Deleted or Trash so space is truly freed.
Follow the quick checklists and step-by-step sections to finish fast and stay safe. Jump to the section you need and start clearing space right away.
How to bulk delete a bunch of photos?

The fastest approach is simple: find where your photos live, back up anything important, then use the quickest tool for that location. When you are done, empty Trash, Bin, or Recently Deleted to actually free space.
Before you start, do a quick safety check. Backup first, check your sync settings, confirm your selection, and remember to empty your Trash or Bin when finished to reclaim the storage.
Here is a quick TL;DR for how to delete photos fast by scenario. Formatting in-camera is best for a camera card, desktop web is fastest for cloud libraries, and a computer is quickest for giant phone libraries.
Step 1: Locate. Identify the source holding the photos, like iPhone, Android, iCloud Photos, Google Photos, an SD card, or an external hard drive. Make a short list so you do not miss a location.
Step 2: Backup. Copy the DCIM folder to an external drive, run Google Takeout, or export from iCloud or the Photos app. This takes minutes and can save you from a permanent mistake.
Step 3: Choose the fastest method for that storage. Cloud libraries are fastest on a desktop browser with keyboard shortcuts, SD or CF cards are fastest with in‑camera Format, and phones are fastest when managed from a computer.
Step 4: Delete, then permanently remove. After deleting, open Recently Deleted, Trash, or Bin and select Delete All to free space now, not in 30 to 60 days.
Rules of thumb help you move fast. Format the card if it is a camera card you have already backed up, use a desktop browser for iCloud or Google Photos, and use a computer if you have tens of thousands on a phone.
Watch for common pitfalls that slow people down. If your photos are synced, deleting in one place can delete everywhere, and most “delete” buttons only move items to Trash or Bin for 30–60 days until you empty it.
If your project is about scrubbing images from the public internet rather than devices, that is a different route. You can learn how to remove images from the web if that is your goal.
Visual tip: imagine a simple flowchart that reads Backup, Choose Method, Delete, Empty Trash. Keep this checklist visible as you work so you move in a straight line without second‑guessing.
How to Delete All Photos at Once on iPhone or iPad
Path A is the fastest if you use iCloud Photos and have a computer nearby. Use iCloud.com in a desktop browser to select everything in a few clicks and remove it across devices.
Sign in to iCloud.com, open Photos, and go to Library. Click the first photo, then Shift+click the last photo to select the entire range, or press Cmd or Ctrl+A to select all.
Click the Trash icon to delete. Then open Recently Deleted, click Select, and choose Delete All to remove them immediately and free the space on iCloud.
Caption suggestion: show the iCloud.com Photos grid with “Click first photo → Shift+click last” highlighted. A second screenshot can show the Recently Deleted page with “Delete All.”
Important note about sync. If iCloud Photos is on, this deletion removes the photos on every synced device, which is ideal when you truly want a clean slate.
If you only want to delete from one device, first turn off iCloud Photos on that device and choose to download and keep local copies. Then delete locally, which leaves your iCloud library intact.
Path B is on-device, and it works without a computer. Open Photos, tap Library, then All Photos, and tap Select in the top right.
Use the fast-select gesture to speed up. After tapping Select, drag your finger across a row of thumbnails and then down the screen to select hundreds in one sweep.
Tap the trash icon to delete. Then go to Albums, open Recently Deleted, tap Select, and tap Delete All to permanently remove them and reclaim space.
This method is fine for a few thousand images, but it can be slower with very large libraries. Let the device sit plugged in on Wi‑Fi if you are removing many synced items.
Alternatives on a Mac are quick when you want more control. In the Mac Photos app, open All Photos, press Cmd+A to select all, press Delete, then open Recently Deleted and click Delete All.
Image Capture on a Mac can delete images directly from the connected iPhone. Connect with a cable, open Image Capture, select the device, Cmd+A the items you see, and click the delete button under the image list.
On Windows, plug in the iPhone and allow photos access. Open File Explorer, go to the DCIM folders, press Ctrl+A or Shift+click to select ranges, delete, and then empty the Recycle Bin.
Remember that Apple’s Recently Deleted holds items for 30 days unless you press Delete All. If you forget this step, your storage will not free up right away.
If your concern is a photo posted online rather than on your device, there are removal routes. See how to take my picture off the internet if that is the problem you need to solve.
Quick comfort tip for speed. Keep your phone charging and on Wi‑Fi, and close other apps while the Photos app processes your deletions in the background.
How to delete a lot of photos in Google Photos quickly
The fastest route is the Google Photos website on a computer. Keyboard shortcuts let you select thousands in seconds and clear the Bin in one pass.
Go to photos.google.com and open Photos or the album you want to clean. Click the first image, then Shift+click the last to select a range, or press Ctrl or Cmd+A to select all visible items.
Click the Trash icon to move them to Bin. Then open Bin, click Empty Bin, and confirm to permanently remove the files.
Google Photos keeps items in the Bin for 60 days if you do not empty it. If you need the space now, always finish with Empty Bin.
Caption idea: show the web grid with “Shift+click” arrows between the first and last photo. A second screenshot can show the Bin with “Empty Bin” highlighted.
On the mobile app, long-press the first photo to start multi-select. Then drag your finger to select rows quickly, and tap the trash to move them to Bin.
Use search to target groups that are easy to delete fast. Try queries like screenshots, receipts, documents, videos, or panoramas to batch-remove the clutter first.
If your phone storage is the issue, use Free up space in the app. It removes local copies that are already backed up while keeping the cloud library intact.
Backup before bulk deletion if you are unsure. Use Google Takeout to export albums or your entire library so you can delete with confidence.
If your challenge is getting someone else to remove your pictures online, you have legal options. Learn how to legally make someone delete images that violate your rights.
Remember that deleting from Google Photos removes items from your Google backup unless you exported first. If you only need phone space, prefer Free up space rather than deleting your cloud library.
Deleting via your computer
Computers are fast for huge cleanups because you get a big screen and real shortcuts. This is my top pick when clients ask how to delete photos fast without missing anything important.
On macOS using Photos, open All Photos, press Cmd+A to select all, press Delete, then open Recently Deleted and click Delete All. This clears the library and frees space right away.
On macOS using Image Capture, connect your phone with a cable and open Image Capture from Applications. Select the device, Cmd+A the thumbnails, and click the small circle with a line to delete from the device.
In Windows File Explorer, connect your phone and allow file transfer. Open the DCIM folders, press Ctrl+A or Shift+click the first and last images to select ranges, delete, and empty the Recycle Bin.
If the iPhone is set to Optimize iPhone Storage, some items in DCIM may be placeholders. In that case, use iCloud.com or the Photos app method for a complete cleanup.
For SD or CF cards in a reader, open the card in Finder or File Explorer. Select all and delete, or skip straight to in‑camera Format for the fastest, cleanest result.
Shortcuts that save time include Cmd or Ctrl+A to select all and Shift+click to grab a range. Use Cmd or Ctrl+click to add or remove single files, and sort by size to delete the biggest videos first.
After you delete, empty Trash or Recycle Bin, check your cloud sync status, and confirm that storage has increased. Lightroom users can also flag rejects, filter to rejects, and delete in one sweep for speed.
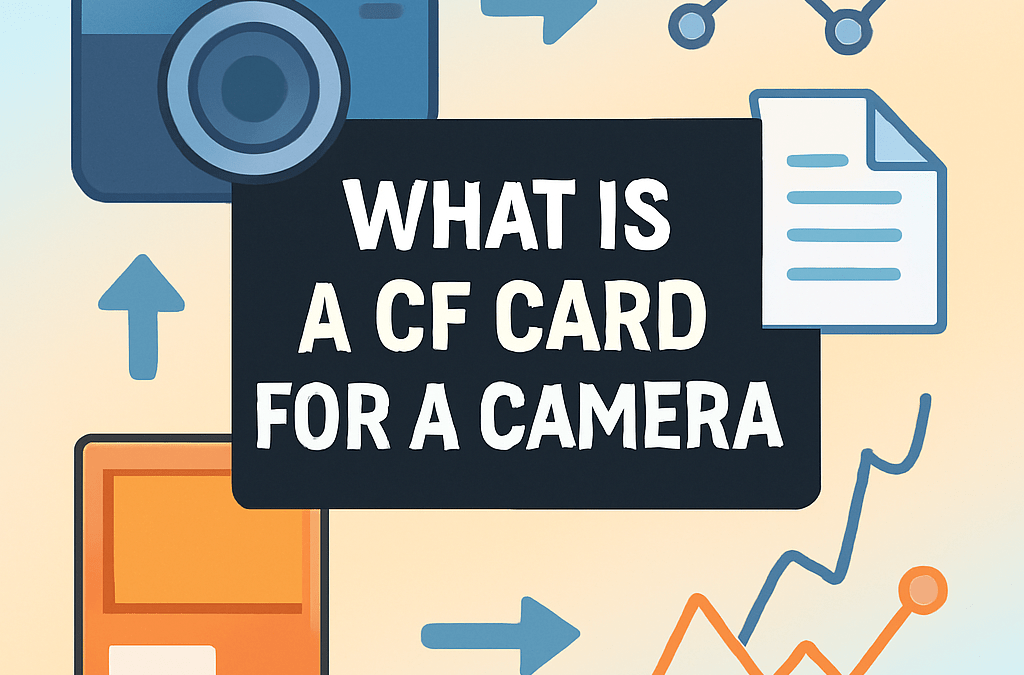
Delete with your camera’s Format function
Formatting in-camera is the quickest way to wipe a card. It rebuilds the file system so the camera writes fresh, and it is the method I use before every new shoot.
Deleting individual files can leave hidden clutter on the card. Formatting clears everything at once and reduces the chance of file system errors on the next session.
Typical steps are simple and fast. Open Menu, go to Playback or Setup, choose Format Card or Format Memory Card, and confirm to proceed.
Always check the SD card lock switch before you try to format. If it is locked, slide the tiny switch up to unlock and try again.
Format in the same camera that will use the card. This ensures the card’s structure matches the camera’s expectations and avoids glitches on the next shoot.
Remember that formatting is essentially irreversible. If you formatted by mistake, stop writing to the card and try a data‑recovery tool, but success drops sharply after a format.
If you only need to clear a few photos, in-camera delete is fine. When speed matters and the shoot is over, format is how to delete photos fast and clean.
For mobile-heavy workflows, try culling apps like Slidebox or Gemini Photos to speed up review on the go. Then finish with a computer or format for that last, fast sweep.
What People Ask Most
How can I delete many photos at once on my phone?
To delete photos fast, open your gallery, tap Select, choose multiple images, and hit Delete or the trash icon. Check the Recently Deleted folder and empty it to free space immediately.
What’s the quickest way to delete photos fast on a computer?
Select multiple files with Shift or Ctrl (Command on Mac), press Delete, and then empty the Recycle Bin or Trash. This permanently frees storage and completes the process quickly.
Will deleting photos free up storage right away?
Not always; many devices move photos to a Recently Deleted or Trash folder first. Emptying that folder or backing up then deleting will free space immediately.
Can I recover photos after I delete them fast?
Often yes, you can restore images from the Recently Deleted folder for a limited time or from a backup. Once the trash is emptied or backups are gone, recovery becomes much harder.
Is it safe to use third-party tools that claim to delete photos fast?
Some tools help find and remove photos quickly, but you should check permissions and reviews before use. Avoid apps that ask for excessive access or don’t have good ratings.
What common mistakes should I avoid when trying to delete photos fast?
Don’t delete without checking for important photos, backups, or synced albums, and remember to clear the Recently Deleted folder. Rushing can cause accidental permanent loss.
How can I delete duplicate photos fast without losing originals?
Use your device’s built-in duplicate finder or a reputable app to detect copies and review matches before deleting. Always back up first so you can restore anything deleted by mistake.
Final Thoughts on Bulk Photo Deletion
If you ever wondered how to clear photos fast, this guide gave scenario-based fixes — from formatting a camera card to Shift+clicking on the web — so you can go from cluttered to curated quickly; even clearing 270 images can take minutes with the right path. The real payoff isn’t just freed space but the time and calm you get back when your library is organized. Photographers, parents, and anyone with too many duplicates will benefit most.
Mass-deleting is powerful and a little scary — cloud sync will mirror deletions everywhere, and formatting is irreversible if you don’t have a backup. Follow the Backup → Method → Delete → Empty Trash checklist to avoid common traps. The guide showed which tool fits each storage scenario so you can act confidently.
Take a breath, pick the method that matches your storage, and make one tidy pass — you’ll be surprised how freeing it feels. Keep tweaking your workflow, and your library will stay easier to manage as you shoot more.


0 Comments