How to light a photoshoot so your subject pops and skin tones stay true?
This guide gives a simple, repeatable workflow to light portraits, products, and quick on-location shoots. You can set up and start shooting in under an hour.
You will learn the main light types, key techniques like three-point and Rembrandt, plus practical modifier and placement tips. Each setup includes gear lists, camera settings, diagrams, and fast troubleshooting.
Follow the starter setups and short exercises to build confidence. A downloadable cheat-sheet and clear photos help you get shooting right away.
How to Light a Photoshoot: A Beginner’s Guide
Learn a repeatable workflow to set up flattering light for portraits, products, and quick on-location shoots. Follow this simple plan and you will know exactly how to light a photoshoot in under an hour.
1. Define the look and use. Decide on mood, contrast, and how the images will be used, such as web, print, or billboard. A clear target saves time and keeps choices simple.
2. Survey the location and ambient light. Check windows, ceiling height, wall colors, and available power, then choose natural or artificial light. Turn off non‑matching lights if you plan to control color.
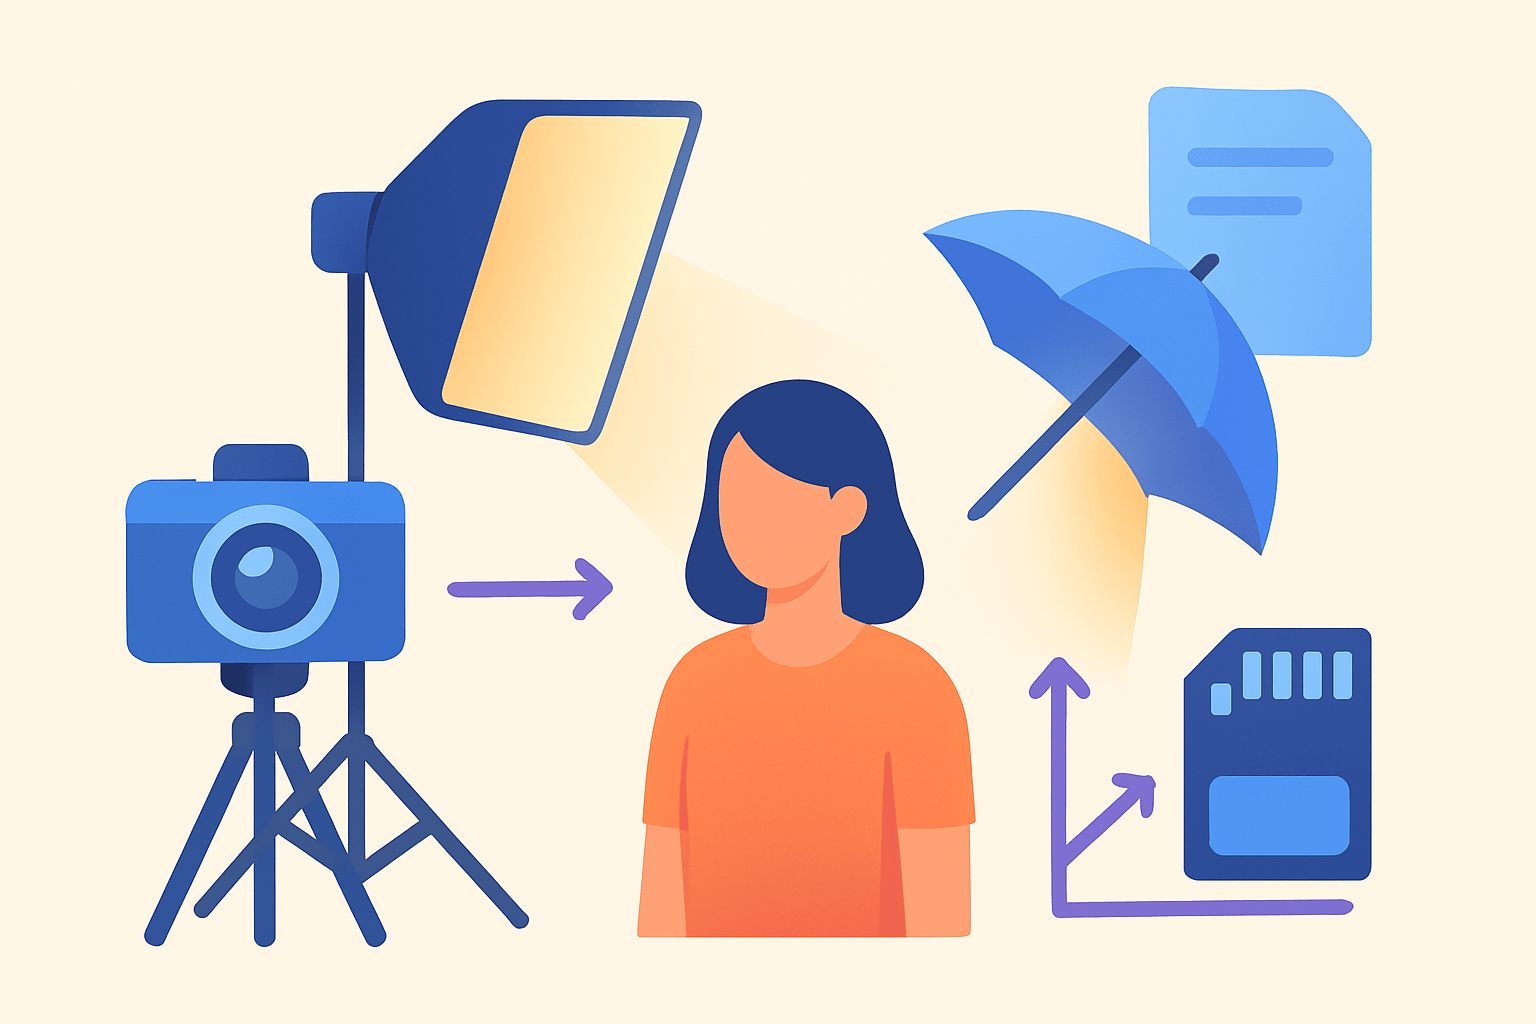
3. Pick the main light and modifiers. Choose a one‑light or three‑point plan and pick a softbox, umbrella, or bare bulb based on the look. Keep your kit lean so you move fast.
4. Set a camera baseline. Use ISO 100–200 for clean files, shutter at your sync speed for flash, and pick an aperture for depth of field. Adjust shutter only to change ambient, not flash brightness.
5. Place the key light and test. Start at 45 degrees to the subject and slightly above eye level, then take a test shot. Read the histogram and watch highlight warnings to avoid clipping skin or product edges.
6. Add fill, back, and accent lights. Bring in a reflector or second light for fill and a rim or hair light for separation. Nudge power until faces look dimensional but not harsh.
7. Check catchlights, shadow edges, background exposure, and color temp. Catchlights should be high and lively, and shadows should support the shape you want. Match white balance across sources or gel to taste.
8. Mark positions and shoot. Tape stands and note power settings so you can reset after breaks. Keep a quick reference shot on your camera for consistency.
Single softbox portrait: Gear: one strobe or speedlight in a 24–36 inch softbox, plus a white reflector. Use this for fast, flattering head-and-shoulders portraits with soft shadows.
Three‑point headshot: Gear: key in softbox, fill with reflector or second light, hair light with grid. Use when you need clean, professional images with clear separation from the background.
Window plus reflector portrait: Gear: big window, sheer curtain, and a collapsible reflector. Use when you want natural, soft light and minimal setup time.
Backlit golden‑hour portrait: Gear: sun as rim light, small softbox or speedlight as on‑axis fill. Use when you want glowing hair light and dreamy backgrounds.
Product on lightbox: Gear: light table, top diffuser, small card flags, and a side kicker. Use for e‑commerce objects that need edge highlights and clean white backgrounds.
Camera and exposure cheat‑sheet: Keep ISO at 100–200 for flash and 200–800 for LED or window. Set shutter to your sync speed for strobes, then raise or lower it only to change ambient. Pick f/2–f/2.8 for dreamy portraits, f/4–f/5.6 for headshots, and f/8–f/16 for products.
Use TTL when you must move fast or subjects change distance often. Switch to manual flash for repeatable results across a series or when you want consistent ratios. A light meter is great for accuracy, but a quick test, histogram, and blinkies work well on tight schedules.
Fast fixes: Wrong color temp? Set custom white balance with a grey card or use CTO/CTB gels to match sources. Harsh shadows? Add diffusion or move the light closer so it grows relatively larger. Flat light? Add a rim or hair light and lower fill by one stop.
Pack a lean gear checklist so setup is smooth: camera, prime and zoom lenses, wireless trigger, one or two strobes or speedlights, an LED panel, softbox or umbrella, reflector, two sturdy stands, sandbags, gaffer tape, grey card, spare batteries, and chargers. Keep it in one rolling case for quick moves.
Print a one‑page cheat‑sheet with your three go‑to setups, gear list, and baseline camera settings. Tape it to your case so you can reset any scene in minutes.
Types of Lighting for Photoshoots
Natural light is soft, free, and beautiful, but it requires timing and weather awareness. It shines in lifestyle and editorial work, especially near large windows or in open shade. Plan shoot time to catch the best angle and quality.
Continuous light includes LEDs and tungsten and is easy for beginners and video shooters. You can see shadows and highlights live, which speeds adjustments. Watch for heat with tungsten and mind power limits with portable LEDs.
Strobes and speedlights provide the most power and freeze motion well. They excel in studio control and bright outdoor conditions. A modeling light helps you preview direction and catchlights before you pop the flash.
LED panels are portable and offer adjustable color temperature. Look for high CRI and TLCI values so skin tones stay accurate. Use bi‑color or RGB sets for creative mood shifts without gels.
Choose continuous when you need to see the result live or when you are shooting both photo and video. Choose strobes when you must overpower the sun or stop action crisply. Battery heads make strobes practical on location without outlets.
Consider the practicals: power and recycle speed, portability and weight, and color temperature control range. Reliable triggers, stable stands, and safe cables matter as much as the lights themselves. Keep a spare battery or an AC backup whenever possible.
A simple budget path works well: start with one speedlight and a reflector, then add a second light as fill. Move to one or two strobes with a softbox for mid‑level assignments, and build toward three or more lights and specialized modifiers for pro work. A solid foundational kit scales across most jobs.
If you must mix light sources, match white balance with gels or set a custom Kelvin value. Keep mixed light intentional, such as warm lamps in the background against a cooler key. For deeper guidance, this studio lighting guide expands on power and color considerations.
Key Lighting Techniques Explained
Lighting techniques are repeatable patterns that shape faces and products. Learn a handful and you can build any look fast. Practice them until muscle memory kicks in during a shoot.
Three‑point lighting uses a key to define form, a fill to soften contrast, and a back or hair light to separate the subject. Start with the key and add fill at one stop lower for a 2:1 ratio. Add a hair light with a grid to control spill on the background.
Rembrandt lighting places the key 30–45 degrees off‑axis and slightly raised. It creates a small triangle of light on the shadow cheek for drama that still flatters. It suits character portraits and moody editorials.
Loop lighting puts the key slightly off‑axis to form a small nose shadow that does not touch the cheek. It flatters most faces and keeps both eyes open to light. It is a great default when time is short.
Butterfly lighting sets the key high and centered above the camera. It forms a butterfly shadow under the nose and adds cheekbone definition. Use a reflector below the chin to soften under‑eye shadows.
Split lighting places the key at 90 degrees to the subject. One side of the face is lit and the other is in shadow, creating a bold, dramatic look. This is useful for athletes, musicians, and moody campaigns.
Broad versus short lighting controls face width. Broad lights the side turned toward camera and can widen a narrow face, while short lights the far side and slims a rounder face. Pick based on your subject’s features and style goals.
High‑key images use soft, even light and often add background lights to lift white or gray backdrops. Low‑key images keep light directional and let shadows dominate the frame. Both benefit from knowing exactly how to light a photoshoot for the story you want.
Lighting ratios explain contrast in simple stops: 1:1 is neutral and flat, 2:1 is soft contrast, and 4:1 feels punchy. Try a quick exercise: shoot the same pose at 1:1, 2:1, and 4:1 and compare mood. Watch how skin texture and eye brightness change with each step.
For a deeper walkthrough of common portrait arrangements, explore these lighting setups. They map directly to the patterns above and show how small moves change the result. Save examples on your phone as visual cues during a session.
Light Modifiers: Umbrellas, Softboxes, and More
Modifiers shape the quality, direction, and spill of your light. Softboxes and octas give soft, controlled light with clean edges. Umbrellas are fast and broad but can spill onto backgrounds and ceilings.
Beauty dishes are crisp with gentle falloff, great for fashion and clean beauty. Grids narrow the spread of any light and help aim a hair or rim light. Snoots and barn doors create tight beams or slashes for drama.
Reflectors are simple and powerful: white for soft fill, silver for contrast, gold for warmth, and black for negative fill. Scrims and diffusers enlarge and soften any source. Flags and gobos block or pattern light to shape the frame.
Size controls softness and distance controls falloff. A large modifier placed close wraps around features and drops off quickly on the background. Feather the light by aiming it slightly past the subject to reduce hotspots.
Choose a large octa for groups and families, a beauty dish for crisp editorial faces, and an umbrella for fast setups. Use a grid or snoot for controlled hair lights and edge highlights. Always sandbag stands and leave space around hot lights.
DIY options like translucent shower curtains for diffusion or foamcore for reflectors can work. Avoid colored boards that cast tints and keep flammable materials away from hot tungsten. Secure cables to prevent trips, especially with kids or pets on set.
Positioning Your Lights for Different Effects
Light direction changes the story at a glance. Frontal light looks clean but flat, while side light adds texture and shape. Top light sculpts, back light outlines, and low light is dramatic and often unflattering.
One‑light soft portrait: Place the key 45 degrees camera‑right and just above eye level, two to four feet from the subject. Put a white reflector opposite and under the chin to lift shadows.
Standard three‑point headshot: Set the key at 45 degrees and slightly high, add fill opposite at one stop lower, and place a hair light behind with a grid to avoid lens flare. Adjust background exposure until it sits where you want the brand vibe.
High‑key studio: Light the background separately with two even lights and keep the main soft and close. Set fill almost equal to the key so shadows nearly vanish.
Low‑key dramatic portrait: Use only a key or add a tiny rim to separate. Bring in black foamcore near the shadow side for negative fill that deepens mood.
Product tabletop: Place a top diffuser above, two white side panels as large reflectors, and a small background light to lift seams. Angle lights to avoid specular hotspots and use flags to block stray reflections.
Start distances are simple: a portrait softbox often sits two to five feet from faces, while hair lights live a bit further back. Keep the hair light roughly one stop below the key for subtle sheen or one stop above for a crisp rim. Always check for flare by tilting the light away from the lens.
Control spill with flags, scrims, and gobos, and use negative fill to carve deeper shadows. Mark stand feet with tape and note power settings for quick resets after breaks. Pre‑plan time of day when relying on sun and carry a compact battery head for cloudy surprises.
Common fixes: Hotspots on the forehead mean you should feather the key or add powder; mixed color casts need gels or a custom Kelvin; unflattering nose shadows ask for a slight height or angle change. Keep small adjustments and re‑shoot after each move. This is how to light a photoshoot with calm control and no guesswork.
Practice plan: Do 10 minutes a day with a mannequin head or fruit and one light, then add a reflector on day three and a second light by week’s end. Repeat three lighting patterns per session until you can set them without notes. For deeper commercial approaches, study mastering lighting to push into pro‑level results.
What People Ask Most
What is the easiest way to light a photoshoot for beginners?
For beginners learning how to light a photoshoot, use soft window light as your main source and a white reflector to fill shadows for flattering results.
How do I set up basic three-point lighting for portraits?
Place a key light at an angle, a softer fill light on the opposite side, and a backlight behind the subject to separate them from the background.
Can I use household lamps to light a photoshoot?
Yes — use lamps with the same color bulbs, diffuse them with a white sheet or lampshade, and add a reflector to reduce harsh shadows.
How do reflectors help when learning how to light a photoshoot?
Reflectors bounce light into shadowed areas, soften contrast, and are an inexpensive way to improve lighting without extra lights.
What common mistakes should beginners avoid when learning how to light a photoshoot?
Avoid direct harsh light, mixing different color bulbs, and placing lights too close; always take test shots and adjust as needed.
How can I make indoor photos look natural when I light a photoshoot?
Use soft side lighting from a window or diffused lamp and balance shadows with a reflector to keep the look natural.
How do I check if my lighting looks good during a photoshoot?
Take a few test photos, review them on your camera or phone screen, and adjust light positions until skin tones and shadows look pleasing.
Final Thoughts on Lighting a Photoshoot
You’ve got a clear, repeatable approach that helps you build flattering light for portraits, products, and quick location work — a workflow even a tight schedule can handle, whether you’re using a single speedlight or a basic studio kit. The step‑by‑step advice (including starter setups and a 270 gear checklist) keeps choices simple so you spend more time shooting and less time guessing. It’s ideal for beginners and self‑taught shooters who need reliable setups fast.
One realistic caution: mixed light and color casts will always complicate things, and battery limits or unsecured stands can undo an otherwise good shoot. Use gels sparingly, match white balance, and double‑check safety and power so your result matches the look you planned. The troubleshooting tips and camera cheatsheets give quick fixes when things drift.
Remember the opening promise — a repeatable workflow to set up flattering light in under an hour — and you’ve seen how the numbered steps, pattern explanations, and modifier choices make that achievable. With practice, those patterns become instincts and you’ll be lighting with confidence. Keep experimenting; every shoot sharpens your eye and makes the next setup quicker.


0 Comments