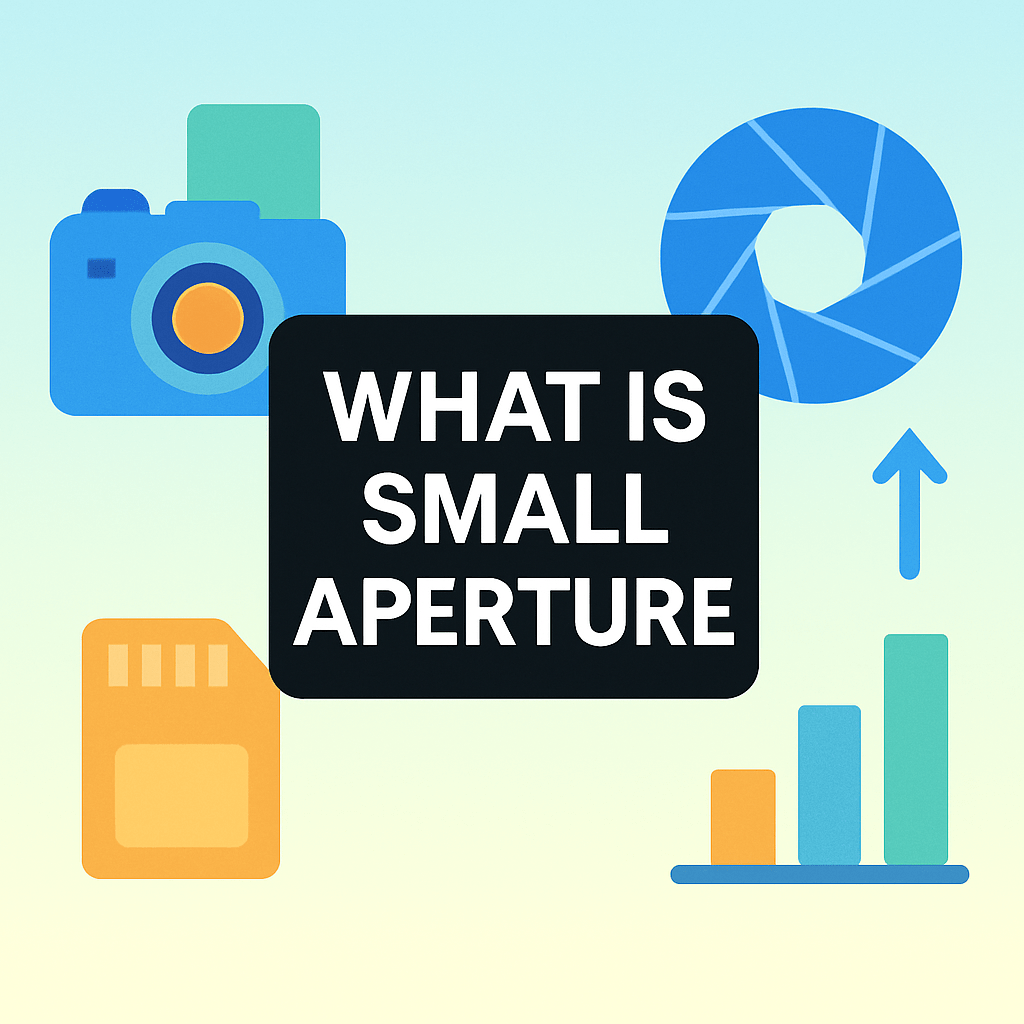
What is small aperture and how can a tiny lens opening change the look of your photo? If you’ve ever asked “what is small aperture”, this guide gives a clear, simple answer in plain English.
A small (narrow) aperture means a small physical opening in the lens — a high f-number like f/11 or f/16. It cuts light, increases depth of field, and can affect sharpness, so you must balance shutter speed and ISO.
I’ll explain f-stop numbers, show how small apertures widen depth of field and how hyperfocal focusing works, and cover the diffraction trade-off that can soften detail. You will also get practical EXIF-style settings, diagrams, and photo examples to try yourself.
Read on to learn when to use a small aperture for landscapes, macro, architecture, or long exposures, and how to test your lens (including focus stacking and tripod workflows). This intro leads into clear, visual steps to balance depth of field versus diffraction and pick the right aperture settings.
What is a small aperture?

If you are asking what is small aperture, think of it as a narrow opening in your lens that controls how much light reaches the sensor. In camera terms, a small aperture uses a high f-number like f/11, f/16, or f/22. It is the opposite of a wide aperture such as f/1.8 or f/2.8, which lets in lots of light.
Here is the simple clarifier that avoids confusion: small aperture does not mean a small f-number. Small aperture equals a large f-stop number, and a large aperture equals a small f-stop number.
Picture three circles cut into a card: a big hole for f/2, a medium hole for f/8, and a tiny pinhole for f/16. The tiny hole is the small aperture, and it restricts light the most. In practice, that means you often need to slow the shutter or raise ISO to get a proper exposure.
Because less light passes through a small aperture, you balance the exposure using the shutter speed and ISO. Slower shutter speeds can blur motion, while higher ISOs add noise, so you choose your trade-off carefully. If you want a quick refresher on the fundamentals, this short primer on aperture basics can help tie everything together.
Photographers use small apertures for control, not just exposure. A narrow aperture increases how much of the scene appears sharp from front to back, and it can also create starburst effects from bright points of light. Understanding when to stop down is one of the fastest ways to make your images look cleaner and more intentional.
What does the f-stop number mean?
The f-stop is a ratio that links your lens’s focal length to the diameter of the opening. The formula is simple: f-number equals focal length divided by the aperture diameter. A 50 mm lens at f/2 has an opening of about 25 mm, while at f/16 the opening shrinks to just over 3 mm.
The standard f-stop scale moves in “stops” that double or halve the light at each step. The common sequence goes 1, 1.4, 2, 2.8, 4, 5.6, 8, 11, 16, 22, and so on. If you move from f/8 to f/11, that is one stop less light, and going from f/11 back to f/8 is one stop more light.
Think of stops as a precise language for exposure. If your exposure is perfect at f/8 and 1/125 second, switching to f/11 means you should slow the shutter to 1/60 second to keep the same brightness. Two stops less light at the aperture means two stops slower shutter, and the picture stays balanced.
Zoom lenses often change their brightest possible f-stop as you zoom, which is called a variable maximum aperture. A kit lens labeled 18–55 mm f/3.5–5.6 gets “slower” as you zoom in because its opening cannot stay as wide, and you will see this noted as the lens’s maximum aperture.
You may also hear about t-stops, which measure actual light transmission through the lens. They matter more in video work, but the idea is the same: higher numbers mean less light, and that affects how you expose your scene.
How small aperture increases depth of field
Depth of field describes the zone that looks acceptably sharp in your photo, and small aperture makes that zone deeper. The geometry is intuitive if you imagine cones of light rays passing through the lens: a narrow opening creates narrower cones. Narrow cones form smaller blur circles on the sensor, so more distances appear in focus.
Try a simple scene to see it. Photograph a fence leading to a mountain at f/2.8 and again at f/16 using the same focus point. The f/2.8 frame will have a thin slice of sharpness with the rest melting away, while the f/16 frame will keep much more of the fence and the mountain crisp, even if you need a tripod for the slower shutter.
Aperture is not the only factor influencing depth of field. Focal length matters because longer lenses magnify blur and give shallower depth at the same framing and aperture. Sensor size matters too, since larger sensors demand longer focal lengths for the same field of view and thus tend to have less depth of field at the same f-stop.
Lens design also plays a role, though it is more subtle. Some optics handle field curvature and aberrations better, which keeps the corners sharper when stopped down. These differences show up when you compare the same aperture across lenses of similar focal length.
Hyperfocal distance ties all this together for landscape and travel work. It is the focus distance that gives you the greatest depth of field so that objects at infinity are just sharp enough while keeping as much foreground sharp as possible. To use it in one step, set a small aperture like f/11, focus at the hyperfocal distance for your focal length and sensor, and everything from roughly half that distance to infinity will be acceptably sharp.
As a rough sense of scale, a 24 mm lens on a full-frame camera at f/11 often has a hyperfocal distance of only a couple of meters. Focus around that mark and your foreground rocks and distant ridgeline will both sit inside the depth of field. Many photographers keep a small card or app handy for this, and they fine-tune by checking focus with magnified live view.
It helps to review images that demonstrate this effect. Side-by-side frames of the same cityscape at f/4 and f/16 show how stopping down extends the sharp zone from a few buildings to the entire skyline, a visual that cements the idea of depth of field in your mind. A simple sketch of hyperfocal distance can also make the focusing strategy feel natural.
There is a catch, though. At some point, stopping down gives only a tiny gain in depth of field while introducing diffraction blur, which slowly erodes fine detail. That trade-off sets the stage for the next section.
Aperture and diffraction (trade-offs for image sharpness)
Light is a wave, and when it squeezes through a very small opening, it spreads out and softens edges. This is diffraction, and on a photo it shows up as a slight loss of crispness, sometimes described using the Airy disk that forms on the sensor. The smaller the aperture, the more the wavefront spreads and the softer the finest details become.
In real images, diffraction tends to creep in around f/16 to f/22 on many modern cameras, especially those with high-resolution sensors. It does not ruin a photo, but it can blunt razor-fine textures like grass or distant brickwork, even when you nail focus and use a tripod.
Most lenses have a sweet spot for sharpness that sits about one to three stops down from their widest aperture. On many primes and mid-range zooms, that window falls around f/5.6 to f/11, which balances depth of field and micro-contrast nicely. You can find your lens’s sweet spot by shooting a static scene across the aperture range and comparing 100% crops, or by studying lens charts and resources like the classic Cambridge in Colour explanations.
There are ways to gain depth of field without pushing into the softest f-stops. You can focus stack a series of frames made at a moderate aperture and blend them for a deep, crisp result. You can also step back a little, choose a shorter focal length, or slightly adjust your framing to bring more of the subject into the sharp zone.
Testing helps you see the balance on your own gear. Photograph a textured subject at f/5.6, f/8, f/11, f/16, and f/22 and compare the finest detail. You will learn exactly where the trade-off between depth of field and diffraction sits for your sensor and lenses.
When to use a small (narrow) aperture — practical tips and settings
Landscapes are the classic use case for a small aperture. A dependable starting point is 24–35 mm at f/8 to f/11, ISO 100, and a shutter between 1/15 and 1/2 second depending on light, with a tripod for stability. Focus using the hyperfocal method and double-check with magnified live view.
When you need extreme depth from foreground detail to distant peaks, you can stop down to f/16 or even f/22. Be aware that diffraction may soften micro-textures, so consider shooting a short focus stack at f/8 or f/11 and blending for a sharper result. This approach gives you the best of both worlds: deep focus and crisp detail.
Architecture and product photography often benefit from small apertures to hold verticals, edges, and surfaces in focus. Settings like 35–70 mm at f/8 to f/11, ISO 100–200, and a shutter chosen for perfect exposure work well under controlled light. For tabletop scenes, add steady lighting and fine-tune focus with a focusing rail if needed.
Macro introduces its own twist because depth of field becomes razor thin at close distances. Many macro shooters work at f/8 to f/16 and combine 10–50 frames in a focus stack for a clean, diffraction-free composite. Move the focal plane in small, even steps and let software align the stack for you.
For long daytime exposures like silky waterfalls or blurred crowds, a small aperture can help lengthen the shutter, but it should not be your only tool. Use neutral density filters to cut light while keeping a moderate aperture like f/5.6 to f/11 for better sharpness. This keeps diffraction in check while you craft multi-second exposures.
Remember the exposure triangle at every turn, because a small aperture always means less light. You either slow the shutter, which risks motion blur, or raise ISO, which adds noise. Choose the compromise that fits your subject, and do a quick test frame to confirm it holds up at 100% view.
A simple field workflow keeps results consistent. Mount the camera on a sturdy tripod, enable live view, and magnify to verify focus on a key detail. Use mirror lockup or an electronic shutter and trigger with a remote or 2-second timer, then zoom in on playback to check for diffraction, motion blur, and edge-to-edge sharpness.
As a quick cheat sheet, try f/8 to f/11 for most landscapes and cityscapes, f/11 to f/16 when you need extra depth and can tolerate a touch of softness, and f/8 to f/16 plus focus stacking for macro or product detail. For starbursts on streetlights, f/11 to f/16 often gives a clean effect without pushing too far. For general walk-around scenes, f/5.6 to f/8 is a smart baseline that keeps images snappy.
Avoid a few common pitfalls when learning small aperture technique. Do not equate “small” with a small f-number, and do not forget to compensate exposure with shutter or ISO when you stop down. Finally, do not rely on f/22 to solve every focus problem when a short focus stack at f/8 would look sharper.
In practice, the art is balancing depth of field against diffraction, so test your lens, try a short focus stack when needed, and choose the smallest aperture that still delivers the sharpness you want for the scene.
What People Ask Most
What is small aperture?
Small aperture is when a camera lens opening is made very narrow to let in less light. It is used to increase the area in focus in a photo.
How does a small aperture affect my photos?
A small aperture increases the depth of field so more of the scene looks sharp. It also reduces the amount of light reaching the sensor, which can make images darker.
When should I use a small aperture?
Use a small aperture for landscapes, group shots, or any scene where you want most or all of the image to be in focus. It is also useful in bright conditions to avoid overexposure.
Will a small aperture make my whole scene sharp?
Yes, a small aperture helps make foreground and background elements look sharp at the same time. You may still need good focus technique and steady shooting for the best results.
Does using a small aperture make photos darker or require more light?
Yes, a small aperture reduces light, so you may need a slower shutter speed, higher ISO, or extra lighting to get a proper exposure. Using a tripod can help when light is low.
Is a small aperture the same as stopping down?
Yes, stopping down means closing the lens to a smaller aperture to reduce light and increase depth of field. Photographers often “stop down” to control exposure and focus range.
Can a small aperture fix a blurry photo?
A small aperture can reduce blur from shallow focus by increasing depth of field, but it cannot fix blur from camera shake or subject movement. For motion blur you need faster shutter speed or stabilization.
Final Thoughts on Small Aperture
As we set out to answer what is small aperture, we focused on how a narrow opening extends the zone of sharpness through a scene. That benefit—keeping foreground through background acceptably sharp—makes it a favorite for landscape, architecture, and product shooters, and you might even run 270 test shots to find your lens’s sweet spot. It does come with a realistic caution: stop down too far and diffraction or longer exposures can soften detail or invite blur.
We walked from the basic definition to f-stop math, showed how smaller openings improve depth of field, and laid out the diffraction trade-offs so you can balance sharpness and reach. The practical settings, hyperfocal tips, and focus-stacking alternatives give a clear path for photographers who want more of the scene in focus without losing fine detail. Keep testing your gear and settings, and you’ll start to predict the results your camera will give in the field.

0 Comments