
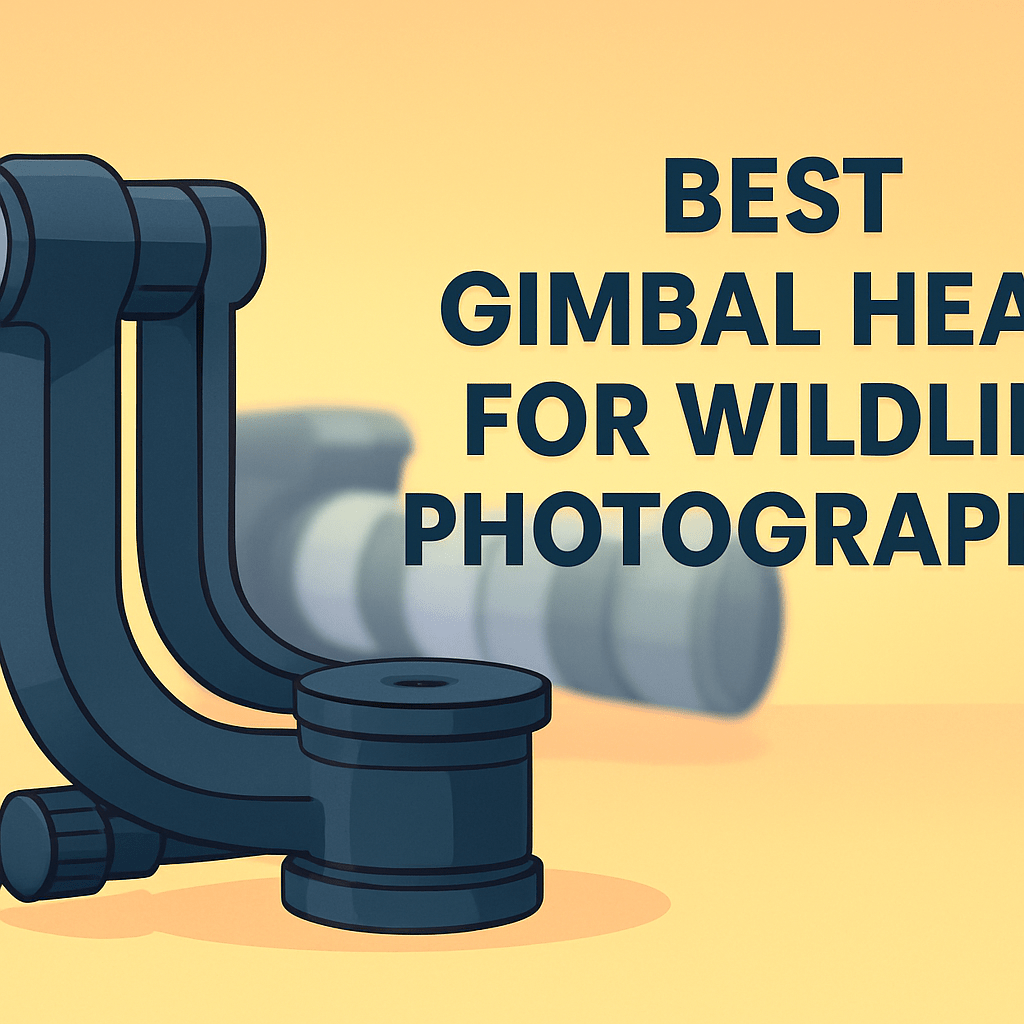
Ever tried tracking a hawk with a long lens and felt your tripod head fight you?
If you’re a wildlife photographer—pro or passionate enthusiast—finding the right gimbal head can change your field game. This guide cuts through specs and hype to show practical choices and workflows for real-world shooting.
You’ll get straightforward advice for setups ranging from lightweight walkabouts to heavy super-telephoto rigs. We cover balance, handling, and the subtle differences that matter when tracking birds in flight. No theory only—real-world tips and common pitfalls are included.
We’ll examine build quality, smoothness of pan and tilt, ergonomics, and field durability. Expect hands-on notes about setup, balancing, and when to use a gimbal instead of a ball head. You’ll also find accessible balancing instructions and shooting tips for birds in flight.
Whether you shoot shorebirds at dawn or raptors from a blind, the right gimbal reduces fatigue and raises your keeper rate. We’ll flag the real trade-offs photographers face: weight versus stability, and ruggedness versus packability, so you can match a head to your lenses and style.

Movo GH800 MKII Carbon Fiber Gimbal Head with Arca-Swiss Quick-Release Plates
1. Really Right Stuff PG-02 Mk2

Really Right Stuff Modular 2-piece L-Plate for Canon 1D X / 1D X Mark II
Securely mounts your DSLR to tripods for landscape or portrait shooting with precision-aligned, modular two-piece aluminum construction for fast, reliable camera support.
Check PriceThe Really Right Stuff PG-02 Mk2 is the gold standard I reach for when I’m mounting 600mm or 800mm super-telephoto lenses in the field. Its multi-piece modular design breaks down for compact transport, which is a lifesaver when you need to move between blinds or hikes. That same modularity also gives me the flexibility to pair it with leveling heads for clean landscape panoramas.
Tracking fast birds or mammals is where this gimbal shines; the pan and tilt bearings are buttery-smooth and make follow-through feel almost effortless. There’s a pan control arm that helps smooth out video pans, though it’s worth noting this isn’t a dedicated fluid head for cinematographers. For stills and action tracking, the motion quality is excellent and very predictable.
Build quality is obvious from the first time you mount a heavy lens — the construction is robust and designed to withstand harsh field conditions. The Mk2’s durability has kept me shooting through rain, grit, and long seasons without worrying about failures. It’s clearly aimed at serious shooters who demand long-term reliability.
Because it’s built for big glass, the PG-02 Mk2 is heavier than lighter travel-oriented heads and that weight is a trade-off for strength and stability. If you travel ultra-light or prioritize backpacking long distances, this can feel cumbersome. Also, it sits at a premium price point, reflecting its pro-level focus.
In short, if you’re a dedicated wildlife photographer using heavy super-telephoto lenses and you want a versatile, durable gimbal that also handles panoramas and occasional video, the PG-02 Mk2 is an excellent choice. Expect top-tier tracking and field-ready construction in exchange for weight and cost.
- Exceptionally smooth pan and tilt bearings
- Robust multi-piece construction for easy packing
- Can combine with leveling heads for panoramas
- Excellent build quality and durability
- High weight; cumbersome for light travel
- Expensive; aimed at professionals/dedicated enthusiasts
2. Leofoto PG-1 Gimbal Head

Leofoto PG-3 Carbon Fiber Gimbal Head with Arca-Swiss Clamp, 25kg Load
Effortless, fluid tracking for large telephotos; lightweight carbon construction supports up to 25kg and features fast Arca-compatible clamping for stable wildlife and sports shooting.
Check PriceThe Leofoto PG-1 is a compact workhorse that feels built, not assembled. Its T6061 aluminum “skeleton” design keeps weight down while delivering superb smoothness and rigidity, so the head tracks without any hint of flex. Large locking knobs and a built-in bubble level make adjustments quick and obvious in the field.
In real use the PG-1 offers effortless, buttery panning and tilting that really helps when tracking fast-moving wildlife or sports. The wide height range and fine balance adjustment let you dial in the center of gravity precisely, so the rig stays put at any angle without fighting you. The locking mechanisms are comfortable and intuitive, which speeds setup between shots.
If you prize precision and smoothness but don’t want to carry a brick, this gimbal sits in a sweet spot. It’s rigid with no wobble under moderate to heavy telephoto loads, yet light enough to bring on long days afield. That combination of strength and relative lightness makes it a strong choice for wildlife shooters who need reliable support without needless bulk.
Be mindful that the PG-1 leans toward the premium end of the market and can feel slightly complex the first few times you set it up. Once you’ve balanced your lens and learned the controls, though, it repays that learning curve with fast, dependable operation when the birds or mammals start moving.
- Extremely smooth, frictionless movement
- Strong, rigid construction with no wobble
- User-friendly controls (large knobs) and bubble level
- Lightweight relative to its strength and stability
- Higher price point
- Setup can be slightly complex for first-time gimbal users
3. ProMediaGear GK Katana PRO Gimbal Head

ProMediaGear GKJr Katana Pro Aluminum Gimbal Head with Arca-type Cradle
Precision-balanced aluminum head with Arca-compatible cradle for smooth, secure handling of heavy lenses; easy adjustments for dynamic action photography.
Check PriceThe ProMediaGear GK Katana PRO Gimbal Head is a workhorse that I often recommend to bird and wildlife shooters who need rock-solid support and a wide range of motion. Its build quality is excellent and the head gives you a well-balanced feel with good drag customization, so your heavy telephoto sits steady without fighting you.
In the field it excels for stills and action tracking — the bearing action and customizable drag let you follow birds-in-flight with confidence. It’s not a dedicated fluid head, so while video is possible and often adequate for short clips, it won’t deliver the buttery fluid motion of a specialized fluid video head.
What makes the Katana PRO stand out is the combination of stability and versatility. It’s extremely sturdy, which reduces vibration and makes long handheld-with-gimbal sessions far less tiring. The wide range of smooth motion and ability to fine-tune drag give you control when locking onto a fast-moving subject or panning across a flock.
If you’re a wildlife or bird photographer who uses large lenses and occasionally shoots video, this head is a great match. Expect premium pricing, but also expect a tool that handles heavy glass reliably and improves your hit rate on action shots.
- Large range of smooth motion with customizable drag
- Very solid, sturdy build reducing vibration
- Excellent for bird-in-flight and action wildlife photography
- Versatile for photo and occasional video work
- Not a true fluid head; video motion less smooth
- Premium price bracket
4. Oben GH-30 Gimbal Head
Movo GH800 MKII Carbon Fiber Gimbal Head with Arca-Swiss Quick-Release Plates
Advanced carbon fiber gimbal offering silky rotation, quick-release Arca-style plates, and rock-solid stability for professional telephoto setups.
Check PriceThe Oben GH-30 is a budget-friendly gateway into true gimbal functionality, and as a field photographer I’ve found it to be a practical choice for lighter telephoto work. It’s explicitly aimed at medium telephoto lenses like 70–200mm and 100–400mm, and while it’s rated for 44 lbs, in practice it performs best with much lighter setups.
Out on a hike or a blind, the GH-30’s lightweight construction and simple mechanics make it quick to set up and get shooting. It offers sufficiently smooth pan and tilt for tracking birds and mammals when you’re using mid-weight lenses, and the assembly is straightforward for casual shooters who don’t want to fuss with complex knobs or modular parts.
Where it shows its limitations is obvious: push it toward heavier telephoto bodies and big super-telephoto lenses and you’ll notice a drop in smoothness and stability. That means it’s not the right tool for professional rigs or sustained heavy-duty use, but for entry-level wildlife photographers or anyone wanting gimbal benefits without a big investment, it’s a very sensible compromise.
For photographers who value portability, ease of use, and an affordable price, the Oben GH-30 delivers real-world value. Just be realistic about your gear: if your usual setup is a 70–200 or 100–400, this head will serve you well; if you’re carrying monster glass, look elsewhere.
- Affordable entry point
- Lightweight and easy to carry
- Sufficiently smooth for lighter setups
- Quick setup and user-friendly
- Degrades with heavy rigs
- Not for super-telephoto/pro gear
5. Jobu Design BWG-J3K Jobu Jr.3
Jobu Design BWG-J3K Jobu Jr.3
Compact, durable gimbal engineered for nimble tracking of long lenses; smooth pan and tilt with precision counterbalance for field portability.
Check PriceThe Jobu Design BWG-J3K Jobu Jr.3 is a favorite among field shooters who need a lightweight, rugged gimbal that won’t slow you down. It’s built solidly with a compact profile that makes long treks and travel far less fatiguing. The side-mount clamp design is part of what keeps the unit slim and easy to pack.
In real-world use the Jobu Jr.3 delivers very smooth bearing action in both pan and tilt, handling moderate loads around ~3kg+ with confidence. That fluid tracking makes it excellent for following birds and medium-sized wildlife without fighting the head. The build quality and longevity mean it holds up to repeated use in the field.
Be aware the side-mount clamp can introduce lateral stress on the lens foot when you push into heavier setups. With very heavy telephoto lenses this can lead to clamp flex or slippage if you don’t take precautions. Many users add safety measures—modifications or a safety lanyard—to prevent any accidental drops under heavy loads.
If you shoot with mid-weight telephoto lenses and prioritize a durable, travel-friendly gimbal, the Jobu Jr.3 is a very practical choice. It’s best for photographers who accept the side-mount trade-off and will use common-sense safety measures when mounting heavier glass. For day-long walks and quick set-ups it’s mostly a joy to use.
- Lightweight and rugged for long field use
- Smooth, precise bearings for fluid tracking
- Good build quality and long-lasting
- Compact profile for travel
- Side-mount clamp can flex with heavy loads
- May need safety lanyards or mods for very heavy lenses
Balancing Camera and Lens on a Gimbal
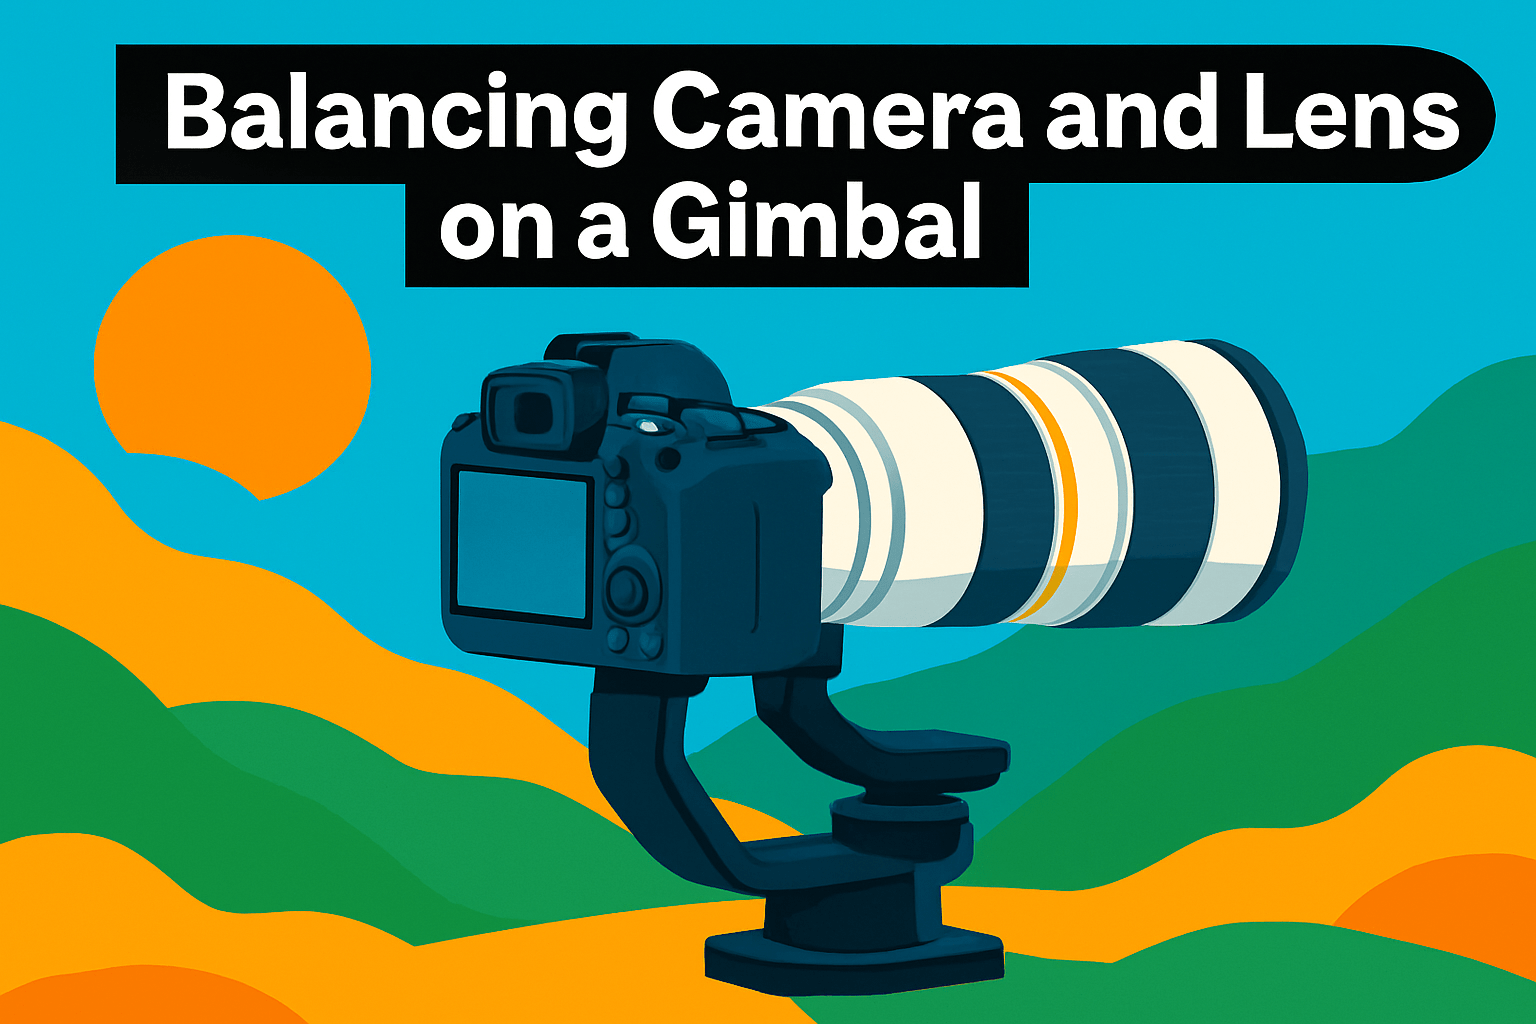
Getting the balance right on a gimbal is the single biggest shortcut to smoother tracking and less arm fatigue in the field. Treat the whole setup — body, lens, lens hood, teleconverters, flashes, even your quick‑release plate — as a single weighted unit when you balance; leave anything you plan to shoot with attached on the rig while you tune it.
Think of the gimbal as a see‑saw and the quick‑release clamp as the fulcrum. Your goal is to position the camera so the center of gravity sits just above that fulcrum. When it’s correct the rig will float and follow your hand with almost no effort.
I start by loosening the pan and tilt knobs so the head can move freely, then slide the lens foot forward or back in the cradle or plate until the lens holds any angle without drifting. A tiny vertical height tweak from the tripod or collar can make the difference between “almost” balanced and perfect equilibrium.
Test by tipping the lens up, down and to the side — it should stay where you leave it. If it creeps, move the foot a hair and test again; balance is about feel more than markings. Once it stays put at every angle, you’ll notice tracking is far more predictable.
Always rebalance after swapping bodies, adding a teleconverter, or clipping on a big hood or flash. Small changes to horizontal position on the plate are usually all that’s needed, and rechecking takes less than a minute when you make it a habit.
When balanced correctly a gimbal becomes almost invisible: you can follow birds and fast action with subtle, smooth movements and minimal grip strength. That’s the real advantage — your reaction time and the quality of your tracking improve dramatically, and you can shoot longer without wearing yourself out.
Birds in Flight Gimbal Tips
When I’m out on a birding morning the single biggest advantage of a gimbal is how effortlessly it pivots when it’s properly balanced. Treat the head like a perfectly tuned hinge: include lens hood, teleconverters or even a big battery grip when you balance so the camera behaves the same the moment a bird takes off.
Start each session by loosening pan and tilt and making the lens sit level at any angle without drifting. If it slides forward or droops you’ll be fighting the head instead of the bird, so slide the foot plate until the center of gravity sits just above the fulcrum and re-check whenever you change gear.
Keep your movements smooth and patient. Practice long, slow pans and gentle tilts to learn the head’s bearing feel; if your gimbal offers adjustable drag, add a touch for more controlled follow-through—enough to tame motion but not so much you lose responsiveness.
Body positioning matters more than you might think. Plant your feet, tuck your elbows in, and hold the gimbal with two hands so small muscles do the fine work. This stance reduces wobble and lets you make subtle, continuous corrections as the bird shifts direction.
Anticipation wins more frames than raw reaction speed. Lock onto a perch or a typical launch spot and keep the lens pointed where the bird is likely to appear. When it launches, the gimbal should already be balanced and ready to swing with you.
If you use a side-mount design, add a safety lanyard or secondary tether for big glass—side clamps can flex under very heavy loads and you don’t want a costly surprise in the field. Also rebalance after adding a teleconverter or flash; tiny changes will show up immediately in flight sequences.
Finally, don’t forget the endurance benefit: a well-balanced gimbal lets you shoot longer with less fatigue, which means more patience and more keepers. Spend time practicing with your exact rig and you’ll find the movement becomes second nature—letting you concentrate on composition and timing instead of gear.
What People Ask Most
What is the best gimbal head for wildlife photography?
There is no single best option; the right gimbal depends on your lenses, shooting style, and how much you carry. Look for smooth movement, solid construction, and a design that fits your typical gear and field conditions.
How do I choose the right gimbal head for wildlife photography?
Consider lens weight, balance options, build quality, and how easy it is to set up and transport. Match those factors to your shooting priorities and budget to find the best fit for your needs.
How do you use a gimbal head for wildlife photography?
Mount the lens securely, loosen the pan and tilt so the head moves freely, and adjust the balance until the lens stays at any angle without drifting. Use smooth, controlled hand movements to track subjects and recheck balance when gear changes.
What are the advantages of a gimbal head versus a ball head for wildlife photography?
Gimbal heads allow natural panning and tilting that follow moving subjects effortlessly and reduce strain when using long lenses. Ball heads can be more versatile for general use, but gimbals excel at supporting heavy telephoto setups for action tracking.
Can a gimbal head handle heavy telephoto lenses and long focal lengths?
Many gimbal heads are designed to support large telephoto lenses, but capacity varies by model. Choose a head whose design and build suit the weight of your lens and use safe mounting practices.
Which gimbal head is best for bird photography and fast-moving wildlife?
For fast subjects, prioritize smooth, low-friction movement and a balance system that allows quick, precise tracking. Select a head that feels stable with your typical lens and enables comfortable handling during long sessions.
How do I mount and properly balance my lens on a gimbal head for wildlife shooting?
Attach the lens foot securely to the quick-release or cradle, then loosen movement controls and slide the lens until it remains neutrally balanced at different angles. Verify balance after adding accessories or changing camera bodies to maintain smooth tracking.
Conclusion for Wildlife Gimbal Heads
Choosing the right gimbal comes down to matching the head’s weight, smoothness, and features to your shooting style and the loads you typically carry.
Think about the trade-offs—portability versus stability, price versus build quality, and whether occasional video work or long field days are priorities for you.
Proper balancing and a practiced technique make the biggest practical difference in the field, reducing fatigue and improving your ability to track fast-moving subjects.
Before committing, try gear where possible and consider modular options or safety measures that suit your travel and shooting needs.
If you want to sharpen your technique or refine gear choices, explore more articles on the site to build confidence and skill with gimbals and long lenses.
Have questions or experiences to share? Leave a comment below and we usually reply within a few hours.


0 Comments