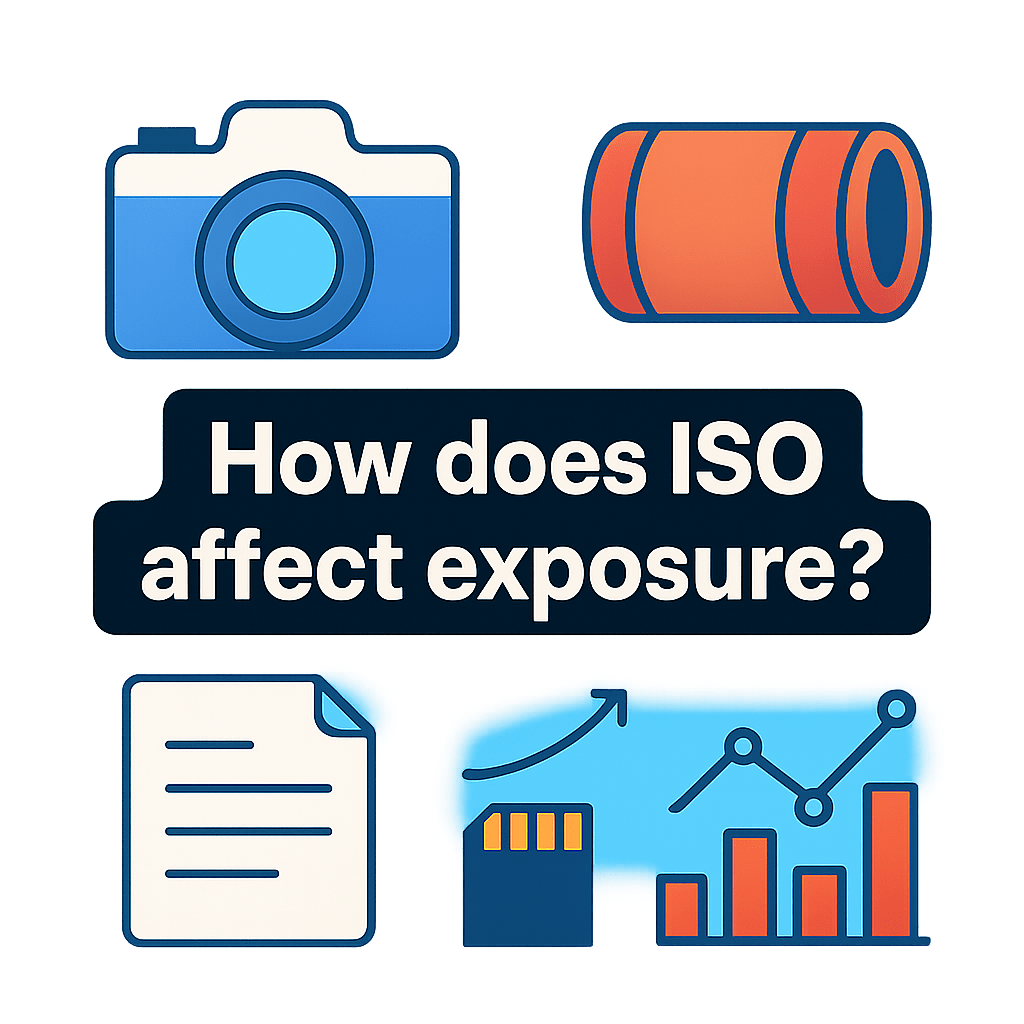
how does iso affect exposure? Can a small ISO change save a dim shot or ruin your highlights?
This guide explains ISO in plain words and shows the camera settings that matter. You’ll learn base ISO, what doubling ISO does, and how ISO trades with shutter speed and aperture.
We’ll answer exactly how ISO makes the recorded image brighter without adding light to the scene. You’ll also see how higher ISO changes noise, dynamic range, and detail.
Expect clear examples, copyable camera settings, side‑by‑side photo comparisons, histograms, and a printable cheat‑sheet. By the end you’ll know when to raise ISO, when to keep it low, and how to test your own camera.
What is ISO?
ISO is the amplifier setting that determines how strongly the camera’s sensor signal is amplified before it becomes a photo. It is the digital echo of film speed, but it does not change the light reaching the sensor. Think of it as turning up the volume on the signal you already captured.
Every camera has a base or native ISO, which is the lowest ISO that delivers the best dynamic range and the least noise. Most cameras sit at ISO 100 or ISO 64, while some medium format bodies go even lower. If your scene allows it, shooting near base ISO preserves highlight detail and keeps shadows clean.
ISO values usually double each stop, so ISO 100 to 200 is one stop brighter, 200 to 400 is another stop, and so on. Cameras also offer 1/3-stop steps like ISO 125, 160, 250, and 320 for finer control. These tiny steps let you match ISO precisely to shutter speed and aperture needs.
ISO is not the same as aperture or shutter speed, and it does not affect depth of field or motion blur by itself. Aperture and shutter control the amount and duration of light; ISO changes the brightness using amplification. That is why a higher ISO can brighten a dark frame without changing how the lens or shutter behaves.
Here is a simple example of a one-stop change. If a correct exposure is ISO 100, f/4, 1/125 second, then ISO 200 at f/4 needs 1/250 second to keep the same brightness. Or at ISO 200 and 1/125 second, you could close down to f/5.6 for the same exposure.
Historically, film with higher ISO numbers was chemically more sensitive and needed less light. In digital cameras, the sensor’s sensitivity is fixed, and ISO controls analog or digital gain before the image is saved. For a deeper primer, this guide to what is ISO explains the evolution from film to digital in plain terms.
Picture a simple exposure triangle with Aperture, Shutter Speed, and ISO at each corner. Caption: ISO amplifies the sensor signal; aperture and shutter control real light.
How ISO Affects Exposure
The short answer to how does ISO affect exposure is this: raising ISO makes the recorded image brighter without increasing the light that hits the sensor. You gain stops of brightness through amplification, not through more photons. Lowering ISO does the opposite and preserves more highlight headroom.
Doubling ISO has the same effect on brightness as doubling exposure time or opening the aperture by one stop. ISO 100, f/4, 1/125 is equal in brightness to ISO 200, f/4, 1/250 and also to ISO 200, f/5.6, 1/125. Each path changes brightness by one stop, but only shutter alters motion and only aperture alters depth of field.
Imagine three side-by-side shots of a street scene. The first is ISO 100, f/2.8, 1/250 with shallow background blur. The second is ISO 200, f/4, 1/250 with deeper focus but the same brightness. The third is ISO 200, f/2.8, 1/500 with crisper motion; again, brightness matches because ISO compensated for the shutter change.
This equivalence is powerful in low light. If you need to freeze a dancer at 1/500 second but your meter says 1/125 at ISO 100, you can raise ISO by two stops to ISO 400 and set 1/500 at the same aperture. The dancer is sharp, and exposure stays balanced.
There is an important nuance. ISO changes the output brightness only; it cannot fix highlights that were clipped because too much light hit the sensor. Underexposing and brightening later can also reveal more noise, because you are amplifying both signal and errors. When you are choosing ISO, think in terms of motion or depth goals first, then add just enough ISO to meet them.
To explore more practical pairings of shutter, aperture, and ISO, skim this concise overview of ISO settings and try the sample setups in the next sections. Side-by-side comparisons are a great way to see how ISO trades brightness for flexibility, while aperture and shutter trade looks.
Suggested comparison caption: Same brightness, different look—left image favors shallow depth at ISO 100, middle favors more depth at ISO 200, right freezes motion at ISO 200 with a faster shutter.
How ISO Alters Image Quality: Noise, Dynamic Range, and Detail
ISO affects more than brightness; it changes the texture of your image. Noise is the random variation that shows up as grainy specks or blotchy color, and it comes from two main sources. Shot noise is the randomness of light itself, and read noise is the electrical noise added when the sensor is read out.
When you raise ISO, you amplify both the signal and the noise. Shadows usually suffer first, because weak signals get boosted alongside errors. This is why high-ISO images often show speckled shadows and color flecks even if mids and highlights look fine.
Dynamic range is the span from deep shadows to bright highlights that your camera can hold in one shot. At low ISO, you usually get the widest dynamic range because the camera records more headroom before clipping. At higher ISO, usable dynamic range shrinks, so highlights can clip sooner and shadows compress into a noisy floor.
Think of a histogram as your map. At low ISO, the left side (shadows) sits cleanly above the noise floor, and the right side (highlights) has breathing room before the edge. At high ISO, the base rises and eats into shadow detail, while the right edge gets closer, so there is less space before clipping. The highlight warning, or “blinkies,” helps you see this in real time.
Some modern cameras are close to ISO invariant, meaning shadows pushed in editing can look similar to a higher-ISO shot captured in camera. The catch is that invariance helps mostly in the darker tones, not the highlights. You still cannot pull back detail once highlights have clipped, because no amount of gain will recreate lost information.
High ISO changes the look in several ways. Luminance noise appears like fine grain, while color noise can smear into blotches in flat areas like skies. Noise reduction can smooth this out, but it trades away micro-contrast and fine texture, so fabrics, hair, and foliage may appear softer.
There is a small caveat at very low ISO numbers. Some cameras offer a “pull” ISO, like ISO 50, that is not the true base and can raise read noise slightly while adding highlight headroom. Find your true base ISO by checking your manual or testing, because that setting will usually give the cleanest shadows and widest range.
Picture a pair of 100% crops from the same scene. The ISO 100 crop shows crisp edges and clean color in the shadows, with fine fabric weave visible. The ISO 3200 crop shows more speckle in the shadow, faint color blotches, and slightly softened edges after noise reduction.
Suggested caption: ISO 100 vs ISO 3200—same exposure and white balance, notice shadow noise and the subtle loss of detail after denoising. Alt-text idea: “High ISO sample crop showing luminance and color noise in shadows.”
Here is a histogram comparison to visualize it. At ISO 100, you see a broad hump with room on the highlight side and a clean separation from the left edge. At ISO 3200, the hump narrows, the left side is fuzzier from noise, and the right side presses against the edge sooner, signaling less highlight safety.
Practical ISO Settings: Examples for Common Scenes
Let’s turn this into settings you can use today. In sunny daylight, start at ISO 100–200 and adjust shutter and aperture to taste. Overcast days or daylight action can nudge to ISO 200–400 to maintain faster shutter speeds without sacrificing too much quality.
Indoor rooms and events often land at ISO 400–1600 depending on the light and your aperture. If you are shooting low light without a tripod, such as restaurants or bars, expect ISO 1600–6400 to keep a handholdable shutter. Concerts, indoor sports, and astrophotography can push to ISO 3200–12800 or more depending on your camera’s limits.
For long-exposure landscapes on a tripod, stay at base ISO, typically 50–200. Use a slow shutter for silky water or cloud movement and let the tripod handle the stability. If the scene is bright and you need even longer shutter times, add a neutral-density filter instead of raising ISO.
Try these real-world combinations as starting points. Outdoor sunny portrait: ISO 100, f/5.6, 1/400 for crisp detail with background separation. Indoor family action with no flash: ISO 3200, f/2.8, 1/500 to freeze motion while keeping faces sharp.
Street at dusk with movement: ISO 1600, f/4, 1/250 to balance motion and depth. Handheld museum scene: ISO 3200, f/2, 1/125 to stay steady and avoid blur. Astro on a fixed tripod: ISO 6400, f/1.8, 10–15 seconds at a wide lens, then fine-tune by checking star sharpness and histogram.
Remember the handholding guideline: a shutter near 1 divided by the focal length is a safe floor for many people. If you are using a 50 mm lens, aim near 1/60 second or faster, or turn on stabilization. If the shutter dips below your safe floor, raise ISO to keep the shot sharp.
Use a tripod when you can keep subjects static and prioritize low ISO and high quality. Favor aperture and shutter changes first when you want a creative look, then raise ISO only as needed to hit your motion and depth goals. If you need more creative control in bright light, ND filters help you hold low ISO and slower shutters without overexposure.
Printable cheat-sheet for your bag: Daylight scenes work best at ISO 100–200; cloud cover or motion may need ISO 200–400; indoor ambient sits around ISO 400–1600; dim venues often need ISO 1600–6400; action in the dark or stars can require ISO 3200–12800; tripod landscapes prefer base ISO.
Here is a short mini-tutorial to test your camera’s ISO range. Step 1: Find a high-contrast scene with deep shadows and bright highlights, and place the camera on a tripod. Step 2: Shoot a series from base ISO up to your maximum practical ISO, holding the same aperture and adjusting shutter for consistent brightness.
Step 3: Review 100% crops from shadows, midtones, and highlights, and note where noise and color shifts become distracting for your taste. Step 4: Compare histograms and highlight warnings to see how much headroom you retain at each ISO. Step 5: Set a personal “max usable ISO” for web sharing and a slightly lower max for large prints.
Suggested comparison caption: Trade-offs across the triangle—left image uses ISO 100 and a slow shutter for clean tones, middle uses ISO 400 and faster shutter for less blur, right uses ISO 1600 to freeze action with the same brightness. Alt-text idea: “Same exposure brightness via ISO versus shutter trade-offs, showing motion differences.”
Choosing ISO: Creative Use, Auto ISO, ETTR and Practical Tips
Make decisions in this order: set shutter speed to handle motion or handholding, choose aperture for depth of field, then raise ISO to reach a proper exposure. This order keeps the look of the photo front and center. ISO is the flexible partner that helps you keep the look when light is scarce.
Here is a quick decision flow. You are photographing a child running indoors, and you want crisp motion. Choose 1/500 second for shutter, pick f/2.8 to gather more light, and raise ISO until the meter centers; in many homes, ISO 3200 or 6400 will land you there.
Auto ISO can speed this up. Set a maximum ISO based on your tolerance, such as 6400 for a modern full-frame camera, and set a minimum shutter speed, like 1/125 for casual people photos. For sports or wildlife, pick a faster minimum shutter, and let Auto ISO float to maintain brightness safely.
Here is a practical Auto ISO setup for events. Use manual mode with f/2.8, minimum shutter at 1/160 second, and Auto ISO capped at 6400. Add exposure compensation if faces look too dim or too bright, and watch the highlight warning to protect skin tones.
Expose to the right, or ETTR, means you nudge the histogram toward the right without clipping highlights. This often yields cleaner shadows because you record more signal than noise. A side-by-side shows it clearly: the ETTR frame, pulled down in post, has smoother shadows than the mid-toned frame that was pushed up later.
Watch your histogram and highlight warnings to avoid clipping bright areas like faces, skies, or stage lights. When in doubt, bracket or take a safety frame slightly darker. RAW files are your friend here, because they hold more highlight detail and handle shadow recovery better than JPEGs.
Create personal thresholds for different outputs. For small web images, you may accept ISO 12800 if the moment matters. For large prints, you might prefer stopping at ISO 3200 or adding light instead of pushing ISO further.
There are creative reasons to raise ISO too. A gritty street photo can benefit from deliberate grain at ISO 6400, especially in black and white. High ISO can also help you keep a faster shutter for flash sync in dim spaces, locking in ambient mood while freezing your subject.
If photos look soft, check shutter speed and focus before cranking ISO, because brightness does not fix motion blur. If noise runs high, try lowering ISO, using a tripod, adding light, or using a faster lens. Practice makes the flow natural, and soon the question how does ISO affect exposure will become second nature in the field.
Quick tips you can apply today. Shoot RAW to maximize highlight headroom and better noise reduction later. Turn on histogram and highlight warnings and learn how far right you can go without clipping.
Set Auto ISO with a firm max and a sensible minimum shutter for your subject. Build a small card with your favorite ISO ranges and keep it in your bag. Run the five-step ISO test above to define your personal limits for both web and print.
For more depth on testing and thresholds, bookmark these advanced ISO tips and compare results with your own files. The more you analyze side-by-side frames, the faster you will see the trade-offs. That visual memory helps you pick ISO quickly, even in tricky light.
Suggested ETTR caption: ETTR vs standard exposure—both show intact highlights, but the ETTR frame has cleaner shadows when normalized. Alt-text idea: “Expose to the right example showing smoother shadows after pulling exposure down.” Remember, how does ISO affect exposure is really about balancing creative intent with technical limits, and using ISO as the flexible lever to hold the look you want.
What People Ask Most
How does ISO affect exposure?
ISO controls your camera’s sensitivity to light, so increasing ISO makes the image brighter. Higher ISO can also add visible grain or noise to the photo.
When should I increase ISO to improve exposure?
Raise ISO in low light or when you need a faster shutter speed but can’t open the aperture more. It helps get a usable exposure without blur from camera shake or subject movement.
Will increasing ISO change depth of field or motion blur?
ISO itself doesn’t change depth of field, but boosting ISO lets you use a faster shutter to reduce motion blur or a smaller aperture for more depth of field. It gives flexibility to control shutter and aperture settings.
Does higher ISO always ruin photo quality?
Higher ISO can introduce noise, but modern cameras handle it much better than older ones and careful exposure reduces problems. Often the benefit of a correctly exposed shot outweighs a bit of noise.
Can I use low ISO for sharper images?
Yes, low ISO produces cleaner, less noisy images and is best when you have plenty of light or can use a tripod. It’s the preferred choice for the highest image quality when possible.
How do I balance ISO with shutter speed and aperture for exposure?
Think of ISO as sensitivity—start with the lowest ISO you can and set shutter and aperture for the look you want, then raise ISO if the image is still too dark. This way you control motion blur and depth of field first, and use ISO to fine-tune brightness.
Is Auto ISO a good choice for beginners?
Auto ISO is useful when lighting changes, letting the camera adjust sensitivity while you focus on composition and shutter/aperture. Set a maximum ISO limit to avoid excessive noise.
Final Thoughts on ISO and Exposure
ISO is the silent tool that lets you brighten what your camera records, and even a middle value like 270 will amplify the sensor signal so you can trade exposure for shutter speed or depth of field. That flexibility is the core benefit here — you can freeze action or keep a larger aperture without changing the light. Remember that it’s amplification, not extra light, so thoughtful choices matter.
A realistic caution: push ISO too far and you’ll see more noise, reduced dynamic range, and less fine detail — and you still can’t pull back clipped highlights. If you came in wondering which control to change first, this piece answered it with a clear order (shutter → aperture → ISO), hands-on presets, and a mini-test to find your camera’s sweet spot. That makes it especially useful for handheld, low-light, action, and event shooters who need predictable results.
Use the cheat-sheet, try the side‑by‑side comparisons, and practice the ETTR tip on a few scenes to see gains fast. Keep experimenting and your instincts — and images — will get better every shoot.


0 Comments