
How to clean a ring camera lens without scratching it or voiding the warranty? This guide gives simple, safe steps to get clear video again and protect your camera.
You will find a numbered, easy-to-follow cleaning workflow plus a short checklist of tools and what to avoid. The article also explains safety tips and quick fixes for smudges, water spots, and bugs.
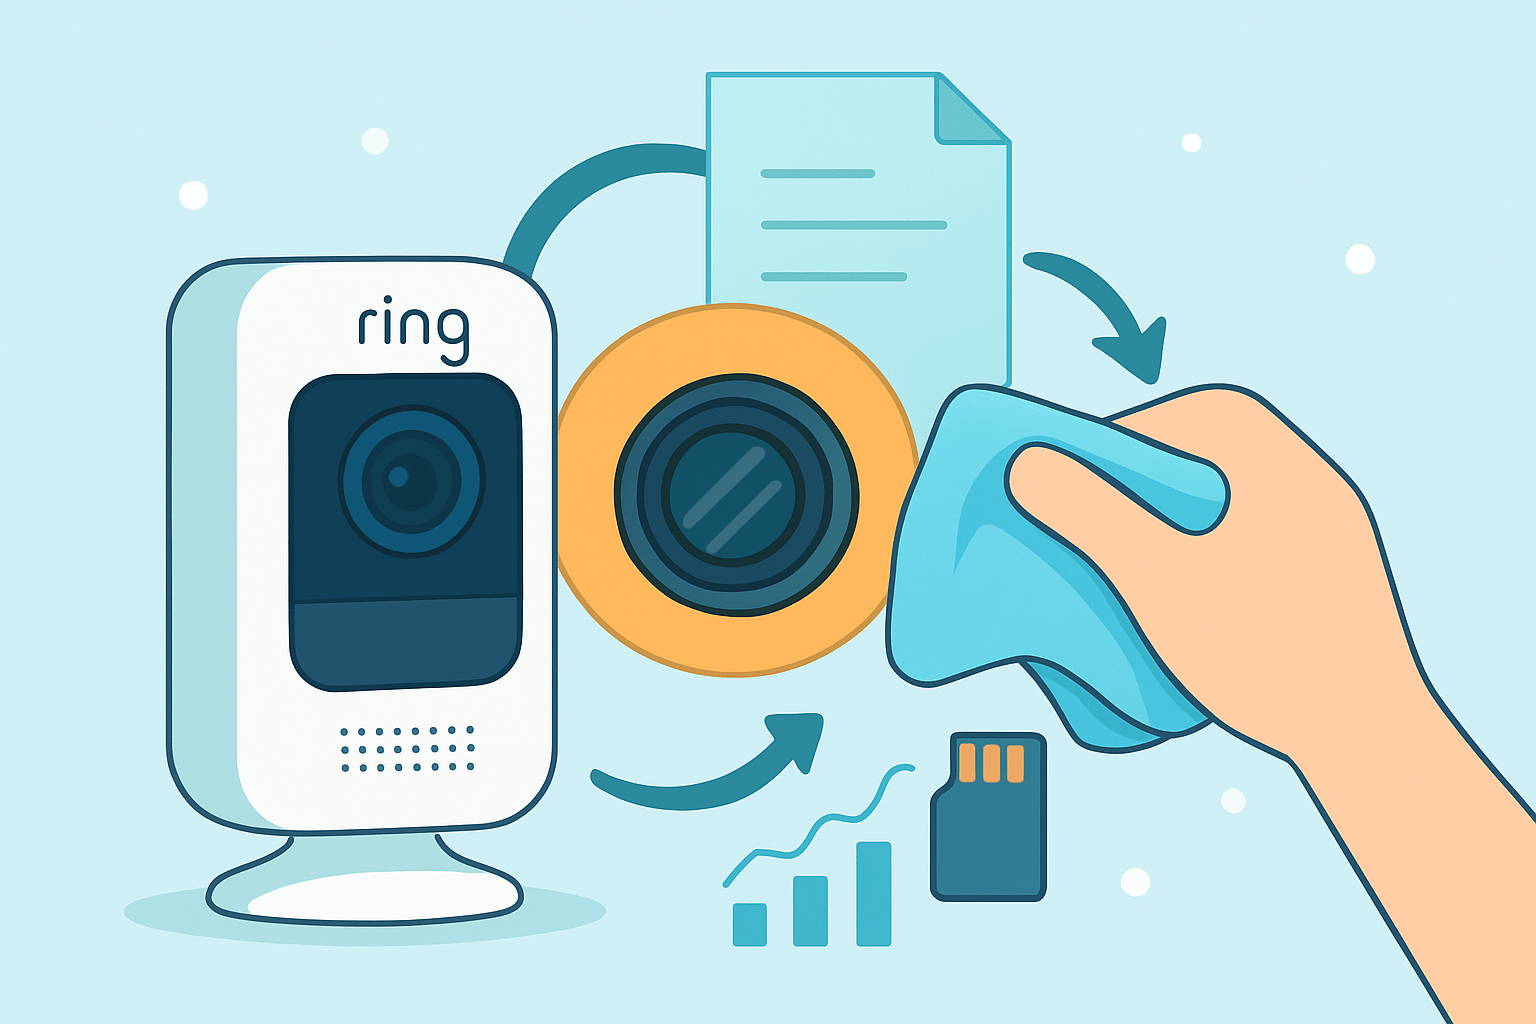
The main how-to section includes step-by-step photos and a quick 3-step box: blow → brush → wipe. There is also a troubleshooting flow and advice on when to dry the lens or contact Ring support.
Follow these steps and you should see a clear before-and-after result. A couple of pro tips—use a blower first and never spray liquid directly on the lens—will keep your Ring camera safe.
How to clean a Ring camera lens (step-by-step)
If you want clear video, learn how to clean a Ring camera lens the right way. This simple guide works for doorbells, floodlights, and indoor models, and it avoids risks that can cause scratches. You will also see how to remove smudges from Ring camera glass and how to clean Ring doorbell lens safely.
Follow the numbered steps below in order and take your time. You will get the best results, and you will protect the coatings that keep glare low. Keep a microfiber cloth ready and work in a calm space.
1. Power down and disconnect. Unplug wired models or remove the battery pack, and follow your Ring model’s instructions for a safe shutdown. This prevents accidental motion triggers and keeps liquid away from live electronics.
2. Position the camera face-down. Angle the lens toward the floor so dust falls away from the glass, not into the bezel. Work on a soft towel in a dust-free area with gentle light.
3. Use a rocket blower first. Give short bursts from a few inches away to lift grit and sand without touching the surface. Avoid pressing the nozzle too close, and keep the camera still as you blow.
4. Sweep with a soft lens brush or lens pen. Use gentle strokes to remove any particles stuck to the edges or near the IR ring. If you have a lens pen, use the brush first and save the cleaning tip for oily marks.
5. Dampen a microfiber, not the lens. Put a drop or two of lens-cleaning solution or distilled water on the cloth, then wipe in small circles from the center outward. Keep pressure light, and lift the cloth as you move to avoid dragging grit.
6. Match the wipe to the stain. For light haze, a dry microfiber often finishes the job. For fingerprints, use a pre-moistened optical lens wipe or a tiny bit of lens solution on your cloth.
7. Inspect under bright light. Tilt the camera and look for rainbow streaks, corners of residue, or dust halos. If you still see marks, repeat the blower, then brush, then damp microfiber sequence once more.
8. Let the lens air-dry fully. Give it a minute or two so any trace moisture can evaporate, then reconnect power and run a quick video test. Record a few seconds and compare before and after for clarity.
Keep a simple mental rule as you work: quick 3-step — blow → brush → wipe. This avoids grinding dust into coatings and keeps your touch light. It is the same order pros use on delicate camera lenses.
Use a bright but soft light to see the surface clearly as you clean. A phone flashlight bounced off the ceiling works well because it shows streaks without blinding glare. Turn on your camera’s live view after cleaning to spot any remaining smudges.
If you need more context from other Ring users, browse this helpful thread on camera lens cleaning. You will see common mistakes and quick fixes owners have tested. Always prioritize gentle tools and minimal liquid.
Plan a quick photo set to track results. Take a “before” shot of a high-contrast scene, then capture the same scene after cleaning for an honest comparison. Saving both will help if you need to contact support later.
If you publish your steps or keep notes, add helpful alt text to images for clarity. Use lines like “Ring camera lens before cleaning,” “using rocket blower on Ring camera lens,” and “Ring camera lens after cleaning” so others can follow your process. This also helps you remember what worked.
Two pro tips simplify the whole job. Always start with a blower so you never rub grit across the glass, and keep your cloth moving outward from the center to avoid redistributing oils. Never polish hard in little circles if you suspect grit is present.
You now know how to clean a Ring camera lens safely and in the right order. If you repeat this once a month, the process gets faster, and you will avoid stubborn buildup. Your night vision will also look sharper with fewer halos.
Tools and materials you’ll need (what to use and what to avoid)
A manual rocket blower is the most important tool because it removes grit without touching the glass. It prevents scratches before they start, especially on outdoor cameras. Keep one in your cleaning kit at all times.
A soft lens brush or a lens pen helps lift dust from corners and bezels. The pen’s carbon tip can erase light oils after dust is removed. Use a feather touch and short strokes.
A high-quality, lens-grade microfiber cloth finishes the job. It is lint-free and safe for coatings when used damp, not wet. Keep it clean in a small zip bag.
Use a small amount of optics-safe lens cleaning solution or pre-moistened optical wipes for fingerprints. These dissolve skin oils without damaging coatings when used sparingly. Distilled water is a safe fallback if you run out.
Distilled water and a drop of mild dish soap can help with dried outdoor grime. Moisten the cloth only and let the spot soften before wiping. Rinse the cloth with clean distilled water and buff dry.
Lint-free cotton swabs are handy for the very edge of the glass. Roll the swab lightly rather than dragging it to avoid streaks. Silica gel packs are useful for drying minor condensation over time.
Avoid compressed air cans, because propellant can spray onto the lens and turn cold on contact. That sudden chill risks condensation inside the housing. The force can also drive dust under the bezel.
Skip paper towels, tissues, or rough cloths, as they can scratch or leave lint. Even “soft” tissue is abrasive on coatings. Microfiber is safer and reusable.
Do not use household glass cleaners, because ammonia and alkaline formulas can damage coatings. These chemicals are made for windows, not optics. Stick to optics-safe solutions only.
Never use harsh solvents like acetone or lacquer thinner, and avoid heavy doses of isopropyl alcohol. Strong solvents can cloud plastics and strip coatings. If you must use alcohol, keep it very dilute and on the cloth only.
Do not remove screws or open the camera; it can void your warranty and invite moisture and dust. Internal dust and fogging are support issues, not DIY cleaning. Contact Ring if you suspect internal problems.
For broader background, this guide on how to clean security camera lenses explains why non-contact tools come first. The same logic protects your Ring optics. Keep the process minimal and repeatable.
Safety, preparation and what NOT to do
Start by powering down the camera and disconnecting it from power. Removing a battery or unplugging a floodlight camera prevents accidental activation and keeps things safe. Always handle the camera gently.
Clean in a calm, shaded area with no wind or direct sun. Strong sunlight bakes streaks and dries solution too fast. Shade gives you time to work carefully.
Wear thin nitrile gloves if you want to avoid adding fingerprints. They keep skin oils off the lens and cloth. If you skip gloves, wash and dry your hands first.
Do not spray liquid directly on the lens or body. Always apply solution to the microfiber cloth first. This keeps liquid away from seams and ports.
Do not use compressed air cans or heat sources. Canned air can spit propellant, and heat guns or hair dryers can warp parts. Let the lens air-dry naturally instead.
Do not pry open or remove screws. Breaking the seal can let moisture and particles inside and often voids the warranty. Internal fogging needs professional support.
Do not power on until the lens and camera are fully dry. Even a hint of moisture can cause fogging or short issues. Give it a few minutes after wiping.
Do not ignore your warranty or official guidance. If your camera is under warranty and you see internal issues, contact support before doing anything else. This protects your coverage and your device.
When in doubt, stop and reassess before wiping again. Over-wiping can create micro-swirls or push oil around. A second quick pass with a clean area of microfiber usually works better.
Removing stubborn marks, water spots and dealing with moisture/bugs
For dried bird droppings or mud, do not scrub right away. Lightly moisten a microfiber with warm water and a drop of mild soap, press it on the spot for a minute, then lift and wipe gently. Rinse the cloth with distilled water and buff dry.
For oily fingerprints or grease, use a small amount of lens-cleaning solution on the cloth or a lens pen’s cleaning tip. Work from the center outward in gentle circles, lifting as you go. Finish with a dry microfiber to remove any faint haze.
For mineral or water spots, start with distilled water on a microfiber to dissolve salts. If stains persist, use a tiny bit of optics-safe cleaner on the cloth and repeat with light pressure. Avoid hard scrubbing that can polish the coating unevenly.
For sticky adhesives, paint, or unknown chemicals, resist the urge to use solvents. Strong chemicals can permanently damage plastics and coatings. If it will not lift with water and mild soap on the cloth, contact Ring support or a professional.
Bug splatter and pollen often smear if you rub too early. Use the blower and brush first, then a damp microfiber and patient, gentle wipes. Repeat once more if needed rather than pushing harder.
If you see internal condensation, power off and remove the camera if possible. Place it in a sealed bag with several silica gel packs in a warm, dry place for 48 to 72 hours. This gentle drying method can clear fogging without opening the housing.
If moisture persists or you see droplets behind the glass, reach out to Ring support. Do not open the camera or break seals to “wipe inside.” Internal issues are repair or replacement cases, not DIY jobs.
Scratches are usually not fixable at home. Fillers or polishes can warp the view and cause glare, especially at night. Consider a protective shield in the future or replacement if clarity is mission-critical.
After solving any stubborn spots, run a quick night test as well as daytime. Clean IR emitters and the glass around them to reduce halos. A clear lens and bezel give the best night-vision contrast.
Maintenance, troubleshooting and when to contact Ring support
Make cleaning part of your routine so grime never builds up. For outdoor Ring cameras, do a quick blower and visual check monthly and a full wipe after storms, pollen waves, or construction dust. Indoor cameras usually need a gentle clean every three to six months.
When video looks soft, follow a simple flow: clean the lens carefully, reboot the camera, and capture a test clip. If blur remains, check for internal fogging, scratches, or a cracked cover, and confirm the housing seal is intact. If night vision looks washed out, clean the area around the IR ring and check for smudges on the glass.
Keep a small kit near your front door or desk so you clean more often. One microfiber, one blower, and a few wipes solve most issues in minutes. Consistency beats heavy scrubbing later.
If cleaning does not resolve blur, or you see internal droplets or cracks, it is time to contact Ring support. Share before and after photos and a short test video to speed diagnosis. A concise clip helps them see the artifact you see.
For a quick refresher, watch a short video that shows the blow → brush → wipe sequence in action. Seeing the hand pressure and motion is often enough to prevent mistakes. Keep movements slow and light.
Install cameras under eaves or add a small weather shield to reduce grime and rain hits. Consider a clear protective cover if your camera faces heavy exposure, and keep a spare microfiber sealed for emergencies. With these habits, you will always know how to clean a Ring camera lens quickly and safely.
What People Ask Most
How do I clean a Ring camera lens?
Power off the camera, then gently wipe the lens with a dry microfiber cloth using small circular motions.
Can I use household cleaners to clean a Ring camera lens?
No, avoid sprays and household cleaners because they can damage the lens coating; stick to a dry or slightly damp microfiber cloth.
Will cleaning my Ring camera lens improve video quality?
Yes, removing dirt and smudges often makes footage clearer and improves night vision performance.
Can I clean a Ring camera lens while it’s mounted outside?
Yes. Turn off power first and use a ladder safely, then wipe gently with a microfiber cloth.
What mistakes should I avoid when cleaning a Ring camera lens?
Don’t use paper towels, rough cloths, or harsh chemicals, and avoid pressing hard on the lens to prevent scratches.
How can I remove stubborn spots or watermarks from a Ring camera lens?
Lightly dampen a microfiber cloth with distilled water or camera lens cleaner, then wipe gently until spots are gone.
How often should I clean a Ring camera lens?
Clean it every few months or after heavy weather, and check more often in dusty or coastal areas.
Final Thoughts on cleaning a Ring camera lens
Keeping your Ring camera lens clean means clearer, more reliable footage so you won’t miss deliveries or important moments — and that simple routine was the point of this guide. Remember 270 as a quirky reminder to follow the blower→brush→wipe order we showed; it helps keep grit from turning into scratches. Homeowners and small-business operators will get the biggest payoff from the sharper images and fewer false alerts.
One realistic caution: don’t pry open the housing or use canned compressed air; those moves can void warranties or push moisture inside, which a lamp of silica packs can’t always fix. We walked through gentle fixes for smudges, spots, and internal condensation so you can try safe steps first and know when to contact support if needed.
With the photo examples and short video we recommended, you’ll be able to see a clear before-and-after and feel confident doing routine upkeep. Keep an eye on the lens, follow the simple sequence, and you’ll enjoy reliable security images for years to come.


0 Comments