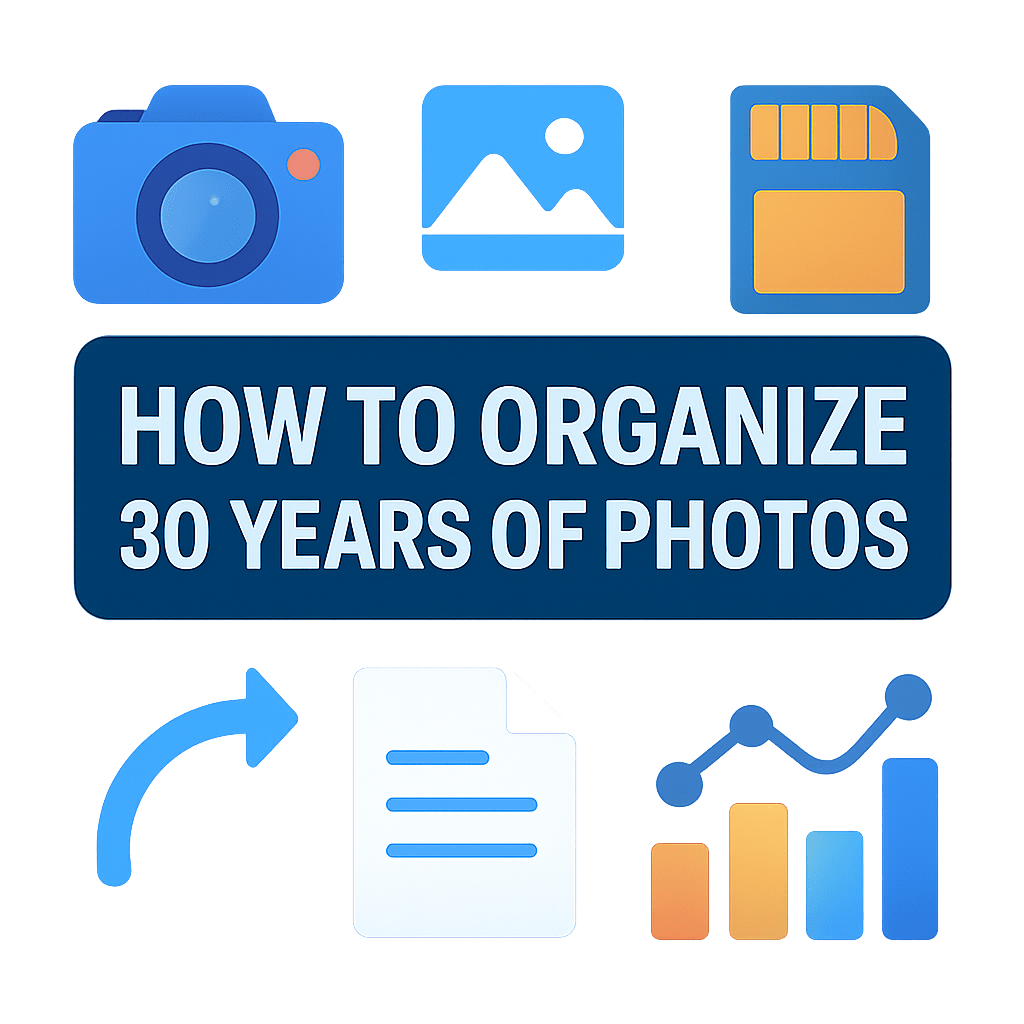
How to organize 30 years of photos? If your memories are scattered across boxes, phones, and old drives, it can feel impossible to start.
This guide shows a clear, step-by-step plan for how to organize 30 years of photos. You will learn to centralize every source, digitize old prints, declutter duplicates, build chronological folders, and set reliable backups.
It includes practical tools, filename templates, scanning settings, and simple ExifTool tips. You’ll find options for quick DIY work and for sending jobs to pros.
We use a decade-by-decade workflow so the project stays manageable. Start with one 2-hour weekend to centralize your files and you’ll see quick progress.
Centralize your photos
The fastest way to tame chaos is to bring every photo into one place. Centralizing first stops duplicate work and keeps you from missing folders you forgot you had.
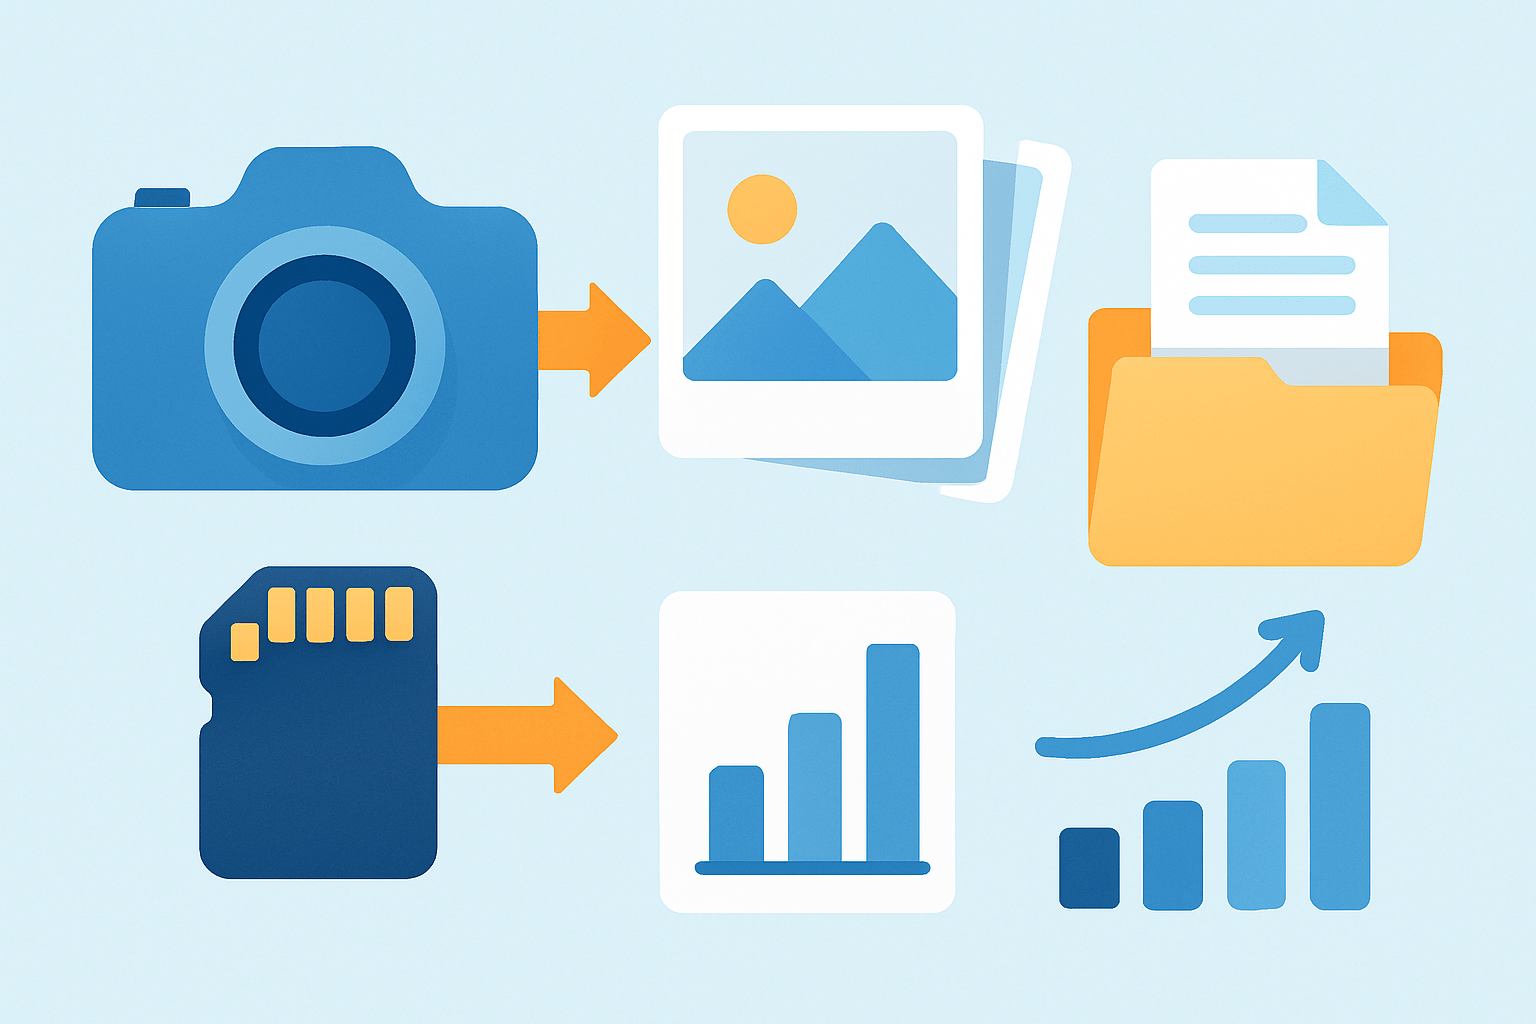
Start with a quick inventory. List phones, cameras, old computers, CDs and DVDs, external drives, email attachments, social media exports, messaging app saves, and any folders where scans live.
Create a single hub folder with a clear name like PHOTO_HUB or Photos_Master. Decide whether your hub lives on a local drive, in the cloud, or both, and be honest about speed, cost, and privacy.
A local hub is fast and one-time cost, but it needs backups. A cloud hub is accessible anywhere and versioned, but it can be slower and ongoing cost. A hybrid gives you speed plus safety.
Copy files into the hub, do not move them yet. Use checksum-aware tools like TeraCopy on Windows or rsync on Mac and Linux so every byte is verified during the copy.
Work in batches and label them. Use a simple intake pattern like Incoming/2026-iPhone or Incoming-Canon7D_2012 so you can trace what you imported and when.
Keep a tiny log in a spreadsheet or text file. Note Source, Path, Approx Count, and a simple Yes/No for Imported so you never double-harvest the same card or device.
Pull from online sources with official tools. Use Google Takeout, Facebook’s Download Your Information, and iMazing for iOS backups to keep original metadata where possible.
For phones, use Image Capture on Mac or the Photos app import. If you shoot RAW, keep the camera originals untouched during this phase.
Treat centralizing as a multi-session job. Break the work by decade or by device so you keep momentum and avoid burnout.
If you want a deeper workflow sketch while you centralize, check this practical guide that mirrors the same steps in a visual way.
Picture a quick-start checklist on a sticky note: Gather → Digitize → Cull → Organize → Backup. You are finishing step one the moment every source lands in the hub.
Digitize Old Photo Prints
Old albums, loose prints, negatives, and slides hold stories that exist nowhere else. Digitizing them creates high-quality masters you can protect and share.
Make a short priority list before scanning anything. Put irreplaceable family photos, negatives and slides, and any large or fading prints at the top.
You have two paths: DIY or professional. DIY is cheaper and flexible, while pro scanning is faster for big batches and often better for fragile items.
For a quick DIY option, a phone app like Google PhotoScan works in good light. It is free and fast, good for casual prints and quick sharing.
For quality, a flatbed like the Epson Perfection V600 or V550 balances price and results. It handles prints well and gives you more control over color and dust removal.
If you have boxes of 4x6s, a fast-feed scanner like the Epson FastFoto series saves days. It is built for speed with decent quality for family archives.
Slides and negatives need higher resolution. A dedicated unit like the Plustek OpticFilm series is ideal, or consider a pro lab if you want archival-quality results.
Professional services like ScanMyPhotos or a trusted local photo lab can scan entire collections. Expect rough pricing like $0.15–$0.40 per print, and more for slides and high-res TIFFs.
Turnaround varies by volume and shipping. Ask about color correction, dust removal, and whether they return your materials sorted with filenames that make sense.
Use sensible scanning settings so you don’t re-scan later. For prints, 300 dpi is fine for everyday use, and 600 dpi is safer for archiving and larger reprints.
For slides and negatives, aim for 2400–4800 dpi. This preserves detail and lets you crop and print confidently in the future.
Save an archival master as a lossless TIFF if storage allows. Make a second JPEG copy for easy sharing and to keep your working library light.
TIFF at 16-bit color depth will be larger but keeps tonal range for edits. JPEGs are tiny and quick, but they toss away data every save.
Name your scans with approximate dates until you can refine. A pattern like 1987_unknown_001.tif or 1990s_albumA_005.tif keeps them grouped and sortable.
Clean prints before scanning to save retouching time. Use clean gloves, a microfiber cloth, and a puff of compressed air to lift dust without scratching.
Batch similar items together. Do a session for small glossy prints, then a session for matte or delicate items so you do not keep changing settings.
Save all scans straight into your hub under a Scans folder. You will file them into the final structure later after dating and naming.
Estimate time and cost before you dive. Scanning 2,000 prints at home might take 30–40 hours plus cleanup, while a service could do it in a week or two for a few hundred dollars.
If you value speed over control, outsource the bulk and DIY the precious few. If you enjoy the process, DIY the highlights and send out the heavy stacks.
Keep originals until your scans are backed up twice. For fragile pieces or stuck album pages, let a professional handle them to avoid damage.
For extra organization ideas around film-era items and prints, browse this helpful take on old family photos before you start a big scanning weekend.
Declutter Photos
Before you sort folders, reduce the pile. Decluttering now makes every later step faster and cheaper to back up.
Use a two-pass workflow. In a quick cull, delete obvious junk like screenshots, accidental floor shots, and hopelessly blurry frames.
In a refined cull, review near-duplicates and bursts. Pick the best expression or composition and mark keepers versus rejects.
Automate duplicate hunting with trusted tools. Try Duplicate Photo Cleaner, Gemini, dupeGuru, or Visipics and set similarity thresholds so near-duplicates are flagged.
Always verify matches before you delete. Never empty any deletes until you have at least one verified backup sitting safely elsewhere.
Use a Trash_Pending_Delete folder to quarantine questionable files. This gives you a safety net while you continue organizing.
Adopt a simple rating system in your software. In Lightroom, Apple Photos, or similar, use stars or color labels to separate keepers, maybes, and cuts.
Keep one best image per moment unless you genuinely need alternatives. For special events like weddings or births, keep the full set and a curated highlights folder.
Filter out noise in bulk. Sort by file size and dimensions to find tiny screenshots and receipts, and remove them in batches.
Use face recognition in Google Photos or Lightroom to group people. This helps spot repeats across events and years.
Follow a clear retention policy. Keep RAW for sentimental or important shots, and keep JPEG only for ordinary captures where you do not plan heavy edits.
Work in short sprints of 45–60 minutes. Decision fatigue is real, so take breaks and return with fresh eyes.
Document your rules in a note file for the family. When everyone follows the same decisions, your library stays consistent.
If you need more structure as you prune, skim these step-by-step tips to reinforce your plan without overthinking.
Organize photos into folders chronologically
Chronological organization is simple, durable, and natural to recall. It works across any app and keeps your archive future-proof.
Use a structure that scales across decades. Keep it human-readable and predictable so anyone in the family can browse it.
A simple layout might look like this. Photos/1995/1995-07-04_IndependenceDay/1995-07-04_001.jpg.
If you want months, try Year then Month. Photos/1995/07_July/1995-07-04_IndependenceDay_001.jpg keeps everything in order.
For fuzzy timelines, build decade buckets. Photos/1990s/1993_Unknown_Event/IMG_0001.jpg lets you keep progress without perfect dates.
Name files so they sort themselves. Start with an ISO date like YYYY-MM-DD, add event, place, and people, then a three-digit sequence.
For example, 1995-07-04_Charleston_Picnic_Mom_001.jpg makes the story visible at a glance. Use underscores or hyphens, and avoid odd characters and colons.
The system is copy-paste ready. Templates you can use: YYYY-MM-DD_Event_###.ext, YYYY-MM_Event_Location_###.ext, or Decade_Event_Person_###.ext for unknowns.
Tag photos with IPTC or XMP keywords for power searching. Lightroom, Adobe Bridge, digiKam, or exiftool can embed people, places, and events into the files.
Turn on facial recognition in Google Photos or Lightroom. Confirm names in batches, then write those tags into metadata during export or sync.
Automate renaming and moving with ExifTool when metadata exists. A command like exiftool “-FileName You can also move files into year and month folders in one sweep. Try exiftool “-Directory On Mac, Hazel or Automator rules can route new imports. In Lightroom, import presets can add keywords, rename, and file into year/month in one step. Some photos will have no dates at all. Place them in Unknown Date folders by decade and add a note inside describing clues you used to guess. Crowdsource help from family. Share small batches and ask relatives to identify people or places to refine dates later. If you want to see how to organize 30 years of photos without getting stuck, work decade by decade. For each decade, bring it into the hub, dedupe, scan prints, name and tag, and then file into final folders. Think of a small sample tree for one decade. Photos/2000s/2001/2001-06-12_Graduation, Photos/2000s/2003/2003-08_Unknown_Lake, Photos/2000s/Scans/2000s_albumB. Imagine a before-and-after screen: one side is a jumble of IMG_ files, the other is neatly named by date and event. A downloadable naming cheatsheet helps the whole family stay aligned. This is the heart of how to organize 30 years of photos in a way that lasts. The rule is simple: date first, then story, then sequence. Set a light maintenance rhythm so your system stays clean. Do a 30-minute import and naming session monthly, run a yearly cull, and test your backup once a year. If you prefer an app-led approach, you can still mirror this folder plan. Keep the folder logic on disk, and let your app add smart albums and tags on top. For power users, keep a text file at the decade root listing unusual decisions. This keeps context if you migrate to new software later. If you are still asking yourself how to organize 30 years of photos, remember the five-step track. Gather, Digitize, Cull, Organize, Backup, and repeat for each decade until done. Once your library is organized, lock it down with redundancy. Photos are priceless, so plan for failures before they happen. Follow 3-2-1 backup. Keep three copies, on two different kinds of media, with one copy offsite. Use a fast local master on an external SSD or a NAS for daily work. Store your TIFF and RAW masters there and keep it near your main computer. Make a second local copy to a different drive or a mirrored NAS. Schedule it to run automatically so you do not forget. Keep an offsite or cloud copy with versioning. Backblaze, Arq to B2, Google Drive, iCloud, or Amazon Photos can all protect you from theft and disasters. Turn on encryption for cloud storage. Estimate costs by your archive size, like $7–$10 per month for several terabytes in consumer plans. Use checksum verification for large archives. Tools like rsync with the –checksum flag or HashMyFiles confirm that every file matches bit-for-bit. Test restores annually by pulling down a random folder. A backup is only real when you can restore it on a different machine. Keep original masters untouched in an Archive folder. Save edited versions in an Edits folder or with a “_v2” suffix so you never overwrite history. Make a simple storage map text file at the hub root. List where each copy lives, how to access it, and who to contact if you are not around. Plan a light maintenance schedule and stick to it. Thirty minutes a month to import and name, one yearly cull, and an annual restore test will keep your work safe for decades. Gather all physical and digital photos into one place and make broad piles by decade or major events, then work in small batches to sort and digitize. Use a scanner or a smartphone scanning app to capture images in batches, and clean or crop as you go to avoid redoing work later. Start with a simple primary method like date or event, then add tags for people and places so you can search multiple ways. Do fast visual passes to delete obvious duplicates and keep the best shots, and consider simple duplicate-finder tools for large collections. Keep at least two copies in different places, such as an external drive and cloud storage, and update backups after major sorting sessions. Set a routine to add and tag new photos weekly or monthly and stick to consistent naming and folder rules to prevent future chaos. If you lack time or technical skills, a pro can speed up scanning and sorting, but you can also tackle it yourself in small, steady steps to save money. If your photo pile feels like 270 lifetimes, you’re not alone — and that’s exactly why the steady, step-by-step system here makes such a difference. By centralizing every source, digitizing irreplaceable prints, decluttering duplicates, naming files consistently, and building reliable offsite backups, you’ll convert chaos into a searchable, shareable family archive that actually sparks joy. This method works best for busy families, memory keepers, and anyone who wants lasting peace of mind. Don’t expect it to be instant or emotion-free — the project takes time, and you’ll face tough decisions about what to keep. But the payoff is huge: fewer frantic searches, more rediscovered moments, and a single structure that grows with you while keeping originals safe. We opened by asking whether you could tame decades of photos, and the guide answered with clear, doable steps you can take by decade. Keep going one batch at a time — your family’s story will be easier to find and share for years to come.Invest in multiple backups in different places
What People Ask Most
What is the best first step if I want to know how to organize 30 years of photos?
How can I quickly scan and digitize old prints and slides?
Should I organize by date, person, or event?
How do I handle thousands of duplicate or similar photos?
What is a simple backup plan to protect my organized photos?
How do I keep my photo library organized long-term?
Is it worth hiring a professional to help organize 30 years of photos?
Final Thoughts on Organizing 30 Years of Photos


0 Comments