
How to organize photos in 2026 so you can find your best shots in seconds? This guide shows simple steps anyone can follow.
You’ll learn the full process: upload, sort, rename, cull, and back up. I explain when to use folders, albums, or tags and give copyable folder and rename templates.
Whether you use a phone app, Lightroom, or a pro workflow, I give tailored advice for casual users, hobbyists, and professionals. You also get quick tool picks, culling tricks, and a 3‑2‑1 backup plan.
Follow the steps and spend less time searching and more time enjoying photos. Read on for a clear checklist and downloadable templates to start organizing today.
How to organize your photos
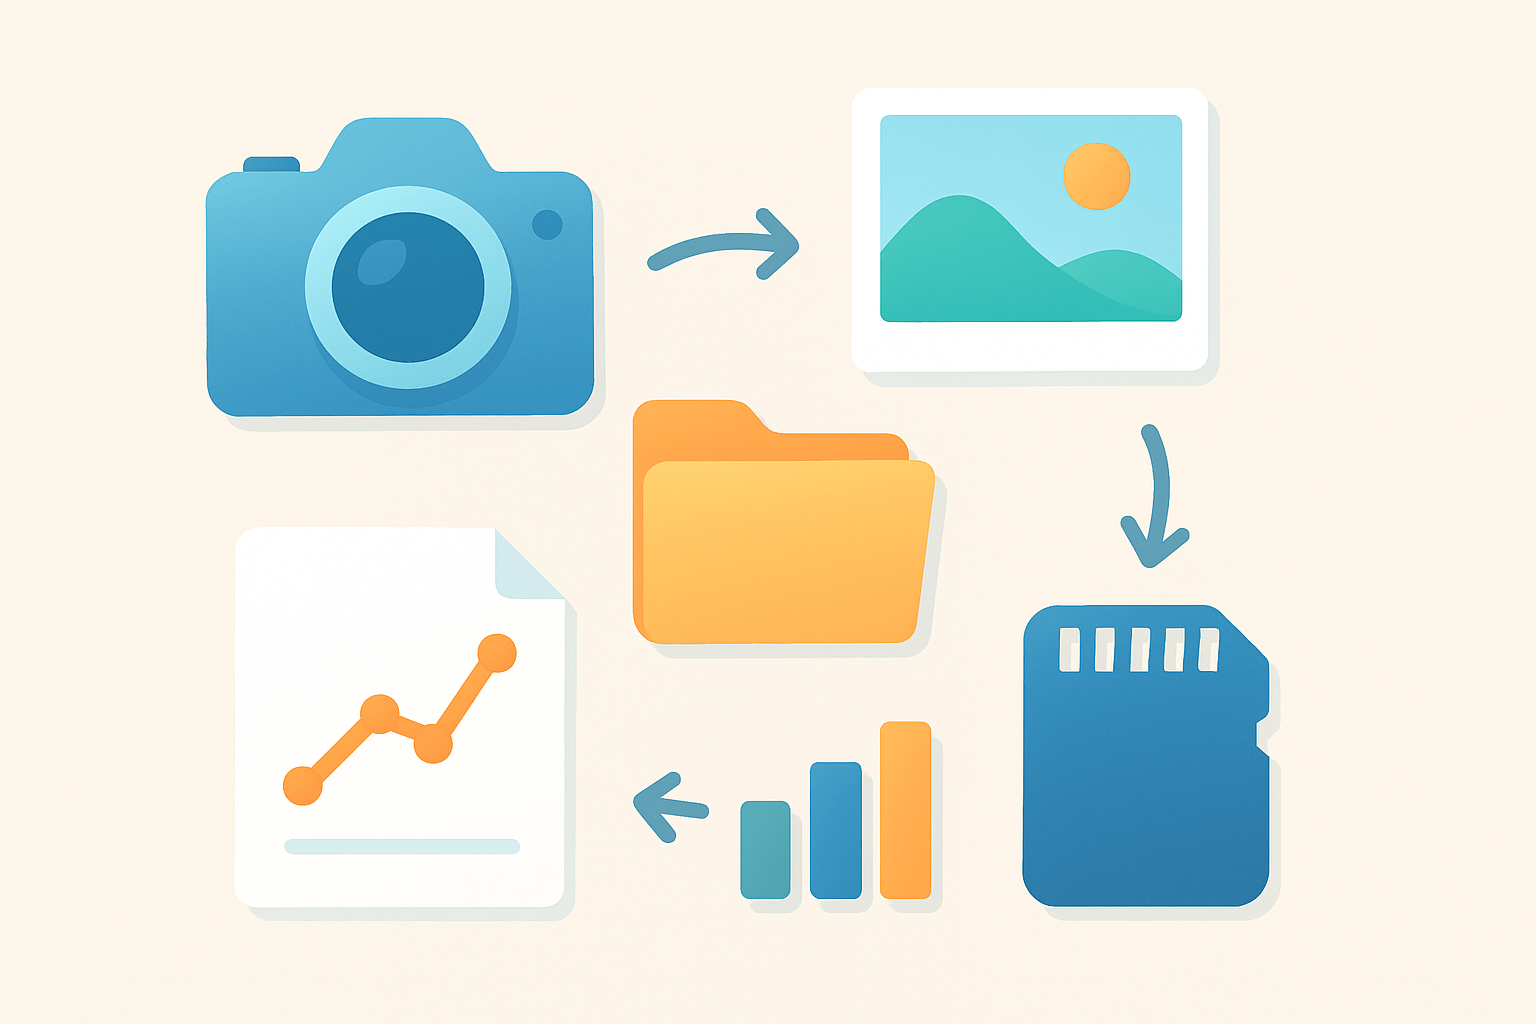
If you want a fast answer for how to organize photos, pick one main structure, add consistent names and tags, and back everything up. The full flow is simple: upload, sort, rename, cull, then back up.
The core rule is to choose one primary structure for your masters and stick with it. Most people do best with a chronological folder tree, then use virtual albums and keywords for themes, people, and projects.
If you are a casual smartphone user, go cloud-first with Google Photos or Apple Photos and enable automatic backup. Let the app do face recognition and auto-tagging, then add simple albums for trips and holidays.
If this is you, keep editing inside the same app so your versions travel with the image. Turn on “optimize storage” on the phone, but make sure the cloud is the full-resolution master.
If you are a hobbyist, keep a clean Masters folder on your computer or NAS and manage it with Lightroom. Use a catalog for ratings, keywords, and smart collections while keeping your files in a tidy folder tree.
If you are a professional, enforce strict folder naming, version control, and multi-tier backups. Keep RAW masters, sidecars, and exports separated, and document your workflow so a second shooter can follow it.
Folder-based organization is transparent and future-proof because your structure works in any app. The downside is less flexibility for people and theme views, and it can invite duplicates if copied loosely.
Catalog or collection-based organization is fast to search and easy to filter by lens, faces, or client. The tradeoff is you must move/rename inside the catalog to avoid broken links, and you depend on the app’s database.
Follow a few golden rules and you will stay sane. Be consistent with names and structure, keep one canonical master library, add metadata, cull regularly, and back up immediately.
This guide shows each step in order: upload, sort, rename, cull, and then secure your backups. For a deeper dive into system design and habits, skim mastering photo management after you set up the basics here.
Step 1: Upload the Images
A consistent import is the foundation because dates, metadata, and uniqueness start here. A sloppy import is how photos go missing or get duplicated later.
Create a single staging folder called Incoming or To Sort and import everything into it first. This puts every new image in one place before you move it into your master tree.
From a camera SD card, use a card reader and import through Lightroom, Photo Mechanic, or the system tool like Image Capture. Avoid dragging from the desktop because it can add extra copies and lose metadata.
From a phone, let Google Photos or Apple Photos back up automatically, or do a wired transfer to your computer for full-resolution files. Check that “original quality” is selected so your masters are not compressed.
For printed photos, batch scan into the Incoming folder at 300–600 DPI in color, and save as TIFF or high-quality JPEG. Use a SCN prefix so they are easy to spot later when you rename.
On import, preserve capture date and time, add your copyright and contact info to metadata, and write XMP if your software supports it. Convert HEIC to JPEG if your tools don’t read HEIC reliably, or keep HEIC if your ecosystem handles it well.
De-duplicate at import so you never fight copies later. Tools like PhotoSweeper or a Photo Mechanic ingest can weed out exact duplicates quickly.
If your camera clock was wrong, fix time zone or timestamps during import so sorting works across multiple cameras. In Lightroom, use Edit Capture Time before you move or rename anything.
Back up the Incoming folder automatically as soon as you finish importing so nothing is at risk. A simple script or scheduled sync to an external drive and cloud is enough, and this primer on storing and archiving images will help you plan the hardware.
Decide on your master file format early. Keep RAW for editing latitude, convert to DNG if you want smaller files and built-in sidecars, and use TIFF for high-end print masters and JPEG sRGB for web sharing.
Plan storage with rough sizes so you are not surprised. A 20 MP RAW is often 20–30 MB, a 45 MP RAW can be 50–80 MB, and a TIFF print file can exceed 100 MB, so a single busy year can fill a 2–4 TB drive quickly.
Step 2: Sort Your Files into Folders, Albums, or Collections
Your physical folders are the permanent home for masters, while virtual albums or collections are flexible views inside software. Keep the physical structure simple and let albums carry the fancy sorting.
Template A — Chronological is the safest default because every image has a date. Use a path like /Photos/Masters/2026/2026-07-04_BeachDay and your library stays clear for years.
Template B — Event-first works well for client work and weddings. Try /Photos/Masters/Weddings/2026_SmithWedding/RAW and /Photos/Masters/Weddings/2026_SmithWedding/Exports so deliverables are easy to find.
Template C — Category-focused helps for stock or business libraries. A clean pattern is /Photos/Travel/Japan_2026/Day-01 and repeat for each day or city.
Name folders with YYYY or YYYY-MM-DD first, use underscores or hyphens instead of spaces, and keep names short but descriptive. A name like 2026-03-14_ParisSunset is better than “Paris sunset photos from the cool trip”.
Use one folder per event when the shoot is a clear session like 2026-06-01_EmilyGraduation. Use month-based folders only if you shoot casually and want fewer, larger buckets.
Keep your top-level layout simple, such as Masters, Working, and Exports. Masters hold originals, Working holds edits and PSDs, and Exports holds deliverables and social-ready JPEGs.
Virtual organization is where you track people, clients, campaigns, and themes with zero duplication. Build albums like “Family 2026” or smart collections like “Lens: 35mm AND Rating >= 4” and let AI face recognition help, but review results for mis-tags.
Be mindful of privacy when using faces and locations. Disable location sharing in exports if needed, and keep client albums private unless you have permission.
Move files in bulk only inside your catalog so links stay intact. In Lightroom, use the Folders panel to move or rename; moving in the operating system can make the catalog lose track.
Small libraries can live in one folder with no subfolders if that keeps you consistent. Start simple and expand only when it hurts.
If you must reorganize later, let the app do it and then verify missing file warnings before you close. If something breaks, relink by pointing the catalog to the topmost moved folder.
If you rely on cloud galleries, compare the major services and their strengths for photo storage and sharing. Choose one home and avoid scattering albums across many platforms.
Step 3: Renaming your Photos
Consistent filenames make your library searchable and sortable even outside any app. A unique, date-led name also prevents clashes when you merge shoots from multiple cameras.
Rename during import or right after sorting while files still live in the Incoming or fresh event folder. Finish renaming before your final backup so your backups never need to track both old and new names.
A reliable pattern is YYYYMMDD_Event_Seq, for example 20250704_Beach_001.CR2. This keeps date, context, and uniqueness in a short, portable line.
Another good option is YYYY-MM-DD_Location_CamID_0001, like 2026-12-24_London_A7R_0001.ARW. CamID saves headaches when two shooters cover the same event.
For scanned prints, use SCN_YYYYMMDD_001 to mark them as scans, such as SCN_19980615_003.TIF. This separates analog sources from digital captures at a glance.
Zero-pad sequence numbers to three or four digits, avoid spaces, and keep the extension intact. Keep a CSV mapping or embed the original filename in metadata if you want an audit trail.
Most tools can rename safely, including Lightroom on import, Adobe Bridge, macOS or Windows batch rename, and A Better Finder Rename. Power users can use ExifTool to pull CreateDate into filenames with a single command.
Use metadata for people, places, keywords, and copyright, and keep filenames for date and ID. This stops filenames from getting long and fragile.
If you use a catalog, always rename inside that catalog so links remain solid. Renaming in Finder or Explorer can break previews, edits, and album memberships.
On teams or multi-camera shoots, add a photographer or camera code to the filename. This makes syncing and sorting sets effortless later.
Step 4: Rate and Cull Your Files
Culling is the art of choosing the keepers and letting the rest go. It saves editing time, reduces storage, and makes sharing easier.
Start with a fast pass and flag obvious rejects and picks in one or two minutes per event. In Lightroom, press X for reject and P for pick to move quickly.
Do a second pass to add stars or colors so you can filter later. Use 1–5 stars for quality or 6–9 for color labels, then mark maybes with a middle value you can review again.
Finish with a final pass to confirm your selects for editing and delivery. Put those images into a “Selects” or “To Edit” album so your editing queue is clear.
Speed up culling with tools made for it, like Photo Mechanic, FastRawViewer, Aftershoot, or Narrative Select. Many can auto-detect blinks, blurs, and duplicates so you can focus on the best frames.
A simple rule is to keep one to three images per scene unless it is a critical sequence. Delete exact duplicates and clear misses, and keep RAW masters of your final selects.
Be safe when deleting and move rejects to a “Trash for 30 days” folder first. Confirm your backups exist before emptying it.
After culling, place winners into a Favorites or Final Selects album and create an Exports folder per event. For web, export sRGB JPEG around 2048–3000 px on the long edge; for print, use TIFF or high-quality JPEG at the required size.
Now lock it down with the 3-2-1 backup rule: three copies, two different media, one offsite. A simple setup is your main drive, a nightly clone to an external drive, and a cloud backup for offsite safety.
Set a maintenance rhythm so the library stays simple. Do a weekly quick import and sort, a monthly cull and rename sweep, and a yearly archive with a test restore.
Use AI smartly for faces, scenes, and auto-albums, but review for errors and think about privacy. Strip GPS from public exports if needed and always embed your copyright and contact metadata.
If you want a printable cheat sheet, write down your folder template, rename pattern, culling keys, and backup checklist and keep it on your desk. With a written routine, how to organize photos turns into a habit you can finish in minutes each week.
Recap the flow one last time and keep it consistent: upload into Incoming, sort into your master tree, rename for uniqueness, cull fast, and back up immediately. Follow these steps and how to organize photos will stay easy no matter how big your library grows.
What People Ask Most
What is the easiest first step on how to organize photos?
Gather all your images into one place and make broad folders by date or event to get started quickly.
Should I delete duplicate or blurry pictures when I organize photos?
Yes, removing duplicates and blurry shots frees up space and makes it easier to find the best images.
How often should I organize photos to avoid a big mess?
Organize monthly or after major events so your collection stays tidy and easy to search.
Can I organize photos across my phone and computer together?
Yes, using a cloud service or consistent folder and naming systems keeps photos synced and accessible on all devices.
What are common mistakes people make when learning how to organize photos?
Common mistakes include inconsistent naming, not backing up files, and waiting too long to sort new pictures.
How do tags and albums help when you organize photos?
Tags and albums let you quickly find people, places, or events without moving files, making search and sharing faster.
Is it worth using photo management software to organize photos?
Yes, software can automate sorting, help remove duplicates, and simplify backing up your collection.
Final Thoughts on How to organize your photos
This guide turns your photo pile into a tidy, searchable system you’ll actually use — treat it like a 270-second setup you can start today. We laid out one core principle (pick a primary structure and support it with virtual albums and metadata), offered clear rename templates, a fast culling rhythm, and a simple 3‑2‑1 backup approach so the opening question—how do I get this under control?—has a straightforward, repeatable answer. Whether you’re a casual phone snapper, a hands‑on hobbyist, or a working pro, the steps match real needs and tools.
One realistic caution: the payoff depends on small, regular habits — imports, culls, and backups — because systems drift if you don’t maintain them. Keep one canonical master, automate what you can, and check your backups on a simple schedule so the effort sticks. You’ve got a clear blueprint now, and with a little routine you’ll keep finding memories instead of hunting for them.





0 Comments