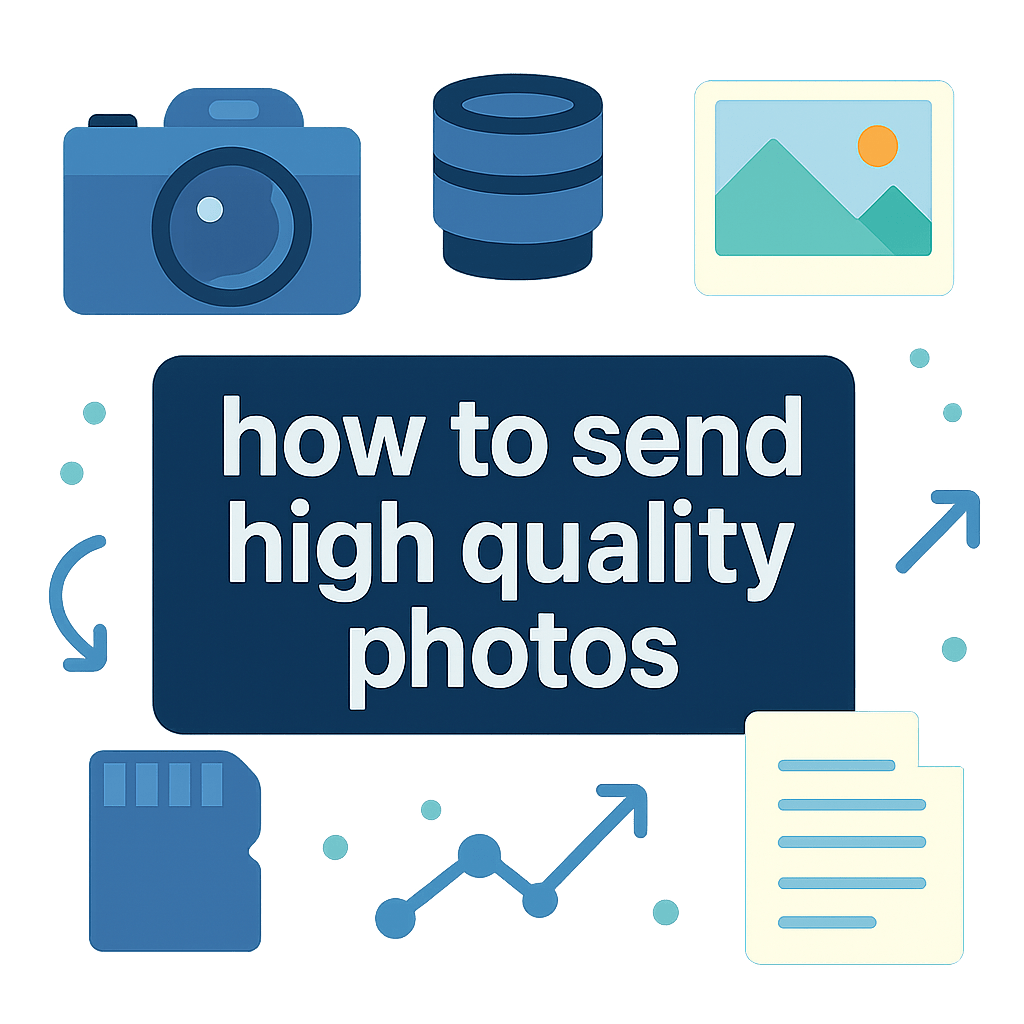
How to send high quality photos without losing color, detail, or metadata? This guide makes it simple and practical.
Get a quick answer up front so you can pick the best method fast. Then follow clear how-tos for email, cloud links, AirDrop/USB, and professional client galleries.
You’ll find step-by-step micro-guides like zipping files, sending via Gmail/Drive, and the iPhone “Actual Size” mail option. Plus Lightroom/Photoshop export presets, a sample email, a printable cheat sheet, and a short troubleshooting FAQ.
Read on to learn how to send high quality photos the right way for web, print, or client delivery. Quick tips and pro workflow advice will save you time and keep your images perfect.
Best Methods for Sending High-Quality Photos
If you want the fast, clear answer to how to send high quality photos, pick the method that preserves original files and fits your situation. For clients, use a client gallery; for quick one-offs, send a cloud link; for small batches to one person, email a ZIP; for local handoffs, AirDrop or USB; for huge RAW sets, use a physical drive.
Here is a quick comparison so you can choose in seconds. Each option keeps full quality when used as described.
• Client Galleries: Easiest for clients, keeps originals, adds proofing and downloads, usually a modest subscription. Great for professional delivery and repeat jobs.
• Cloud Links (Drive/Dropbox/WeTransfer): Simple and flexible, keeps originals, free tiers exist, paid gets more space and controls. Ideal for ad‑hoc high‑res sharing and mixed file types.
• Email (zipped): Works for small sets under size limits, originals stay intact inside a ZIP, free. Best for a few photos or a small album preview to one person.
• AirDrop / Nearby Share: Instant and lossless over local wireless, free. Perfect when you are in the same room and need speed without the internet.
• USB/HDD/SSD: Fast and lossless for massive folders, one‑time hardware cost. Best for entire weddings, RAW catalogs, or when internet is slow.
Winner guidance: use a client gallery for paying clients, a cloud link for casual or cross‑team handoffs, email when the set is tiny, and a USB drive for huge deliveries.
Pro tip: decide first if your recipient needs to preview or to download originals. That one choice drives the best method every time.
How to send photos by email without losing quality
Email works fine if you prepare the files and avoid auto downsizing. Keep originals or high‑quality exports, bundle them in a ZIP, and respect attachment limits.
Prepare files: export originals or maximum‑quality JPEGs or TIFFs based on the need. Use clear names like 2026‑Smith‑01.jpg so the recipient can sort easily.
Create a ZIP to protect quality and keep order. Windows: select files, right‑click, Send to > Compressed (zipped) folder. macOS: select files, right‑click (or Control‑click), Compress “X items”.
Know the limits: Gmail allows up to 25 MB per email, and Outlook/Exchange is often similar. If you exceed Gmail’s limit, it automatically turns attachments into a Google Drive link.
Gmail workflow: click the paperclip to attach a ZIP under 25 MB, or click the Drive icon to insert files from Drive. If you use a Drive link, set “Anyone with link can view/download” or specify the recipient’s email.
Outlook workflow: attach your ZIP or choose “Attach” > “Browse cloud locations” to pick OneDrive. Check permissions so the recipient can download the file, not just preview it.
Mobile specifics: in iOS Mail, choose “Actual Size” when the size prompt appears, or tap the cloud icon to send an iCloud Drive link. On Android, attach from Files or Drive, not directly from some gallery share buttons that compress by default.
Recipient instructions help avoid confusion. Add a short note: “Download the ZIP, then double‑click to unzip on a computer or use Files on iPhone/Android to extract.” Include a fallback cloud link if their mail blocks ZIPs.
Sample email text: “Hi [Name], here are your high‑resolution photos. Either download the attached ZIP or use this link to save the originals. For prints, use the TIFFs; for web, use the JPEGs. Let me know if you need another format.”
Troubleshooting: if a ZIP is blocked, upload it to a cloud folder and send the link. If the recipient can’t unzip on a phone, advise using a computer or a free unzip app. If the images still look small, confirm they downloaded the files, not just viewed in the email preview.
Cloud Storage Solutions
Cloud services preserve the original file bytes when you upload, so there is no recompression. This is the easiest way to send large, high‑resolution sets with control over access and downloads.
Choose a service by the job. Google Drive and OneDrive are convenient for mixed documents and steady storage. Dropbox is great for reliable sync and fast link sharing, and WeTransfer or Filemail are perfect for quick one‑off transfers without account friction.
When you need client‑friendly guidance, this Dropbox primer shows how to share high quality photos in a way clients can easily download. iCloud Drive also works well for Apple‑to‑Apple deliveries and simple album sharing.
How to deliver via cloud: upload the originals or high‑quality exports, and avoid any “convert” or “optimize” toggle during upload. When the upload finishes, create a share link and set permissions to “Anyone with the link” or restrict to named emails.
Add security if needed. Set an expiry date, add a password, and write a short message with usage notes. Some services let you track views and downloads, which helps confirm receipt.
Use folder‑level sharing so the recipient gets a neat, grouped delivery. Most platforms also offer a “Download all” button that creates a ZIP automatically, which is great for non‑technical clients.
Micro‑guide: create a share link. In Google Drive, right‑click the folder, choose “Share,” then “Copy link,” and set access to Viewer. In Dropbox, click “Share,” ensure the link is created, set link settings like password/expiry, then copy the link.
Pros and cons: cloud sharing is quick to set up, preserves originals, and is easy for recipients. It depends on your upload speed, may have size limits on free tiers, and requires a bit of permission management for privacy.
Pro tip: upload and generate the link, then test the link in a private browser window. You will catch permission mistakes before your client does.
Client Galleries (Best Choice!)
Client galleries are built for photographers and usually the best answer to how to send high quality photos at scale. They deliver a branded experience, easy proofing, selective downloads, print ordering, and even analytics.
Top platforms include Pixieset, ShootProof, SmugMug, and PhotoShelter. Most offer free or trial tiers, plus paid plans that unlock original‑file downloads, password protection, expiry controls, and integrated lab printing.
How to build a Pixieset gallery fast: export your high‑res images, then upload the set to a new collection. Enable downloads, choose “Original” or “High‑res” quality, set a password and expiry, and add a download PIN if you like.
Offer tiered access for clarity. Share watermarked low‑res previews for public viewing, and grant high‑res or original downloads to paying clients or approved emails. Add a usage note, a link to releases, and simple steps to download all.
Workflow tip: export from Lightroom or Photoshop with filenames and metadata intact. Many gallery platforms provide plugins that publish directly, keeping captions, keywords, and structure aligned.
When should you pick a gallery over a cloud link? Choose galleries when branding, proof approval, or print sales matter, and when you want repeatable, professional delivery. For one‑off transfers without presentation needs, a cloud link is fine, but galleries shine when you need to share photos with clients again and again.
Pro tip: send clients a quick one‑minute screen recording showing how to select favorites and download. It reduces questions and boosts satisfaction.
Tips to keep photos top-notch during sharing
Quality is won or lost at export and during transfer. Keep the pipeline clean, use the right formats, and avoid recompression by apps that shrink images.
Formats: keep RAW for archival or advanced edits, but send TIFF for print when size is acceptable. For general use, send JPEG at the highest quality you can, and avoid resaving JPEGs multiple times.
Color management matters. Embed sRGB for anything on the web or email, and use Adobe RGB or the printer’s ICC profile for print. Always embed the profile so the recipient’s software displays colors correctly.
Resolution and DPI: print size depends on pixel dimensions. Example: an 8×10 at 300 PPI needs 2400×3000 pixels, which most modern cameras exceed easily.
Lightroom export presets you can trust: Web preset — sRGB, JPEG Quality 80–90, long edge 2048–2560 px, Sharpen for Screen Standard, Metadata Copyright only. Client high‑res — sRGB or Adobe RGB, JPEG Quality 92–100, Resize: long edge full resolution or 6000 px max, Sharpen for Screen Low.
Print preset — TIFF, 16‑bit if needed or 8‑bit with LZW compression, Adobe RGB, no resizing unless the lab requests, Output Sharpening for Matte/Glossy according to paper. Photoshop users can save JPEG as Baseline Standard, Quality 10–12, Convert to Profile sRGB for web or the lab ICC for print.
Avoid recompression traps. Do not send originals through social media DMs or chat apps that auto‑shrink. Upload to a gallery or cloud folder and share the link instead.
Metadata and privacy: keep IPTC credit, caption, and copyright so your work stays attributed. Strip GPS if the location is sensitive or the client requests it.
Security and verification: password‑protect ZIPs when needed, and set link expirations. For very large deliveries, generate a checksum (like MD5) and spot‑check downloads on a second device.
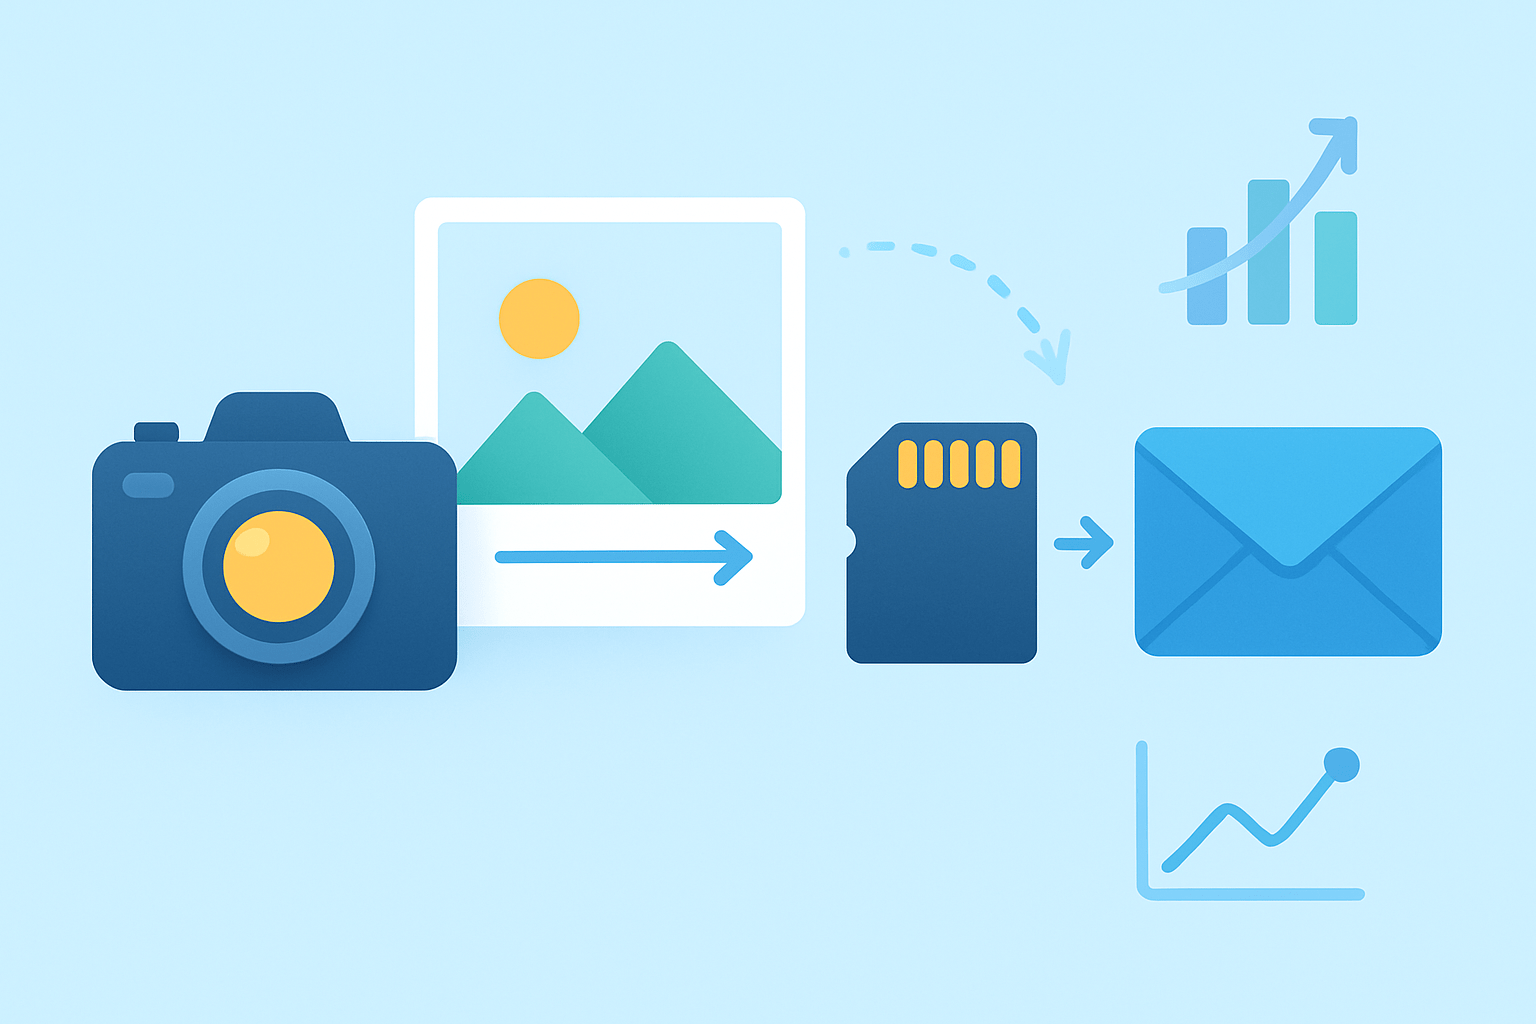
Mobile and local transfers: AirDrop and Nearby Share preserve originals, as does a USB cable transfer to a computer. Tell phone users to tap the download button, then Save to Files, not to their photo app’s compressed share option.
Watermark strategy: send small, watermarked previews when approval or payment is pending. Unlock the high‑res gallery or cloud link only after you have the green light.
Before you hit send checklist: export once from the master edit, name files clearly, pick your method, set permissions, and test the download. Confirm color profile, confirm resolution, and share short instructions with the link.
Troubleshooting quick hits: if someone can’t unzip, point them to a computer or a standard unzip app on mobile. If images look tiny, remind them to download the files, not just view a preview. If a link expired, regenerate and extend the expiry, then note the new deadline in your message.
If you need a refresher on client‑ready handoffs, this guide on the best way to send photos to clients pairs well with the tips here. It reinforces the simple habits that keep your images crisp from export to delivery.
Pro tip: when in doubt about how to send high quality photos to a non‑technical recipient, use a client gallery with a single “Download all” button. It removes guesswork and preserves every pixel.
Final thought for peace of mind: test your own link on a phone and a computer before sharing. That one minute confirms you nailed how to send high quality photos without surprises.
What People Ask Most
How to send high quality photos?
To send high quality photos, share the original files via cloud storage or attach them as files instead of using compressed messaging, and choose “original” or “full size” when offered.
Can I send high quality photos over regular text messages (SMS/MMS)?
No, regular text messages usually compress photos a lot, so use email, cloud links, or messaging apps that offer an “original” or “send as file” option instead.
Does emailing photos keep the full quality?
Email attachments usually keep full quality, but be aware of attachment size limits and use cloud links for very large files.
Will messaging apps like WhatsApp or Facebook compress my photos?
Yes, many messaging apps compress by default, so pick a “send as document” or “original quality” setting or share a cloud link to avoid compression.
How can I keep photo resolution when sending from my phone?
Avoid screenshots and in-app sharing that resizes images, export or share the original photo file, and send over Wi‑Fi or a cloud service for best results.
Is it better to send JPEG or PNG for high quality photos?
Keep the original camera format when possible; JPEG is fine for photos because it balances quality and size, while PNG is better for simple graphics with sharp edges.
Will compressing photos before sending help or hurt quality?
Compressing reduces file size but also lowers image quality, so only compress when you must fit size limits and keep a copy of the original for best results.
Final Thoughts on Sending High-Quality Photos
If you’re delivering 270 images, the workflows above give you clear ways to keep originals intact and make delivery painless for clients. Client galleries, cloud links, and direct transfers let you control quality, metadata, and download experience so files arrive exactly as you intended. The right choice depends on size, speed, and whether you need branded presentation.
The main benefit is predictable, professional delivery — your photos show up at full fidelity and with the permissions and protections you choose. Be realistic: big RAW deliveries can stall on slow connections or picky inboxes, so always test a download and include a fallback link. This approach helps working pros, studio owners, and serious hobbyists who want prints or client-ready files.
We answered the opening question by starting with a quick recommendation, then walking through email tricks, cloud setup, client galleries, and export settings so you can follow a single path from shoot to handoff. Keep filenames, embed profiles, and verify on another device before you send, and your recipients will see the images as you intended. Good sharing lies ahead; your work’s clarity and care will travel with it.

0 Comments