How to take at home boudoir photos that feel intimate and look professional?
This quick guide will walk you through the whole process. You will get clear, easy steps from prep to final selects.
Learn a simple 6-step workflow, smart gear choices, camera settings, and flattering lighting. We also cover room selection, posing prompts, and how to keep the shoot comfortable and safe.
No studio needed — start with what you have and build confidence fast. Read on to learn how to take at home boudoir photos and create images you love.
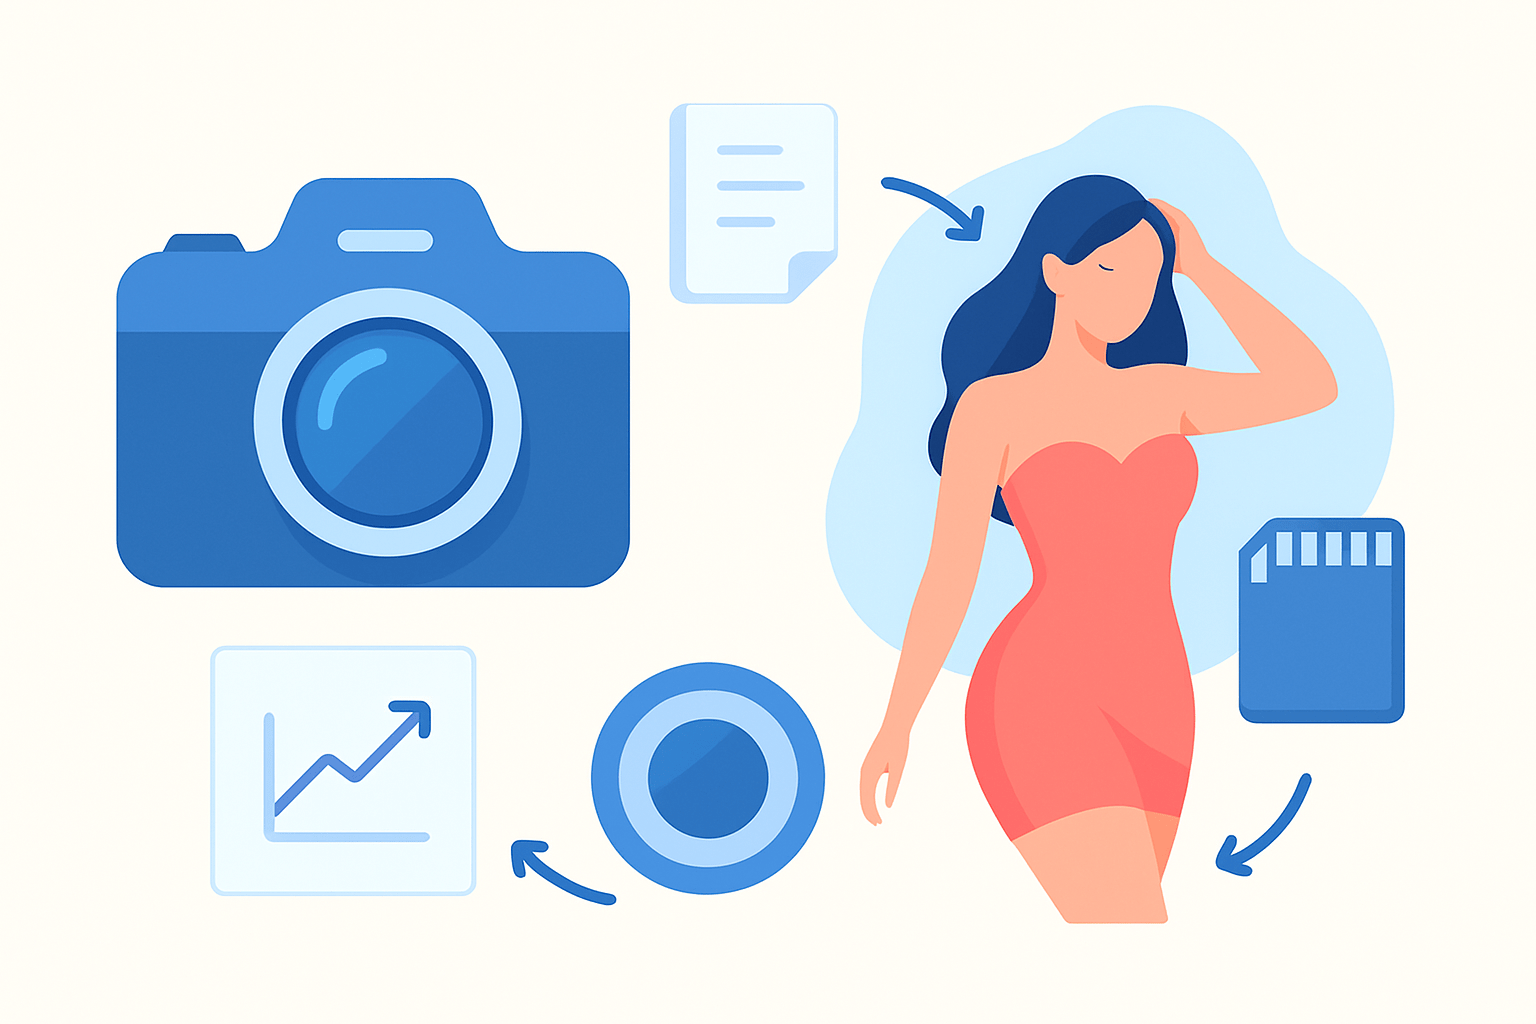
How to take at home boudoir photos
If you want to learn how to take at home boudoir photos, start with a simple plan you can repeat. A clear workflow keeps the mood calm and the pictures consistent. You will shoot better when you always know what comes next.
Begin with a quick moodboard and prep session for ten to twenty minutes. Pick a mood, two or three outfits, and a few reference images you love. Confirm comfort levels and note any areas to highlight or avoid before you pick up the camera.
Set the scene next, which takes ten to thirty minutes. Tidy the space, move small furniture, and test your window light at different angles. Keep a few simple props like a sheet, a robe, or a chair close by.
Do final hair, wardrobe, and makeup for fifteen to thirty minutes. Fluff the hair and remove lint before each outfit. Keep makeup soft and skin‑true, and steam anything wrinkled.
Warm up for five to ten minutes with test frames. Check exposure, white balance, and single‑point autofocus on the eye. Show a quick preview so the model sees what is working.
Move into the shot sequence for thirty to sixty minutes. Start in a robe or a casual outfit, then move to lingerie, and only go to implied or nude if it was agreed in advance. End with detail shots of hands, jewelry, and textures so you have a full set.
Wrap up in five to ten minutes. Do quick selects together, back up cards right away, and confirm delivery preferences. A small closing chat keeps trust strong.
Bring the gear you actually need and nothing more. A mirrorless or DSLR with a 50mm or 85mm prime and a 35mm or a 24–70mm zoom covers almost everything. Add a tripod, a remote, spare batteries, and extra memory cards.
A reflector or white foam board gives gentle fill, and a sheer curtain can act as a scrim. A small LED panel or a speedlight with a diffuser is enough when the window light fades. Clamps, gaffer tape, and a steamer are quiet heroes on set.
Use simple camera settings so you can focus on mood. Shoot RAW, use Auto ISO with a ceiling you trust, and keep shutter speed at or above 1/125. Stay between f/1.8 and f/4 for that intimate look and lock single‑point AF on the eye.
Expose for skin tones and watch your histogram to avoid blown highlights. If the room mixes daylight and warm lamps, bracket a stop around your base exposure. It is insurance for fast moments.
Lean on easy lighting setups that flatter. Window side light with a reflector opposite is soft and reliable. Backlight at the window adds a dreamy rim, and a low LED or reflector fills the shadows.
Edit with a clean flow that respects skin texture. Cull first, fix white balance, then adjust exposure and crop. Do light skin smoothing, add gentle dodge and burn for shape, and deliver both color and black and white versions.
Avoid common beginner traps. Clear clutter, relax stiff poses with movement, and skip harsh midday sun unless you diffuse it. Keep retouching light and watch for tags, straps, and stray hairs before you click.
If you want more fundamentals in one place, bookmark this beginner boudoir guide for later. It pairs well with this workflow and will reinforce the basics. The key is to practice this same path until it feels natural.
Selecting an Ideal Location
Picking the right room is half the secret of how to take at home boudoir photos that look polished. You want soft light, clean backgrounds, and enough space to move. One good corner is better than a whole house of distractions.
The bedroom is the classic choice because it already feels intimate. A simple headboard and a textured duvet can look great on camera. Keep nightstand clutter, framed photos, and chargers out of sight.
Look for ways to simplify the bedroom scene even more. Neutral sheets or a single color blanket photograph better than loud patterns. A rumpled throw can add just enough texture to feel lived in.
The living room or sofa offers extra space and different posing options. A chaise or a deep couch lets you do lounging angles with long lines. Use the coffee table for a reflector or to place a small LED at low power.
The bathroom or tub can be striking, especially with tile or porcelain. Water, bubbles, and glass add sparkle and shape, but watch for reflections. Keep a towel and a bath mat ready so the set stays safe and private.
Window nooks and staircases bring natural frames and leading lines. A stair rail creates interesting diagonals that guide the eye. A window seat with sheer curtains can become a soft, dreamy stage.
An outdoor balcony or backyard can work if privacy is solid. Check backgrounds for neighbors, cars, or trash bins. Wind can help with hair but plan clips and hairspray if it gets gusty.
Test your spots with a fast phone shoot. Walk around the room, shoot from high and low, and see how the background behaves. You will spot clutter and odd reflections right away.
Choose rooms with big windows and simple walls. Make sure you have outlets for a steamer or a small light. Leave floor space near the main light so you can change angles without moving furniture constantly.
Declutter before you style. Hide toiletries, laundry, and busy frames, and keep surfaces clean. Removing five small items often improves the frame more than adding one fancy prop.
Add only a few textures and shapes. A soft throw, a small rug, and two cushions can add layers without noise. A touch of greenery or a single flower on the nightstand is enough.
Do the “mess the bed” trick with intention. A perfectly tidy bed can look stiff, but a gentle rumple feels real and relaxed. Aim for soft folds that lead the eye toward the subject.
Lock doors, silence phones, and set the thermostat a bit warm. A comfortable room keeps skin relaxed and goosebumps away. Keep a robe on a hook and a changing area that feels private.
Place towels, water, and lint rollers where both of you can reach them. Clean mirrors and windows before you shoot. These tiny tasks prevent edits that eat your evening later.
For extra layout ideas and simple set hacks you can try today, skim a few DIY boudoir photos. Take only the ideas that fit your space. Your goal is a room that feels styled, not staged.
Using Natural Light for Boudoir
Natural light is the friendliest tool you have at home. It is free, flattering, and easy to shape with a curtain or a reflector. Mastering it is a big step in how to take at home boudoir photos with a soft, intimate feel.
Soft window light is the safest starting point. It wraps around the face and keeps skin luminous. Shoot close to the window for extra softness.
Directional side light adds shape and depth. Turn the body 30 to 60 degrees to the window so one side falls gently into shadow. This carves curves and gives the image a sculpted look.
Backlight and rim light create a halo. Place the subject between you and the window and let highlights bloom. Sheer fabrics and flowing hair glow beautifully in this setup.
Golden hour makes skin warm and dreamy. Overcast days are nature’s softbox and reduce harsh shadows. Both are perfect for beginners learning to read light.
Positioning is simple once you see the falloff. Closer to the window gives softer light and faster falloff behind the subject. Step back to flatten the contrast if you want more even tones.
Use sheer curtains to tame direct sun. If the rays are harsh, pull the sheers or add a white sheet as a scrim. When the light is still too strong, move into open shade in the room.
For backlit frames, expose for skin. Meter on the face and accept a little glow in the background. Add a reflector or a very low LED to lift the eyes and collarbones.
White walls make great reflectors too. Aim the subject so a white wall opposite the window fills the shadows. If you want more drama, bring in a black card to deepen one side.
Dial in camera settings that freeze small movements. Stay at f/1.8 to f/4 for depth, and 1/125 to 1/200 for shutter speed. Keep ISO as low as you can while holding exposure.
Use spot or small‑area metering on the cheek or forehead. Bracket by a third to two thirds of a stop when highlights are close to clipping. RAW files will give you more room to fix tiny misses.
Harsh midday light is common at home. Soften it with diffusion or wait for the sun to move. A flexible white shower curtain can save a mid‑day session.
If the window is behind the subject and you are losing detail, make a choice. Go for a bold silhouette, or add fill to reveal the eyes and skin. Both can be beautiful when done on purpose.
Mixed color temperatures can spoil skin tones fast. Turn off tungsten lamps when you use window light, or match their warmth with gels. Balance white balance in post if you had to mix sources.
A simple one‑light plan is easy to remember. Put the window to the left and a reflector to the right for soft balance. This is a reliable setup for headshots and half‑body frames.
Try window behind with a small LED in front for a hazy rim look. Keep the LED at low power so it does not overpower the glow. You just want to open the eyes and lips.
If the ceiling is white, bounce a small strobe or LED upward for soft top light. It fills the room and reduces shadows under the eyes. This is a good fallback when you lose daylight.
If you want more ideas to practice, study a few focused boudoir photography tips. Try one lighting move per shoot so you can see the change. Small, repeatable steps build confidence fast.
Creating a Comfortable Atmosphere
Comfort is the secret ingredient in every great boudoir session. When the person in front of you feels safe, the poses soften and the eyes tell a story. Your photos will show the difference.
Start with clear and kind communication. Send a short pre‑shoot questionnaire about comfort levels, preferred outfits, and any no‑go areas. Ask how the images will be used so you can plan framing and coverage.
Use a simple model release and a usage note written in plain language. Explain where files will live and how they will be shared. Invite questions and confirm you will delete any images on request.
Warm up at a gentle pace. Begin with a robe or a cozy sweater so the first frames feel easy. Show a few good test shots on the back of the camera to build trust.
Demonstrate poses yourself first. Offer small, clear cues like chin forward a touch or relax the fingers. Praise what works and mirror it back so the model can feel the shape.
Set out creature comforts before you shoot. Keep the room warm, place a robe and slippers nearby, and set water within reach. A hand mirror, steamer, lint roller, and hair clips save time and stress.
Offer breaks as you change outfits or sets. Slow the pace if nerves show up and keep breathing cues light. The goal is to feel empowered, not rushed.
Shape the mood with music that fits the vibe. Ask for favorite songs and build a playlist that relaxes or energizes. Keep volume low enough to hear gentle direction.
Use candles or warm LEDs for a cozy feel if you like. Battery LED candles are a safe stand‑in for real flame. They add glow without heat or smoke.
Be clear about safety and privacy. Store files on a secure drive, use password‑protected galleries, and set a simple naming system. Share preview images only with written permission.
If you want to show samples publicly, ask again in writing. Respect a change of heart later if it happens. Consent is a process, not a checkbox.
Keep your language body‑positive and inclusive. Speak about shapes, lines, and energy rather than “fixing” anything. Your calm tone will carry through the shoot.
Consider making a one‑page pre‑shoot checklist and a tiny shot list you can print. Bring a pencil and mark ideas that clicked during warm‑ups. These little tools help you stay present while you create.
Boudoir Poses & Composition Tips for Flattering At‑Home Shots
Great poses start with simple principles. Create an S‑curve through the spine, and keep arms and legs slightly away from the torso. Relax the hands and let the eyes tell the mood, either to camera or off into space.
Camera angles and lenses shape the story as much as the pose. Slightly above eye level is slimming for close portraits, while eye‑level feels intimate and direct. A 50mm to 85mm lens flatters faces, and a 35mm shows more of the room.
Try the bed‑edge pose first. Sit on the edge, cross one leg, place hands behind to support, and lift the chin. It is stable and looks elegant in any bedroom.
Recline on the back with knees up for a soft curve. Tilt the hips toward camera and turn the face slightly to the light. This pose flatters the midsection and elongates the neck.
Bring the legs up a wall or headboard. Bend at the knees and arch the lower back a little. Hands can rest on the torso or hair for a relaxed touch.
Kneel on a chair facing the backrest. Arch the back gently and lengthen the neck. This angle shapes the waist and shows lines beautifully.
Lean back on the sofa with a stretched neck. Support with one arm and let the head tip back slightly. It feels luxurious and works well with a robe slipping off one shoulder.
Sit on heels and look over the shoulder for a three‑quarter back shot. Turn the chin toward the light and soften the fingers at the collarbone. The curve of the spine becomes the hero here.
Try a soft hand grasp near the face. Lace one hand around the other wrist and let the fingers relax. It reads delicate and keeps tension out of the hands.
Use a mirror for a layered scene. Shoot the reflection and keep a slice of the frame edge for depth. This adds a voyeuristic feel without losing privacy.
Stand by the window with one hip toward camera. Step one leg forward and place a hand on the frame. The stance shapes the waist and adds a clean line.
Wrap in a sheet for implied coverage. Leave one shoulder exposed and let the fabric fall into folds. This is perfect for soft morning light.
Turn back to the camera and look over the shoulder. Show the line of the spine and the shoulder blades. It is simple, elegant, and always flattering.
Move in for a collarbone and lips close‑up. Use shallow depth of field and focus on the eye or the line of the lips. Keep the chin slightly forward for clean angles.
Playful legs up poses are great on the bed. Bend the knees, point the toes, and stretch through the ankles. It lengthens the legs and adds energy.
Ask for a small candid movement. A hair toss, a laugh, or a shift on the sheets can make a genuine moment. Use continuous shooting to catch the peak.
Do detail frames to finish the set. Photograph hands on jewelry, lace textures, or feet on the rug. These images fill the story and are perfect for a subtle final page.
Use composition to guide the eye gently. Let bed lines and window frames act as leading lines, and give your subject clean space to breathe. Placing the body on the rule of thirds can feel both modern and intimate.
Add depth with foreground layers. Shoot through plants, curtains, or the door frame to create a soft veil. It makes the viewer feel invited into the scene.
Keep negative space on purpose. A simple wall or a swath of sheets can make the image feel calm and elegant. The quiet around the subject is part of the mood.
Mirrors are powerful when used thoughtfully. Angle them to show both face and back in one frame without showing the entire room. Watch edges for unwanted reflections and clean them before you shoot.
Fix common pose issues with small cues. Ask for shoulders down and back to release tension, and bring the chin forward slightly to refine the jawline. If the torso looks flat, shift weight to one hip or add a tiny arch.
Most of all, keep the flow easy. Offer one cue at a time and let the pose breathe for a few beats. This is the heart of how to take at home boudoir photos that feel natural and true.
What People Ask Most
What basic gear do I need to learn how to take at home boudoir photos?
You only need a camera or smartphone with a decent camera, a tripod or stable surface, and soft natural or lamp light to start practicing how to take at home boudoir photos.
How can I use natural light when trying to take at home boudoir photos?
Shoot near a large window with sheer curtains to diffuse sunlight, and position yourself at an angle to the light for soft, flattering shadows when learning how to take at home boudoir photos.
What are simple poses for beginners who want to take at home boudoir photos?
Start with seated or reclining poses, slight shoulder turns, and relaxed hands to create flattering lines while you practice how to take at home boudoir photos.
How do I make my home feel private and comfortable for at home boudoir photos?
Close doors, use curtains, play calming music, and set a warm temperature so you feel secure and relaxed while learning how to take at home boudoir photos.
Should I edit my photos after I learn how to take at home boudoir photos?
Basic edits like exposure, skin smoothing, and color adjustments can enhance images, but keep edits natural to preserve the mood when you take at home boudoir photos.
How can I build confidence to take at home boudoir photos?
Practice posing in front of a mirror, take test shots to find your best angles, and remind yourself of the empowering reasons you chose to learn how to take at home boudoir photos.
What common mistakes should beginners avoid when trying to take at home boudoir photos?
Avoid harsh overhead lighting, stiff poses, and over-editing; focus on soft light, relaxed posture, and subtle retouching as you learn how to take at home boudoir photos.
Final Thoughts on How to take at home boudoir photos
If you remember one thing, it’s that thoughtful prep and flattering light can create a 270-degree shift from nervous to confident. This guide gave a clear, step-by-step path so you can plan, light, pose, and edit with intention — turning a corner from guesswork to control. Beginners and anyone wanting intimate, tasteful portraits at home will get the most from these pages.
Remember one realistic caution: respect privacy and consent at every stage, and back up files securely before you share or post images. We answered the opening question — how to take at home boudoir photos — by walking through prep to final shot, offering simple lighting setups, camera settings, poses, and a gentle editing flow. That combination gives you reliable tools to make flattering, personal images without feeling overwhelmed.
Keep the focus on comfort and connection rather than perfection, and you’ll find the most flattering moments naturally. Trust the process and look forward to discovering what feels beautiful for you.


0 Comments