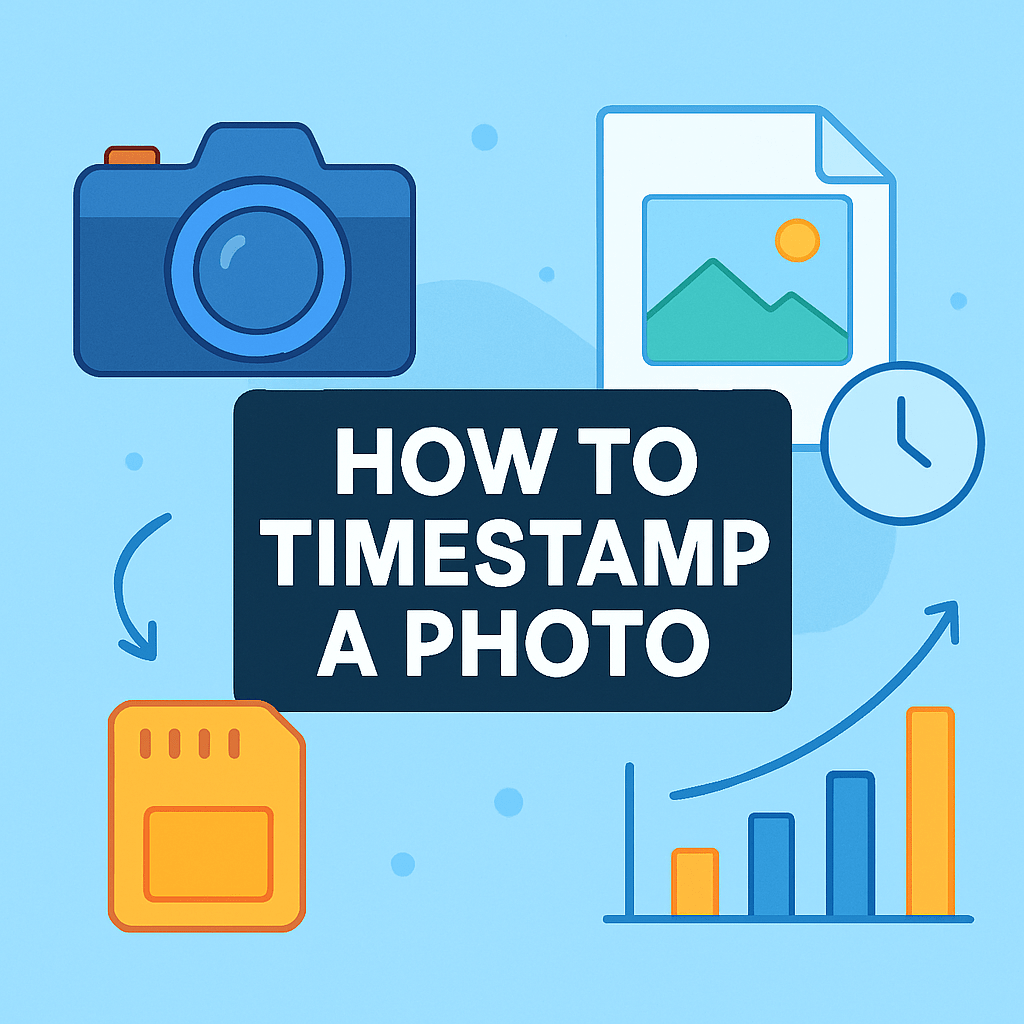
How to timestamp a photo so it’s accurate and easy to read?
This guide shows simple step-by-step methods for iPhone, Android, Windows, and Mac. You will learn both burned-in (visible) timestamps and EXIF metadata timestamps.
It also covers batch automation with Shortcuts, FastStone, ExifTool, and Lightroom, plus Photoshop tricks for reusable stamps and actions. I will explain when to use metadata versus burned-in dates and what to do for legal or archival needs.
Follow clear screenshots and tested scripts so you can copy the steps quickly. Always work on duplicates and keep the original files safe before you add any stamp.
How to timestamp a photo — step‑by‑step (iPhone, Android, Windows, Mac)

There are two kinds of timestamps. A burned‑in timestamp is visible text baked into pixels, while a metadata timestamp lives invisibly in EXIF tags. Knowing which you need is the first step in learning how to timestamp a photo.
On iPhone, you can add a visible timestamp without any extra app. The Shortcuts app can select photos, read the capture date, and overlay it as text. It works on multiple images and saves clean copies.
1. Open Shortcuts, tap the plus, and create a new shortcut named “Timestamp Photo”. This gives you a blank canvas to build the workflow. Keep the name short so it is easy to find later.
2. Add “Select Photos”, enable multiple, and disable videos. This makes picking a batch quick from your library. You can also toggle “Select Multiple” only when needed.
3. Add “Get Details of Images” and choose “Date Taken”. This pulls the EXIF capture date if available. If the date is missing, the file’s modified date may appear instead.
4. Add “Format Date” and choose a format. I recommend ISO 8601 like “yyyy‑MM‑dd HH:mm” for clarity, or “MMM d, yyyy • h:mm a” for a friendlier look.
5. Add “Overlay Text” and set the text to the formatted date variable. Choose bottom‑right alignment, pick a readable font and size, and add a semi‑transparent background for legibility.
6. Optionally add “Convert Image” to JPEG, then “Save to Photo Album” or use “Share” to send elsewhere. Always confirm it saves a new copy rather than overwriting your original.
Enable the shortcut in the Share Sheet if you prefer running it from Photos. The first run will ask for permissions, and Live Photos or HEIC may convert to JPEG depending on your settings. For a step‑by‑step visual walkthrough, this concise iPhone guide is handy.
Third‑party iPhone apps like Auto Stamper, Timestamp Camera, or PhotoStamp can also help. Install one, grant photo access, choose a date format and corner, preview the stamp, and export copies. They offer extras like location or custom templates, but check privacy policies and watch for watermarks in free versions.
On Android, apps are the fastest route. Auto Stamper and Timestamp Camera can stamp while shooting or on existing images from your gallery, and you can set a standard format for every job. Capturing with the stamp at the moment of shooting is convenient, but stamping existing images gives you more control over size and placement.
On Windows, FastStone Image Viewer makes quick work of stamps. Open your folder, select files, choose Tools then Batch Convert, tick “Use Advanced Options”, and in Advanced click “Add Text” to insert the EXIF Date/Time variable, set font and bottom‑right position, and define your output folder. IrfanView can do a similar overlay in its batch dialog if you prefer that interface.
If you like command lines, ImageMagick can stamp the EXIF date in one go. A typical command looks like this: magick input.jpg -gravity southeast -font Arial -pointsize 20 -fill white -undercolor “#00000080” -annotate +10+10 “%[EXIF:DateTimeOriginal]” output.jpg. Test the font, position, and undercolor to ensure legibility on both dark and light images.
On Mac, you can use the same ImageMagick command once it’s installed via Homebrew. PhotoMarks is a friendly third‑party app that offers presets and batch export if you prefer a GUI workflow. Apple’s Preview and Photos can edit metadata, but they don’t burn in a visible date by themselves.
Online tools work too when you are away from your main computer. Upload a photo, choose “use EXIF date” or type your own text, place it in a corner, then download the stamped copy. Avoid uploading sensitive images, as privacy policies and servers are outside your control.
For each platform, plan your visuals and results. Capture screenshots of your Shortcuts blocks, FastStone’s Advanced Options panel, ImageMagick terminal output, and before‑and‑after images showing the date at the bottom‑right. Keep a habit of exporting to a new folder or album so your originals stay untouched.
Automate & batch‑stamp photos (Shortcuts, FastStone, ExifTool, Lightroom)
If you need hundreds of images stamped, automation is your friend. The same logic that teaches you how to timestamp a photo once can be looped to handle entire folders without fuss. This saves time and keeps your style consistent across sets.
On iOS, expand your Shortcut to handle batches with “Repeat with Each”. Select photos, get Date Taken, format it, overlay the text per image, and save each to a “Stamped” album so you can review them later. Running from the Share Sheet is smooth, though background automation is limited by iOS permissions and battery settings.
On Windows, FastStone’s Batch Convert is a workhorse for volume. Select a test set first, enable Advanced Options, add a text overlay tied to the EXIF date, and send output to a separate folder with a suffix like “_stamped”. IrfanView’s batch works similarly, and both can resize while stamping if you need web‑ready copies.
For cross‑platform power, pair ExifTool with ImageMagick in a simple script. In a bash shell, you can run this loop: mkdir -p stamped; for f in *.jpg; do d=$(exiftool -DateTimeOriginal -s -s -s “$f”); magick “$f” -gravity southeast -font Arial -pointsize 24 -fill white -undercolor “#00000080” -annotate +10+10 “$d” “stamped/$f”; done. On Windows PowerShell, you can use Get-ChildItem to iterate files, call exiftool to read the date, and pass it into magick for each output copy.
Lightroom can stamp during export by using the Watermark Editor. Create a text watermark, insert the capture date token, position it in the lower‑right, and save it as an export preset for one‑click consistency. Adobe Bridge plus Photoshop can also batch with an Action and Image Processor, letting you mix stamping with resize, sharpening, and color profile settings.
If you shoot or edit on Android and need a primer before batching, these clear Android tips show what to expect from popular apps. Once you are confident with formats and placement, return to a desktop tool for volume runs. Always test with five images, then scale up.
EXIF metadata vs burned‑in timestamps — pros, cons, best uses
EXIF stores several date fields, with DateTimeOriginal as the primary capture time. CreateDate and ModifyDate often reflect file creation or edits, and GPS tags can add location and even timezone clues. Burned‑in stamps, by contrast, are pixels you add to the image itself.
Metadata wins for archiving because it is precise, searchable, and non‑destructive. You can sort, catalog, and correct time shifts without touching the image data. The downside is that EXIF can be altered and many social networks strip it on upload.
Burned‑in timestamps are great when you must see the date on prints or thumbnails. Inspectors, adjusters, and educators often prefer a visible date on the image itself. The tradeoff is permanence and the risk of covering important content if the placement is poor.
For personal archives and professional catalogs, keep originals with intact EXIF and avoid burning in. For fieldwork or insurance, make a stamped copy while preserving the original, and prefer an ISO format like 2026‑03‑12 14:05 for clarity across regions. In legal or forensic contexts, maintain originals, record checksums like SHA‑256, and document custody, because a visible stamp alone is not proof.
To inspect and manage EXIF safely, try these commands with backups in place. View capture time and GPS with exiftool -DateTimeOriginal -GPS* image.jpg, copy the file’s modified time into EXIF with exiftool ‘-AllDates Photoshop is ideal for a branded, reusable date stamp. Create a transparent PSD or PNG and type a sample date in your chosen font, then add a thin stroke and a soft shadow for contrast. A semi‑transparent rectangle behind the text improves readability on busy backgrounds. To apply it quickly, record an Action on a sample image. Use File > Place Embedded to bring in your stamp, position it in the lower‑right with Free Transform, set opacity, then flatten and save to JPEG as a copy. Stop the recording and name the action clearly. Now batch it for a folder with File > Automate > Batch or via a Droplet you can drag images onto. Keep your outputs in a “Stamped” folder, and set a naming suffix like “_dt”. If you need different sizes for web and print, create separate actions or export presets. If you want the date to populate automatically from EXIF, Photoshop alone is limited. Bridge or ExtendScript can read metadata and insert it into a text layer, or you can pre‑render dates with exiftool and ImageMagick, then place a generic stamp. This hybrid approach keeps your style consistent and your pipeline fast. For crisp results on high‑density screens, design a 2x sized stamp and scale down when placing. Keep the stamp as a separate layer in PSD templates so you can change color, blend mode, or position later. Export with an embedded color profile to keep tones consistent across devices. Always keep your originals safe and work on duplicates or exported copies. Use ISO 8601 like YYYY‑MM‑DD HH:MM for global readability, or a localized style if the audience requires it. Check your camera clock and timezone before important shoots so you do not fix problems later. Make the stamp legible but modest, with enough contrast to read at a glance. A small undercolor box or text stroke helps on both dark and bright scenes, and the bottom‑right corner is a reliable choice. Avoid covering faces, license plates you must show, or critical details near subject edges. Many social platforms strip EXIF, so a burned‑in date is the only visible proof after upload. Be mindful of privacy when using mobile apps or online tools that may transmit files to their servers. If you want a friendly tutorial on styling and placement, this guide on how to date stamp photos can spark ideas. For evidence or sensitive documentation, keep the original, produce a stamped copy, and compute hashes like MD5 or SHA‑256 for each file. Store notes about who handled the files and when, and avoid editing the original EXIF unless you are correcting a known camera clock error. Remember that a visible stamp helps viewers, but authenticity still relies on secure handling. Common mistakes include overwriting originals, using the wrong timezone, choosing tiny fonts, or stamping low‑resolution thumbnails by accident. Test your batch workflow on a small set, review results at 100%, and only then run the full job. Include before‑and‑after images and quick screenshots of your Shortcuts, FastStone, Lightroom, or terminal steps to make the method easy to repeat. Timestamping adds a visible date and time or embeds timing data into a picture so you know when it was taken. Learning how to timestamp a photo helps you organize and track your images. A timestamp makes it easy to sort, find, and document when events happened. Knowing how to timestamp a photo is helpful for travel, work records, and household organization. You can use built-in tools like Notes or Shortcuts, or simple apps that add a date stamp to the image. Follow the app’s add-text or stamp tool to learn how to timestamp a photo on your iPhone. Many Android phones have camera or gallery options to add a date, and there are easy apps in the Play Store that stamp photos. Use a trusted app to learn how to timestamp a photo in a few taps. Yes, you can add a date and time later using photo editors or timestamp apps without the original camera. This is a quick way to learn how to timestamp a photo for older images. A visible timestamp helps show when a photo was labeled, but it does not guarantee the image wasn’t edited. For stronger proof you need original metadata or verified timestamp services beyond just learning how to timestamp a photo. Most timestamp tools add text without changing image resolution, so quality usually stays the same. To be safe, make a copy before you learn how to timestamp a photo. If you came in wondering how to timestamp a photo and why it matters, this guide laid out clear paths — from phone Shortcuts and Android apps to batch scripts and Photoshop actions — and even included a brief 270 example to show the mechanics. The real win isn’t the tool you pick but the clarity it brings: readable dates make memories, inspections, and records faster to find and harder to misinterpret. That practical payoff is what makes the techniques here useful for hobbyists, pros, and anyone who needs trustworthy visual documentation. One realistic caution: never overwrite originals, because EXIF can be changed and many platforms strip metadata, so preserve an untouched file and create a dated copy for sharing or proof. The steps and comparisons we covered answer the opening question by showing how to stamp one photo, run a batch, choose between burned‑in and EXIF, and think about legal and archival care. You’ll find that adding a clear date keeps your photo stories organized and more reliable as your collection grows.Timestamping in Photoshop — reusable stamps, actions, batch export
Practical tips, common mistakes, legal & archival considerations
What People Ask Most
What does it mean to timestamp a photo?
Why should I timestamp my photos?
How to timestamp a photo on iPhone?
How to timestamp a photo on Android?
Can I add a timestamp after taking a photo?
Does adding a timestamp prove a photo is authentic?
Will timestamping lower my photo quality?
Final Thoughts on Timestamping Photos


0 Comments