What is a 8×10 photo? Is it the classic print size for portraits, frames, and gallery prints?
This quick guide gives clear answers with exact measurements and pixel targets. You will learn inches, metric conversions, and the right pixel sizes for 180, 240, and 300 ppi.
We also explain the 4:5 aspect ratio, the difference between web and print exports, and simple export settings. A printable cheat sheet and a short checklist for printing are included.
Read on for fast, practical steps to prepare an 8×10 photo for print or online use. The tips are short and photographer-focused so you can get great results quickly.
Part 1: What Is the Actual Size of 8×10?
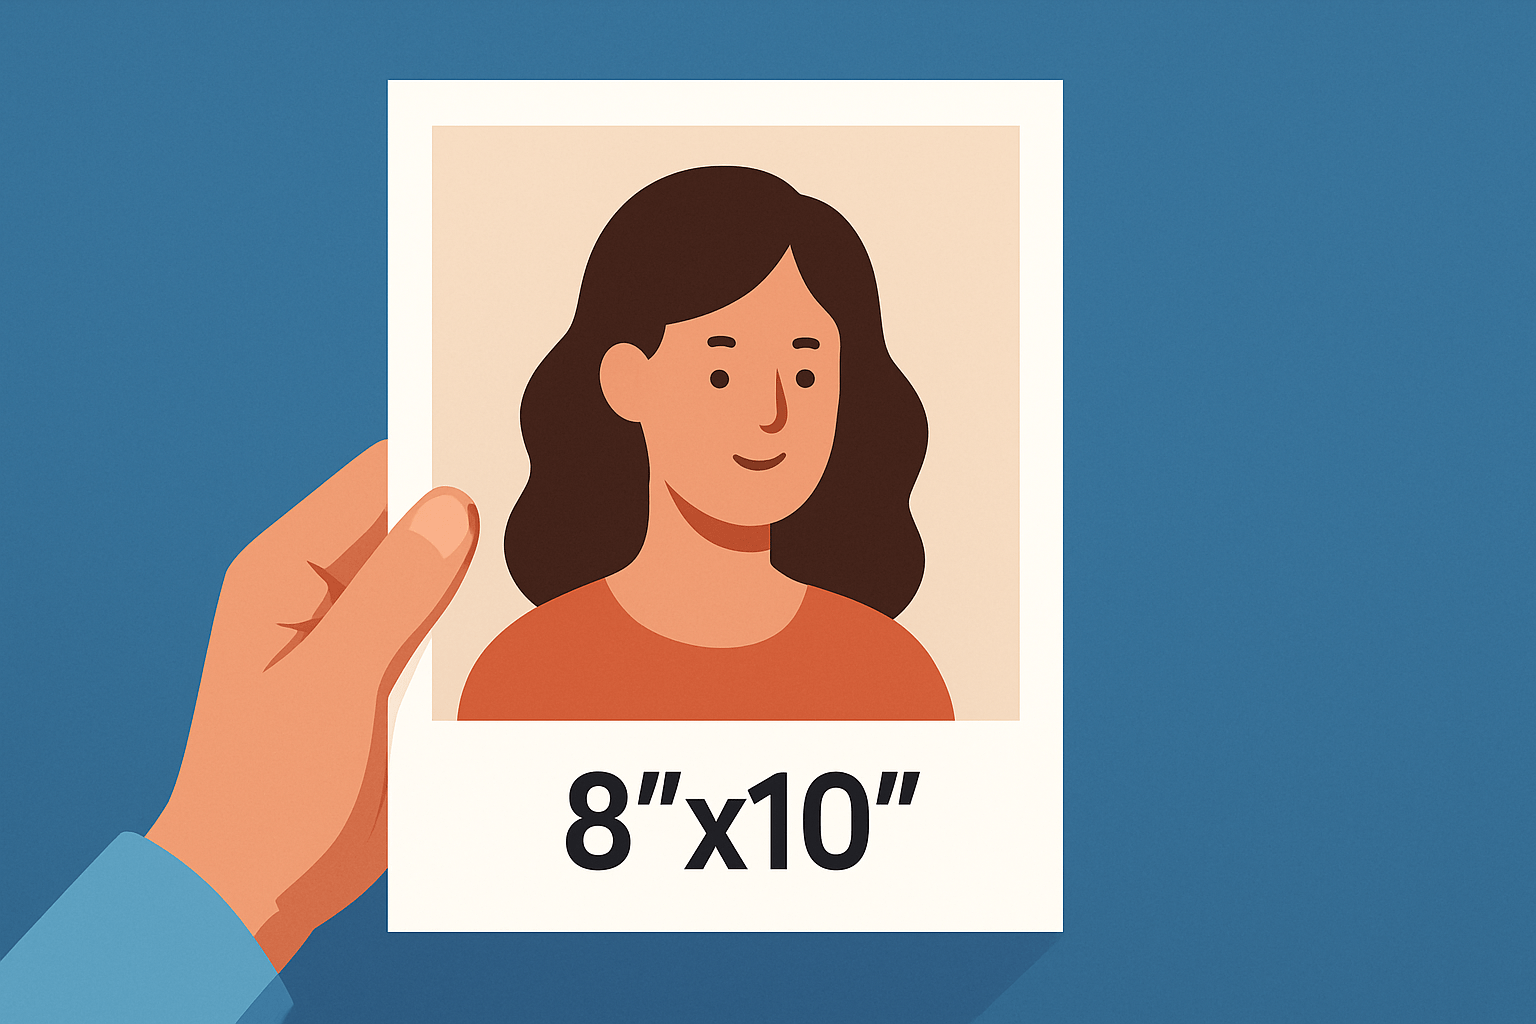
If you’re asking what is a 8×10 photo, here’s the straight answer: it measures exactly 8 inches by 10 inches. You’ll also see it written as 8×10 in landscape or 10×8 in portrait, but the area is the same.
In metric, an 8×10 equals 20.32 × 25.4 cm. That’s also 203.2 × 254 mm, or about 0.67 × 0.83 ft for quick mental math.
This size is a staple for portraits, actor headshots, small gallery prints, and ready-made frames and mats. An 11×14 mat with an 8×10 opening is the classic pairing for clean presentation.
It has presence on a shelf or wall without overpowering a room. The proportions leave comfortable space around a face, which is why studios rely on it.
If you want a deeper primer on 8×10 sizing, this overview of 8×10 photo size can help you visualize. For this article, imagine a simple scale graphic showing an 8×10 next to a hand, a phone, plus a 5×7 and 11×14 for context.
8×10 Photo Size in Pixels
When clients ask what is a 8×10 photo in pixels, the answer depends on pixels-per-inch, or ppi. The formula is straightforward: pixels on a side equal inches on that side multiplied by your chosen ppi.
For basic prints, 180 ppi is the floor, which yields 1440 × 1800 pixels, or roughly 2.6 megapixels. It works for casual viewing but can look soft up close.
For most work, 240 ppi is my go-to at 1920 × 2400 pixels, about 4.6 megapixels. For professional or close inspection, 300 ppi is preferred at 2400 × 3000 pixels, which is around 7.2 megapixels.
The math is simple: 8 × 300 = 2400 and 10 × 300 = 3000. If you plan to crop, start with higher resolution so the final file still meets these targets.
A practical habit is to leave a little breathing room around your subject. That margin lets you crop to 4:5 and still hit the pixel targets without upsizing.
Print a one-page pixel cheat sheet listing the 180, 240, and 300 ppi targets with their megapixels, and keep it in your bag. Pair it with a simple export-dialog screenshot to remind you where to set size and ppi.
What is the Aspect Ratio of an 8×10 Photo?
The aspect ratio of 8×10 is 8:10, which simplifies to 4:5. That means the width is four parts for every five parts of height.
Most DSLRs and mirrorless cameras capture 3:2 or 4:3, so you’ll usually crop to 4:5 when making an 8×10. Expect a thin slice trimmed from the long side if you start with 3:2, so leave extra space near the edges.
Enable a 4:5 crop overlay in live view or your EVF if your camera supports it, or add guides in your editor. Framing with the final ratio in mind keeps heads, hands, and horizons safely inside the print.
How Big Is An 8×10 Picture in Pixels for Web & Printing
For web use, what is a 8×10 photo becomes a matter of pixel dimensions only because browsers ignore ppi. For print, ppi converts inches into the pixel counts you need.
For fast-loading previews, export around 800 × 1000 pixels, or 1200 × 1500 pixels for a crisp portfolio; for high‑DPI displays, offer a 2× version at about 1600 × 2000 pixels. Use the sRGB color space for web, set JPEG quality between 70 and 90, and sharpen lightly for screen.
For printing, target 1440 × 1800 at 180 ppi, 1920 × 2400 at 240 ppi, or 2400 × 3000 at 300 ppi. Save as high‑quality JPEG or TIFF, using 16‑bit if your edit pushes gradients or color.
Ask your lab which color space they prefer. Many accept Adobe RGB and some support ProPhoto, but if uncertain, export sRGB and always embed the ICC profile so the print matches your screen.
Prepare this file for printing with four quick steps. Step 1: crop to 4:5, or leave room to crop. Step 2: resize to your target pixels, such as 2400 × 3000 for 300 ppi.
Step 3: convert or confirm the color space per lab and embed the ICC. Step 4: apply output sharpening for print and save as TIFF or a maximum‑quality JPEG.
Common mistakes include under‑sizing the file, picking the wrong color space, forgetting to embed the profile, oversharpening, and assuming browser DPI rules apply to paper. A quick before‑and‑after print at low versus proper resolution is a great reality check. For another clear walkthrough on sizing, see how big is 8×10.
Why choose an 8×10?
The 4:5 proportion flatters head‑and‑shoulders portraits and gives breathing room to family photos. Frames and mats are everywhere for this size, which makes gifting and gallery display painless.
An 8×10 has more presence and detail than a 5×7 yet stays affordable and easy to handle compared to 11×14. It also plays nicely with modest cameras, since the 300 ppi goal is only about 7.2 megapixels.
There is also the world of large‑format 8×10 film, which offers stunning detail and a very different workflow. If that path calls to you, browse recommended 8×10 lenses to see what the masters use.
Choose 8×10 when you want a classic, clean look that works in almost any room. Frame a little wider during capture so the 4:5 crop is painless, double‑check lab options for mats or canvas, and you’ll never need to ask what is a 8×10 photo again.
What People Ask Most
What is a 8×10 photo?
An 8×10 photo is a print that measures eight by ten inches and is commonly used for portraits and displays.
How is an 8×10 photo commonly used?
People use 8×10 photos for framed portraits, wall groupings, and gift prints because the size fits many standard frames.
Can I print an 8×10 photo from my phone?
Yes, you can upload your phone image to a photo lab or online service and select 8×10 as the print size.
Is an 8×10 photo a good size for framing?
Yes, it’s a popular framing size that looks balanced on walls, shelves, and in photo collages.
What common mistakes should I avoid when making an 8×10 photo?
Avoid heavy cropping that removes important parts, using low-quality images, or applying extreme edits that don’t print well.
Will an 8×10 photo work as a small poster or keepsake?
Yes, it’s large enough to show detail but compact enough to display on desks, mantels, or in albums.
Are 8×10 photos outdated in the digital age?
No, printed 8×10 photos remain popular for gifts, home decor, and archival keepsakes despite digital sharing.
Final Thoughts on 8×10 Photo Size
An 8×10 gives you a classic, easy-to-frame print that balances presence and manageability, offering enough detail for faces while still fitting common mats and frames and looking great on walls or in folios. We showed the exact inches and metric sizes, pixel targets for different PPIs, and export advice — and even noted that if a lab asks for 270 ppi you’d still be in the usable range between 240 and 300. Those clear measurements, simple pixel math, and practical export steps mean you can make crisp, gallery-ready prints without giant files or guesswork, and they give you a straightforward path from capture to print.
One realistic caution: frame and crop with a 4:5 mindset and leave extra pixels and margin so you can trim, fix color, or sharpen without losing quality, since sensor ratios and lab profiles can surprise you. We opened by asking how big an 8×10 actually is, and by laying out exact dimensions, pixel formulas, aspect-ratio advice, and export checklists we’ve answered that question and shown who benefits most — portrait and studio shooters, wedding pros, and keen hobbyists. You’ll be ready to make prints that look like you meant them and stand the test of time.


0 Comments