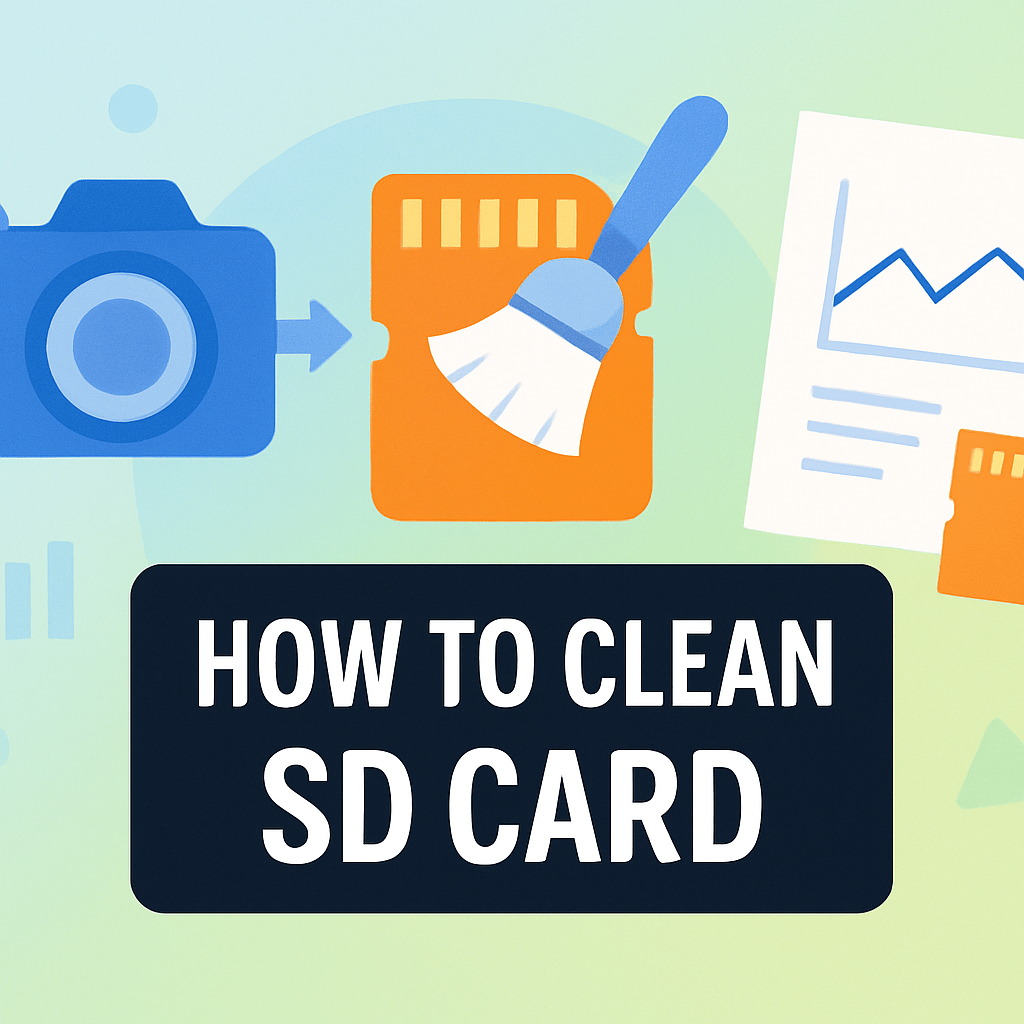
How to clean sd card without risking your photos or files? This guide gives short, safe steps you can follow right now.
We show how to inspect contacts, remove dust with a blower, wipe with a microfiber cloth, and clean contacts safely with isopropyl alcohol. You will also learn how to dry, test, and store cards to avoid future problems.
Safety first: back up your data, power off devices and eject the card before you begin. If you see heavy corrosion or physical damage, we explain when to stop and replace the card or seek recovery help.
The article includes a short tools list, stepwise photos, and quick troubleshooting tips for common errors. Follow these steps and you’ll know exactly how to clean sd card and confirm it works afterward.
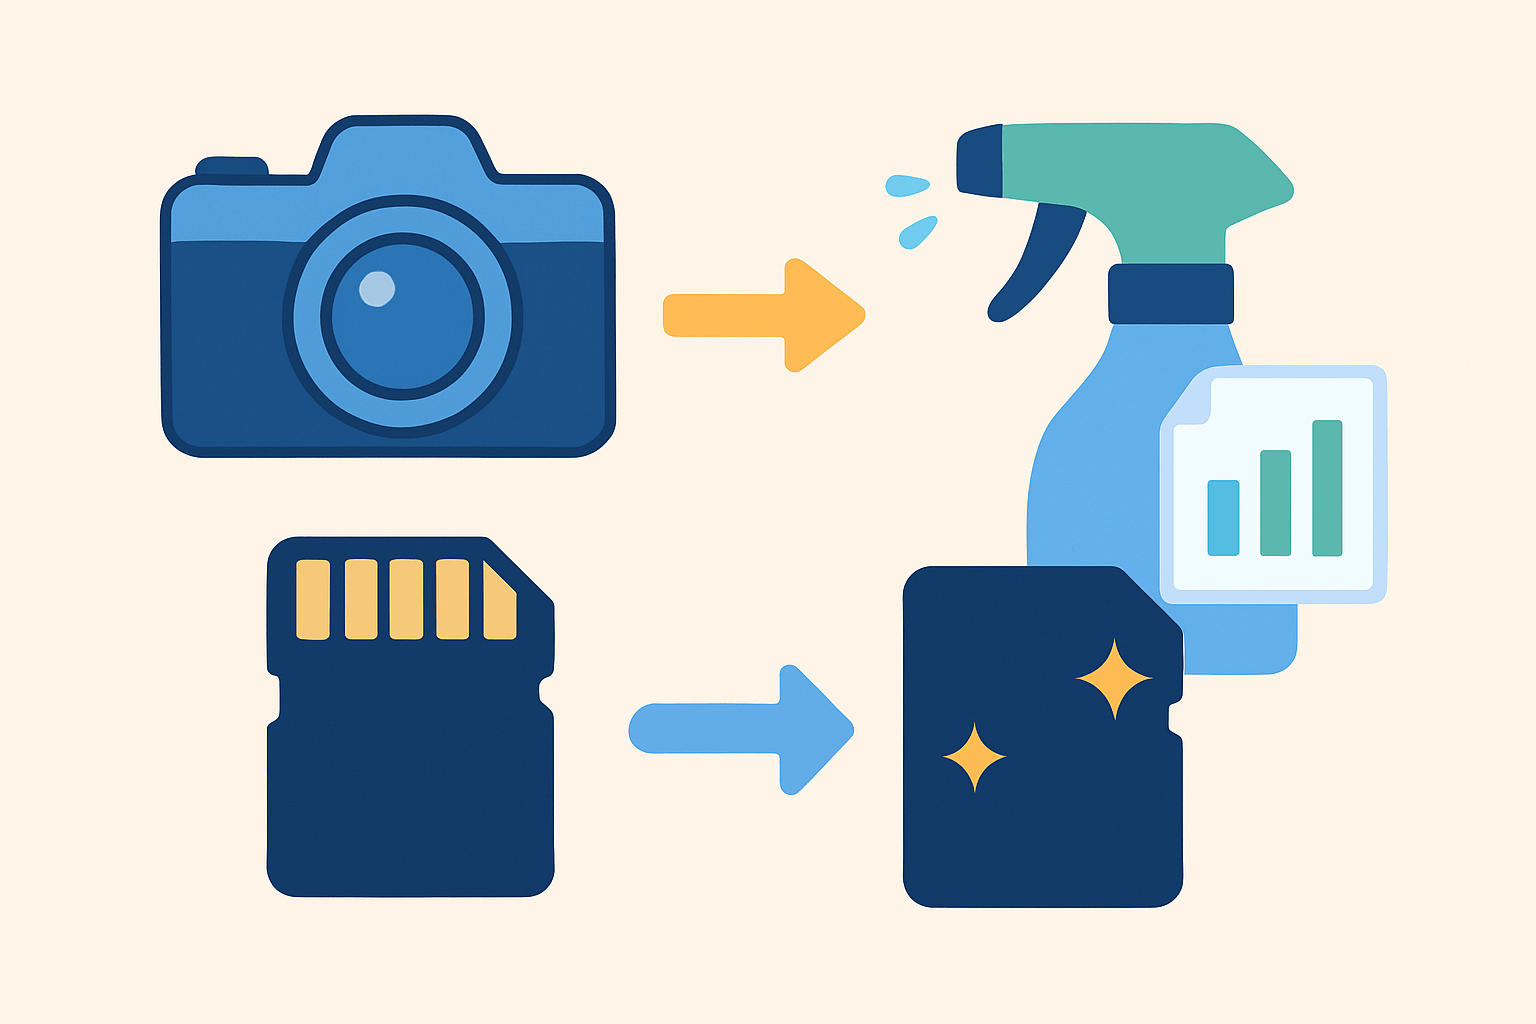
Back up before cleaning. Power off and eject the card safely.
Step 1: Inspect Your Memory Cards for Physical Damage
If you came here to learn how to clean sd card, start by inspecting the card first. This protects your photos and prevents hidden damage from getting worse. A 30-second check can save an entire shoot and your peace of mind.
Power the camera or phone off and use the operating system’s eject command before removing the card. Place it on a clean, well-lit surface and, if possible, back up the files first. Clean, dry hands only for all handling.
Look for cracked or bent plastic, a peeling label, or a loose seam around the edges. Check the gold contacts for bends, flattened spots, or green and white corrosion that looks like powder. Grit or grime near the contacts is also a red flag that needs attention.
Glance at the adapter’s lock switch if you use microSD in an SD adapter. A bent or stuck switch can cause sudden write errors or “read only” warnings. Any sign of water staining, fogging, or mineral crust means proceed with caution and slow down.
Decision time is simple. If everything looks straight and clean, continue to cleaning, but if you see corrosion, deep scratches, or any deformation, stop using the card and consider replacement or professional recovery. Do not risk further writing if the card looks compromised.
For clarity, include a macro photo showing healthy shiny contacts next to a dirty set for comparison. A close-up of pitting or missing gold plating helps you know when a card should be retired rather than rehabilitated.
Quick answer for the impatient: Inspect → Blow → Wipe → Alcohol-clean (if needed) → Dry → Test. Tape this flow to your kit so you do not miss steps when working fast.
Set out a small kit so you are ready for the next steps. A manual lens blower, 90–99% isopropyl alcohol, lint-free swabs, a clean microfiber cloth, a hard-case SD wallet, and a dependable card reader are all you need. Keep them together in a small pouch in your camera bag.
Use Compressed Air or Lens Blower to Remove Dust
Dust is the most common problem and the easiest to fix. The safest start to how to clean sd card contacts is a manual lens blower used with patience. Canned air works too, but it needs extra care and good distance.
Hold the card over a clean surface and aim the nozzle at a shallow angle a few inches away. Use short, controlled bursts and never turn a can upside down, which can spray cold liquid propellant. Never blow with your mouth because moisture adds residue and can corrode contacts.
Avoid very high pressure that could force debris deeper or nick the plastic shell. Do not jam a blower tip into tiny slots on a camera or reader, as that can bend pins or scratch guides. Gentle and at a distance is the rule for safe airflow.
If debris might be in the camera or reader, give the slot two light bursts after checking your manufacturer guidance. Then recheck the card and repeat once if needed to clear remaining dust. For more technique notes, see clean memory cards.
Using a Soft, Dry Microfiber Cloth
A microfiber cloth lifts oils and light dust without scratching delicate surfaces. Make sure it is clean and truly lint-free, not a shirt or random fabric from your bag. Keep the cloth dry for this stage to prevent streaks.
Wipe the contacts in one direction along their length with light pressure. Avoid scrubbing back and forth across the gold since cross-grain friction can scuff the plating. After the contacts, lightly wipe the card body and label to remove film and fingerprints.
Do not use paper towels, tissues, or abrasive rags because they shed fibers and can scratch. Skip household cleaners and solvents at this point, as they leave residue and may attack adhesives. Only move to a damp cloth when following the alcohol step below.
If you want to study gentle wiping angles and grip, this guide on cleaning memory cards shows close-ups that match this technique. Consider snapping your own before-and-after macro photo to verify your progress.
Cleaning Connectors with Isopropyl Alcohol
This is the definitive move when contacts are sticky or oxidized and dusting is not enough. Use 90–99% isopropyl alcohol, lint-free or foam-tipped swabs, a tiny dish, and anti-static tweezers for clean handling. A pristine pencil eraser can help with very light oxidation, but use it sparingly and never hard.
Power off and eject the card, and back up if the card still mounts even once. Lightly moisten a swab in alcohol and dab off extra so it is damp, not dripping at all. Gently swipe the contacts lengthwise a few times until residue lifts, then finish with a fresh damp swab to clear any remaining film.
If oxidation is mild, one soft pass with the eraser can break it up, followed by alcohol to remove debris. Keep liquids away from the inner edge and the label, where wicking can creep inside. Never submerge the card or allow alcohol to pool around seams.
Let the card air-dry on a clean surface for 5–10 minutes to ensure complete evaporation. Do not speed things with heat, hair dryers, or sunlight because heat can warp plastics. Test in a known-good reader, verify files, and copy a small file first, then if errors persist you may need to format an SD card after a complete backup.
This gentle alcohol clean is the safe, professional way for how to clean sd card contacts without harming the plating. Avoid aggressive abrasion that can remove the thin gold layer and cause permanent failure. Keep alcohol off stickers and adhesives to prevent peeling and debris.
If the card still fails, try another reader or adapter and test on a second device before judging the card. Check the adapter’s lock switch, run integrity tests such as H2testw or F3, and use Disk Utility or chkdsk to scan the volume for errors. For critical jobs, stop and seek professional recovery rather than risking more writes and deeper corruption.
Store Memory Cards in Protective Cases
Good storage keeps cards clean and prevents repeat problems after you learn how to clean sd card properly. Use individual SD cases or a hard wallet with foam slots, and label each card for easy rotation. Keep them in a cool, dry place with a small silica gel packet and away from heat or sunlight.
Handle cards with clean, dry hands or thin gloves to avoid skin oils and grit. Do not carry loose cards in pockets or the bottom of a bag where dust, moisture, and pressure build up. Spares should live in cases, not loose where contacts can rub on metal or coins.
Rotate cards so no single one takes every duty cycle, which reduces wear and surprises. Keep camera firmware and card reader drivers up to date, and retire cards that show repeated mounting or write errors after cleaning. Visible pitting, missing plating, or a cracked shell means replace the card immediately.
After any cleaning, verify your work by copying files and running an integrity test such as H2testw or F3. Only after a successful backup should you consider formatting to refresh the file system and clear errors. With these habits in place, how to clean sd card becomes a rare task rather than a rescue mission on shoot day.
What People Ask Most
How do I clean an SD card safely?
Turn off your device, remove the card, and gently wipe the metal contacts with a dry, lint-free cloth or a soft pencil eraser. Avoid liquids and harsh scrubbing to prevent damage.
Can I use water or alcohol to clean an SD card?
Avoid water, but a tiny amount of isopropyl alcohol on a lint-free cloth can help remove stubborn grime if used sparingly. Make sure the card is completely dry before reinserting it.
How do I clean the metal contacts on an SD card?
Lightly rub the contacts with a soft pencil eraser or a microfiber cloth to remove dirt and oxidation, then wipe away any residue. Be gentle to avoid scratching the contacts.
Will cleaning an SD card delete my files?
Cleaning the outside of the card does not delete files, but formatting or using disk utilities can erase data, so always back up important files first. Avoid risky procedures unless you have a backup.
How often should I clean my SD card?
Only clean the card when you notice dirt, poor connection, or read errors rather than on a set schedule. Unnecessary cleaning can wear down the contacts over time.
Can I clean an SD card while it’s in my camera or phone?
Do not clean the card while it’s inserted; always power off the device and remove the card first to avoid data loss and electrical damage. Cleaning outside the device is safer and gives better access to contacts.
My SD card still won’t work after cleaning — what should I do?
Try the card in another reader or device and back up any recoverable files, then consider professional recovery or replacement. Persistent issues may mean internal damage beyond simple cleaning.
Final Thoughts on SD Card Care
You’ve learned hands-on steps to keep your cards reliable — even a stubborn card labeled 270 can often be saved with careful inspection, gentle dusting and targeted alcohol cleaning that respects sensitive contacts. Remember to back up before cleaning and to power off and eject the card safely, the opening safety line that set the tone for every step. The guide walked you through inspection cues, safe blower technique, microfiber wiping, alcohol treatments, drying and testing so you can protect files and restore consistent performance without making damage worse.
The main payoff is simple: fewer surprises, fewer lost shots and a card that behaves when you need it, giving you predictable storage you can trust. Don’t force repairs if you see pitting, removed plating, or warped plastic — stop, replace the card or consult a pro, because aggressive cleaning won’t bring back physically damaged contacts; this approach is best for photographers, videographers and anyone who relies on memory cards for important files. You’ll head into your next shoot with more confidence, knowing you’ve got a safer routine and smarter storage habits to protect the moments you capture.


0 Comments