
How to photograph glass and make it sparkle without ugly reflections?
This short guide gives simple, repeatable steps for studio and home shoots. You will learn lighting, reflection control, camera settings, gear, and post-processing.
It covers bright-field and dark-field lighting, diffusion, blocking reflections, and variants like frosted, colored, textured glass and pouring water. You will also get checklists, sample camera settings, troubleshooting tips, and safety notes.
Follow five clear sections and practical recipes to get clean, pro-looking glass photos. Read on to learn easy setups and quick fixes that work every time.
How To Take Pictures Of Glass
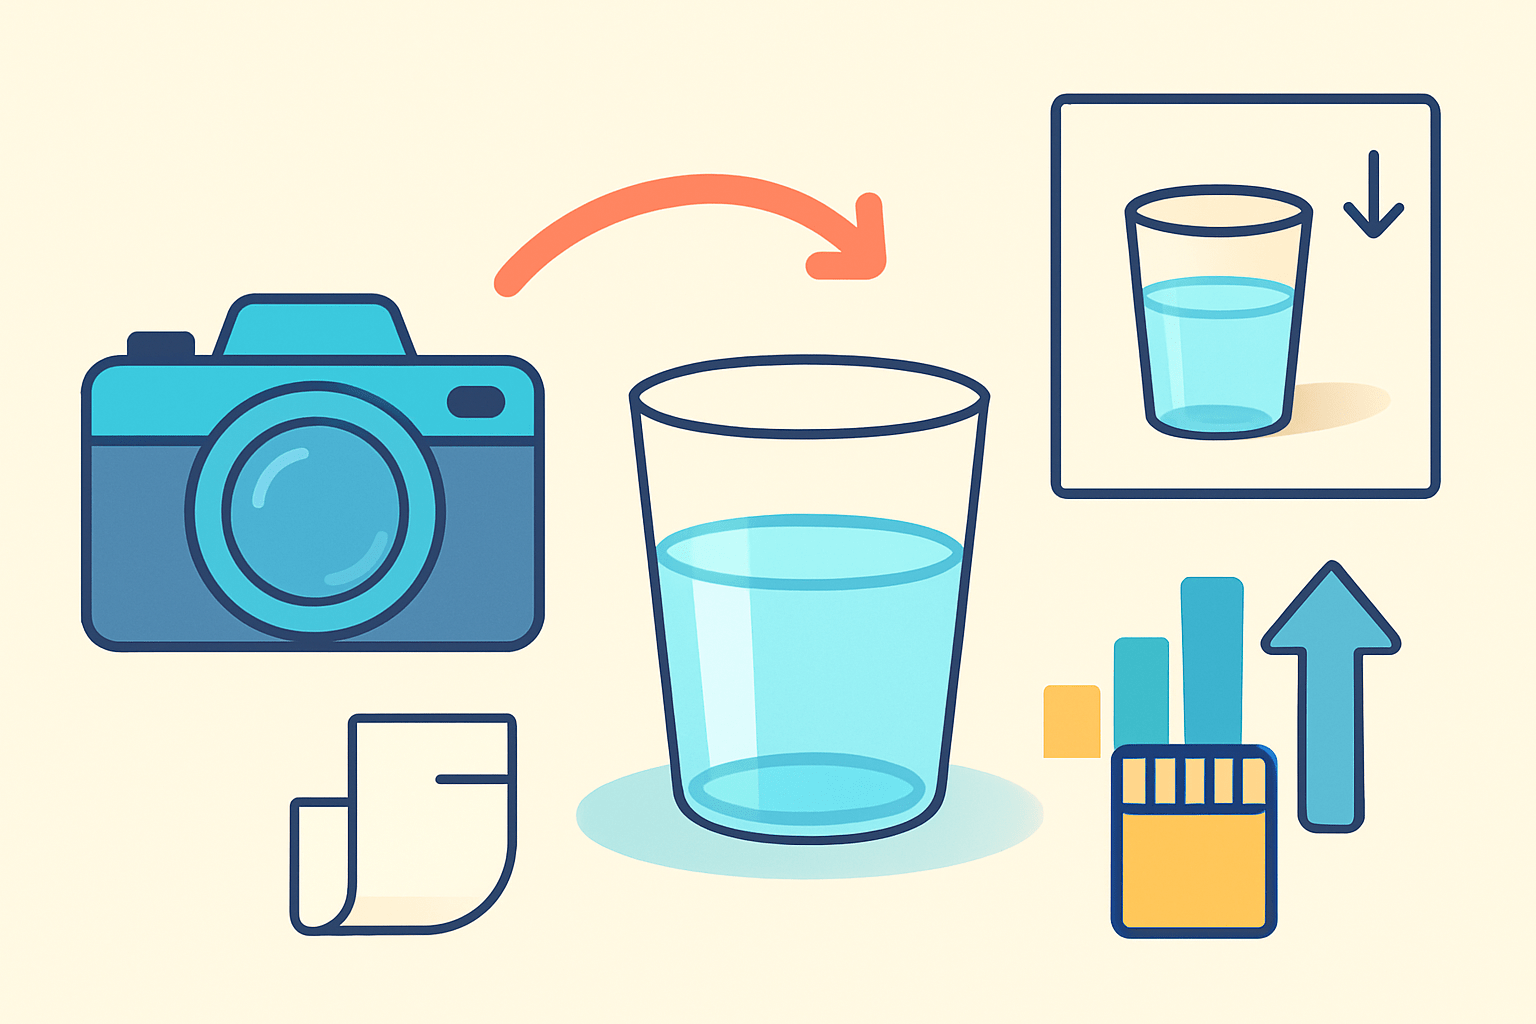
To reliably photograph glass, clean the surface, control light with heavy diffusion, and block reflections. Mount the camera on a tripod, shoot manual with a narrow aperture, bracket exposures, and refine highlight shape with flags and cards. Retouch dust and small reflections at the end.
Put on gloves and polish the glass until flawless. Place it on white acrylic for a glowing bright-field, or on black velvet for moody dark-field. Backlight through a softbox for bright field, or set narrow strip lights behind the edges for a rim; shoot at ISO 100, f/8–f/16, bracket, and shape highlights with black and white cards before final tests.
If you are learning how to photograph glass, start with a clear tumbler on white to master bright-field. Dark-colored glass needs stronger edge light and deeper flags. Frosted and textured glass benefit from side light to reveal surface detail, while shooting through window glass calls for polarizers and careful angles.
When you need extra inspiration or troubleshooting, skim a concise guide for more glass tips. Then come back to your set and refine one change at a time. Small moves add up quickly with reflective subjects.
Glass Photography Lighting: Backlight, Diffusion & Avoiding Glare
Light control is everything with glass because the subject is mostly air and reflections. The shape you see is created by highlights and the environment the glass reflects. If you want to know how to photograph glass well, design the light first and only then place the camera.
For bright-field on white, put a large softbox or a translucent panel behind the glass and shoot “through” that glowing wall. Add extra diffusion if you see hotspots, and use small black cards just outside frame to define edges. Example photo caption: clear wine glass glowing on a seamless white; alt text suggestion: “clear wine glass on white background, bright-field backlight, soft edge definition.”
For dark-field on black, keep the background unlit and place two narrow stripboxes slightly behind the glass on each side to create clean rims. Use snoots or grids to keep light off the background, and feather until the rims look even. Example photo caption: champagne flute with silver rims floating on black; alt text suggestion: “rim-lit champagne flute on black background, dark-field lighting, twin strip lights.”
Stack diffusion if needed: a softbox, a separate diffusion frame, then tracing paper near the light. Bounce small white cards to lift shadows, or add a very gentle front fill if the label or etching needs clarity. Avoid pointing lights at the glass; aim at diffusion and use flags or negative fill to control stray reflections.
To freeze pouring water or bubbles, use flash with a short duration and keep ambient low. Set a safe sync speed, then rely on the flash pulse to stop motion; position a backlight and a side kicker to catch droplets. For more ideas on shaping sets, explore how to photograph glassware and adapt those placements to your studio.
Controlling Reflections, Backgrounds & the Set
Glass behaves like a mirror that happens to be see-through. It reflects your room, your camera, your face, and every light source. The fastest wins come from controlling what the glass can “see” rather than forcing it with more power.
Dress in black and use matte-black flags to hide bright shapes. Mask stray sources with black foamcore, and extend a black hood around the lens if needed. Clean everything twice with a microfiber, blower, and a touch of distilled water; finish with compressed air for dust.
For bright-field, seamless white, white acrylic, or a backlit softbox keeps the glow clean. Watch for color casts from tables and walls, and add extra diffusion to even the panel. For dark-field, use black velvet or a matte black board and guard it from spill so it stays truly black.
Polarizing filters can reduce some glare from labels or liquids but won’t remove all reflections from pure glass surfaces. When shooting through window panes, press a collapsible rubber lens hood to the glass to block room reflections. Use black cards to deepen edges, and negative fill to carve shape.
Common reflection issues are easy to fix with small moves. See the camera reflected in the bowl? Raise the lens slightly and add a black flag above. Rims too bright or uneven? Feather lights away from the subject and reduce power on the hot side.
Example photo for frosted glass: perfume bottle lit from the side to reveal a silky gradient; alt text suggestion: “frosted glass perfume bottle with soft side light, smooth gradient on matte surface.” Example for textured glass close-up: macro detail of a ribbed tumbler with angled side light; alt text suggestion: “macro of textured glass ribs, crisp highlights, side-lit detail.”
Example for shooting through window glass: street scene framed by raindrops, reflections minimized with a rubber hood; alt text suggestion: “shooting through window, raindrop details, reflections blocked with lens hood.” These examples train your eye to see what the glass sees and refine the set with intent.
Camera Settings & Gear for Glass Objects
Bring a solid tripod, a macro or short telephoto lens (85–200mm, 100mm macro is great), speedlights or continuous panels, softboxes or stripboxes, foamcore and black cards, a polarizer, remote release, microfiber cloths, clamps and tape, and white acrylic. Cheap alternatives work well: a white shower curtain as diffusion, black poster board as flags, and a thrift-store bedsheet as a bounce.
Start at f/8–f/16 to keep edges crisp and control depth. Keep ISO low (50–200) for clean files, and set shutter to match your light; with flash, use your sync speed and let flash duration freeze motion. Switch to manual focus, use live view magnification, and stabilize with a tripod, mirror lock-up, and a 2-second timer or remote.
Longer focal lengths reduce distortion and compress reflections, making shapes neater. A macro lens lets you fill the frame with labels, etched logos, or bubbles without leaning in and catching yourself in the glass. Back up, zoom in, and keep your footprint small in the reflections.
A circular polarizer can help with glare on liquids or glossy labels if you rotate it to the right angle. A lens hood and grids on speedlights keep light off the background and prevent flare. For deeper control, study targeted lighting pro tips and build small flags to sculpt highlights.
Sample settings for still clear glass on white: ISO 100, f/11, 1/125s, one large backlight through a softbox and extra diffusion, plus two small black cards near the edges for definition. Manual focus on the front rim and bracket one stop up and down.
Sample settings for dark glass on black: ISO 100, f/13, 1/160s, two stripboxes slightly behind the subject at low power for even rims, no front fill, and a black velvet sweep far from lights. Add a top flag to kill ceiling reflections and fine-tune rim thickness.
Sample settings for pouring water: ISO 200, f/8, 1/200s with speedlights set to low power for short flash duration, backlight for translucency, and a side kicker to catch droplets. Kill ambient so flash does the freezing, and rehearse the pour for consistent arcs.
Practical Shoot Workflow + Post-Processing Essentials
Clean the glass thoroughly, wear gloves, and place it on your chosen background. Position your backlight or rim lights, mount the camera on a tripod, and set a base exposure in manual mode.
Block unwanted reflections with black flags and a lens hood, then scan the glass for mirror hits while moving a small black card. Take test shots, adjust light angles by centimeters, bracket exposures, and capture close-ups of labels or textures.
For action pours, plan the movement, rehearse the splash, and use burst or short-duration flash. Keep assistants in black and out of reflective angles, and wipe spills immediately so the floor stays safe.
Bracket highlights and shadows for control, then blend in post with careful masks. You can even capture a bright-field plate for the body and a rim-light plate for edges, then combine them to taste.
In raw processing, set a neutral white balance, recover highlights, and add midtone contrast. Retouch dust and water spots with spot heal, and clone any stray reflections along clean edges. For subtle polishing on large surfaces, consider gentle frequency separation to keep texture natural.
Blend plates using soft masks and refine edges with a small brush at low flow. Add local contrast and a touch of sharpening around rims and labels, and be careful with saturation so transparency looks believable.
Try creative finishes with colored gels behind the subject and see how refractions tint the glass. Composite a few tack-sharp droplets from your burst for a hero splash if needed. Example caption: vibrant aqua gel behind a decanter; alt text suggestion: “colored gel backlight tinting decanter, clean rim highlights.”
Common problems and fixes: milky white background turning gray, so move the subject away from the backdrop and raise backlight power. Rims too thick, so feather stripboxes further behind and narrow the angle.
Label glare, so add a tiny front flag or twist the bottle a few degrees. Uneven reflections, so square your set and use larger diffusion to equalize sources.
Dust that keeps returning, so use a blower between every take and clean the set itself. Soft edges at close focus, so stop down or shoot a quick focus stack and blend.
Haloing from masks in post, so expand the mask slightly and blur its edge before refining with a low-flow brush. Color cast from a tabletop, so add a neutral card under acrylic or lift the glass on clear risers.
To finish strong, rename files with the lighting approach so you can repeat success later. This simple habit makes it easier to remember how to photograph glass the next time you set up under pressure.
What People Ask Most
How to photograph glass without reflections?
Use soft, diffused light and shoot at an angle to avoid catching yourself, and use a polarizer or black cards to control stray reflections.
How to photograph glass to show its clarity and texture?
Backlight or side light the glass to highlight edges and surface details, and make sure the glass is spotless to show true clarity.
What camera settings work best when learning how to photograph glass?
Use low ISO for clean images, steady the camera on a tripod, and choose a smaller aperture so more of the glass stays in focus.
How to light glass for a clean, professional look?
Use soft, even light sources with diffusers or a light tent, and add simple reflectors or black cards to shape highlights and shadows.
How can I photograph glass using natural light?
Place the glass near a window with indirect light, use white boards to bounce light into shadow areas, and avoid direct sun to prevent harsh glare.
What common mistakes should I avoid when photographing glass?
Avoid fingerprints, cluttered backgrounds, and harsh direct lighting, and always scan for unwanted reflections before you shoot.
Can I photograph glass well with a smartphone?
Yes — clean the glass, steady the phone or use a small tripod, and tap to focus and adjust exposure for better highlights and detail.
Final Thoughts on Photographing Glass
Glass can feel like the trickiest subject, but the payoff is clean, luminous images when you control light and reflections — a small tweak, I once moved a strip light 270 mm, will often fix a stubborn highlight. We opened by asking how to take pictures of glass, and this guide gave a simple, repeatable plan: clean carefully, shape light, block unwanted mirror hits, stabilize the camera, bracket, and polish in post. That approach turns frustrating glare into crisp edges and believable transparency.
Be realistic: it’s precise work and it’ll take time, patience, and a few test runs, and you’ll need to watch for dust or assistant reflections near wet setups. Product and studio shooters, hobbyists making portfolio pieces, and anybody selling glassware will see the biggest gains from these techniques.
By walking through lighting setups, reflection control, gear choices, and a step-by-step workflow plus post-processing recipes, the piece answers that opening promise and leaves you with practical moves to try. Keep experimenting with tiny angle and diffusion changes — your next shoot will show the progress.




0 Comments