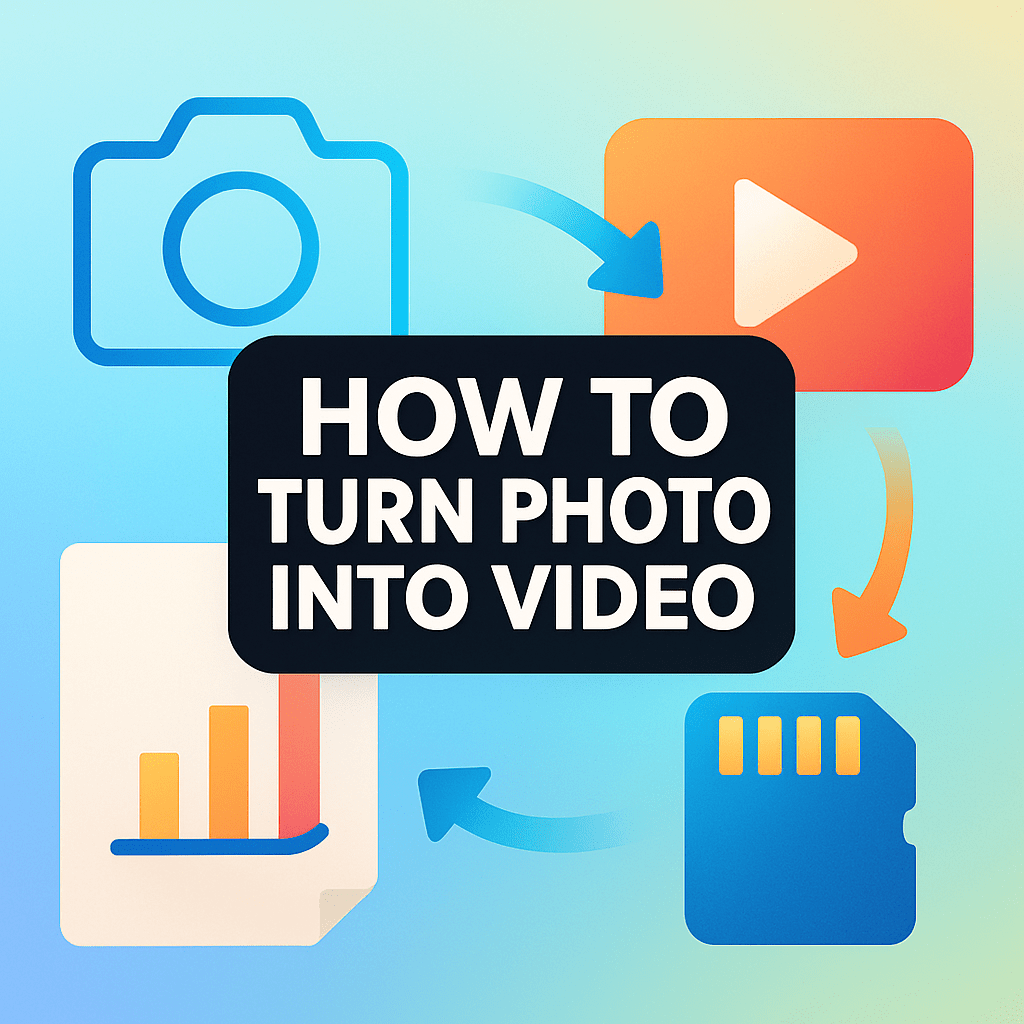
How to turn photo into video that looks cinematic and tells a story?
This guide shows three simple methods: desktop editors for control, online makers for speed, and mobile apps for quick social clips. You will get step-by-step workflows, pro tips, export settings, and a handy downloadable checklist.
Whether you want a fast Reel or a polished slideshow, the steps are easy to follow. Screenshots, GIFs, and sample projects are included so you can copy them.
Start with the quick 3-step path to make a video in minutes, or read the full sections for detailed workflows and troubleshooting. Let’s make your photos move.
3 ways to make a video with pictures

You can turn a photo into a video three main ways: desktop editors, online video makers, or mobile apps. If you came here wondering how to turn photo into video fast or with the most control, this guide walks you through all three so you can pick the right path in minutes.
Use a desktop editor when you want maximum quality and control. Use an online tool when speed and templates matter most, and pick a mobile app when you need vertical clips and quick social posts on the go.
Desktop editing is best for precision and results. You get full control of motion, color, audio, and export, but it takes more time and has a learning curve. It shines for professional slideshows, YouTube videos, events, and anything where details matter.
Online video makers are fast and simple. Drag in your images, choose a template, and export for social or marketing in minutes, but watch for watermarks and lower export quality on free tiers. They are ideal for social posts, quick promos, and lightweight brand edits.
Mobile apps are perfect for short vertical videos and quick family or travel clips. You can edit anywhere and post directly to Reels or TikTok, though complex adjustments can be tougher on a small screen. They are great for stories, behind-the-scenes, and quick recaps.
Quickest path: 1. Pick a tool that matches your device and goal. 2. Upload your photos and drop them on a timeline or storyboard. 3. Add simple motion and music, then export to your target format.
If you need a deeper walkthrough of how to structure a visual story, this guide to make a video with pictures is a helpful companion. In one line, choose desktop for quality, online for speed, and mobile for vertical clips when time is tight.
Starting a New Project and Organizing Photos
Before you click New Project, make a tiny plan. Confirm your final platform and aspect ratio, set a target resolution, define the mood, and decide on music you can legally use.
Prepare your photos so your edit feels smooth. Cull duplicates, sort chronologically or by theme, and rename them cleanly so you can search fast; use subfolders like Day 1, Ceremony, or Product A.
Do basic batch edits for consistency. Match exposure and white balance, crop to a common framing, and save high-quality JPEGs or PNGs if you don’t need heavy grading; keep RAWs if you plan to color-correct deeply.
If an image is small or noisy, upscale it with AI as a fallback and sharpen lightly. This keeps your final video crisp, especially if you export 1080p or 4K.
Sketch a simple storyboard and pacing guide. For fast social, aim for 2–4 seconds per image; for slower montages, try 4–8 seconds and hold on key moments longer to let emotion land.
Mark musical beats you want to hit, like chorus entries or drum hits. Place your strongest images at those beats so the visuals and audio feel locked together.
Choose an aspect ratio and stick with it from the start. Use 16:9 for YouTube, 9:16 for Reels and TikTok, and 1:1 if the main feed is square; for mixed orientations, use a soft blurred background or smart crop to maintain consistency.
Create asset folders for music, fonts, logos, and any B-roll or texture overlays. Add a note to include captions or on-screen text for accessibility, and double-check that your music license covers your use case.
Here are three ready recipes to get momentum. Travel montage: 30–45 seconds, gentle cross-dissolves, light electronic or indie track. Business promo: 15–30 seconds, cuts on beats with a few zooms, upbeat corporate or pop track. Memorial slideshow: 3–5 minutes, slow dissolves and subtle pans, calm piano or strings.
To keep editing simple, download a tiny “Photo → Video Checklist” you can stick by your monitor: prepare images, pick one ratio, choose method, clear music, confirm export settings. This alone removes half of the common mistakes.
Use video editing software
Premiere Pro is the workhorse for cross-platform, Final Cut Pro is fast on Macs, DaVinci Resolve has a powerful free version, and iMovie is a friendly beginner option. If you like experimenting, Adobe’s image to video AI can add smart motion ideas you can refine by hand.
1. Create a new project and set sequence or timeline settings first. Match your frame rate to the destination, like 24 or 30 fps for most platforms or 60 fps for ultra-smooth motion, and pick 1080p or 4K depending on delivery.
2. Import photos and your chosen music. Set the default still image duration in preferences so each photo drops in at 3–5 seconds by default.
3. Drag images to the timeline in story order. Add timeline markers on major beats of the song and nudge photos so important frames land on those markers.
4. Add motion with the Ken Burns effect or keyframes. Use slow pans and small 5–15 percent zooms, and apply ease in and ease out so movement feels natural.
5. Keep transitions subtle so the story stays clean. Cross dissolves work almost everywhere, dip to black can mark a section change, and hard cuts on beats add energy without clutter.
6. Bring in music and balance audio. Fade in and out gently and duck music under any narration to about minus 18 to minus 12 LUFS integrated for clarity.
7. Do light color correction. Balance exposure and white balance, then add a simple LUT at low intensity to unify different cameras or lighting conditions.
8. Export to MP4 with H.264 for the web. Use 1080p at roughly 8–12 Mbps, or 4K at 20–50 Mbps, and set AAC audio at 128–320 kbps; keep frame rate consistent with your timeline.
Pro tip: For heavy projects, generate proxies so your timeline stays smooth, and nest photo groups if your motion is complex. If pans look jittery, shorten the movement or add easing to both keyframes; when a photo is soft, upscale gently and avoid aggressive sharpening.
Use online video maker tools
Online tools trade depth for speed and templates. You get instant layouts, auto-animate features, and stock libraries that make design decisions for you.
Try Canva for easy design and brand kits, Kapwing for quick edits in the browser, Animoto for slideshow simplicity, InVideo for marketing templates, and Clipchamp for solid free exports. If you want the simplest starting point, Canva’s photo to video feature is a fast way to test looks.
Start fast with a template or blank scene. Upload your photos, drag them into the storyboard, apply auto-animate, add licensed music, and export; if needed, hit smart resize to repurpose the edit for 16:9, 1:1, and 9:16.
Check plan limits so you’re not surprised by watermarks or low-resolution caps. Preview your video at 100 percent zoom to catch soft images or awkward crops before you export.
Confirm music licensing, even if it’s “free.” Many tools include safe tracks, but always read the usage terms, especially for ads, clients, or monetized posts.
Example: Turn a vacation album into a 30–45 second reel by dropping fifteen favorite shots into a travel template, letting auto-animate add light pans and zooms, syncing highlights to the chorus, and exporting with a square and vertical version for different feeds.
Use mobile apps for video creation
Mobile is perfect for quick social edits and vertical stories. If you’re learning how to turn photo into video for Reels or TikTok, editing on your phone keeps the process fast and focused.
CapCut offers strong keyframes and beat-sync; InShot has friendly filters and text; VN provides clean timelines and precision; iMovie on iOS is easy for simple slideshows; Quik auto-creates energetic cuts from your photos.
Here’s a quick mobile flow: 1. Install your app and set a 9:16 or 1:1 canvas. 2. Import photos, adjust durations, reorder, and add gentle motion or auto-animate. 3. Add text overlays and stickers, pick music and sync to beats, then export at 1080×1920 for vertical posts.
Set vertical presets from the start so you aren’t cropping later. Export at the highest bitrate available, and avoid repeated recompression by keeping edits in one app until the final render.
Many apps now include portrait animation and AI motion that can bring faces to life. Use these sparingly, get consent for recognizable people, and avoid copyrighted assets you don’t have rights to use.
When you’re done, watch once with sound off to confirm the story still reads. Save your settings into a repeatable preset so the next time you decide how to turn photo into video, you can deliver faster with the same polished look.
What People Ask Most
What is the simplest way to learn how to turn photo into video?
Use a beginner-friendly app or online editor that guides you through adding motion, transitions, and music step by step.
Can I turn old photos into videos for free?
Yes, many free apps and websites let you create short photo videos with basic effects and music.
How long does it usually take to turn a photo into a video?
A simple photo video can take just a few minutes, while a polished slideshow with edits may take an hour or more.
Do I need special skills or software to turn photos into videos?
No, most tools offer templates and drag-and-drop features so beginners can create videos without editing experience.
What common mistakes should I avoid when turning photos into videos?
Don’t use low-resolution images, cram too many effects, or forget to check audio levels for a clean result.
Can I add music and captions when I turn a photo into a video?
Yes, most editors let you add music, captions, and simple animations to improve storytelling and engagement.
Will turning photos into videos help my social media engagement?
Yes, adding motion and sound usually increases views and shares compared to static images.
Final Thoughts on Turning Photos into Videos
You can turn a photo into a video three main ways—desktop editors, online makers, or mobile apps—and this guide showed when to pick each and what results to expect. Even starting with 270 pixels across, the section on upscaling and export settings explained how to preserve image quality and deliver a polished clip. That practical, side-by-side approach was meant to get you editing fast without guessing.
The core benefit is simple: you get to turn still moments into a paced, emotional story that feels made, not slapped together. A realistic caution—mind aspect ratios, source resolution, and music licensing; ignoring those will undo good edits fast. Hobbyists, social creators, and small-business marketers will see the most gain, since the workflows favor speed and easy polish.
We answered the opening promise by giving step-by-step workflows, quick three-step paths, and pro tips so you can choose a tool and finish a project with confidence. Keep experimenting with timing and motion—your best montage is just a few thoughtful edits away.


0 Comments