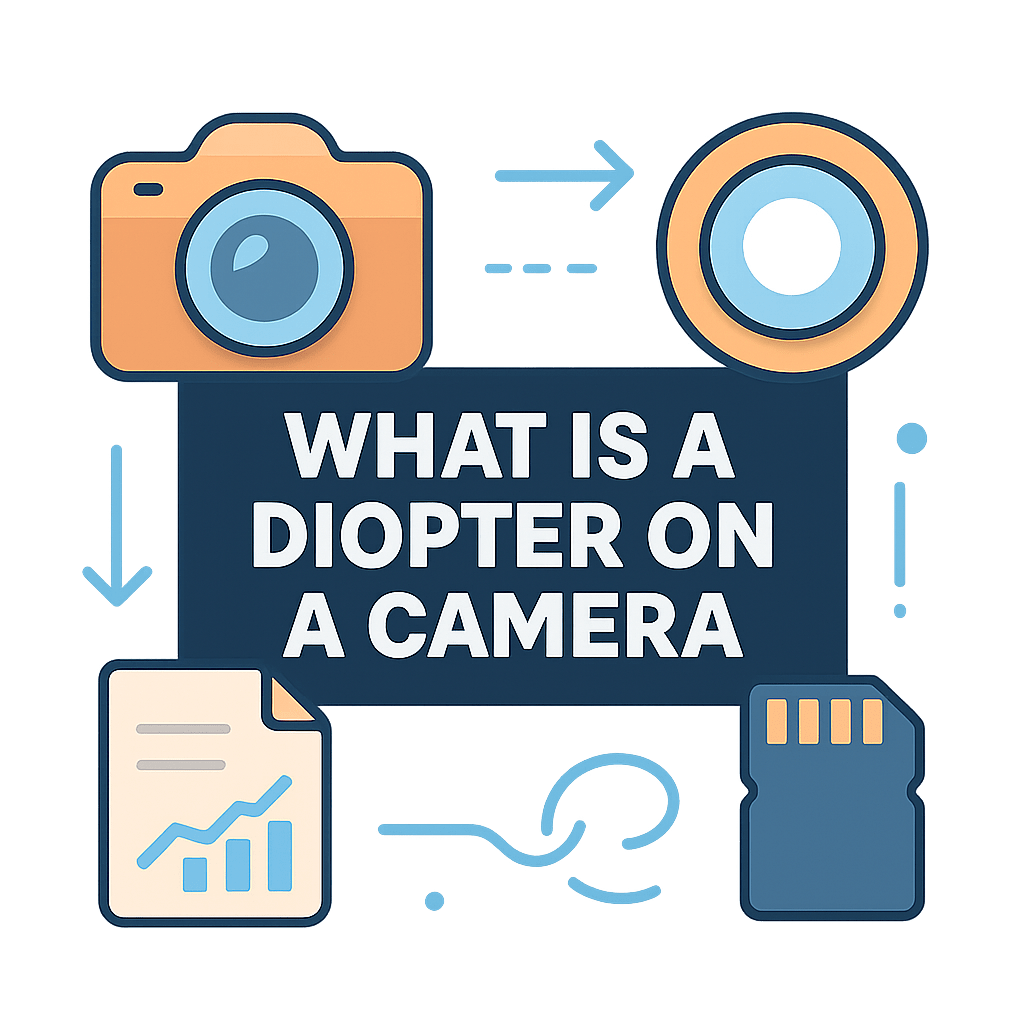
What is a diopter on a camera — the tiny dial that sharpens your viewfinder or the simple filter that turns a lens into a close‑up?
This short guide will explain both uses and show when each one helps you shoot better photos and video.
You will learn the two common meanings: the eyepiece diopter that corrects the viewfinder for your eyesight, and the screw‑on or clip‑on close‑up diopter that lets a lens focus much closer.
Read on for easy step‑by‑step adjustment tips, a simple map of diopter strength to working distance, notes on image quality, and a plain explanation of the split diopter used in filmmaking.
What is a camera diopter?
A diopter is a unit that measures optical power. It is defined as 1 divided by the focal length in meters, so a +1 diopter focuses at about 1 meter. That makes +2 around 0.5 meters and +4 around 0.25 meters, which is a helpful way to picture working distance.
In photography the word diopter is used in two different ways. The most common is the eyepiece or viewfinder diopter, which is a small adjustment near the viewfinder that corrects the scene for your eyesight. The second is a close‑up diopter, which is a screw‑on filter that lets your lens focus closer and magnify small subjects.
The eyepiece diopter only changes what you see in the finder. It does not change the camera’s focus or the recorded image in any way. So if you wonder what is a diopter on a camera, you are usually asking about this eyesight correction wheel on the viewfinder.
A close‑up diopter, by contrast, is a thin convex lens you attach to the front of your lens. It adds optical power to shift the focusing range closer, which increases magnification for flowers, food, or tiny details. Stronger diopters mean you must work closer, which is why +1D is around 1 meter and +4D is around 25 centimeters.
Many beginners confuse the two, and that is normal. If your view through the finder looks soft even when photos are sharp, you likely need to adjust the eyepiece, not buy a filter; this guide to solving a viewfinder blurry problem explains the difference well.
Why is a diopter useful?
The eyepiece diopter makes the viewfinder match your eyesight. A clear finder improves manual focus accuracy and makes it easier to follow fast action. It also lets the camera’s focus points, gridlines, and exposure numbers appear crisp, which boosts confidence.
It is also a comfort tool. With a proper diopter setting you can shoot without glasses or with contacts and still see a tack‑sharp finder. That reduces eye strain on long days and helps you judge timing and composition with less effort.
Autofocus feels more reliable when the overlays look sharp, because your brain is not fighting a fuzzy display. You will be less tempted to refocus again and again. That saves moments you might otherwise miss.
Close‑up diopter filters are useful for a different reason. They offer a cheap and light way to try macro‑style shots without buying a dedicated macro lens, and they are quick to attach in the field. For travel and casual close‑ups, this simplicity is hard to beat.
There are tradeoffs though. A single‑element close‑up diopter can lower sharpness or add color fringing, and it will not match a true macro lens. In movies you may also hear “split diopter,” a creative tool used to keep near and far subjects sharp at the same time; we will cover that later so you do not confuse it with what is a diopter on a camera for the viewfinder.
How to adjust the camera diopter: step-by-step instructions
Before you start, gather a few basics. Charge your battery, mount a lens you use often, and set up a high‑contrast target like printed text or a barcode on a wall. A tripod helps keep things steady, and your camera manual will show where the diopter control sits on your model.
Step 1: Find the diopter control. On most DSLRs it is a small wheel or slider right next to the viewfinder, often on the right side. On mirrorless bodies with an EVF, the wheel is usually tucked beside the eyecup; cinema viewfinders have a similar control.
Step 2: Put the camera on a tripod if you can. Stability keeps your hands from shifting the framing while you adjust the wheel. It also helps you judge fine changes in sharpness more accurately.
Step 3: Aim at your test target at a normal shooting distance. Use autofocus to lock focus on the target and then take your finger off the focus control, or switch to manual focus and set it carefully. With zooms, pick a mid‑range focal length so the view looks natural.
Step 4: Look through the finder and slowly rotate the diopter wheel. Do not only judge the subject; watch the etched elements in the viewfinder, like AF brackets, framelines, and exposure numbers. Stop at the point where those overlays and the target both look crisp and high‑contrast.
Take a breath and fine‑tune in both directions. Move past the sharp point, then come back, and settle where the lines appear razor sharp. Many photographers find it easiest to focus on the AF points, since those are designed to reveal blur quickly.
If you wear glasses, decide whether you will shoot with or without them and set the diopter for that choice. Most cameras have a limited correction range, often around −3 to +1 or a bit more, so very strong prescriptions may still need glasses or a correction eyepiece. If you cannot achieve a truly crisp finder, that range limit may be the reason.
Step 5: Verify the setting in different situations. Zoom in and out, and check in bright and dim light to be sure the overlays stay tack‑sharp. If you share the camera, put a tiny tape mark by the wheel so you can return to your number fast after someone else changes it.
On mirrorless cameras, use magnified view or focus peaking as a reality check. The diopter should make the EVF’s interface elements look sharp, while magnified live view confirms the camera is focusing accurately. Together they prevent the common mistake of chasing focus errors that are really just a mis‑set eyepiece.
If the image never looks crisp, inspect the eyepiece for smudges or dust and clean it gently. Make sure the wheel has not been damaged, and avoid forcing it; over‑tightening can wear the mechanism. For a deeper walkthrough, this concise how to use it resource expands on the process and common pitfalls.
Build a habit around this tiny control. Adjust the diopter before important shoots, and recheck after someone borrows your camera or after you change how you wear glasses. This simple ritual keeps you aligned with what is a diopter on a camera meant to do: make the viewfinder match your eye, so your decisions are spot on.
How diopters affect focusing distance
This section covers close‑up diopter filters, not the eyepiece wheel. A close‑up diopter adds optical power to your lens, and the power is measured in diopters where D equals 1 divided by focal length in meters. The stronger the number, the closer you must work and the higher the magnification.
The rule of thumb is easy to remember. A +1 diopter sets the focus at about 1 meter, a +2 at roughly 0.5 meters, and a +4 near 0.25 meters. These distances are approximate, and your lens design and internal focusing can shift them a bit.
As you add power, your lens can focus closer than its native minimum focus distance. That produces a larger subject on the sensor, which is the goal for macro‑style shots. Telephoto lenses paired with a diopter often give more comfortable working distances and bigger magnification than wide lenses.
Depth of field shrinks fast at close range. Even small movements can throw focus off, so stop down your aperture and use a tripod or faster shutter speeds. For still subjects, focus stacking can help create sharpness from front to back without pushing the lens past its sweet spot.
Image quality depends on the diopter’s optics. Single‑element close‑up filters are cheap and light, but they can add color fringing and soften the edges. Achromatic doublet diopters correct much of that and are worth it if you care about sharp corners and clean contrast.
You can stack diopters and add their strengths, but quality drops quickly and chromatic aberration grows. It is better to use one high‑quality unit than a pile of weak ones. Compared to a true macro lens, diopters are a budget, travel‑friendly option, while a macro lens delivers the best sharpness, flatness of field, and often a true 1:1 reproduction ratio.
What is a split diopter lens?
A split diopter, sometimes called a split field diopter, is a half‑circle lens that mounts in front of your taking lens. One side adds power so near subjects pop into focus, while the other side remains normal. The result is both foreground and background can appear sharp in the same shot.
Filmmakers use this to hold two planes of action at once without stopping down to tiny apertures or switching to a wide lens. It can create striking compositions and a sense of tension or connection between near and far subjects. You have likely seen it in thrillers and dramas where details in the foreground matter as much as the person in the distance.
The look is powerful but comes with tradeoffs. A faint seam can appear where the two halves meet, and depth and brightness can feel mismatched if the scene is not planned carefully. Careful blocking, lighting, and framing are essential to hide the transition.
To use it well, place the seam behind a foreground object or a line in the set, and choose a diopter strength that balances both distances. If the seam is too visible, consider a different angle or modern alternatives like VFX or focus stacking for stills. Do not confuse this creative effect with the eyepiece correction you use to set your viewfinder focus; they are completely different tools that share the word “diopter.”
What People Ask Most
What is a diopter on a camera?
A diopter on a camera is a small adjustable lens next to the viewfinder that helps you make the viewfinder image sharp for your eyes. It lets you see a clear preview without wearing glasses.
How do I use the diopter on my camera?
Look through the viewfinder and turn the diopter adjustment until the focus points and text look sharp to you. Then you can compose and focus without eye strain.
Do I need a diopter if I wear glasses?
Not always—some people prefer to leave their glasses on, but the diopter can fine-tune the viewfinder so you don’t have to wear glasses while shooting. It’s useful when glasses get in the way of the camera or eye relief.
Can adjusting the diopter change the focus of my photos?
No, the diopter only changes how the viewfinder appears to your eye; it does not affect the actual focus of the camera lens or the final photo. You still need to focus the lens for sharp pictures.
Is a diopter the same as magnification?
No, a diopter adjusts sharpness and focus for your eyesight, while magnification makes things look bigger; the diopter simply helps you see the camera’s focus points clearly.
How do I know if my diopter is set correctly?
If the viewfinder display, focus points, and text look crisp without squinting, the diopter is set right. If things look blurry or you see double, turn it slightly until it’s clear.
Will using the diopter prevent blurry photos?
The diopter helps you see the scene clearly so you can focus better, but it won’t fix blurry photos caused by camera shake or wrong focus settings. It only improves your view through the finder.
Final Thoughts on Camera Diopters
Whether you’re spinning the tiny eyepiece wheel to sharpen a viewfinder or screwing on a close‑up lens, this guide showed what a diopter does and why it matters. That handy chart number 270 aside, the real payoff is clearer framing and more reliable focus where you need it most, from quick action to tiny macro subjects. Just note one realistic caution: close‑up diopter filters can cut sharpness and add chromatic aberration, so they aren’t a perfect substitute for a quality macro lens.
We started by asking what a diopter on a camera is, and then walked through eyepiece adjustment, close‑up strengths, and the split‑diopter trick so you can pick the right tool for the job. For travel photographers, hobby macro shooters, and videographers who work manually, those small tweaks deliver big practical gains without lots of extra gear. Keep experimenting with what you have and enjoy how a little optical tweak can unlock new creative shots.


0 Comments