
What is macro mode and how can it make tiny things look huge?
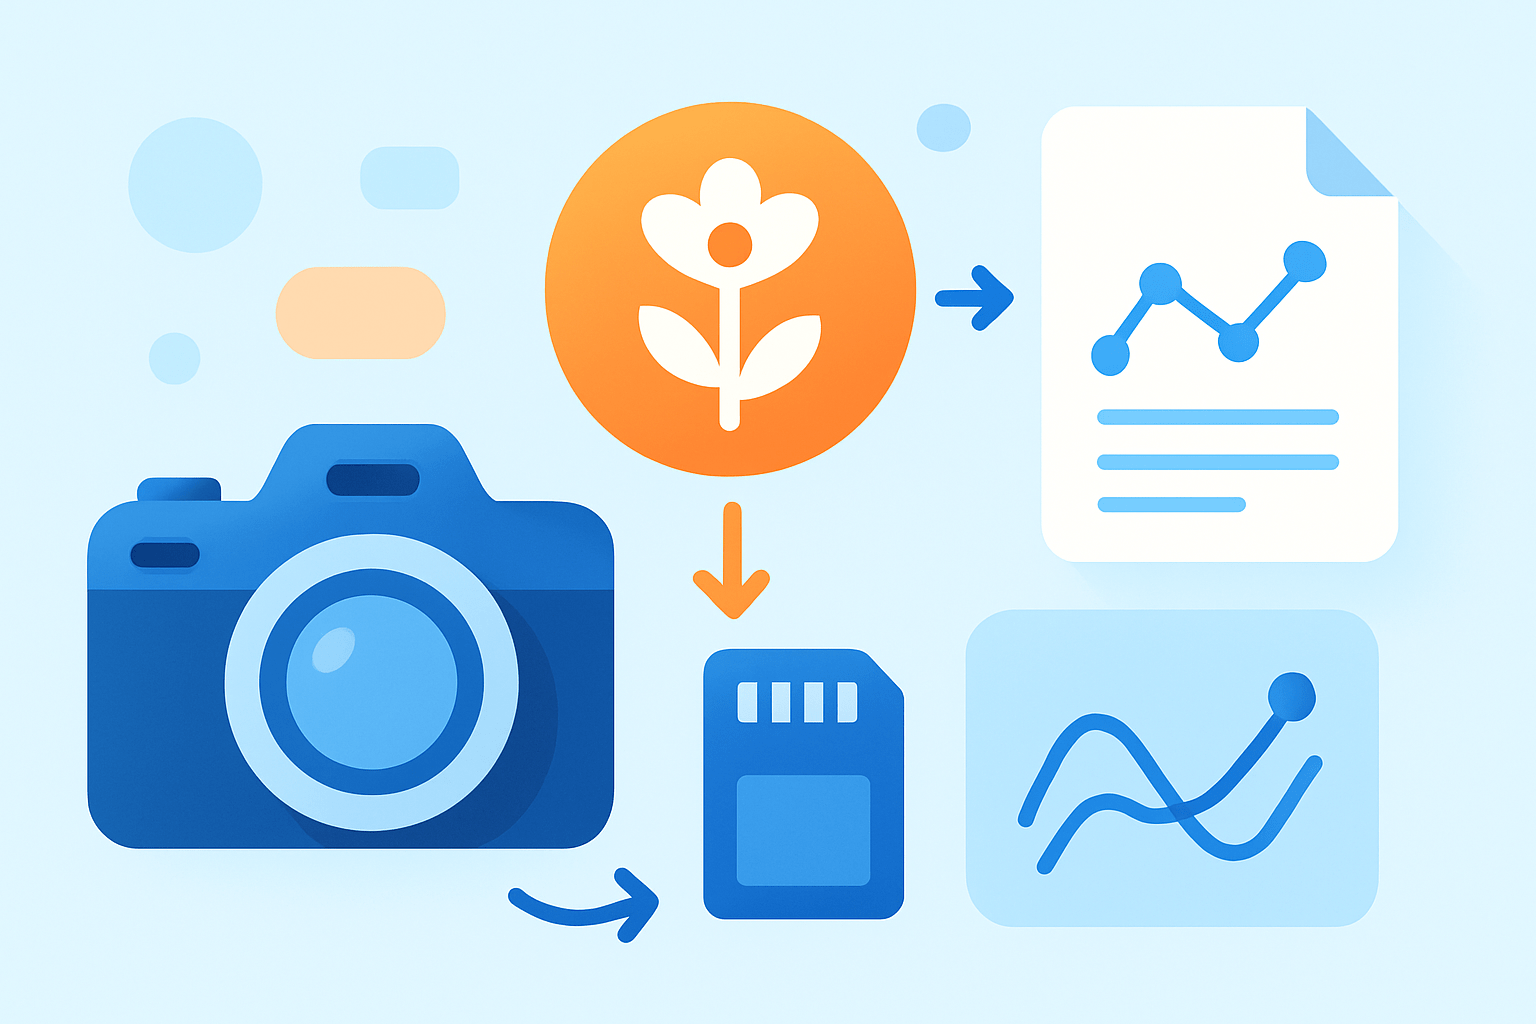
Macro mode is a camera or phone setting (often shown as a flower icon) that lets the lens focus much closer than normal so small subjects fill the frame.
This article explains how macro mode works, how it differs from true 1:1 macro, and how to use it on point‑and‑shoots, phones, and DSLRs. You’ll get step‑by‑step shooting tips, lighting and depth‑of‑field tricks, and a simple checklist to follow before each shoot.
Follow along for quick settings, common mistakes and fixes, plus gear options for every budget. Whether you use a phone or a dedicated camera, these tips will help you capture crisp, detailed close‑ups.
What is macro mode and how does it work?
If you have ever noticed the little flower icon on your camera, you have already met macro mode. Many beginners ask what is macro mode after seeing it, and the answer is simpler than it looks.
Macro mode is a camera or phone setting, usually marked with a flower icon, that lets the camera focus much closer than normal so small subjects fill the frame.
In plain words, the camera changes how close it can focus. It narrows the focus range to short distances and tries to lock focus on tiny details. Autofocus may slow down or hunt a bit, because the depth of field is very shallow when you get close.
Macro mode is not the same as macro photography, and it is not the same as using a true macro lens. Macro photography often talks about magnification ratios, like 1:1, where the subject is life‑size on the sensor, or 1:2, which is half life‑size. True macro is technically 1:1, and you usually reach that with a dedicated lens, as explained in more advanced guides on macro photography.
Most consumer cameras and phones use several tricks in macro mode. They bias focus to very close distances, adjust exposure to protect highlights on shiny little subjects, and sometimes apply software cropping. Some phones switch to a different lens when you move close and then crop the image to keep it steady and sharp.
It helps to understand minimum focusing distance and working distance. Minimum focusing distance is how close the lens can be from the sensor plane to achieve focus. Working distance is how far the front of your lens is from the subject, and it matters even more because it affects lighting and whether you spook insects.
Think of magnification as how big the subject looks on the sensor. At 1:1 a 10 mm ant covers 10 mm of sensor. At 1:2 it covers 5 mm, so it looks smaller. A diagram showing 1:1 versus 1:2 next to a camera screen with the flower icon would make this clear, but even without it, remember that macro mode gets you closer, while a true macro lens gets you both closer and larger.
When you ask yourself what is macro mode, keep expectations fair. It gives you convenient close‑focus and some software help, but it does not change the lens’s optics into a dedicated macro tool. You get a taste of the look, with some limits on how large you can make tiny subjects appear.
Using macro mode on different cameras (point‑and‑shoot, smartphones, mirrorless/DSLR)
Macro mode behaves differently across cameras. The feature is easy on compacts and phones, while advanced cameras rely more on lenses and accessories.
On point‑and‑shoot cameras, you activate macro mode by pressing a button with the flower icon or choosing it in the shooting menu. The camera then shifts autofocus to short distances, meters for close subjects, and may change the flash power to avoid blowing out highlights.
Compact cameras have limits. Working distance can be very short, so the lens can cast a shadow or scare a bug. Magnification is often modest, so you get strong close‑ups, but not the extreme scale a dedicated macro lens can deliver.
Autofocus may hesitate at close range. If it hunts, switch to single‑point AF, aim at the edge with the best contrast, and steady the camera. A small tripod or even bracing your elbows against your chest can help more than you think.
Smartphones handle macro in several ways. Some phones include a tiny dedicated macro unit, others switch to the ultrawide lens and focus close, and some simulate macro with software and cropping. The phone may auto‑switch when it detects you are moving close, which can be helpful or annoying depending on the scene.
On newer phones you can often control this behavior. Many models let you turn on a macro control toggle so you can choose when the switch happens. If you see the view jump or the field of view change at close range, that is the phone entering macro mode to help focus.
Best practice on phones is simple. Avoid digital zoom, use a macro attachment if you want more magnification, try a third‑party app for manual focus, and add a small LED light or diffuser for softer light. For more step‑by‑step ideas, see these practical phone macro tips when you want to push your camera further.
Mirrorless and DSLR bodies do not usually have a macro mode button. You get macro results by using a dedicated macro lens, extension tubes, close‑up filters, or a reversed lens. The camera then becomes a platform for manual control and fine focusing.
Useful features on these cameras include live view magnification, focus peaking, manual focus, and back‑button focus. Live view helps you place focus exactly where you want it, while peaking outlines sharp edges in real time.
Some cameras let you program a custom button for close‑up work. You can assign magnify, focus peaking, and a quick ISO or exposure compensation control to make macro shooting faster. Check your manual to see how to map those functions for quicker access.
How to take a macro photograph in macro mode (step‑by‑step)
Start by picking a subject with shape or texture. A small flower, a textured leaf, a coin, or a piece of fabric are all great beginners’ choices that show clean detail.
Keep the background simple. Plain colors, distant foliage, or soft fabric work better than a busy street or a messy desk. Simpler backgrounds make tiny subjects pop.
Move in until your subject fills the frame, but keep a workable working distance. Tilt the camera slightly to arrange the plane of focus with the subject, because even small angles change what looks sharp at macro distances.
Choose a camera mode that helps you control depth of field. Aperture Priority is a friendly choice for daylight, while Manual gives full control with flash or steady light. Both are great in macro mode, and you can change ISO and shutter speed as needed.
For tripod shooting, start at ISO 100, f/8 to f/11, and let the shutter land where it must. Use a two‑second timer or a remote release, and check the histogram to avoid clipping highlights on reflective insects or water drops.
For handheld shooting, aim for a faster shutter. Try 1/200 to 1/500, open the aperture to f/2.8 to f/5.6, and raise the ISO to keep the shutter fast. Stabilization helps, but fast shutter speed helps more at high magnification.
For insects, combine speed and light. Try 1/200 to 1/250 with flash sync, set f/5.6 to f/8, and use a diffused flash or LED to shape the light. Keep ISO moderate, and get as close as your subject allows without casting a shadow.
Use single‑point autofocus and move the focus point to the exact spot you want sharp. If AF struggles, switch to manual focus, magnify live view, and gently rock the camera forward and back until the subject snaps into clarity. Practice this rhythm and your hit rate will jump.
When depth of field is too thin to cover the whole subject, try focus stacking. Lock the camera, take a series of frames shifting focus slightly from front to back, and blend them later. Even five to ten slices can turn a thin slice of focus into a crisp full subject.
Stabilization is your friend. Use a tripod, and add a macro rail for tiny composition shifts. If your camera has electronic first‑curtain shutter or a full electronic shutter, use it to avoid micro‑vibrations.
Take more frames than you think you need. Bracket exposure by one third of a stop up and down, and capture a short focus stack if the subject is still. Small insurance steps save big disappointments later.
Post‑process with care. Shoot RAW, apply gentle noise reduction, and sharpen only after resizing. For stacking, tools like Helicon Focus or Photoshop make alignment and blending simple once you get the hang of it.
Here are quick cheat settings you can memorize. For flowers in soft daylight, use a tripod, ISO 100, f/8, and a diffused reflector to lift shadows. For active insects, go faster with 1/250, f/5.6 to f/8, and a diffused flash to freeze motion and deepen color.
If you want a deeper step‑by‑step beyond macro mode, this concise macro tutorial shows how to build a reliable workflow. Study it, then come back and practice in your garden or on your desk.
Before every shoot, run a quick checklist. Clean the front element, charge batteries, bring a small diffuser, select single‑point AF or manual focus, set your starting aperture, and choose a shutter speed that matches your situation. Pack a cloth for dew and a small clamp to hold a stem steady.
Watch for common mistakes and fix them fast. If everything is blurry, raise shutter speed or add light; if only a stripe is sharp, stop down or stack; if the built‑in flash looks harsh, diffuse it with a piece of white paper or move to open shade. If you are too close to focus, pull back a little and reframe.
Be kind to living subjects. Do not freeze or harm insects, do not pluck flowers in public places, and avoid sprays or bait that could hurt ecosystems. Good macro results never need cruelty.
Lighting, depth of field and avoiding blur in macro mode
Depth of field shrinks as you move closer, so macro distances make it razor thin. At f/5.6 from one meter away, a small flower can look fully sharp, but at 10 centimeters the same aperture gives a slice thinner than a petal.
To increase apparent depth, stop down to f/8, f/11, or even f/16 if you must. Watch for diffraction, which softens fine detail at very small apertures, and test your lens to find its sweet spot around f/8 to f/11.
When stopping down is not enough, focus stack. Shoot a series from front to back with tiny steps in focus or position, and blend them later. For most flowers five to fifteen frames work, while complex insects might need twenty or more.
Natural light can be beautiful if you control contrast. Use open shade or light cloud to soften the sun, and turn a page of white paper or a small reflector toward the subject to fill shadows. The goal is soft, directional light that reveals texture without glare.
Artificial light gives consistency and control. A ring light wraps even light around the lens, while a twin macro flash gives shape and texture by offsetting the sources. A single off‑camera flash with a diffuser or softbox is flexible and can look very natural when feathered.
Hand‑held LEDs or pen lights also work well. Hold them to the side to skim across the surface, which brings out texture and reduces flatness. Angle the light to avoid hard shadows and lens flare.
To avoid blur, use a faster shutter and raise ISO as needed. For handheld macro, aim near 1/200 or faster, and let stabilization help but not replace speed. On a tripod, turn off image stabilization unless your camera maker recommends leaving it on for tripod use.
Reduce mechanical vibration whenever possible. Use a remote or a two‑second timer, enable mirror lock‑up or electronic first‑curtain if you shoot with a DSLR, and shield the setup from wind. Even your heartbeat can blur a 1:1 shot, so breathe gently and shoot between breaths.
Moving subjects demand patience and planning. Wait for the wind to pause, brace the stem with a gentle clamp, or move your body to block the breeze. For small insects, a diffused flash freezes motion and lets you keep ISO reasonable.
All these steps apply whether you are on a phone or a camera body. Macro mode helps you get close, but technique is what keeps your images sharp and clean.
Gear and alternatives: macro lenses, extension tubes, close‑up filters and useful accessories
Macro lenses come in several focal lengths, and each has trade‑offs. Short options around 50 to 60 mm are compact and affordable, but force you close to the subject. Mid‑range 90 to 105 mm lenses balance working distance and size, while longer 150 to 200 mm lenses give room for skittish insects at the cost of weight and price.
When a lens says 1:1, it means it can reproduce a subject at life‑size on the sensor without extra help. On a full‑frame sensor that is large enough to fill the frame with a postage stamp, and on smaller sensors the field of view shrinks even further, which increases the apparent reach.
Extension tubes are a budget‑friendly path to higher magnification. They are hollow spacers that move the lens farther from the sensor, letting it focus closer while keeping the lens’s optical quality. They work best with prime lenses and are great when you do not need infinity focus.
Close‑up filters, also called diopters, screw onto the front of your lens like a filter. They are cheap and portable, and they buy you closer focus in seconds. The trade‑off is optical softness at the edges and chromatic aberration, which is reduced if you pay more for achromatic versions.
Reversing rings let you mount a lens backward for very high magnification. This trick is inexpensive and powerful, but you often lose electronic aperture control and must work with manual exposure and careful handling.
Bellows extend the lens even more and allow variable magnification. They are best for controlled tabletop setups where you can lock everything down and work methodically with light and focus.
Accessories can make or break a macro session. A sturdy tripod and a smooth ball head or geared head keep your framing steady, while a macro rail gives micrometer control. A ring or twin flash, a small LED panel, a diffuser, a tiny reflector, and a few clamps or a beanbag solve most field problems.
Good starter kits do not have to be expensive. For a phone, try a clip‑on macro lens, a small LED light with a diffuser, and a mini tripod. For an interchangeable‑lens camera, a 90 mm macro lens, a lightweight tripod, and a soft flash diffuser build a reliable core, and you can add a rail later.
Before you buy, make a short buying checklist. Decide how much working distance you need, how much magnification you want, whether you prefer natural light or flash, and how portable your kit must be. Match your choices to your subjects and your budget, and you will use the gear far more often.
Gear helps, but skill matters more. The more you practice with focus, light, and steady technique, the more macro mode will feel like second nature. The next time someone asks what is macro mode, you will not only know the answer, you will have the pictures to show it.
What People Ask Most
What is macro mode?
Macro mode is a camera setting for taking close-up photos of small subjects, letting you capture fine details up close. It often makes the background soft so the subject stands out.
When should I use macro mode?
Use macro mode for flowers, insects, textures, or any tiny subject you want to show in detail. It works best when you want to fill the frame with something small.
How close can I get to my subject in macro mode?
You can usually get just a few inches from your subject, but distance varies by camera or lens. Move slowly and focus carefully to avoid blurring.
Can I use macro mode on my smartphone?
Many smartphones have a macro or close-up feature that works well for casual close-ups. If your phone doesn’t, clip-on macro lenses are an easy option.
What common mistakes should I avoid in macro mode?
Avoid shaky hands, poor lighting, and focusing on the wrong part of the subject. These mistakes often make close-ups look soft or out of focus.
How can I make macro photos sharper?
Use a tripod or steady surface, good lighting, and tap to focus on the exact spot you want sharp. Small movements matter, so use a timer or remote if possible.
Is macro mode good for portraits or landscapes?
No, macro mode is designed for very close subjects and won’t capture wide scenes or typical portraits well. Use regular or portrait settings for those types of shots.
Final Thoughts on Macro Mode
Macro mode turns small things into big stories by letting your camera focus much closer so tiny textures and colors fill the frame, revealing detail you’d otherwise miss. This guide — 270 — tied that simple promise to practical tips, from settings and stabilization to lighting and ethical care for living subjects. It’s the short path from curiosity to usable results, whether you shoot on a phone or a camera.
Be realistic: shallow depth of field and tight working distance mean you’ll need patience, good light, and sometimes extra gear to get the shots you want. We spelled out those trade-offs and who benefits most — beginners, hobbyists, and nature lovers looking to capture texture, insects, or small products. You’ll also find step‑by‑step workflows and settings to make learning less frustrating.
Remember the opening question, “what is macro mode?” — we answered it clearly and then showed how to use it in real shoots, with settings, lighting fixes, and gear choices. Look closer and you’ll discover a tiny world that’s waiting to inspire your next image.


0 Comments